CHEVROLET CAMARO 1982 Repair Guide
Manufacturer: CHEVROLET, Model Year: 1982, Model line: CAMARO, Model: CHEVROLET CAMARO 1982Pages: 875, PDF Size: 88.64 MB
Page 771 of 875

GM – CAMARO 1982-1992 – Repair Guide (Checked by WxMax) 771
A more advanced set of tools, suit
able for tune-up work, can be drawn up
easily. While the tools are slightly more sophisticated, they need not be
outrageously expensive. There are severa l inexpensive tach/dwell meters on
the market that are every bit as good for the average mechanic as a
professional model. Just be sure that it goes to a least 1200-1500 rpm on the
tach scale and that it works on 4, 6 and 8-cylinder engines. The key to these
purchases is to make them with an eye towards adaptability and wide range. A
basic list of tune-up tools could include:
• Tach/dwell meter.
• Spark plug wrench and gapping tool.
• Feeler gauges for valve adjustment.
• Timing light.
The choice of a timing light should be made carefully. A light which works on the
DC current supplied by the vehicle's battery is the best choice; it should have a
xenon tube for brightness. On any vehi cle with an electronic ignition system, a
timing light with an inductive pickup that clamps around the No. 1 spark plug
cable is preferred.
In addition to these basic tools, ther e are several other tools and gauges you
may find useful. These include:
• Compression gauge. The screw-in type is slower to use, but eliminates
the possibility of a faulty r eading due to escaping pressure.
• Manifold vacuum gauge.
• 12V test light.
• A combination volt/ohmmeter
• Induction Ammeter. This is used for determining whether or not there is
current in a wire. These are handy fo r use if a wire is broken somewhere
in a wiring harness.
As a final note, you will probably find a torque wrench necessary for all but the
most basic work. The beam type models are perfectly adequate, although the
newer click types (breakaway) are eas ier to use. The click type torque
wrenches tend to be more expensive. Also keep in mind that all types of torque
wrenches should be periodically checked a nd/or recalibrated. You will have to
decide for yourself which better fits your pocketbook, and purpose.
SPECIAL TOOLS
Normally, the use of special factory tool s is avoided for repair procedures, since
these are not readily available for the do-it-yourself mechanic. When it is
possible to perform the job with more co mmonly available tools, it will be
pointed out, but occasionally, a special t ool was designed to perform a specific
function and should be used. Before s ubstituting another tool, you should be
convinced that neither your safety nor the performance of the vehicle will be
compromised.
Page 772 of 875
GM – CAMARO 1982-1992 – Repair Guide (Checked by WxMax) 772
Special tools can usually be purchased fr
om an automotive parts store or from
your dealer. In some cases special tools may be available directly from the tool
manufacturer.
SERVICING YOUR VEHICLE SAFELY
It is virtually impossible to anticipate all of the hazards involved with automotive
maintenance and service, but care and common sense will prevent most
accidents.
The rules of safety for mechanics range fr om "don't smoke around gasoline," to
"use the proper tool(s) for the job." The tr ick to avoiding injuries is to develop
safe work habits and to take every possible precaution.
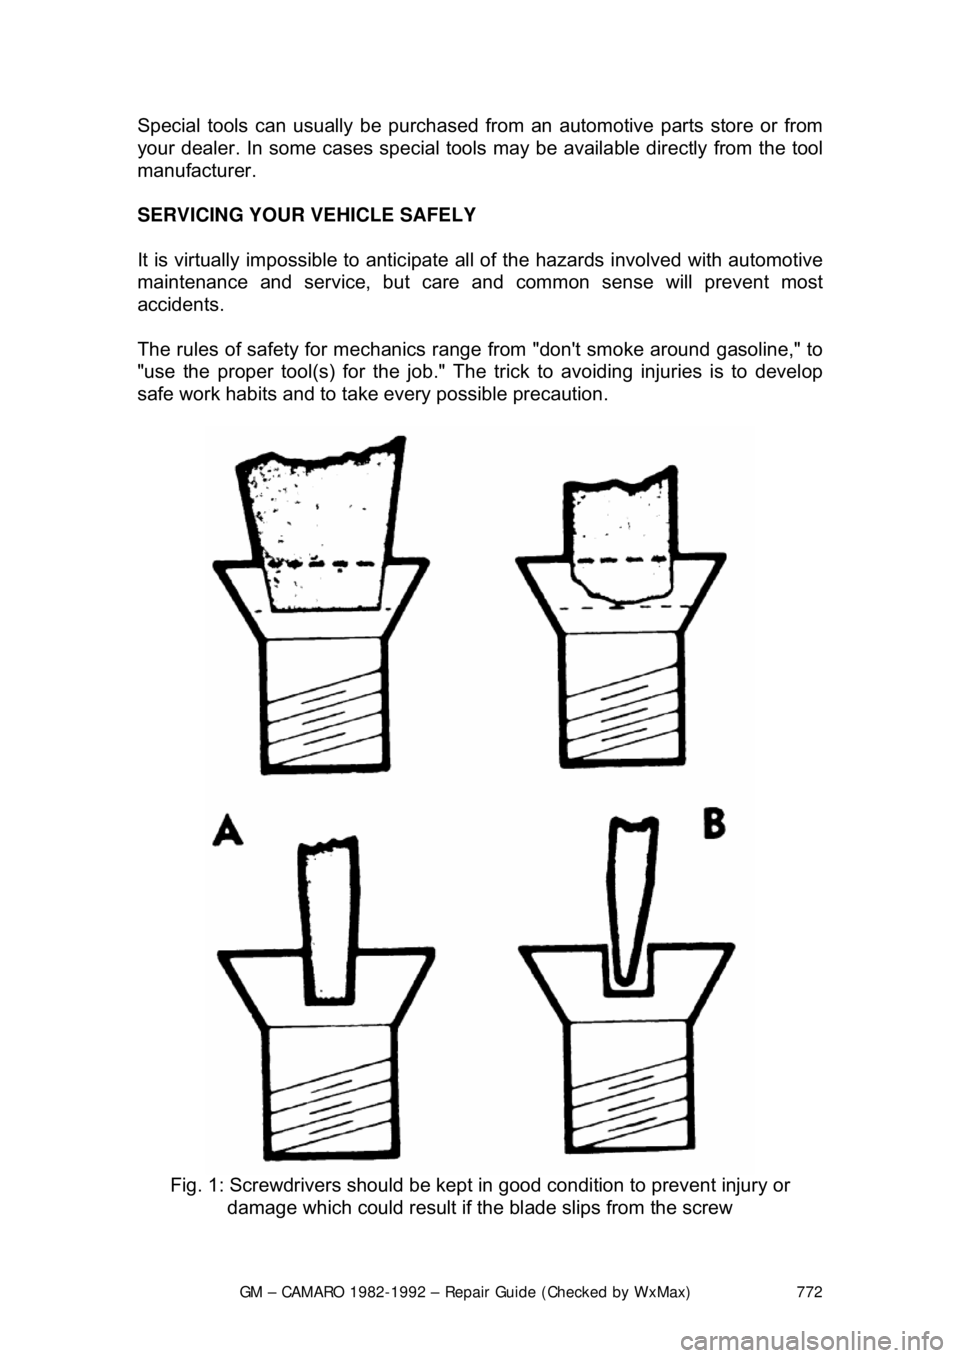
Fig. 1: Screwdrivers should be kept in good condition to prevent injury \
or
damage which could result if t he blade slips from the screw
Page 773 of 875
GM – CAMARO 1982-1992 – Repair Guide (Checked by WxMax) 773
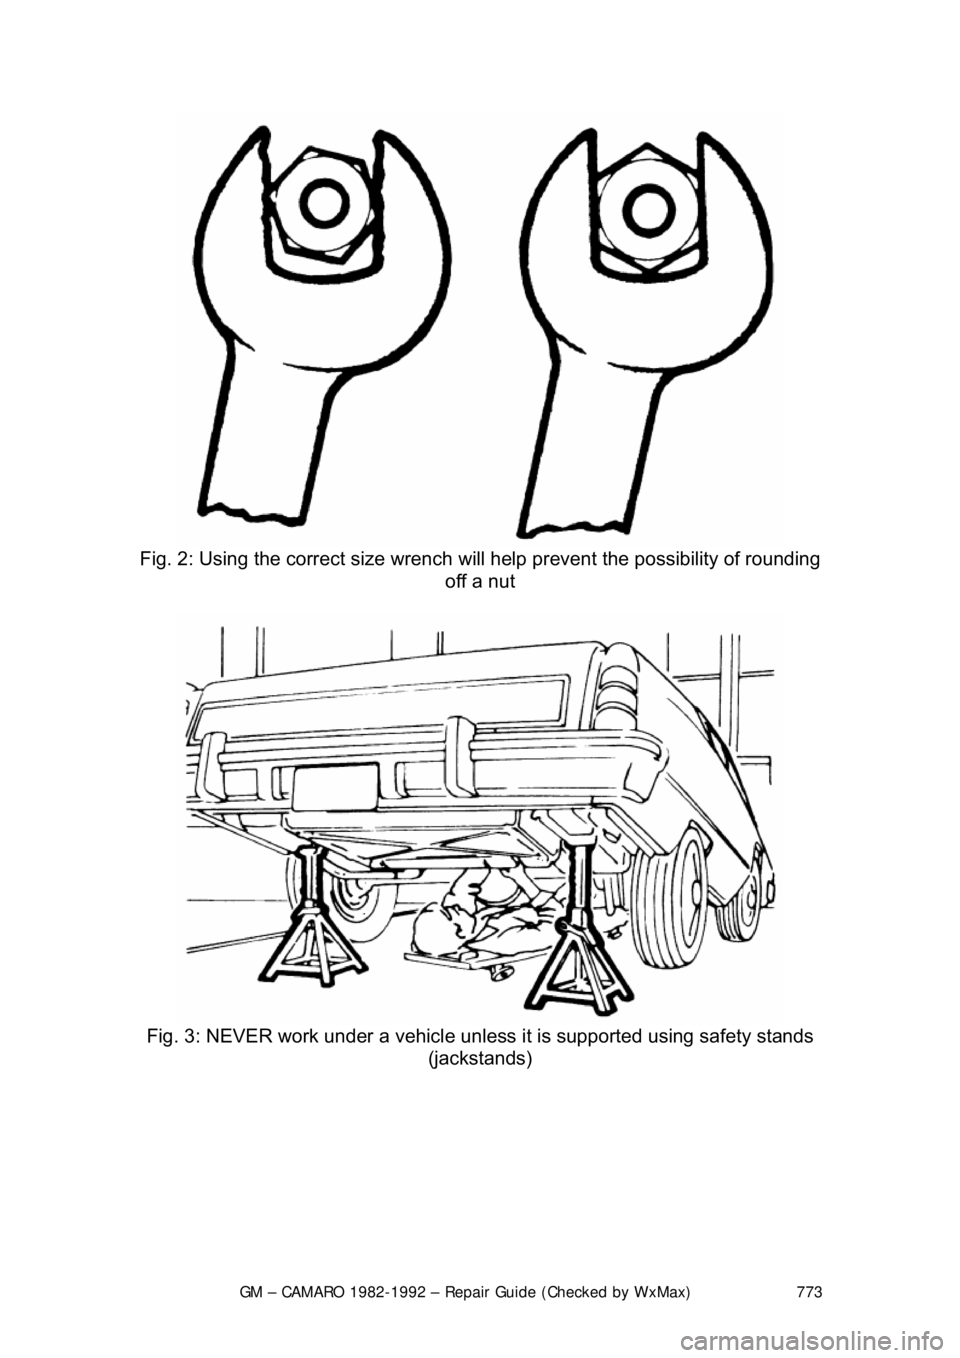
Fig. 2: Using the correct size wrench wil l help prevent the possibility of rounding
off a nut
Fig. 3: NEVER work under a vehicle unle ss it is supported using safety stands
(jackstands)
Page 774 of 875

GM – CAMARO 1982-1992 – Repair Guide (Checked by WxMax) 774
FLUIDS AND LUBRICANTS
FLUID DISPOSAL
Used fluids such as engine
oil, transmission fluid, antifreeze and brake fluid are
hazardous wastes and must be disposed of properly. Befo re draining any fluids,
consult with your local authorities; in many areas waste oil, etc. is being
accepted as a part of recycling programs. A number of service stations and auto
parts stores are also accepti ng waste fluids for recycling.
Be sure of the recycling cent er's policies before draining any fluids, as many will
not accept different fluids that have been mixed together.
FUEL RECOMMENDATIONS
The engine is designed to operate on unleaded gasoline ONLY and is essential
for the proper operation of the emissi on control system. The use of unleaded
fuel will reduce spark plug fouling, exhaust system corrosion and engine oil
deterioration.
In most parts of the United States, f uel with an octane rating of 87 should be
used; in high altitude areas, fuel wit h an octane rating as low as 85 may be
used.
In some areas, fuel consisting of a blen d of alcohol may be used; this blend of
gasoline and alcohol is known as gaso hol. When using gasohol, never use
blends exceeding 10% ethanol (e thyl or grain alcohol) or 5% methanol (methyl
or wood alcohol).
The use of fuel with excessive amounts of alcohol may jeopardize the new car
and emission control system warranties.
Page 775 of 875
GM – CAMARO 1982-1992 – Repair Guide (Checked by WxMax) 775
ENGINE OIL RECOMMENDATIONS
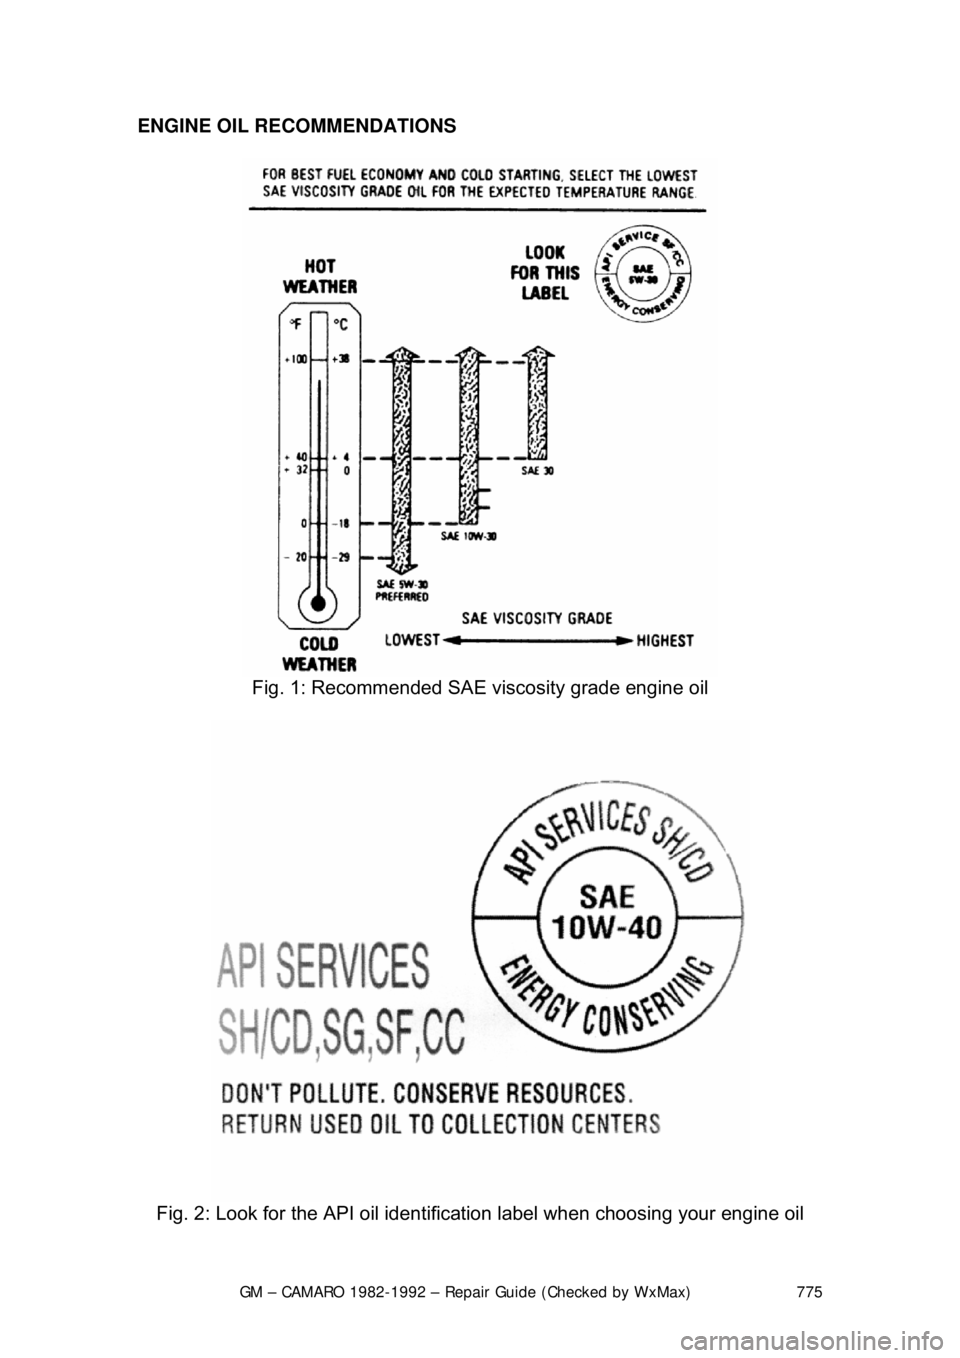
Fig. 1: Recommended SAE viscosity grade engine oil
Fig. 2: Look for the API oil identific ation label when choosing your engine oil
Page 776 of 875
GM – CAMARO 1982-1992 – Repair Guide (Checked by WxMax) 776
Use only oil which has the API (Ameri
can Petroleum Institute) designation SG,
CC , CD , SG/CC or SG/CD .
Since fuel economy is effected by the viscosity (thickness) of the engine oil, it is
recommended to select an oil with reference to the outside temperature. For
satisfactory lubrication, us e a lower viscosity oil for colder temperatures and a
higher viscosity oil for warmer temperatures.
ENGINE
OIL LEVEL CHECK
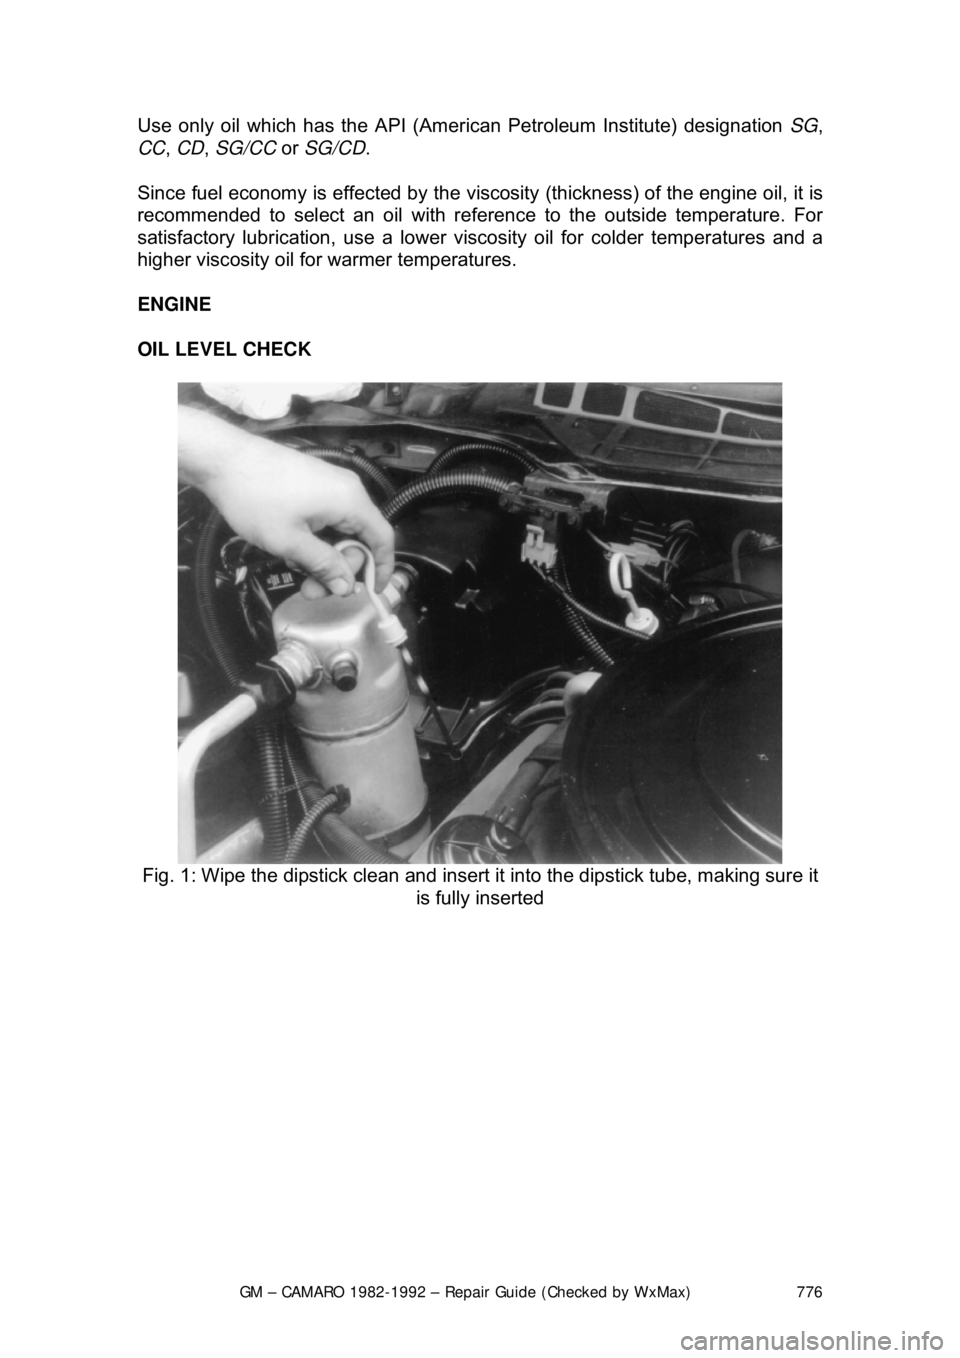
Fig. 1: Wipe the dipstick clean and insert it into the dipstick tube, making sure it
is fully inserted
Page 777 of 875
GM – CAMARO 1982-1992 – Repair Guide (Checked by WxMax) 777
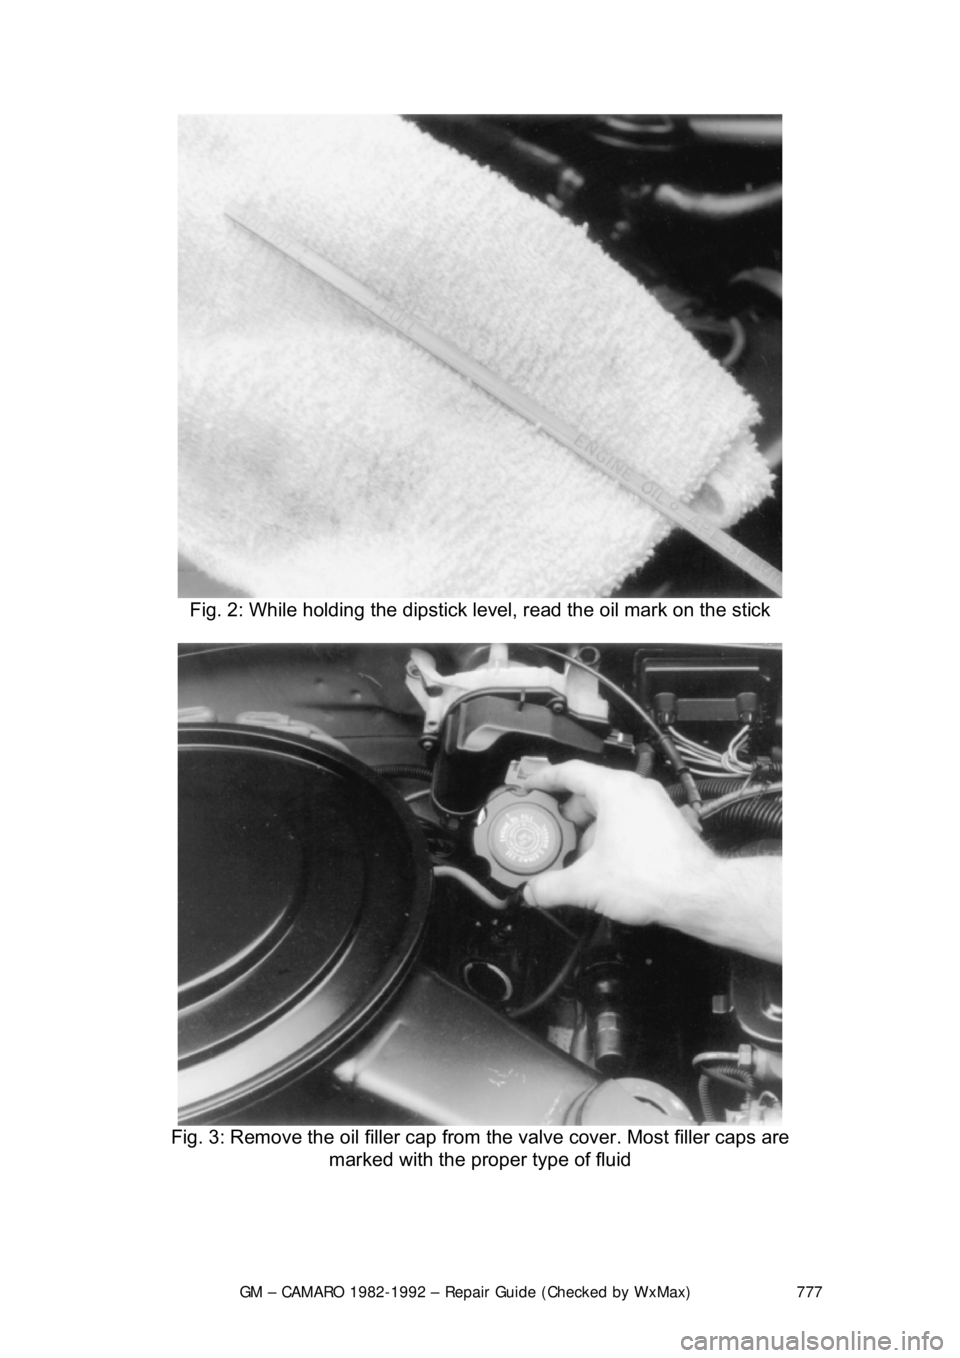
Fig. 2: While holding the dipstick le vel, read the oil mark on the stick
Fig. 3: Remove the oil filler cap from the valve cover. Most filler caps are
marked with the proper type of fluid
Page 778 of 875
GM – CAMARO 1982-1992 – Repair Guide (Checked by WxMax) 778
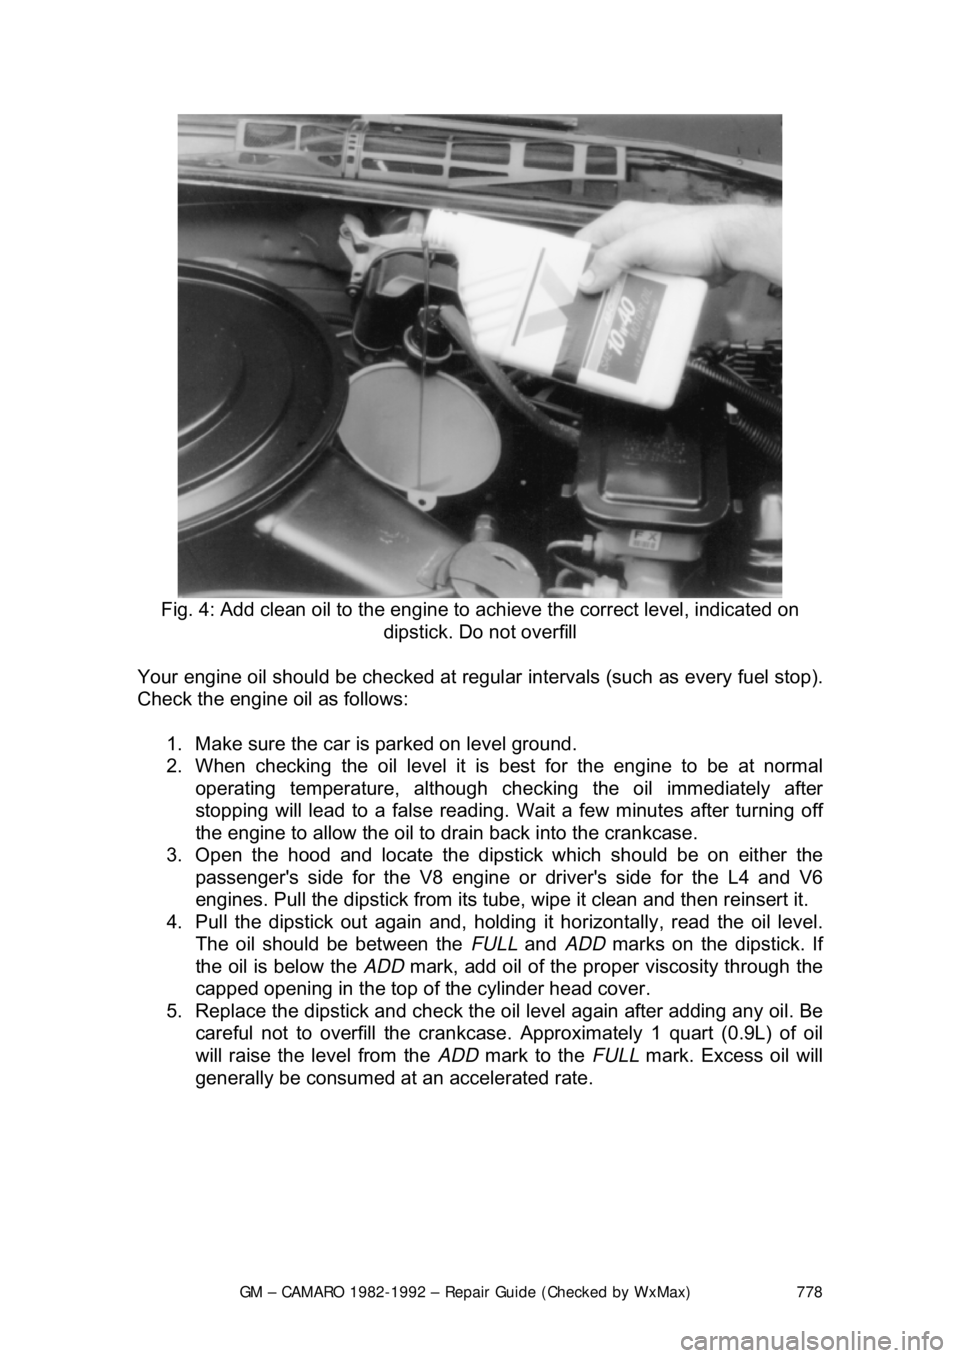
Fig. 4: Add clean oil to the engine to ac hieve the correct level, indicated on
dipstick. Do not overfill
Your engine oil should be checked at regular intervals (such as every fuel stop).
Check the engine oil as follows:
1. Make sure the car is parked on level ground.
2. When checking the oil le vel it is best for the engine to be at normal
operating temperature, although checking the oil immediately after
stopping will lead to a false reading. Wa it a few minutes after turning off
the engine to allow the oil to drain back into the crankcase.
3. Open the hood and locate the dipsti ck which should be on either the
passenger's side for the V8 engine or driver's side for the L4 and V6
engines. Pull the dipstick fr om its tube, wipe it clean and then reinsert it.
4. Pull the dipstick out agai n and, holding it horizontally, read the oil level.
The oil should be between the FULL and ADD marks on the dipstick. If
the oil is below the ADD mark, add oil of the prop er viscosity through the
capped opening in the top of the cylinder head cover.
5. Replace the dipstick and check the o il level again after adding any oil. Be
careful not to overfill the crankcase. Approximately 1 quart (0.9L) of oil
will raise the level from the ADD mark to the FULL mark. Excess oil will
generally be consumed at an accelerated rate.
Page 779 of 875

GM – CAMARO 1982-1992 – Repair Guide (Checked by WxMax) 779
ENGINE OIL AND FILTER CHANGE
Under normal operating conditions, the oi
l is to be changed every 7,500 miles
(12,000km) or 12 months, whichever occurs first.
Although the manufacturer recommends changing the f ilter at the first oil
change and then at every other oil c hange, (unless 12 months pass between
changes), The editors of this informat ion recommend changing the filter with
each service. It is a small price to pay for extra protection.
When driving conditions frequently include dusty or polluted areas, trailer
towing, idling for long periods of ti me, or low speed operation, or when
operating at temperatures below freezing or driving short distances (under 4
miles or 6.4km), change t he oil and filter more frequently. Under these
circumstances, oil has a greater chance of building up sludge and contaminants
which could damage your engine. If your v ehicle use fits into one or more of
these categories, (as it does for most vehicles), it is suggested that the oil and
filter be changed every 3, 000 miles (1361km) or 3 months, whichever comes
first.
The oil should be disposed of properly after it is drained from the vehicle. Store
the oil in a suitable container and take the container to an official oil recycling
station. Most gas stations or oil and lube facilities will take the used oil at little or
no expense to you.
Oil should always be changed after the engine has been running long enough to
bring it up to normal operating temperature. Hot oil will flow more easily and will
carry more contaminants than will cold oi l. The oil drain plug is located on the
bottom of the oil pan (bottom of the engi ne, underneath the car). The oil filter is
located on the left side of most engines covered by this information. To change
the oil and filter:
1. Run the engine until it reaches normal operating temperature.
2. Raise the front of the vehicle and s upport it safely using a suitable pair of
jackstands.
3. Slide a drain pan of a least 6 quar ts capacity under the oil pan. Wipe the
drain plug and surrounding area clean using an old rag.
CAUTION - The EPA warns that prolonged contact with used engine oil may
cause a number of skin disorders, incl uding cancer! You should make every
effort to minimize your exposure to used engine oil. Pr otective gloves should be
worn when changing the oil. Wash y our hands and any other exposed skin
areas as soon as possible after exposure to used engine oil. Soap and water, or
waterless hand cleaner should be used.
4. Loosen the drain plug using a ratc het, short extension and socket or a
box-wrench. Turn the plug out by hand, using a rag to shield your fingers
from the hot oil. By keeping an in ward pressure on the plug as you
unscrew it, oil won't escape past the threads and you can remove it
without being burned by hot oil.
Page 780 of 875
GM – CAMARO 1982-1992 – Repair Guide (Checked by WxMax) 780
If the drain plug is equipped with a re
movable washer or gasket, check its
condition and replace, if necessary , to provide a leakproof seal.
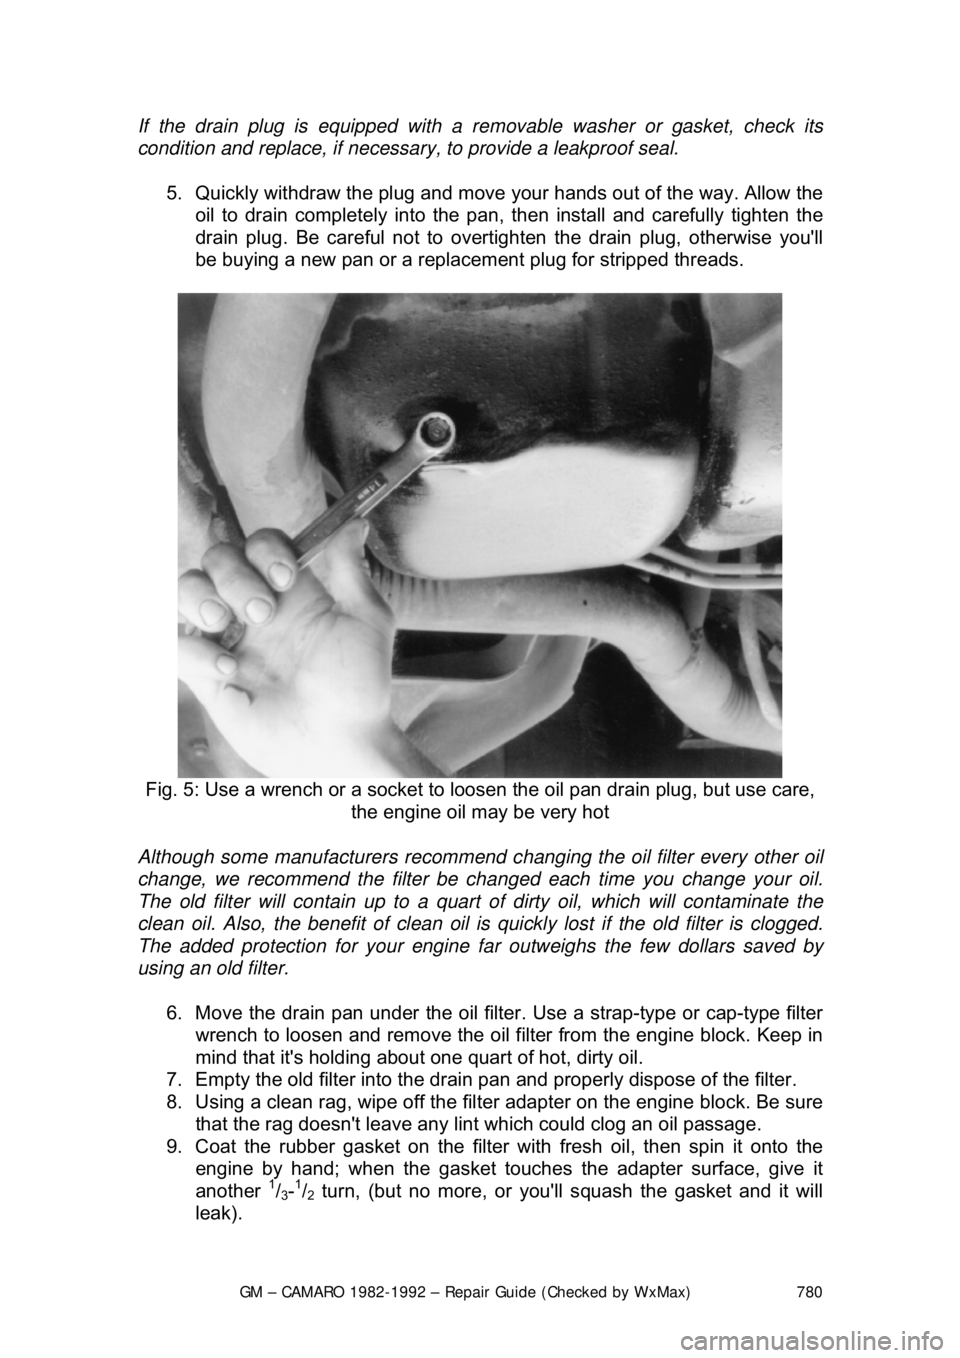
5. Quickly withdraw the plug and move your hands out of the way. Allow the
oil to drain completely into the pan, then install and carefully tighten the
drain plug. Be careful not to overtighten the drain plug, otherwise you'\
ll
be buying a new pan or a replacem ent plug for stripped threads.
Fig. 5: Use a wrench or a socket to l oosen the oil pan drain plug, but use care,
the engine oil may be very hot
Although some manufacturers recommend c hanging the oil filter every other oil
change, we recommend the filter be chan ged each time you change your oil.
The old filter will contain up to a quart of dirty oil, which will contaminate the
clean oil. Also, the benefit of clean oil is quickly lost if the old filter is clogged.
The added protection for your engine far outweighs the few dollars saved by
using an old filter.
6. Move the drain pan under the oil filter. Use a strap-type or cap-type filter
wrench to loosen and remove the oil f ilter from the engine block. Keep in
mind that it's holding about one quart of hot, dirty oil.
7. Empty the old f ilter into the drain pan and proper ly dispose of the filter.
8. Using a clean rag, wipe off the filt er adapter on the engine block. Be sure
that the rag doesn't leave any lint which could clog an oil passage.
9. Coat the rubber gasket on the filter with fresh oil, then spin it onto the
engine by hand; when the gasket touches the adapter surface, give it
another
1/3-1/2 turn, (but no more, or you'll squash the gasket and it will
leak).