sensor CHRYSLER VOYAGER 2001 Service Manual
[x] Cancel search | Manufacturer: CHRYSLER, Model Year: 2001, Model line: VOYAGER, Model: CHRYSLER VOYAGER 2001Pages: 4284, PDF Size: 83.53 MB
Page 3945 of 4284
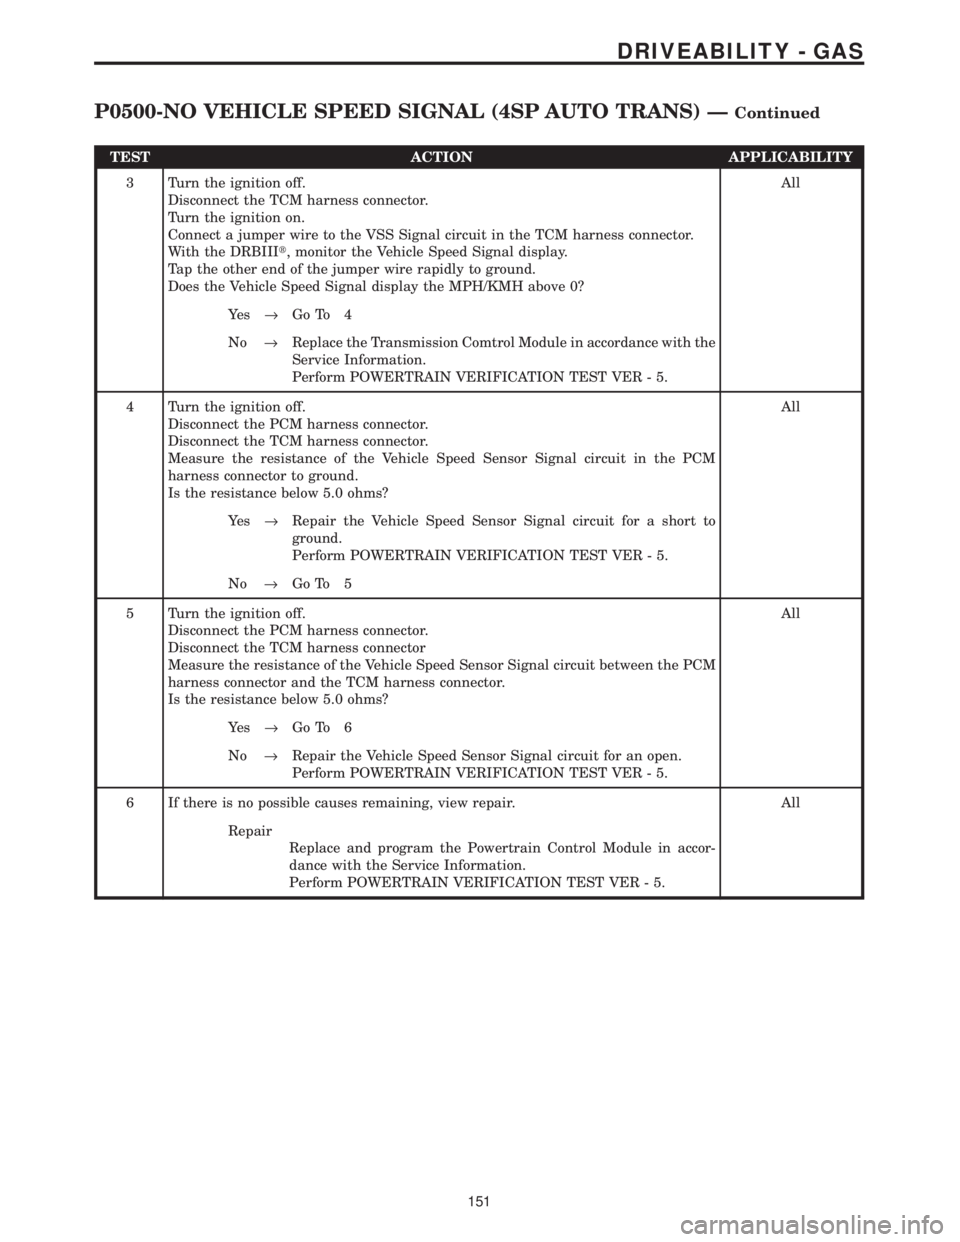
TEST ACTION APPLICABILITY
3 Turn the ignition off.
Disconnect the TCM harness connector.
Turn the ignition on.
Connect a jumper wire to the VSS Signal circuit in the TCM harness connector.
With the DRBIIIt, monitor the Vehicle Speed Signal display.
Tap the other end of the jumper wire rapidly to ground.
Does the Vehicle Speed Signal display the MPH/KMH above 0?All
Ye s®Go To 4
No®Replace the Transmission Comtrol Module in accordance with the
Service Information.
Perform POWERTRAIN VERIFICATION TEST VER - 5.
4 Turn the ignition off.
Disconnect the PCM harness connector.
Disconnect the TCM harness connector.
Measure the resistance of the Vehicle Speed Sensor Signal circuit in the PCM
harness connector to ground.
Is the resistance below 5.0 ohms?All
Ye s®Repair the Vehicle Speed Sensor Signal circuit for a short to
ground.
Perform POWERTRAIN VERIFICATION TEST VER - 5.
No®Go To 5
5 Turn the ignition off.
Disconnect the PCM harness connector.
Disconnect the TCM harness connector
Measure the resistance of the Vehicle Speed Sensor Signal circuit between the PCM
harness connector and the TCM harness connector.
Is the resistance below 5.0 ohms?All
Ye s®Go To 6
No®Repair the Vehicle Speed Sensor Signal circuit for an open.
Perform POWERTRAIN VERIFICATION TEST VER - 5.
6 If there is no possible causes remaining, view repair. All
Repair
Replace and program the Powertrain Control Module in accor-
dance with the Service Information.
Perform POWERTRAIN VERIFICATION TEST VER - 5.
151
DRIVEABILITY - GAS
P0500-NO VEHICLE SPEED SIGNAL (4SP AUTO TRANS) ÐContinued
Page 3960 of 4284
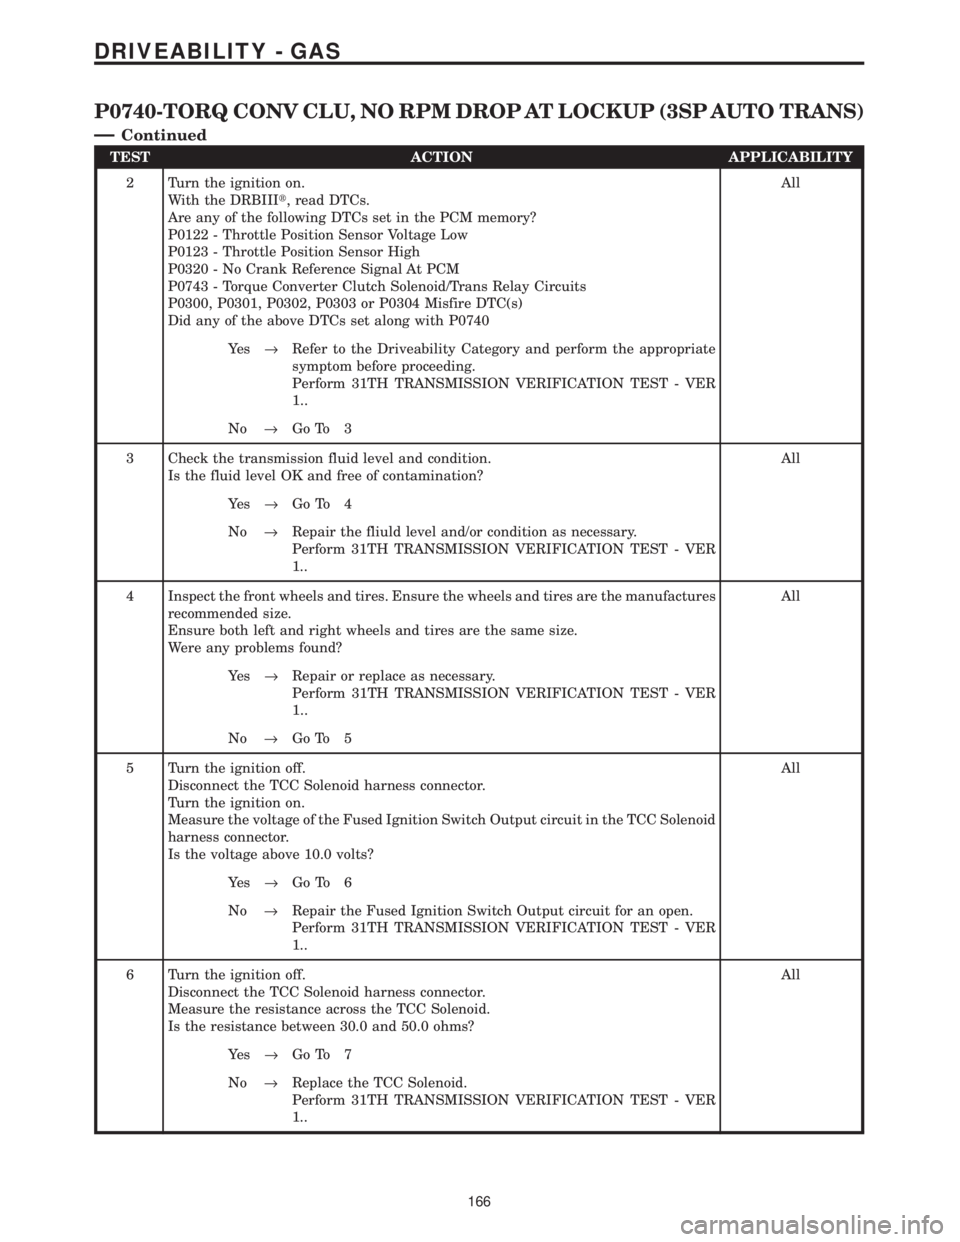
TEST ACTION APPLICABILITY
2 Turn the ignition on.
With the DRBIIIt, read DTCs.
Are any of the following DTCs set in the PCM memory?
P0122 - Throttle Position Sensor Voltage Low
P0123 - Throttle Position Sensor High
P0320 - No Crank Reference Signal At PCM
P0743 - Torque Converter Clutch Solenoid/Trans Relay Circuits
P0300, P0301, P0302, P0303 or P0304 Misfire DTC(s)
Did any of the above DTCs set along with P0740All
Ye s®Refer to the Driveability Category and perform the appropriate
symptom before proceeding.
Perform 31TH TRANSMISSION VERIFICATION TEST - VER
1..
No®Go To 3
3 Check the transmission fluid level and condition.
Is the fluid level OK and free of contamination?All
Ye s®Go To 4
No®Repair the fliuld level and/or condition as necessary.
Perform 31TH TRANSMISSION VERIFICATION TEST - VER
1..
4 Inspect the front wheels and tires. Ensure the wheels and tires are the manufactures
recommended size.
Ensure both left and right wheels and tires are the same size.
Were any problems found?All
Ye s®Repair or replace as necessary.
Perform 31TH TRANSMISSION VERIFICATION TEST - VER
1..
No®Go To 5
5 Turn the ignition off.
Disconnect the TCC Solenoid harness connector.
Turn the ignition on.
Measure the voltage of the Fused Ignition Switch Output circuit in the TCC Solenoid
harness connector.
Is the voltage above 10.0 volts?All
Ye s®Go To 6
No®Repair the Fused Ignition Switch Output circuit for an open.
Perform 31TH TRANSMISSION VERIFICATION TEST - VER
1..
6 Turn the ignition off.
Disconnect the TCC Solenoid harness connector.
Measure the resistance across the TCC Solenoid.
Is the resistance between 30.0 and 50.0 ohms?All
Ye s®Go To 7
No®Replace the TCC Solenoid.
Perform 31TH TRANSMISSION VERIFICATION TEST - VER
1..
166
DRIVEABILITY - GAS
P0740-TORQ CONV CLU, NO RPM DROP AT LOCKUP (3SP AUTO TRANS)
Ð
Continued
Page 3968 of 4284
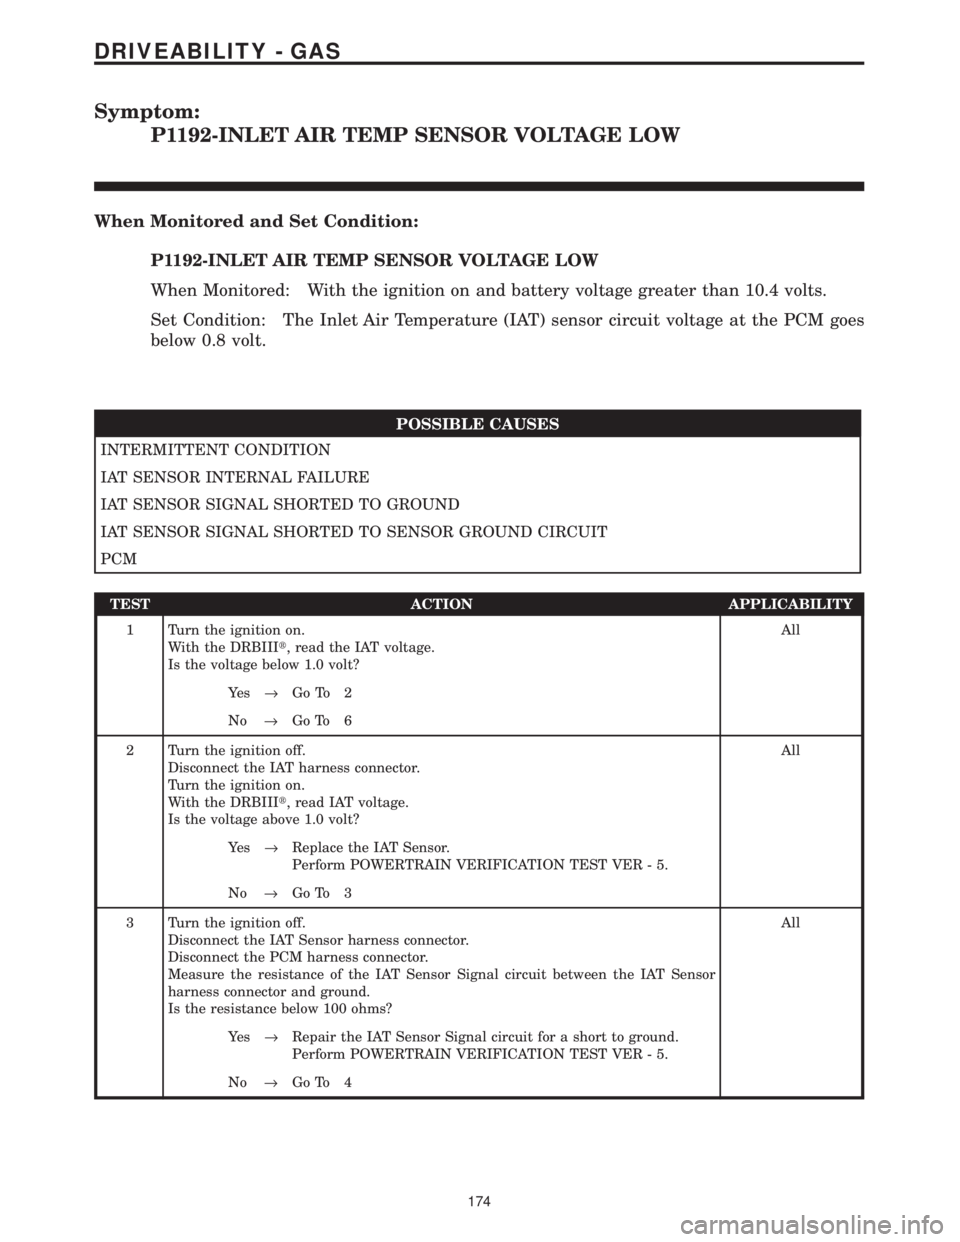
Symptom:
P1192-INLET AIR TEMP SENSOR VOLTAGE LOW
When Monitored and Set Condition:
P1192-INLET AIR TEMP SENSOR VOLTAGE LOW
When Monitored: With the ignition on and battery voltage greater than 10.4 volts.
Set Condition: The Inlet Air Temperature (IAT) sensor circuit voltage at the PCM goes
below 0.8 volt.
POSSIBLE CAUSES
INTERMITTENT CONDITION
IAT SENSOR INTERNAL FAILURE
IAT SENSOR SIGNAL SHORTED TO GROUND
IAT SENSOR SIGNAL SHORTED TO SENSOR GROUND CIRCUIT
PCM
TEST ACTION APPLICABILITY
1 Turn the ignition on.
With the DRBIIIt, read the IAT voltage.
Is the voltage below 1.0 volt?All
Ye s®Go To 2
No®Go To 6
2 Turn the ignition off.
Disconnect the IAT harness connector.
Turn the ignition on.
With the DRBIIIt, read IAT voltage.
Is the voltage above 1.0 volt?All
Ye s®Replace the IAT Sensor.
Perform POWERTRAIN VERIFICATION TEST VER - 5.
No®Go To 3
3 Turn the ignition off.
Disconnect the IAT Sensor harness connector.
Disconnect the PCM harness connector.
Measure the resistance of the IAT Sensor Signal circuit between the IAT Sensor
harness connector and ground.
Is the resistance below 100 ohms?All
Ye s®Repair the IAT Sensor Signal circuit for a short to ground.
Perform POWERTRAIN VERIFICATION TEST VER - 5.
No®Go To 4
174
DRIVEABILITY - GAS
Page 3969 of 4284
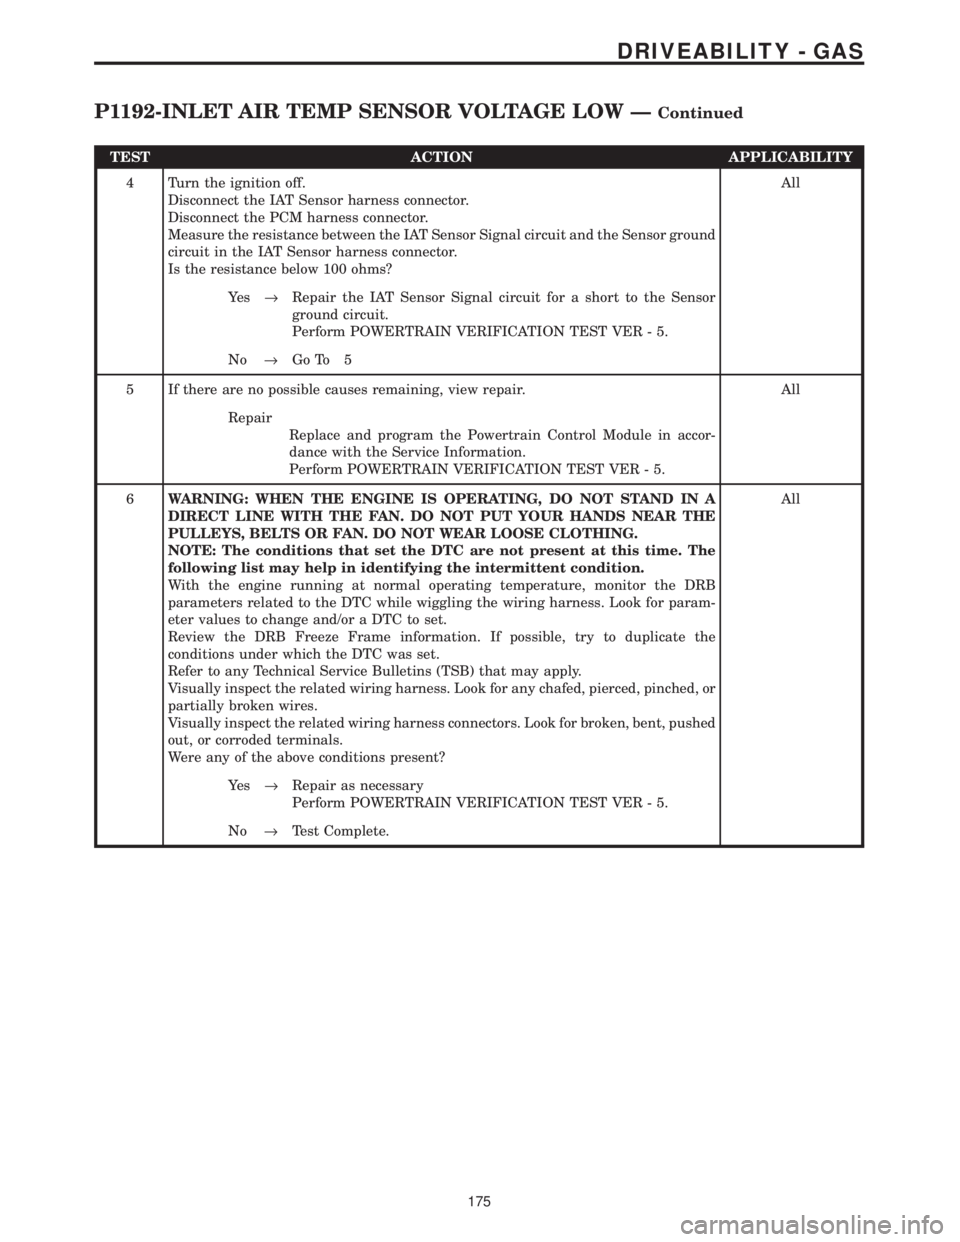
TEST ACTION APPLICABILITY
4 Turn the ignition off.
Disconnect the IAT Sensor harness connector.
Disconnect the PCM harness connector.
Measure the resistance between the IAT Sensor Signal circuit and the Sensor ground
circuit in the IAT Sensor harness connector.
Is the resistance below 100 ohms?All
Ye s®Repair the IAT Sensor Signal circuit for a short to the Sensor
ground circuit.
Perform POWERTRAIN VERIFICATION TEST VER - 5.
No®Go To 5
5 If there are no possible causes remaining, view repair. All
Repair
Replace and program the Powertrain Control Module in accor-
dance with the Service Information.
Perform POWERTRAIN VERIFICATION TEST VER - 5.
6WARNING: WHEN THE ENGINE IS OPERATING, DO NOT STAND IN A
DIRECT LINE WITH THE FAN. DO NOT PUT YOUR HANDS NEAR THE
PULLEYS, BELTS OR FAN. DO NOT WEAR LOOSE CLOTHING.
NOTE: The conditions that set the DTC are not present at this time. The
following list may help in identifying the intermittent condition.
With the engine running at normal operating temperature, monitor the DRB
parameters related to the DTC while wiggling the wiring harness. Look for param-
eter values to change and/or a DTC to set.
Review the DRB Freeze Frame information. If possible, try to duplicate the
conditions under which the DTC was set.
Refer to any Technical Service Bulletins (TSB) that may apply.
Visually inspect the related wiring harness. Look for any chafed, pierced, pinched, or
partially broken wires.
Visually inspect the related wiring harness connectors. Look for broken, bent, pushed
out, or corroded terminals.
Were any of the above conditions present?All
Ye s®Repair as necessary
Perform POWERTRAIN VERIFICATION TEST VER - 5.
No®Test Complete.
175
DRIVEABILITY - GAS
P1192-INLET AIR TEMP SENSOR VOLTAGE LOW ÐContinued
Page 3970 of 4284

Symptom:
P1193-INLET AIR TEMP SENSOR VOLTAGE HIGH
When Monitored and Set Condition:
P1193-INLET AIR TEMP SENSOR VOLTAGE HIGH
When Monitored: With the ignition on and battery voltage greater than 10.4 volts.
Set Condition: The inlet air temperature (IAT) sensor circuit voltage at the PCM goes
above 4.9 volts.
POSSIBLE CAUSES
INTERMITTENT CONDITION
IAT SENSOR SIGNAL CIRCUIT SHORTED TO BATTERY VOLTAGE
IAT SENSOR INTERNAL FAILURE
IAT SENSOR SIGNAL CIRCUIT OPEN
SENSOR GROUND CIRCUIT OPEN
PCM
TEST ACTION APPLICABILITY
1 Turn the ignition on.
With the DRBIIIt, read the IAT voltage.
Is the voltage above 4.6 volts?All
Ye s®Go To 2
No®Go To 7
2 Turn the ignition off.
Disconnect the IAT Sensor harness connector.
Turn the ignition on.
Measure the voltage of the IAT Sensor Signal circuit in the IAT Sensor harness
connector.
Is the voltage above 5.2 volts?All
Ye s®Repair the IAT Sensor Signal circuit for a short to battery voltage.
Perform POWERTRAIN VERIFICATION TEST VER - 5.
No®Go To 3
3 Turn the ignition off.
Disconnect the IAT harness connector.
Connect a jumper wire between the IAT Sensor Signal circuit and the Sensor ground
circuit in the IAT harness connector.
Turn the ignition on.
With the DRBIIIt, read IAT voltage.
Is the voltage below 1.0 volt?All
Ye s®Replace the IAT Sensor.
Perform POWERTRAIN VERIFICATION TEST VER - 5.
No®Go To 4
176
DRIVEABILITY - GAS
Page 3971 of 4284
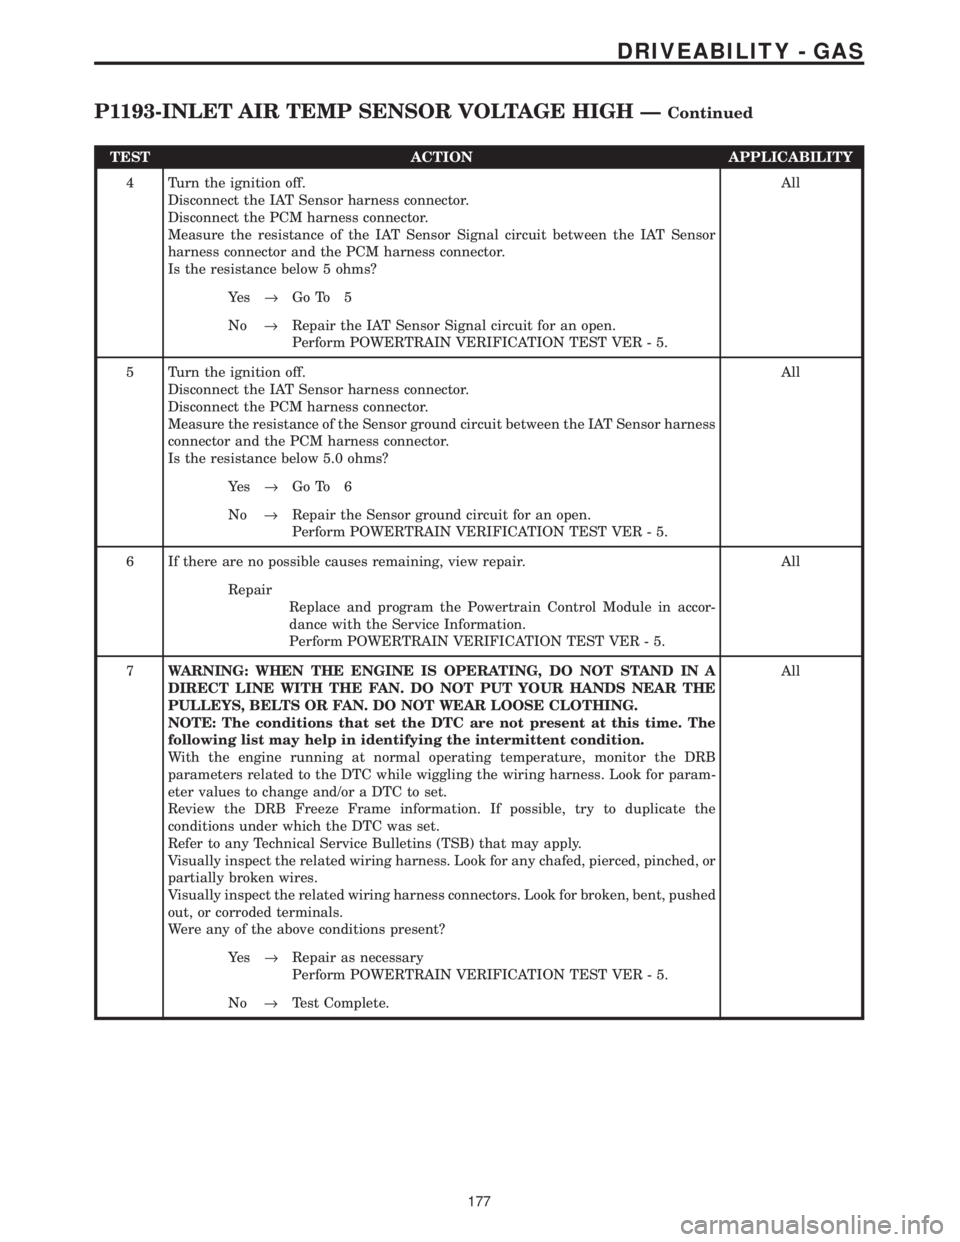
TEST ACTION APPLICABILITY
4 Turn the ignition off.
Disconnect the IAT Sensor harness connector.
Disconnect the PCM harness connector.
Measure the resistance of the IAT Sensor Signal circuit between the IAT Sensor
harness connector and the PCM harness connector.
Is the resistance below 5 ohms?All
Ye s®Go To 5
No®Repair the IAT Sensor Signal circuit for an open.
Perform POWERTRAIN VERIFICATION TEST VER - 5.
5 Turn the ignition off.
Disconnect the IAT Sensor harness connector.
Disconnect the PCM harness connector.
Measure the resistance of the Sensor ground circuit between the IAT Sensor harness
connector and the PCM harness connector.
Is the resistance below 5.0 ohms?All
Ye s®Go To 6
No®Repair the Sensor ground circuit for an open.
Perform POWERTRAIN VERIFICATION TEST VER - 5.
6 If there are no possible causes remaining, view repair. All
Repair
Replace and program the Powertrain Control Module in accor-
dance with the Service Information.
Perform POWERTRAIN VERIFICATION TEST VER - 5.
7WARNING: WHEN THE ENGINE IS OPERATING, DO NOT STAND IN A
DIRECT LINE WITH THE FAN. DO NOT PUT YOUR HANDS NEAR THE
PULLEYS, BELTS OR FAN. DO NOT WEAR LOOSE CLOTHING.
NOTE: The conditions that set the DTC are not present at this time. The
following list may help in identifying the intermittent condition.
With the engine running at normal operating temperature, monitor the DRB
parameters related to the DTC while wiggling the wiring harness. Look for param-
eter values to change and/or a DTC to set.
Review the DRB Freeze Frame information. If possible, try to duplicate the
conditions under which the DTC was set.
Refer to any Technical Service Bulletins (TSB) that may apply.
Visually inspect the related wiring harness. Look for any chafed, pierced, pinched, or
partially broken wires.
Visually inspect the related wiring harness connectors. Look for broken, bent, pushed
out, or corroded terminals.
Were any of the above conditions present?All
Ye s®Repair as necessary
Perform POWERTRAIN VERIFICATION TEST VER - 5.
No®Test Complete.
177
DRIVEABILITY - GAS
P1193-INLET AIR TEMP SENSOR VOLTAGE HIGH ÐContinued
Page 3972 of 4284

Symptom:
P1195-1/1 O2 SENSOR SLOW DURING CATALYST MONITOR
When Monitored and Set Condition:
P1195-1/1 O2 SENSOR SLOW DURING CATALYST MONITOR
When Monitored: With the engine running, coolant greater than 70ÉC (158ÉF), open
throttle, steady to slightly increasing vehicle speed greater than 18 mph but less than 55
mph, with a light load on the engine, for a period no less than 5 minutes.
Set Condition: The oxygen sensor signal voltage is switching from below 0.39 volt to
above 0.6 volts and back fewer times than required.
POSSIBLE CAUSES
INTERMITTENT CONDITION
EXHAUST LEAK
O2 SENSOR SIGNAL CIRCUIT VOLTAGE DROP
O2 SENSOR GROUND CIRCUIT VOLTAGE DROP
O2 SENSOR
TEST ACTION APPLICABILITY
1NOTE: Check for contaminates that may have damaged the O2 Sensor:
contaminated fuel, unapproved silicone, oil and coolant.
Turn the ignition on.
With the DRBIIIt, read DTC's.
Is the Good Trip displayed and equal to zero?All
Ye s®Go To 2
No®Go To 6
2 Start the engine.
Inspect the exhaust for leak between the engine and the O2 sensor.
Inspect the exhaust for leaks between the engine and the appropriate rear O2 Sensor.
Are there any exhaust leaks?All
Ye s®Repair or replace the leaking exhaust parts as necessary.
Perform POWERTRAIN VERIFICATION TEST VER - 5.
No®Go To 3
178
DRIVEABILITY - GAS
Page 3973 of 4284

TEST ACTION APPLICABILITY
3NOTE: Ensure the voltmeter leads meet the terminals in the connector and
that there is good terminal to wire connection.
NOTE: Ensure the voltmeter leads are connected for positive polarity
Backprobe between the O2 Sensor Signal circuit at the O2 Sensor harness connector
and PCM harness connector.
Start the engine.
Allow the engine to idle.
Is the voltage below 0.10 volt?All
Ye s®Go To 4
No®Repair the high resistance on the O2 Sensor Signal circuit.
Perform POWERTRAIN VERIFICATION TEST VER - 5.
4NOTE: Ensure the voltmeter leads meet the terminals in the connector and
that there is good terminal to wire connection.
NOTE: Ensure the voltmeter leads are connected for positive polarity
Backprobe between the O2 Sensor ground circuit at the O2 Sensor harness connector
and PCM harness connector.
Start the engine.
Allow the engine to idle.
Is the voltage below 0.10 volt?All
Ye s®Go To 5
No®Repair the high resistance on the O2 Sensor ground circuit.
Perform POWERTRAIN VERIFICATION TEST VER - 5.
5 If there are no possible causes remaining, view repair. All
Repair
Replace the O2 Sensor
Perform POWERTRAIN VERIFICATION TEST VER - 5.
6NOTE: Check for contaminates that may have damaged the O2 Sensor:
contaminated fuel, unapproved silicone, oil and coolant.
WARNING: WHEN THE ENGINE IS OPERATING, DO NOT STAND IN A
DIRECT LINE WITH THE FAN. DO NOT PUT YOUR HANDS NEAR THE
PULLEYS, BELTS OR FAN. DO NOT WEAR LOOSE CLOTHING.
NOTE: The conditions that set the DTC are not present at this time. The
following list may help in identifying the intermittent condition.
With the engine running at normal operating temperature, monitor the DRB
parameters related to the DTC while wiggling the wiring harness. Look for param-
eter values to change and/or a DTC to set.
Review the DRB Freeze Frame information. If possible, try to duplicate the
conditions under which the DTC was set.
Refer to any Technical Service Bulletins (TSB) that may apply.
Visually inspect the related wiring harness. Look for any chafed, pierced, pinched, or
partially broken wires.
Visually inspect the related wiring harness connectors. Look for broken, bent, pushed
out, or corroded terminals.
Were any of the above conditions present?All
Ye s®Repair as necessary
Perform POWERTRAIN VERIFICATION TEST VER - 5.
No®Test Complete.
179
DRIVEABILITY - GAS
P1195-1/1 O2 SENSOR SLOW DURING CATALYST MONITOR ÐContinued
Page 3974 of 4284

Symptom:
P1281-ENGINE IS COLD TOO LONG
When Monitored and Set Condition:
P1281-ENGINE IS COLD TOO LONG
When Monitored: The ignition key on, engine running.
Set Condition: The engine does not warm to 71ÉC (160ÉF) while driving (throttle off idle)
greater than 20 MPH for 20 minutes after start.
POSSIBLE CAUSES
COOLING SYSTEM PROBLEM
TEST ACTION APPLICABILITY
1NOTE: The best way to diagnose this DTC is to allow the vehicle to remain
outside overnight in order to have a completely cold soaked engine.
NOTE: Extremely cold outside ambient temperatures may cause this DTC to
set.
Verify that the coolant level is correct. If not, repair as necessary
NOTE: Ensure the ECT Sensor is operating correctly.
With the DRBIIIt, monitor the Engine Coolant Temperature value during the warm
up cycle. Make sure the transition of the temperature change is smooth.
Did the engine temperature reach a minimum of 71ÉC (160ÉF)?All
Ye s®Test Complete.
No®Refer to the Service Information for cooling system performance
diagnosis. The most probable cause is a Thermostat problem.
Also, refer to any related TSBs.
Perform POWERTRAIN VERIFICATION TEST VER - 5.
180
DRIVEABILITY - GAS
Page 3978 of 4284

Symptom:
P1294-TARGET IDLE NOT REACHED (2.4L)
When Monitored and Set Condition:
P1294-TARGET IDLE NOT REACHED (2.4L)
When Monitored: With the engine idling and the transmission in drive, if automatic.
There must not be a MAP sensor trouble code or a Throttle Position Sensor trouble code.
Set Condition: The engine idle is not within 200 rpm above or 100 rpm below the target
idle for 11 seconds. One trip fault.
POSSIBLE CAUSES
IAC MOTOR OPERATION INTERMITTENT
INTERMITTENT CONDITION
IAC MOTOR OPERATION INTERMITTENT
IAC MOTOR
IAC DRIVER CIRCUIT OPEN
VACUUM LEAKS
AIR INDUCTION SYSTEM
THROTTLE BODY AND THROTTLE LINKAGE
PCM IAC MOTOR
PCM
TEST ACTION APPLICABILITY
1 Turn the ignition on.
With the DRBIIIt, read DTC's.
Is the Good Trip displayed and equal to zero?2.4L 4 CYL DOHC
16V MPI
Ye s®Go To 2
No®Go To 10
2 Start the engine.
Allow the engine idle to stabilize for 60 seconds.
Using the DRBIIIt, perform the IAC wiggle test.
NOTE: The engine idle should raise and lower with the display.
Does the RPM raise and lower correctly?2.4L 4 CYL DOHC
16V MPI
Ye s®Go To 3
No®Go To 6
184
DRIVEABILITY - GAS