display CITROEN DS3 2018 Handbook (in English)
[x] Cancel search | Manufacturer: CITROEN, Model Year: 2018, Model line: DS3, Model: CITROEN DS3 2018Pages: 248, PDF Size: 8.79 MB
Page 160 of 248
158
Air filter
Depending on the environment
(e.g. dusty atmosphere) and the
use of the vehicle (e.g. city driving),
replace it twice as often if
necessary.
Passenger compartment filter
Depending on the environment
(e.g. dusty atmosphere) and the
use of the vehicle (e.g. city driving),
replace it twice as often if
necessary.
A clogged passenger compartment
filter may have an adverse effect on
the per formance of the air conditioning
system and generate undesirable odours.
Oil filter
Replace the oil filter each time the
engine oil is changed.
Particle filter (Diesel)
The start of saturation of the particle
filter is indicated by the temporary
illumination of this warning lamp
accompanied by the display of
a
message.
As soon as the traffic conditions permit,
regenerate the filter by driving at a
speed of at
least 40
mph (60 km/h) until the warning lamp
goes off.
If the warning lamp stays on, this indicates
a
low Diesel additive level.
For more information on Checking levels ,
refer to the corresponding section.
On a
new vehicle, the first particle
filter regeneration operations may be
accompanied by a "burning" smell, which
is per fectly normal.
Following prolonged operation of the
vehicle at very low speed or at idle,
you may, in exceptional circumstances,
notice the emission of water vapour at the
exhaust on acceleration. This does not
affect the behaviour of the vehicle or the
environment.
Manual gearbox
The gearbox does not require any
maintenance (no oil change).
Electronic gearbox
The gearbox does not require any
maintenance (no oil change).
Automatic gearbox
The gearbox does not require any
maintenance (no oil change).
Parking brake
If excessive travel or a loss of
e ffectiveness of this system is
noticed, the parking brake must
be checked, even between two
services.
This system must be checked in the dealer
network or by a
qualified workshop.
07
Practical information
Page 205 of 248
1
7-inch touch screen tablet
GPS satellite navigation –
Multimedia audio system –
Bluetooth
® telephone
Contents
First steps
2
S
teering mounted controls
3
M
enus
3
N
avigation
4
R
adio
7
D
AB radio (Digital Audio Broadcasting)
9
M
edia
9
S
ettings
1
1
Connected services
1
2
Telephone
1
4
Frequently asked questions
1
7The system is protected in such a
way that
it will only operate in your vehicle.
As a safety measure, the driver should
only carry out operations that require
close attention with the vehicle stationary.
The display of the energy economy mode
message signals that the system is about
to go into standby. For more information,
refer to the "Energy economy mode"
section.
7-inch touch screen tablet
Page 206 of 248
2
First steps
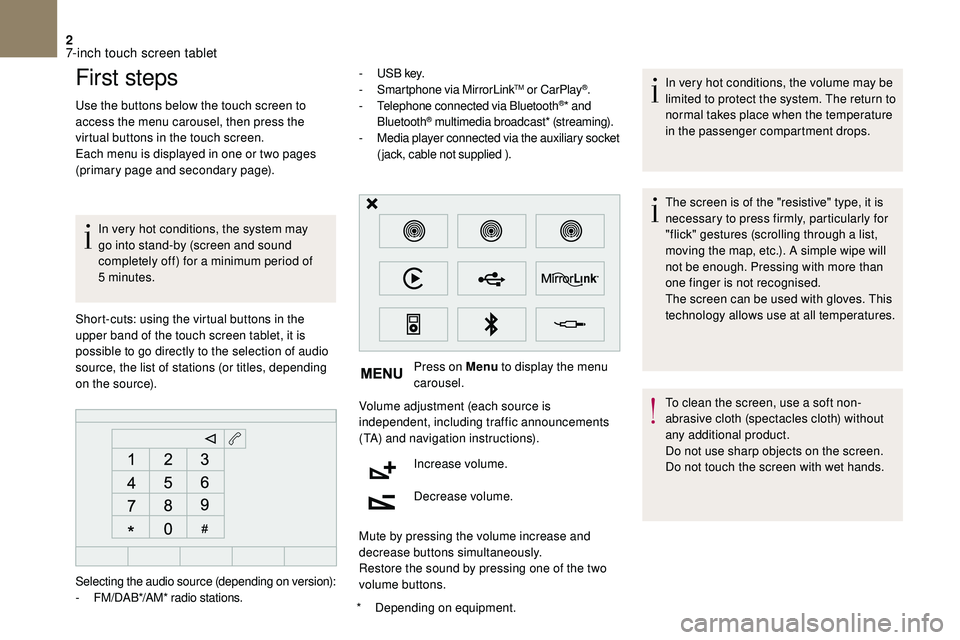
Use the buttons below the touch screen to
access the menu carousel, then press the
virtual buttons in the touch screen.
Each menu is displayed in one or two pages
(primary page and secondary page).In very hot conditions, the system may
go into stand-by (screen and sound
completely off) for a
minimum period of
5
minutes.
*
D
epending on equipment.
Short-cuts: using the virtual buttons in the
upper band of the touch screen tablet, it is
possible to go directly to the selection of audio
source, the list of stations (or titles, depending
on the source). -
U
S B key.
- S martphone via MirrorLink
TM or CarPlay®.
- T
elephone connected via Bluetooth®* and
Bluetooth® multimedia broadcast* (streaming).
- M
edia player connected via the auxiliary socket
(jack, cable not supplied ).
Press on Menu to display the menu
carousel.
Volume adjustment (each source is
independent, including traffic announcements
(TA) and navigation instructions).
Increase volume.
Decrease volume.
Mute by pressing the volume increase and
decrease buttons simultaneously.
Restore the sound by pressing one of the two
volume buttons. In very hot conditions, the volume may be
limited to protect the system. The return to
normal takes place when the temperature
in the passenger compartment drops.
The screen is of the "resistive" type, it is
necessary to press firmly, particularly for
"flick" gestures (scrolling through a
list,
moving the map, etc.). A simple wipe will
not be enough. Pressing with more than
one finger is not recognised.
The screen can be used with gloves. This
technology allows use at all temperatures.
To clean the screen, use a
soft non-
abrasive cloth (spectacles cloth) without
any additional product.
Do not use sharp objects on the screen.
Do not touch the screen with wet hands.
Selecting the audio source (depending on version):
-
F
M/DAB*/AM* radio stations.
7-inch touch screen tablet
Page 207 of 248
3
Steering mounted controls
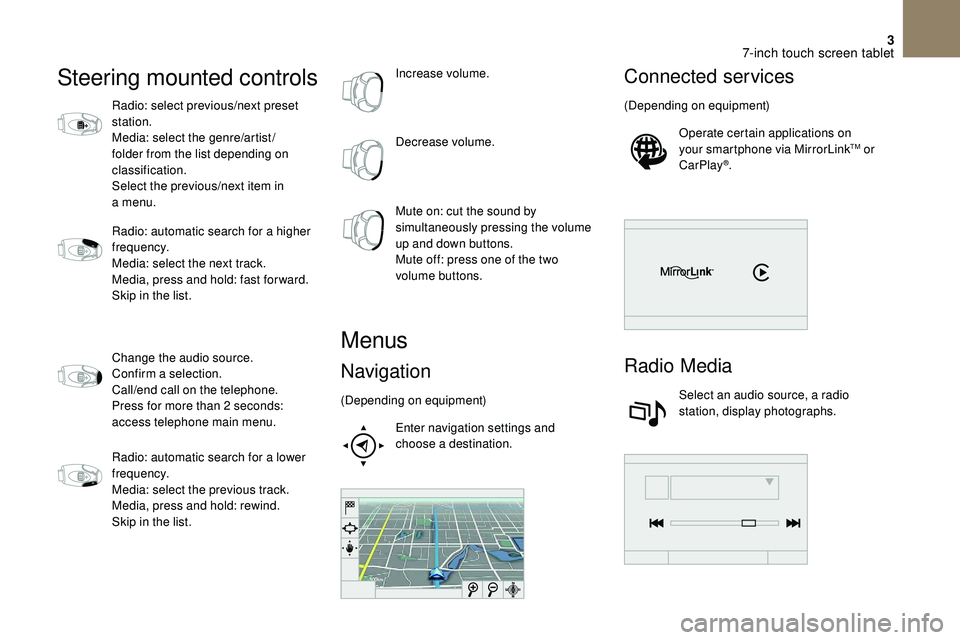
Radio: select previous/next preset
station.
Media: select the genre/artist/
folder from the list depending on
classification.
Select the previous/next item in
a menu.
Radio: automatic search for a
higher
frequency.
Media: select the next track.
Media, press and hold: fast for ward.
Skip in the list.
Change the audio source.
Confirm a
selection.
Call/end call on the telephone.
Press for more than 2
seconds:
access telephone main menu.
Radio: automatic search for a
lower
frequency.
Media: select the previous track.
Media, press and hold: rewind.
Skip in the list. Increase volume.
Decrease volume.
Mute on: cut the sound by
simultaneously pressing the volume
up and down buttons.
Mute off: press one of the two
volume buttons.
Menus
Navigation
(Depending on equipment)
Enter navigation settings and
choose a
destination.
Connected services
(Depending on equipment)Operate certain applications on
your smartphone via MirrorLink
TM or
CarPlay®.
Radio Media
Select an audio source, a radio
station, display photographs.
7-inch touch screen tablet
Page 208 of 248
4
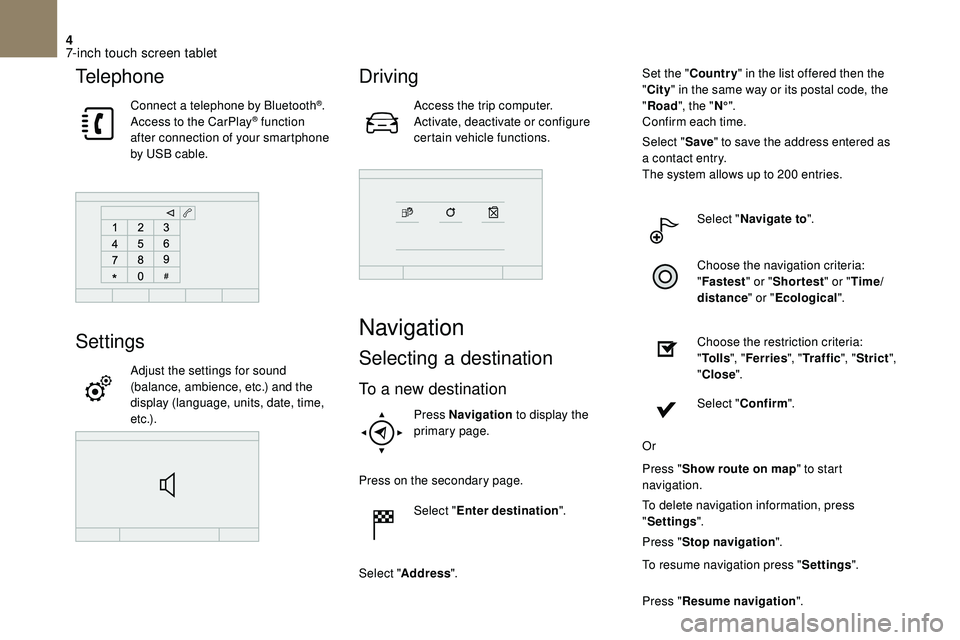
Telephone
Connect a telephone by Bluetooth®.
Access to the CarPlay® function
after connection of your smartphone
by USB cable.
Settings
Adjust the settings for sound
(balance, ambience, etc.) and the
display (language, units, date, time,
e t c .) .
Driving
Access the trip computer.
Activate, deactivate or configure
certain vehicle functions.
Navigation
Selecting a destination
To a new destination
Press Navigation to display the
primary page.
Press on the secondary page. Select "Enter destination ".
Select " Address ". Set the "
Country " in the list offered then the
" City " in the same way or its postal code, the
" Road ", the " N°".
Confirm each time.
Select " Save" to save the address entered as
a contact entry.
The system allows up to 200 entries.
Select " Navigate to ".
Choose the navigation criteria:
" Fastest " or "Shortest " or "Time/
distance " or "Ecological".
Choose the restriction criteria:
" To l l s ", "Ferries ", "Traffic ", "Strict ",
" Close ".
Select " Confirm ".
Or
Press " Show route on map " to start
navigation.
To delete navigation information, press
" Settings ".
Press " Stop navigation ".
To resume navigation press " Settings".
Press " Resume navigation ".
7-inch touch screen tablet
Page 209 of 248
5
Press Navigation to display the
primary page.
Press on the secondary page. Select "Enter destination ".
Select an address from the list offered. Select "Navigate to ".
Select the criteria then " Confirm" or
press " Show route on map " to start
navigation.
To a contact in the directory
To be able to use navigation "to a contact
i n the directory", it is first necessary to
enter the address for your contact.
Press Navigation to display the
primary page. Press on the secondary page.
Select "Enter destination ".
Select " Contacts ".
Select the desired recipient among the
contacts in the list shown.
Select "Navigate to ".
Select the criteria then " Confirm" to
start navigation.
To GPS coordinates
Press Navigation to display the
primary page.
Press on the secondary page.
To a recent destination
Select " Enter destination ".
Select " Address ".
Enter the " Longitude " then the " Latitude".
Select " Navigate to ". Select the criteria then "
Confirm" or
press " Show route on map " to start
navigation.
To a point on the map
Press Navigation to display the
primary page.
Press on the secondary page. Select "Enter destination ".
Select " On the map ".
Zooming
in on the map shows points with
i
nformation.
A long press on a
point opens its content.
To points of interest (POI)
Points of Interest (POI) are listed in different
categories. Press Navigation to display the
primary page.
7-inch touch screen tablet
Page 210 of 248
6
Press on the secondary page.Select "Search for POI ".
Select " All POIs ",
Or
" Motor ",
Or
" Dining/hotels ".
An annual mapping update allows new
points of interest to be presented to you.
You can also update the Risk areas/
Danger zones every month.
The detailed procedure is available on the
Brand's website.
Configuration of alerts for risk
areas/danger zones
Press Navigation to display the
primary page. Press on the secondary page.
Select "Settings ".
Select " Alarm!".
It is now possible to activate risk area alerts
then:
-
"
Audible warning"
-
"
Alert only when navigating"
-
"
Alert only for overspeed"
-
"
Display speed limits"
-
T
iming: the choice of timing allows the time
before giving a risk area alert to be defined.
Select " Confirm ".
This series of alerts and displays is only
available if risk areas have first been
downloaded and installed on the system.
Traffic information
Display of messages
Press Navigation to display the
primary page. Press on the secondary page.
Select "Traffic messages ".
Choose filter settings for:
" On the route ",
" Around ",
" Near destination ", filters to fine-tune the list
of messages.
Press again to remove the filter.
Select the message from the list offered.
Select the magnifying glass to have
voice information.
TMC (Traffic Message Channel)
messages on GPS-Navigation contain
traffic information transmitted in real time.
Setting filters
Press Navigation to display the
primary page.
7-inch touch screen tablet
Page 211 of 248
7
Press on the secondary page.Select "Settings ".
Select " Traffic options ".
Select:
-
"Be advised of new
messages ",
-
"Speak messages ",
Then enter the filter radius.
Select " Confirm ".
We recommend a
filter radius of:
-
1
2 miles (20 km) in urban areas,
-
3
0 miles (50 km) on motor ways.
Play TA messages
Press Navigation to display the
primary page.
Press on the secondary page. Select "Settings ".
Select " Voice".
Activate/Deactivate " Traffic (TA)". The TA (Traffic Announcement) function
gives priority to TA alert messages.
To operate, this function needs good
reception of a
radio station that carries
this type of message. While traffic
information is being broadcast, the current
media is automatically interrupted so that
the TA message can be heard. Normal
play of the media previously playing is
resumed at the end of the message.
Radio
Selecting a station
Press Radio Media to display the
primary page.
Select " List" in the primary page.
Or Press Radio Media to display the
primary page.
Press on the secondary page. Select "Radio list " on the
secondary page. Select a
radio station from the list offered.
Select " Update list " to refresh the
list.
To select a preset radio station.
Press Radio Media to display the
primary page.
Select " Preset".
Select a preset radio station in the list.
If necessary, select change of source.
Select "FM Radio ".
Or "AM Radio ".
7-inch touch screen tablet
Page 212 of 248
8
Radio reception may be affected by the
use of electrical equipment not approved
by DS AUTOMOBILES, such as a USB
charger connected to the 12
V socket.
The external environment (hills, buildings,
tunnels, basement car parks, etc.) may
block reception, including in RDS mode.
This is a
normal effect of the way in
which radio waves are transmitted and
does not indicate any failure of the audio
equipment.
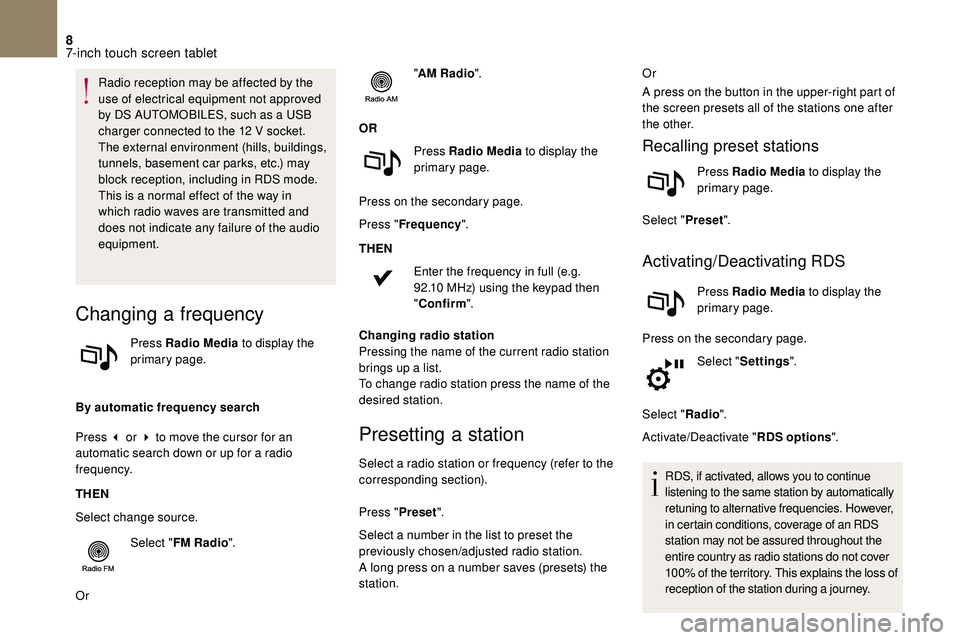
Changing a frequency
Press Radio Media to display the
primary page.
By automatic frequency search
Press 3
or 4 to move the cursor for an
automatic search down or up for a
radio
frequency.
THEN
Select change source.
Select "FM Radio ".
Or "
AM Radio ".
OR Press Radio Media to display the
primary page.
Press on the secondary page.
Press " Frequency ".
THEN Enter the frequency in full (e.g.
92.10 MHz) using the keypad then
" Confirm ".
Changing radio station
Pressing the name of the current radio station
brings up a list.
To change radio station press the name of the
desired station.
Presetting a station
Select a radio station or frequency (refer to the
c orresponding section).
Press " Preset".
Select a
number in the list to preset the
previously chosen/adjusted radio station.
A long press on a
number saves (presets) the
station. Or
A press on the button in the upper-right part of
the screen presets all of the stations one after
the other.
Recalling preset stations
Press Radio Media
to display the
primary page.
Select " Preset".
Activating/Deactivating RDS
Press Radio Media to display the
primary page.
Press on the secondary page. Select "Settings ".
Select " Radio".
Activate/Deactivate " RDS options".
RDS, if activated, allows you to continue
listening to the same station by automatically
retuning to alternative frequencies. However,
in certain conditions, coverage of an RDS
station may not be assured throughout the
entire country as radio stations do not cover
100% of the territory. This explains the loss of
reception of the station during a
journey.
7-inch touch screen tablet
Page 213 of 248
9
DAB (Digital Audio
Broadcasting) radio
Digital radio
Digital radio provides higher quality
reception and also the graphical display
of current information on the radio station
being listened to. Select "List" in the
primary page.
The different multiplexes offer a choice
of radio stations arranged in alphabetical
o r d e r.
Press Radio Media to display the
primary page.
Select change of source. Select "DAB Radio ".
Select " List" in the primary page.
or
Select " Radio list " on the
secondary page.
Select a
radio station from the list offered.
DAB/FM station tracking
"DAB" does not cover 100% of the
te r r i to r y.
When the digital radio signal is poor,
the "DAB/FM station tracking" allows
you to continue listening to the same
station, by automatically switching to the
corresponding FM analogue station (if
there is one). Press Radio Media to display the
primary page.
Press on the secondary page. Select "Settings ".
Select " Radio".
Select " Digital/FM auto tracking " then
" Confirm ".
If "DAB/FM station tracking" is enabled,
there is a
lag of a few seconds when the
system switches to analogue radio "FM",
sometimes with a
change in volume.
Once the digital signal quality is restored,
the system automatically changes back
to " DA B ". If the "DAB" station being listened to is
not available on "FM" ("
DAB/FM" option
greyed out), or "DAB/FM station tracking"
is not activated, the sound will cut out
while the digital signal is too weak.
Media
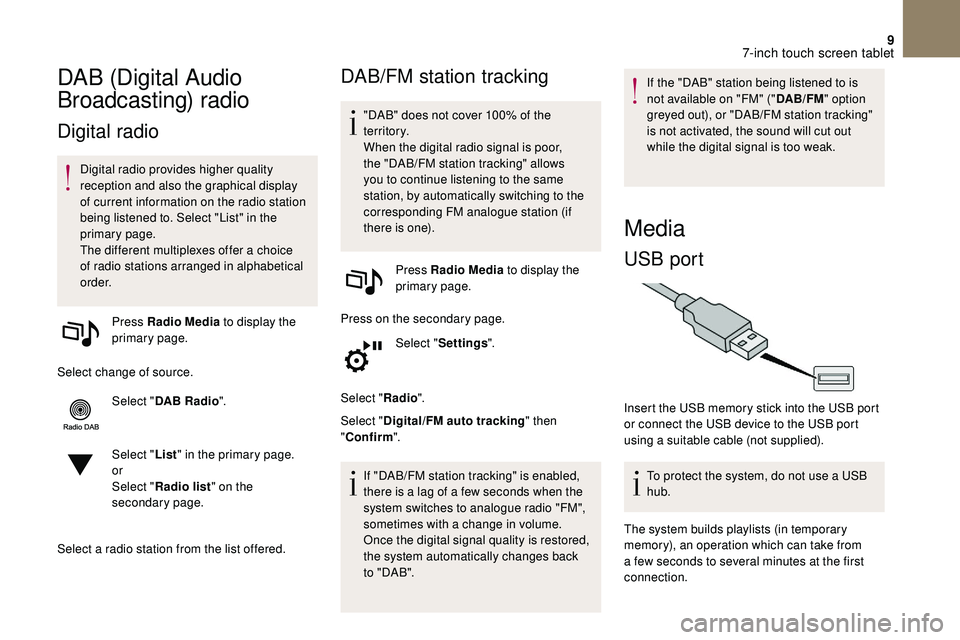
USB port
Insert the USB memory stick into the USB port
or connect the USB device to the USB port
using a
suitable cable (not supplied).
To protect the system, do not use a
USB
hub.
The system builds playlists (in temporary
memory), an operation which can take from
a
few seconds to several minutes at the first
connection.
7-inch touch screen tablet