sensor CITROEN DS3 2018 Handbook (in English)
[x] Cancel search | Manufacturer: CITROEN, Model Year: 2018, Model line: DS3, Model: CITROEN DS3 2018Pages: 248, PDF Size: 8.79 MB
Page 34 of 248
32
Main menu
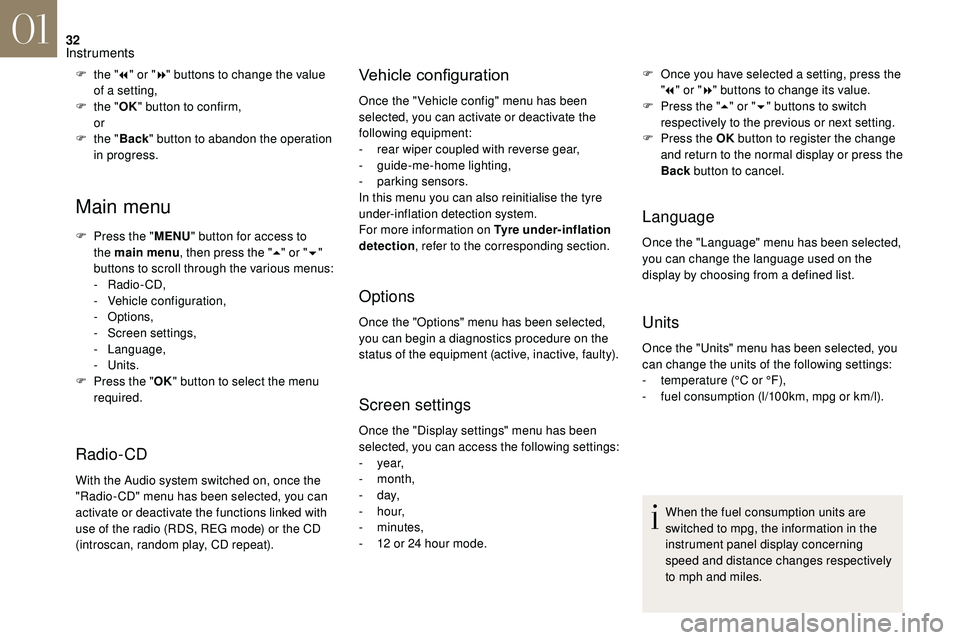
F Press the "MENU" button for access to
the main menu , then press the " 5" or " 6"
buttons to scroll through the various menus:
-
Radio - CD,
-
V
ehicle configuration,
-
Options,
-
S
creen settings,
-
Language,
-
Units.
F
P
ress the " OK" button to select the menu
required.
Radio-CD
With the Audio system switched on, once the
"Radio- CD" menu has been selected, you can
activate or deactivate the functions linked with
use of the radio (RDS, REG mode) or the CD
(introscan, random play, CD repeat).
Vehicle configurationF the " 7" or " 8" buttons to change the value
of a setting,
F
t
he "OK" button to confirm,
or
F
t
he "Back " button to abandon the operation
in progress. Once the " Vehicle config" menu has been
selected, you can activate or deactivate the
following equipment:
-
r
ear wiper coupled with reverse gear,
-
gu
ide-me-home lighting,
-
par
king sensors.
In this menu you can also reinitialise the tyre
under-inflation detection system.
For more information on Tyre under-inflation
detection , refer to the corresponding section.
Options
Once the "Options" menu has been selected,
you can begin a
diagnostics procedure on the
status of the equipment (active, inactive, faulty).
Screen settings
F Once you have selected a setting, press the
" 7 " or " 8" buttons to change its value.
F
P
ress the " 5" or " 6" buttons to switch
respectively to the previous or next setting.
F
P
ress the OK button to register the change
and return to the normal display or press the
Back button to cancel.
Language
Once the "Language" menu has been selected,
you can change the language used on the
display by choosing from a
defined list.
Units
Once the "Units" menu has been selected, you
can change the units of the following settings:
-
t
emperature (°C or °F),
-
f
uel consumption (l/100km, mpg or km/l).
Once the "Display settings" menu has been
selected, you can access the following settings:
-
year,
-
month,
-
d ay,
-
h o u r,
-
minutes,
-
1
2
or 24
hour mode. When the fuel consumption units are
switched to mpg, the information in the
instrument panel display concerning
speed and distance changes respectively
to mph and miles.
01
Instruments
Page 36 of 248
34
Alert log
This summarises the active alert messages,
displaying them in succession in the
multifunction screen.
Status of functions
This summarises the active or inactive status of
the functions present on the vehicle.
Enter the distance to the destination
This allows you to enter an approximate
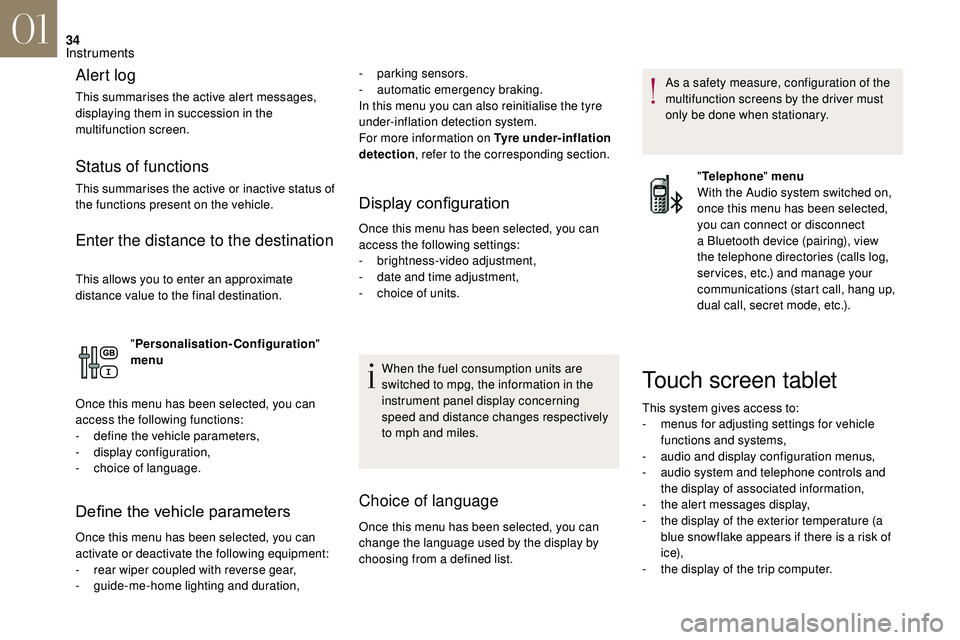
distance value to the final destination."Personalisation-Configuration "
menu
Once this menu has been selected, you can
access the following functions:
-
d
efine the vehicle parameters,
-
d
isplay configuration,
-
c
hoice of language.
Define the vehicle parameters
Once this menu has been selected, you can
activate or deactivate the following equipment:
-
r
ear wiper coupled with reverse gear,
-
g
uide-me-home lighting and duration,
Display configuration
Once this menu has been selected, you can
access the following settings:
-
b
rightness-video adjustment,
-
d
ate and time adjustment,
-
c
hoice of units.
Choice of language
Once this menu has been selected, you can
change the language used by the display by
choosing from a defined list. As a
safety measure, configuration of the
multifunction screens by the driver must
only be done when stationary.
When the fuel consumption units are
switched to mpg, the information in the
instrument panel display concerning
speed and distance changes respectively
to mph and miles.
-
par
king sensors.
-
a
utomatic emergency braking.
In this menu you can also reinitialise the tyre
under-inflation detection system.
For more information on Tyre under-inflation
detection , refer to the corresponding section.
"Telephone " menu
With the Audio system switched on,
once this menu has been selected,
you can connect or disconnect
a Bluetooth device (pairing), view
the telephone directories (calls log,
ser vices, etc.) and manage your
communications (start call, hang up,
dual call, secret mode, etc.).
Touch screen tablet
This system gives access to:
- m enus for adjusting settings for vehicle
functions and systems,
-
a
udio and display configuration menus,
-
a
udio system and telephone controls and
the display of associated information,
-
t
he alert messages display,
-
t
he display of the exterior temperature (a
blue snowflake appears if there is a
risk of
i c e),
-
t
he display of the trip computer.
01
Instruments
Page 37 of 248
35
For safety reasons, the vehicle must be
stationary before the driver per forms any
operations that require close attention.
Some functions can only be viewed with
the vehicle stationary. Their display is
interrupted once the vehicle starts moving
again.
General operation
Recommendations Principles
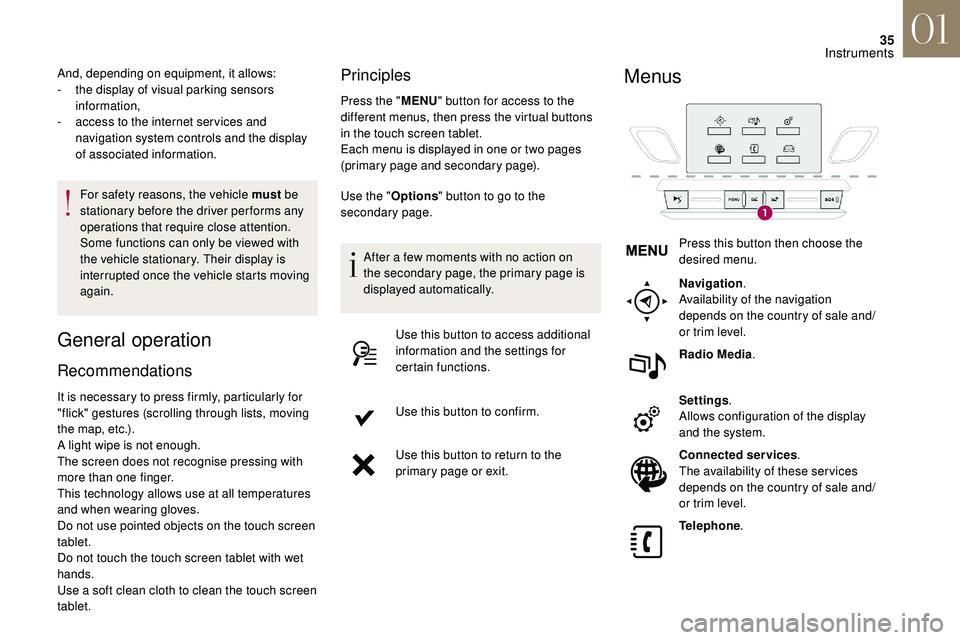
Press the "
MENU" button for access to the
different menus, then press the virtual buttons
in the touch screen tablet.
Each menu is displayed in one or two pages
(primary page and secondary page).
And, depending on equipment, it allows:
-
t
he display of visual parking sensors
information,
-
a
ccess to the internet ser vices and
navigation system controls and the display
of associated information.
It is necessary to press firmly, particularly for
"flick" gestures (scrolling through lists, moving
the map, etc.).
A light wipe is not enough.
The screen does not recognise pressing with
more than one finger.
This technology allows use at all temperatures
and when wearing gloves.
Do not use pointed objects on the touch screen
tablet.
Do not touch the touch screen tablet with wet
hands.
Use a
soft clean cloth to clean the touch screen
tablet. Use the "
Options" button to go to the
secondary page.
After a
few moments with no action on
the secondary page, the primary page is
displayed automatically.
Use this button to access additional
information and the settings for
certain functions.
Use this button to confirm.
Use this button to return to the
primary page or exit.
Menus
Press this button then choose the
desired menu.
Navigation .
Availability of the navigation
depends on the country of sale and/
or trim level.
Radio Media .
Settings .
Allows configuration of the display
and the system.
Connected services .
The availability of these ser vices
depends on the country of sale and/
or trim level.
Telephone .
01
Instruments
Page 38 of 248
36
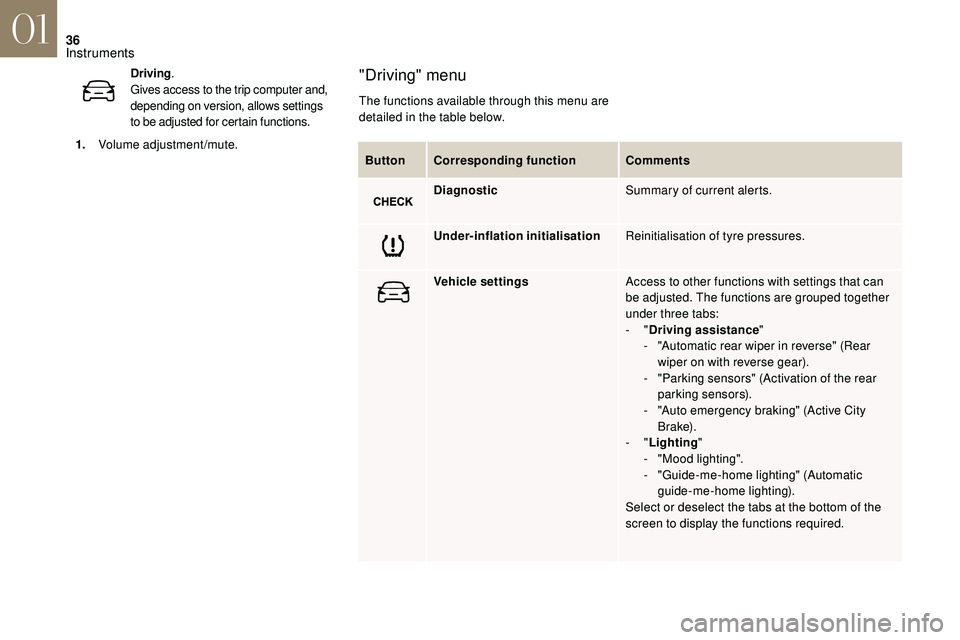
ButtonCorresponding function Comments
Diagnostic Summary of current alerts.
Under-inflation initialisation Reinitialisation of tyre pressures.
Vehicle settings Access to other functions with settings that can
be adjusted. The functions are grouped together
under three tabs:
-
"Driving assistance "
-
"
Automatic rear wiper in reverse" (Rear
wiper on with reverse gear).
-
"
Parking sensors" (Activation of the rear
parking sensors).
-
"
Auto emergency braking" (Active City
B r a ke).
-
"Lighting "
-
"
Mood lighting".
-
"
Guide-me-home lighting" (Automatic
guide-me-home lighting).
Select or deselect the tabs at the bottom of the
screen to display the functions required.
"Driving" menu
The functions available through this menu are
detailed in the table below.
Driving
.
Gives access to the trip computer and,
depending on version, allows settings
to be adjusted for certain functions.
1. Volume adjustment/mute.
01
Instruments
Page 70 of 248
68
Unfolding
F From outside: unlock the vehicle using the remote control or the key.
F
F
rom inside: with the ignition on, pull the
control A in the central position rearwards.
The folding and unfolding of the door
mirrors using the remote control can be
deactivated in the dealer network or by
a
qualified workshop.
If necessary the mirrors can be folded
manually.
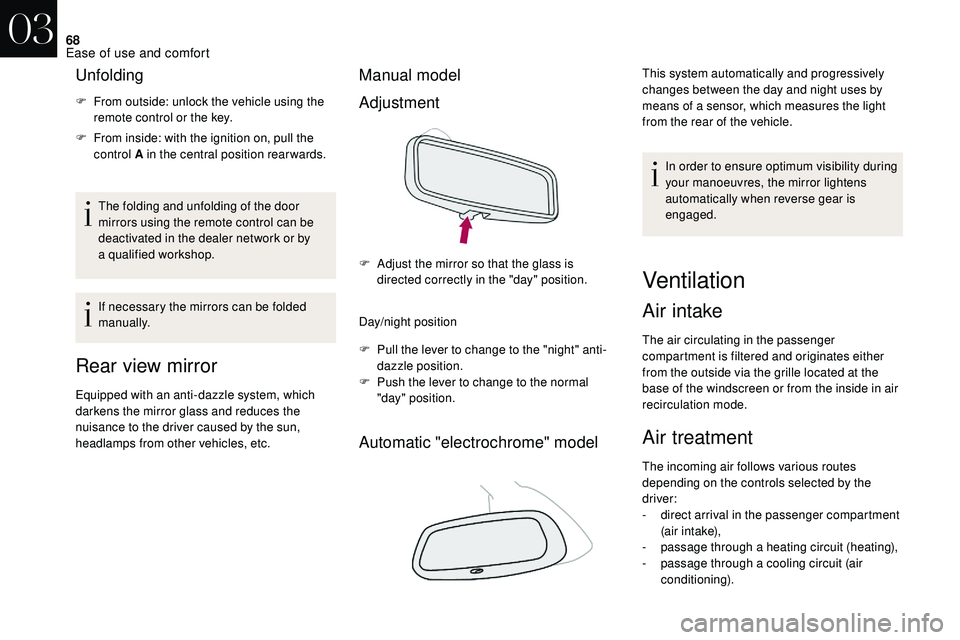
Rear view mirror
Equipped with an anti-dazzle system, which
darkens the mirror glass and reduces the
nuisance to the driver caused by the sun,
headlamps from other vehicles, etc.
Manual model
Adjustment
Day/night position
F
P
ull the lever to change to the "night" anti-
dazzle position.
F
P
ush the lever to change to the normal
"day" position.
Automatic "electrochrome" model
This system automatically and progressively
changes between the day and night uses by
means of a
sensor, which measures the light
from the rear of the vehicle.
In order to ensure optimum visibility during
your manoeuvres, the mirror lightens
automatically when reverse gear is
engaged.
F
A
djust the mirror so that the glass is
directed correctly in the "day" position.
Ventilation
Air intake
The air circulating in the passenger
compartment is filtered and originates either
from the outside via the grille located at the
base of the windscreen or from the inside in air
recirculation mode.
Air treatment
The incoming air follows various routes
depending on the controls selected by the
driver:
-
d
irect arrival in the passenger compartment
(air intake),
-
p
assage through a
heating circuit (heating),
-
p
assage through a cooling circuit (air
conditioning).
03
Ease of use and comfort
Page 72 of 248
70
Recommendations for ventilation and air conditioning
In order for these systems to be fully
effective, follow the operation and
maintenance guidelines below:
F
T
o ensure that the air is distributed
evenly, keep the external air intake
grilles at the base of the windscreen, the
nozzles, the vents, the air outlets and
the air extractor in the boot free from
obstructions.
F
D
o not cover the sunshine sensor,
located on the dashboard; this is used
for regulation of the automatic air
conditioning system.
F
O
perate the air conditioning system for
at least 5
to 10 minutes once or twice
a
month to keep it in per fect working
o r d e r.
F
E
nsure that the passenger compartment
filter is in good condition and replace
the filter elements periodically. We
recommend the use of a
combined
passenger compartment filter. Thanks to
its special active additive, it helps both to
purify the air breathed by the occupants
and to keep the passenger compartment
clean (reduction of allergic symptoms,
bad odours and greasy deposits). If after an extended stop in sunshine,
the interior temperature is very high, first
ventilate the passenger compartment for
a
few moments.
Put the air flow control at a
setting high
enough to quickly change the air in the
passenger compartment.
The condensation created by the air
conditioning results in a
discharge of water
under the vehicle which is per fectly normal.
Stop & Star t
The heating and air conditioning systems
only work when the engine is running.
To maintain a
comfortable temperature
in the passenger compartment, you may
temporarily deactivate the Stop & Start
system.
For more information on Stop & Star t ,
refer to the corresponding section.
F
T o ensure correct operation of the
air conditioning system, you are also
advised to have it checked regularly as
recommended in the Maintenance and
Warranty Guide.
F
I
f the system does not produce cold
air, switch it off and contact the dealer
network or a
qualified workshop.
When towing the maximum load on a
steep
gradient in high temperatures, switching off
the air conditioning increases the available
engine power and so improves the towing
ability.
To avoid the windows misting up and
deterioration in the quality of the air:
-
d
o not drive for too long with the
ventilation switched off.
-
d
o not keep air recirculation set for an
extended period.
03
Ease of use and comfort
Page 89 of 248
87
Operating fault
In the event of a fault with the
s unshine sensor, the lighting comes
on, this warning lamp is displayed
in the instrument panel and/or
a
message appears in the screen,
accompanied by an audible signal.
Contact the dealer network or a
qualified
workshop.
Do not cover the sunshine sensor, linked
with the rain sensor and located in the
centre of the windscreen behind the
interior mirror, as this would disable the
associated functions.
In fog or snow, the sunshine sensor may
detect sufficient light. In this case, the
lighting will not come on automatically.
Automatic guide-me-home
lighting
When the automatic illumination of headlamps
is activated, if the ambient light level is low,
the dipped beam headlamps remain lit when
switching off the ignition.
Programming
Activation, deactivation and the
duration of the guide-me-home
lighting are set in the vehicle
configuration or parameters menu
(except monochrome screen A
where the duration is fixed: 60
s).
LED daytime running
lamps
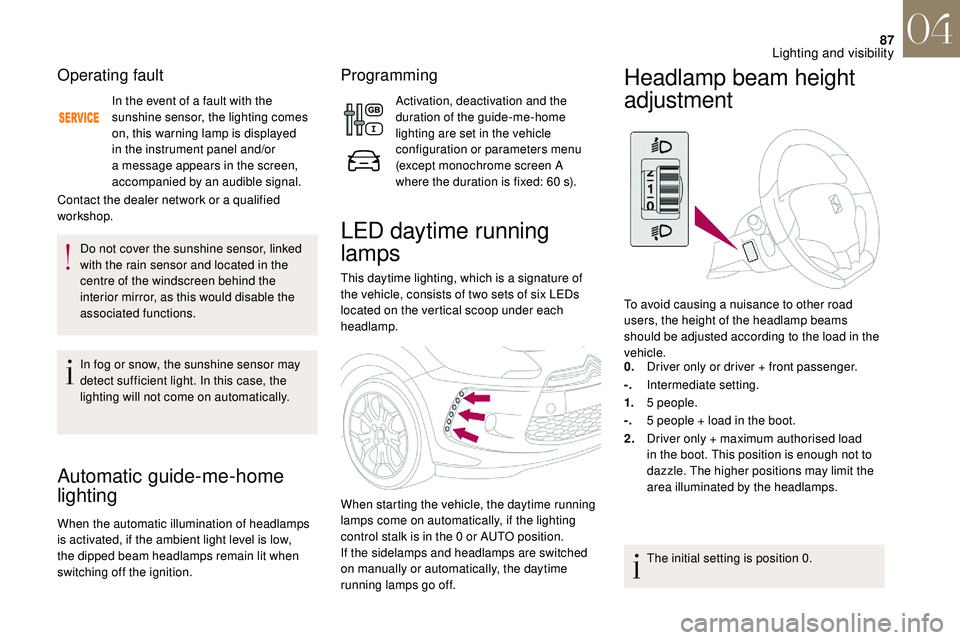
This daytime lighting, which is a signature of
t he vehicle, consists of two sets of six LEDs
located on the vertical scoop under each
headlamp.
When starting the vehicle, the daytime running
lamps come on automatically, if the lighting
control stalk is in the 0
or AUTO position.
If the sidelamps and headlamps are switched
on manually or automatically, the daytime
running lamps go off.
Headlamp beam height
adjustment
To avoid causing a nuisance to other road
u sers, the height of the headlamp beams
should be adjusted according to the load in the
vehicle.
0. Driver only or driver + front passenger.
-. Intermediate setting.
1. 5
people.
-. 5
people + load in the boot.
2. Driver only + maximum authorised load
in the boot. This position is enough not to
dazzle. The higher positions may limit the
area illuminated by the headlamps.
The initial setting is position 0.
04
Lighting and visibility
Page 91 of 248
89
Reverse gear
When reverse gear is engaged, the rear wiper
will come into operation if the windscreen
wipers are operating.
Programming
The function is activated or deactivated via the
vehicle configuration or settings menu.
This function is activated by default.
Windscreen wash
Pull the wiper stalk towards you. The
windscreen wash, then the windscreen wipers
operate for a pre-determined time.
Automatic windscreen wipers
The windscreen wipers operate automatically
once rainfall is detected (sensor behind the
rear view mirror), adapting their speed to the
intensity of the rainfall without any action on the
part of the driver.
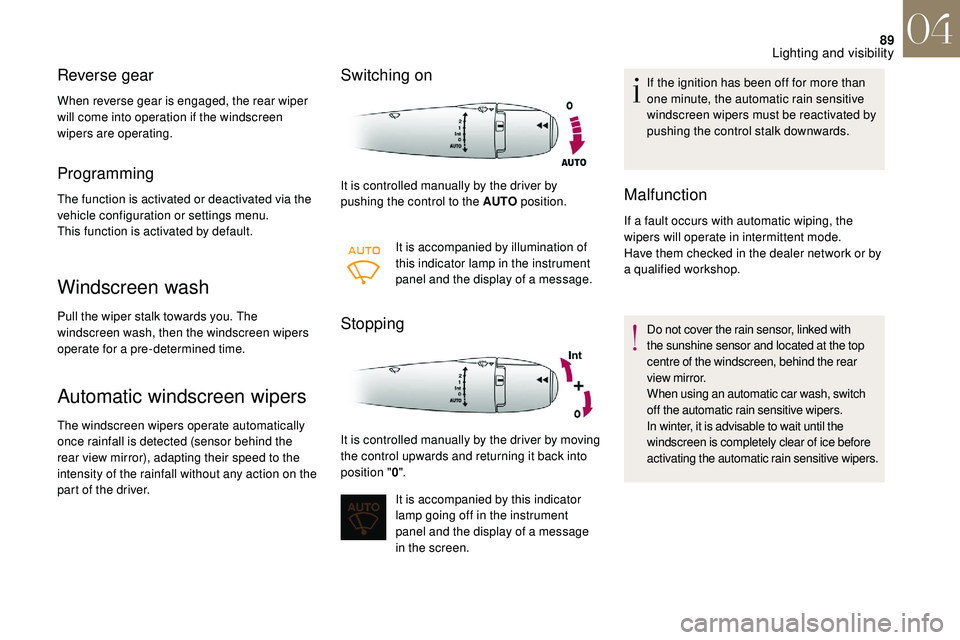
Switching on
It is controlled manually by the driver by
pushing the control to the AUTO position.
It is accompanied by illumination of
this indicator lamp in the instrument
panel and the display of a
message.
Stopping
It is controlled manually by the driver by moving
the control upwards and returning it back into
position "0".
It is accompanied by this indicator
lamp going off in the instrument
panel and the display of a
message
in the screen. If the ignition has been off for more than
one minute, the automatic rain sensitive
windscreen wipers must be reactivated by
pushing the control stalk downwards.
Malfunction
If a fault occurs with automatic wiping, the
w ipers will operate in intermittent mode.
Have them checked in the dealer network or by
a
qualified workshop.
Do not cover the rain sensor, linked with
the sunshine sensor and located at the top
centre of the windscreen, behind the rear
view mirror.
When using an automatic car wash, switch
off the automatic rain sensitive wipers.
In winter, it is advisable to wait until the
windscreen is completely clear of ice before
activating the automatic rain sensitive wipers.
04
Lighting and visibility
Page 119 of 248
11 7
In case of towing
Driving with a trailer places greater
d emands on the towing vehicle and
requires extra care from the driver.
Distribution of loads
F Distribute the load in the trailer so that the heaviest items are as close as possible to
the axle and the nose weight approaches
the maximum permitted without exceeding
it.
Air density decreases with altitude, thus
reducing engine performance. The maximum
towed load must be reduced by 10% for every
1,000
metres of altitude.
Please respect the maximum towable
weights.
Side wind
F Take into account the increased sensitivity to wind.
Cooling
Towing a trailer on a slope increases the
t emperature of the coolant.
As the fan is electrically controlled, its cooling
capacity is not dependent on the engine speed.
F
T
o lower the engine speed, reduce your
speed.
The maximum towable load on an incline
depends on the gradient and the exterior
temperature.
In all cases, keep a
check on the coolant
temperature.
F
I
f this warning lamp and the
STOP warning lamp come on,
stop the vehicle and switch off
the engine as soon as possible.
New vehicle
Do not pull a trailer before having driven at least
approximately 600
miles (1,000
kilometres).
Braking
Towing a trailer increases the braking distance.
T o avoid overheating of the brakes, the use of
engine braking is recommended.
Ty r e s
F Check the tyre pressures of the towing vehicle and of the trailer, observing the
recommended pressures.
Lighting
F Check the electrical lighting and signalling on the trailer and the headlamp beam height
of your vehicle.
For more information on Headlamp
beam height adjustment , refer to the
corresponding section.
The rear parking sensors will be
deactivated automatically to avoid
the audible signal if a
genuine
DS
AUTOMOBILES towbar is used.
If the exterior temperature is high, it is
recommended that the engine be allowed
to idle for 1
to 2 minutes after the vehicle
comes to a
stop, to facilitate its cooling.
06
Driving
Page 131 of 248
129
If the temperature is below -23°C, the
engine should be left at idle for four
minutes, to ensure the correct operation
and life of the engine and gearbox.
When the engine is running at idle, with
the brakes released, if position R, D or M
is selected, the vehicle moves even
without the accelerator being pressed.
Do not leave children unsuper vised inside
the vehicle when the engine is running.
When carrying out maintenance with the
engine running, apply the parking brake
and select position P .
Automatic operation
F Select position D to change the six gears
automatically . The gearbox then operates in auto-adaptive
mode, without any inter vention on the part
of the driver. It continuously selects the most
suitable gear according to the style of driving,
the profile of the road and the load in the
vehicle.
For maximum acceleration without touching
the selector, press the accelerator fully down
(kick-down). The gearbox changes down
automatically or holds the gear selected until
the maximum engine speed is reached.
On braking, the gearbox changes down
automatically to provide effective engine
braking.
If you release the accelerator sharply, the
gearbox will not shift to a
higher gear for safety
reasons.
Never select position N while the vehicle
is moving.
Never select position P or R unless the
vehicle is completely stationary.
Reverse
When selecting reverse R with the ignition
on, the rear parking sensors are activated
automatically.
Creep function (moving without
using the accelerator)
This function facilitates manoeuvring of the
vehicle at low speed (when parking, in traffic
jams, etc.).
With the engine at idle, parking brake released
and position D , M or R selected, the vehicle
moves as soon as you take your foot off
the brake pedal (even without pressing the
accelerator).
For your safety, this function will be activated
only if you press the brake pedal when
changing from forward drive to reverse.
It is deactivated on opening the driver's door.
Closing the door then pressing the brake or
accelerator pedal, reactivates the function.
Manual operation
F Select position M for sequential changing
of the six gears.
F
M
ove the selector towards the + sign to
change up a
gear.
F
M
ove the selector towards the - sign to
change down a
gear.
If your vehicle has an automatic gearbox,
never try to start the engine by pushing
the vehicle. For more information on Parking assistance
,
refer to the corresponding section.
06
Driving