FORD C MAX 2011 2.G Owners Manual
Manufacturer: FORD, Model Year: 2011, Model line: C MAX, Model: FORD C MAX 2011 2.GPages: 296, PDF Size: 7.87 MB
Page 121 of 296
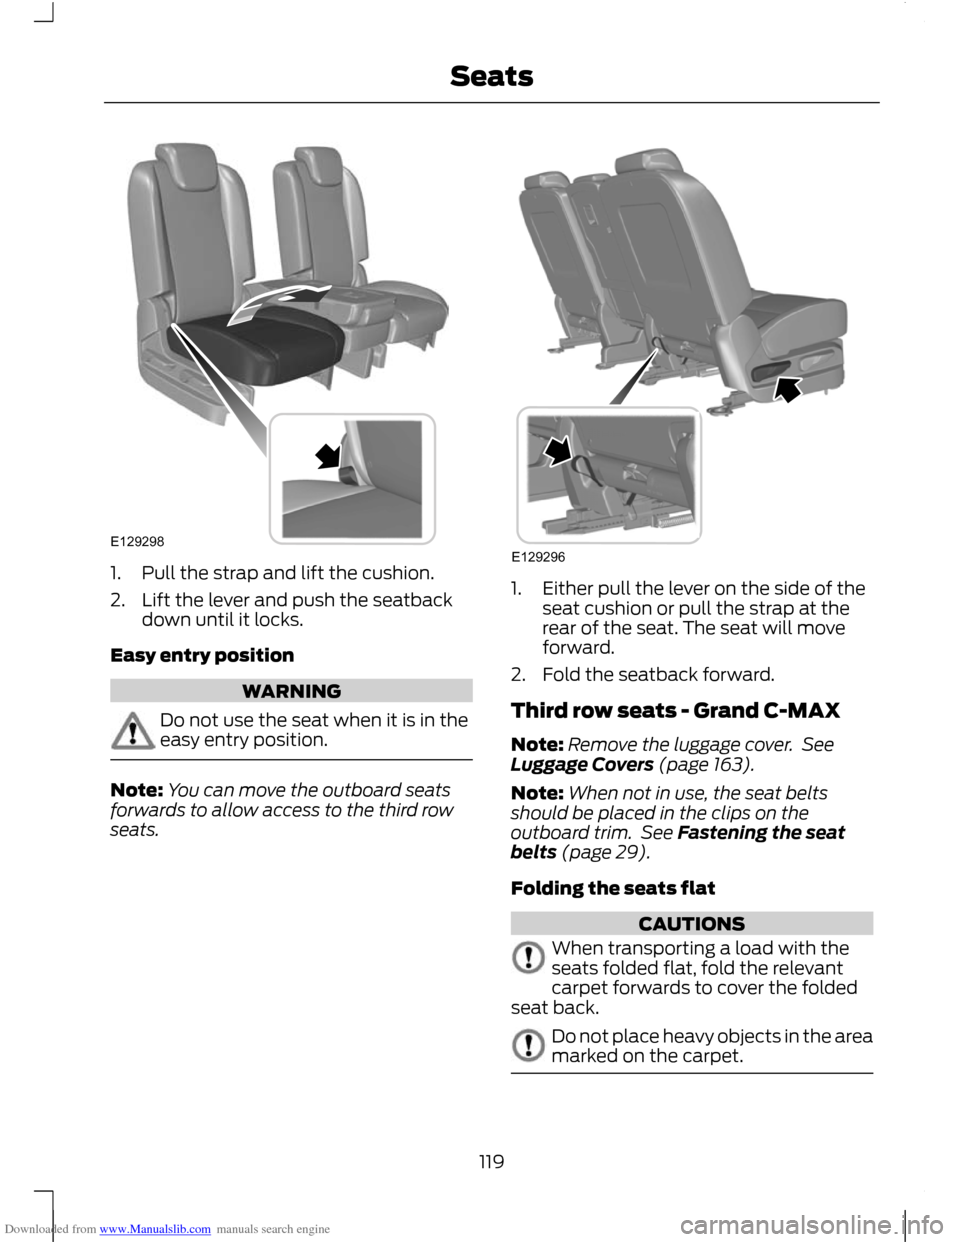
Downloaded from www.Manualslib.com manuals search engine 1. Pull the strap and lift the cushion.
2. Lift the lever and push the seatback
down until it locks.
Easy entry position WARNING
Do not use the seat when it is in the
easy entry position.
Note:
You can move the outboard seats
forwards to allow access to the third row
seats. 1. Either pull the lever on the side of the
seat cushion or pull the strap at the
rear of the seat. The seat will move
forward.
2. Fold the seatback forward.
Third row seats - Grand C-MAX
Note: Remove the luggage cover. See
Luggage Covers (page 163).
Note: When not in use, the seat belts
should be placed in the clips on the
outboard trim. See Fastening the seat
belts (page 29).
Folding the seats flat CAUTIONS
When transporting a load with the
seats folded flat, fold the relevant
carpet forwards to cover the folded
seat back. Do not place heavy objects in the area
marked on the carpet.
119
SeatsE129298 E129296
Page 122 of 296
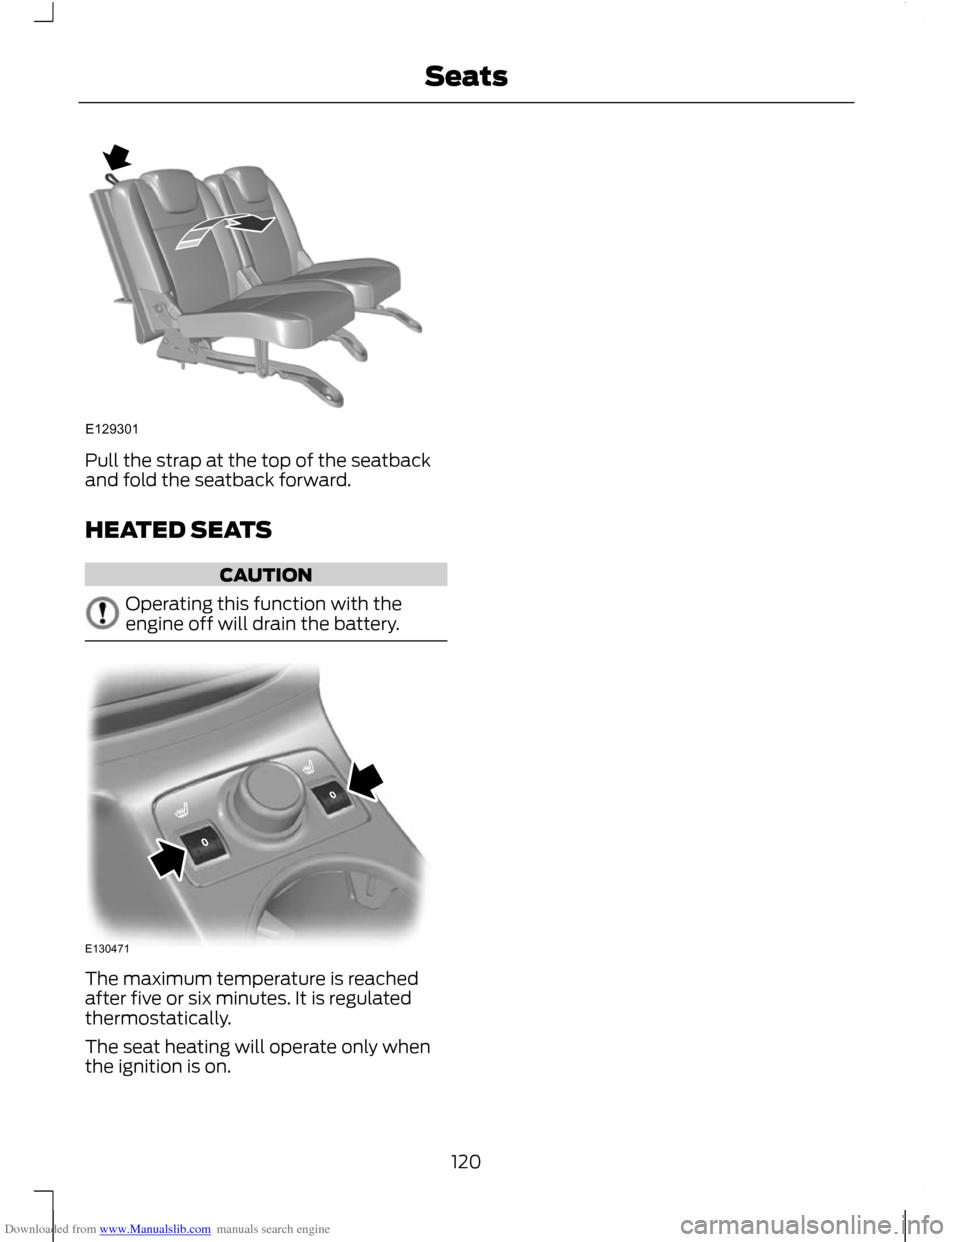
Downloaded from www.Manualslib.com manuals search engine Pull the strap at the top of the seatback
and fold the seatback forward.
HEATED SEATS
CAUTION
Operating this function with the
engine off will drain the battery.
The maximum temperature is reached
after five or six minutes. It is regulated
thermostatically.
The seat heating will operate only when
the ignition is on.
120
SeatsE129301 E130471
Page 123 of 296
Downloaded from www.Manualslib.com manuals search engine SUN SHADES
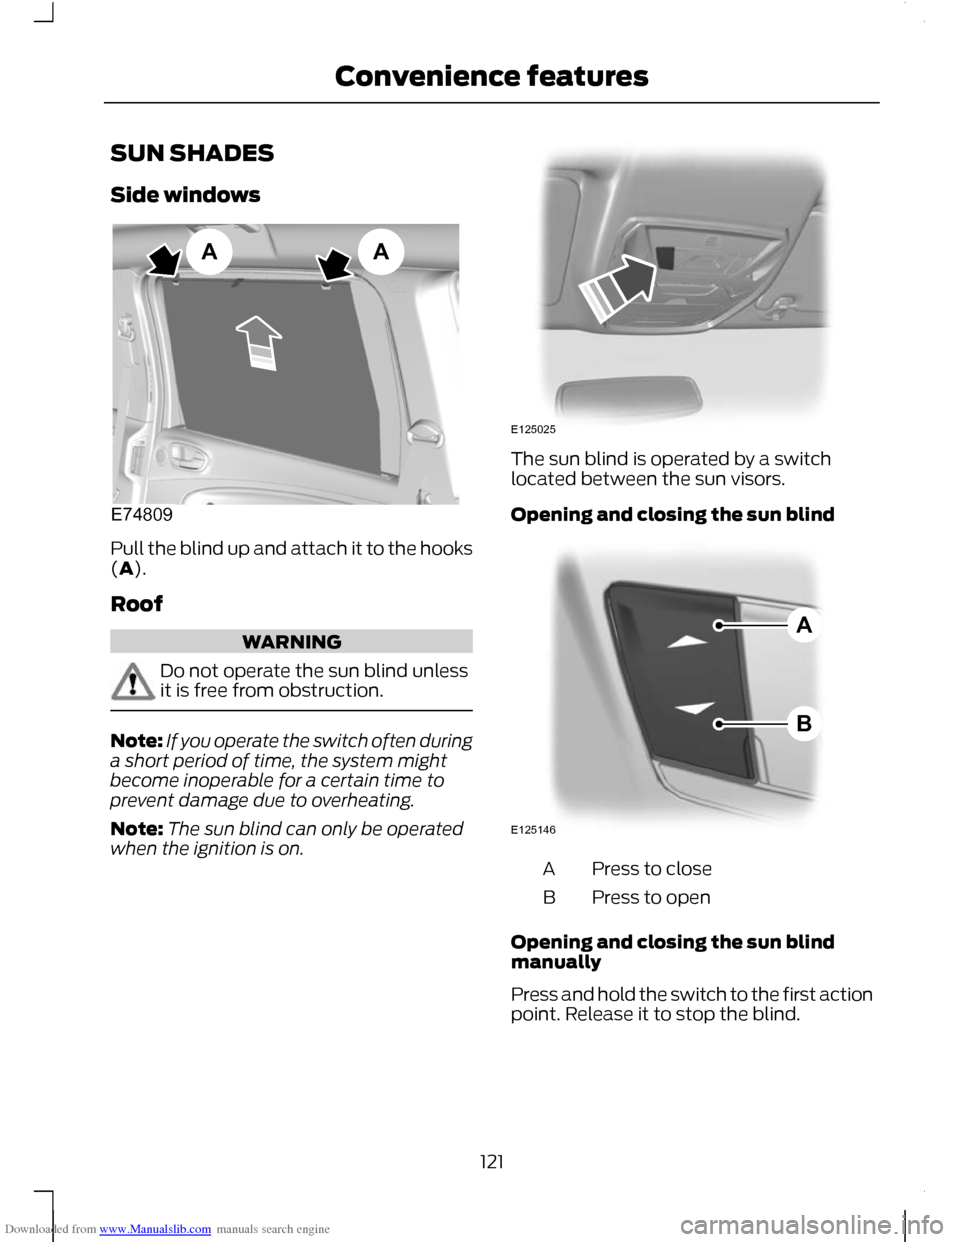
Side windows
Pull the blind up and attach it to the hooks
(A).
Roof
WARNING
Do not operate the sun blind unless
it is free from obstruction.
Note:
If you operate the switch often during
a short period of time, the system might
become inoperable for a certain time to
prevent damage due to overheating.
Note: The sun blind can only be operated
when the ignition is on. The sun blind is operated by a switch
located between the sun visors.
Opening and closing the sun blind
Press to close
A
Press to open
B
Opening and closing the sun blind
manually
Press and hold the switch to the first action
point. Release it to stop the blind.
121
Convenience featuresE74809AA E125025 E125146AB
Page 124 of 296
Downloaded from www.Manualslib.com manuals search engine Opening and closing the sun blind
automatically
Press the switch to the second action point
and release it. Press it again to stop the
blind.
Note:
If this does not operate correctly,
follow the relearning procedure below.
Anti-trap function WARNINGS
The anti-trap function is deactivated
until the memory has been reset by
the relearning procedure.
Careless closing of the blind can
override the anti-trap function and
cause injuries.
The sun blind will stop automatically while
opening or closing and reverse some
distance if there is an obstacle in the way.
Sun blind relearning
WARNING
The anti-trap function is not active
during this procedure. Make sure that
there are no obstacles in the way of
the moving blind. Note:
The relearning process must be
started no later than 30 seconds after
turning the ignition on.
In case the blind no longer opens or closes
properly, follow this relearning procedure:
1. Press switch B to the first action point twice and release it within two
seconds.
2. Press switch A to the first action point twice and release it within two
seconds. 3. Press and hold switch B to the first
action point, until the blind fully opens.
4. Press and hold switch A to the first action point, until the blind fully closes.
If step 2 is not completed within 15 seconds
of step 1, the relearning function will be
interrupted. Turn the ignition off, wait for
another 30 seconds and then turn the
ignition back on again. Start the procedure
once more from the beginning.
Confirm that relearning has been
completed by using automatic opening
and closing.
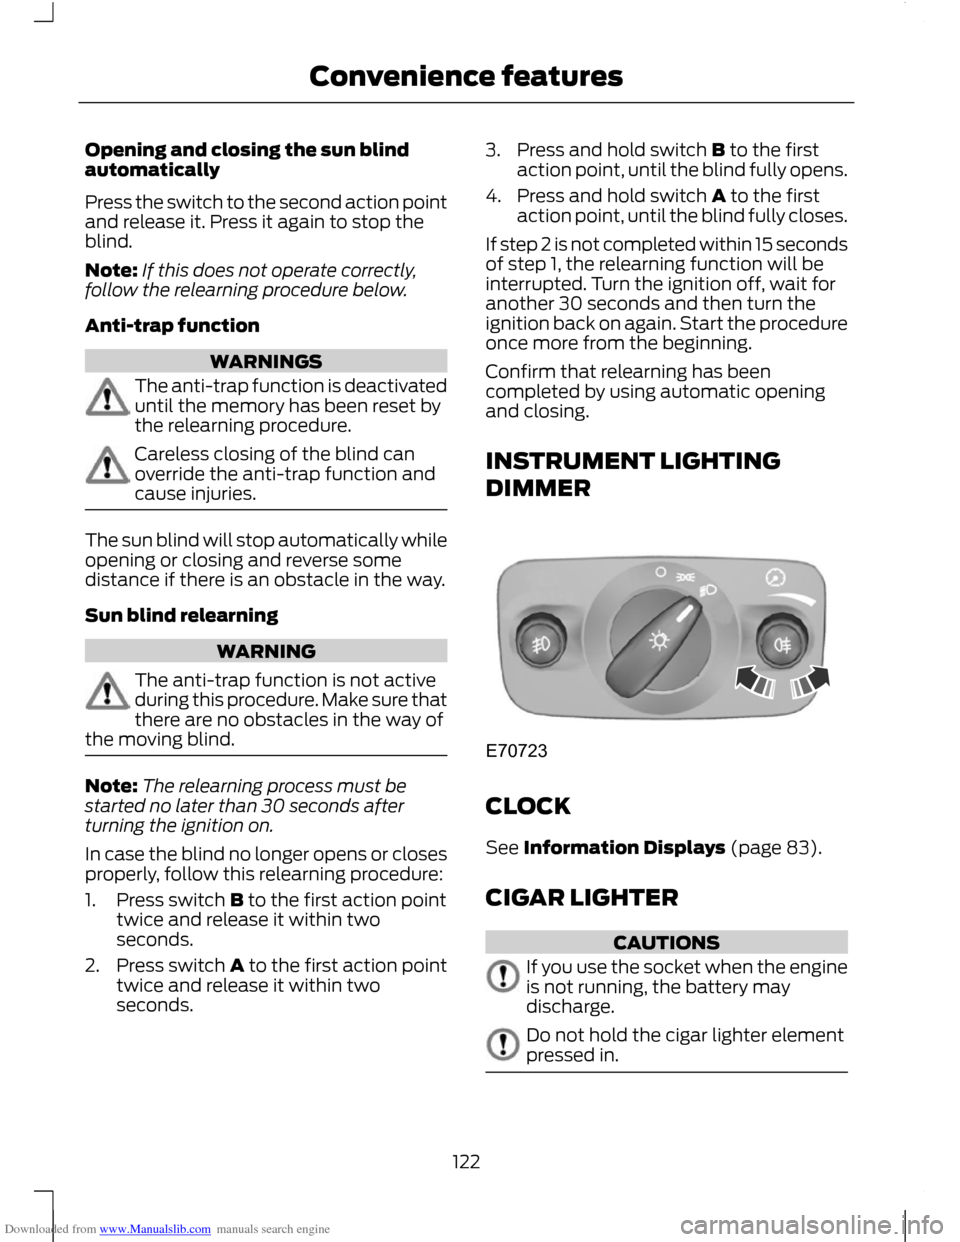
INSTRUMENT LIGHTING
DIMMER CLOCK
See Information Displays (page 83).
CIGAR LIGHTER
CAUTIONS
If you use the socket when the engine
is not running, the battery may
discharge.
Do not hold the cigar lighter element
pressed in.
122
Convenience featuresE70723
Page 125 of 296
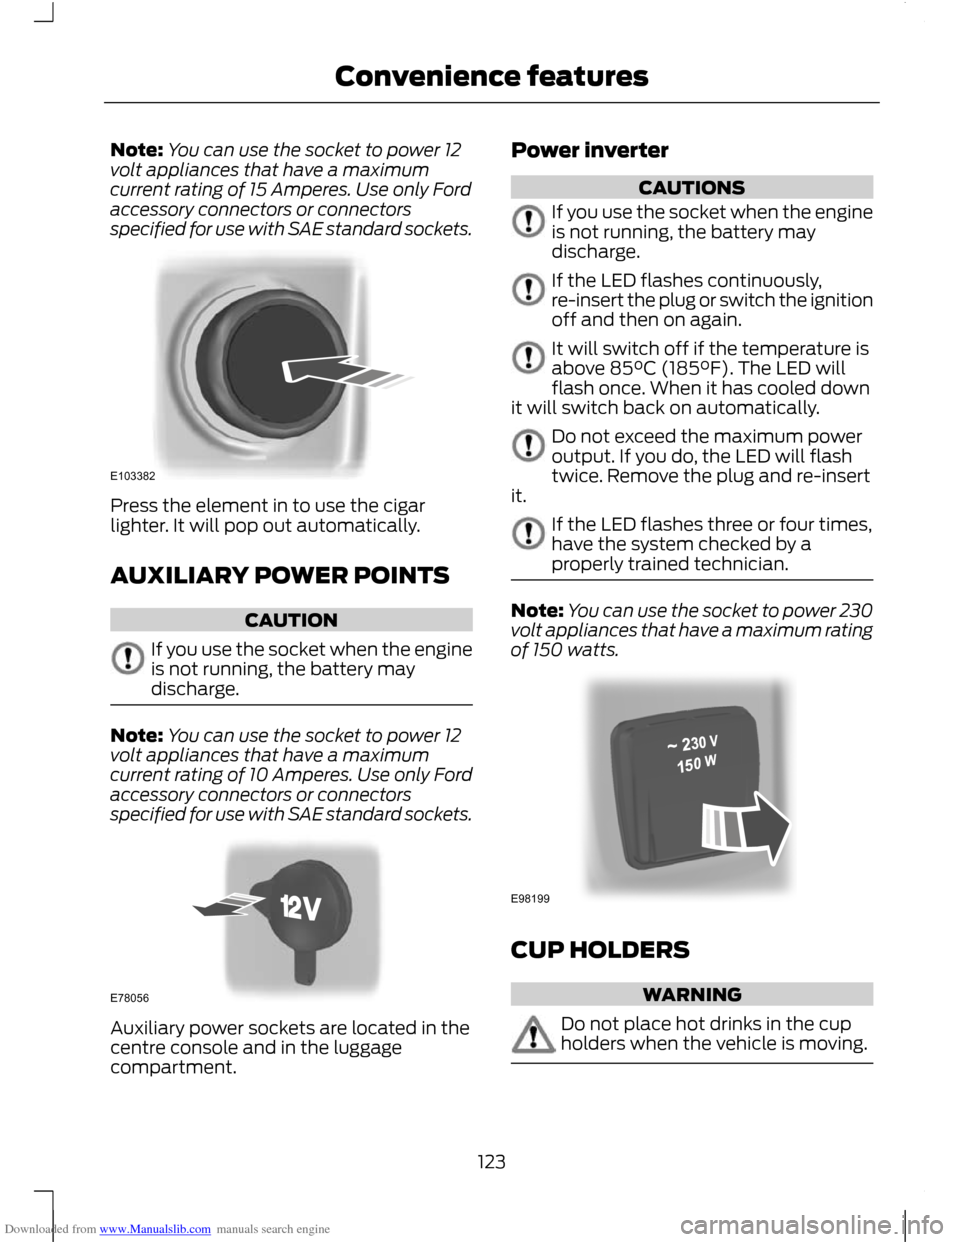
Downloaded from www.Manualslib.com manuals search engine Note:
You can use the socket to power 12
volt appliances that have a maximum
current rating of 15 Amperes. Use only Ford
accessory connectors or connectors
specified for use with SAE standard sockets. Press the element in to use the cigar
lighter. It will pop out automatically.
AUXILIARY POWER POINTS
CAUTION
If you use the socket when the engine
is not running, the battery may
discharge.
Note:
You can use the socket to power 12
volt appliances that have a maximum
current rating of 10 Amperes. Use only Ford
accessory connectors or connectors
specified for use with SAE standard sockets. Auxiliary power sockets are located in the
centre console and in the luggage
compartment. Power inverter CAUTIONS
If you use the socket when the engine
is not running, the battery may
discharge.
If the LED flashes continuously,
re-insert the plug or switch the ignition
off and then on again.
It will switch off if the temperature is
above 85°C (185°F). The LED will
flash once. When it has cooled down
it will switch back on automatically. Do not exceed the maximum power
output. If you do, the LED will flash
twice. Remove the plug and re-insert
it. If the LED flashes three or four times,
have the system checked by a
properly trained technician.
Note:
You can use the socket to power 230
volt appliances that have a maximum rating
of 150 watts. CUP HOLDERS
WARNING
Do not place hot drinks in the cup
holders when the vehicle is moving.
123
Convenience featuresE103382 E78056 E98199
Page 126 of 296
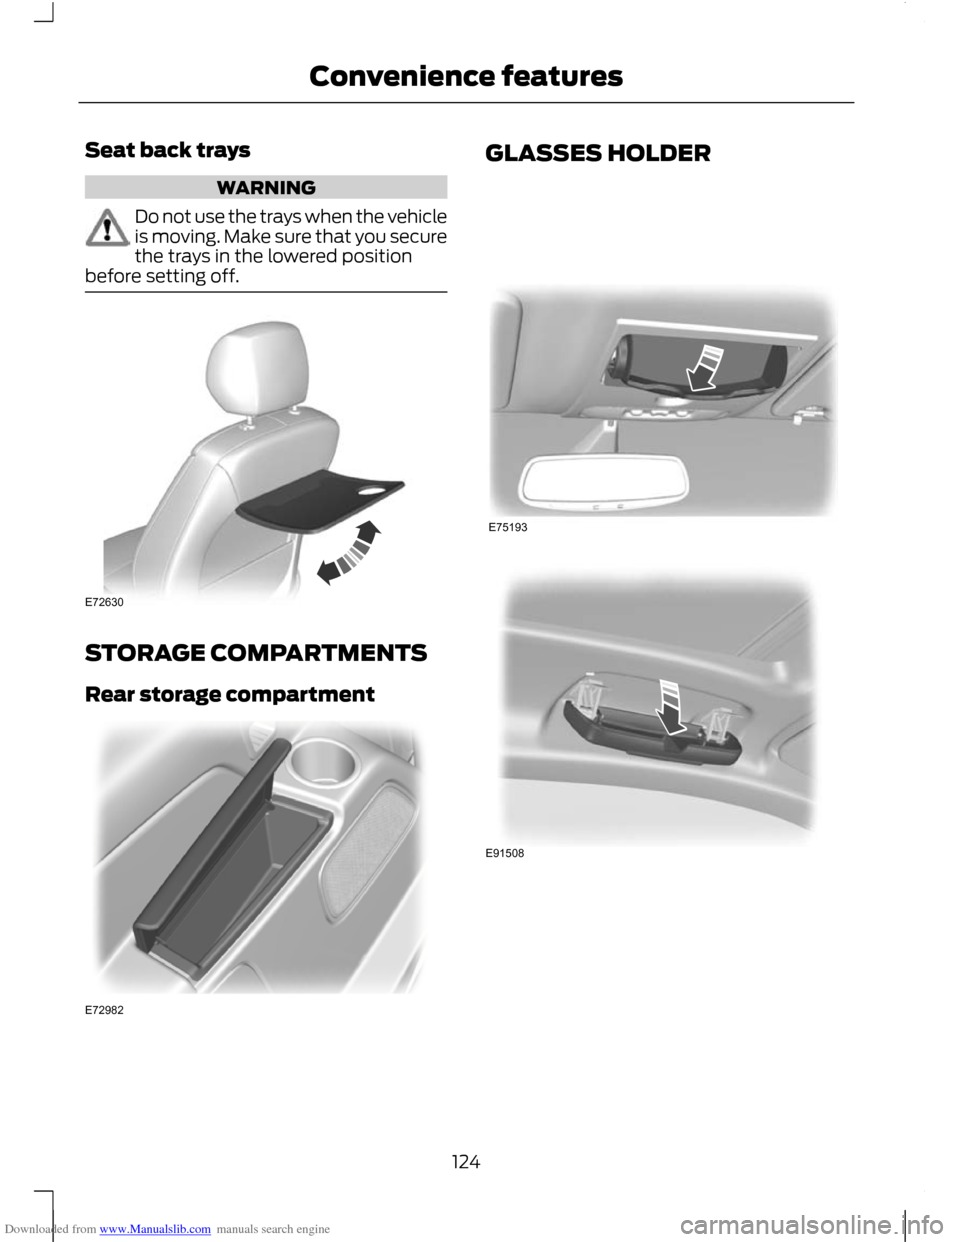
Downloaded from www.Manualslib.com manuals search engine Seat back trays
WARNING
Do not use the trays when the vehicle
is moving. Make sure that you secure
the trays in the lowered position
before setting off. STORAGE COMPARTMENTS
Rear storage compartment GLASSES HOLDER
124
Convenience featuresE72630 E72982 E75193 E91508
Page 127 of 296
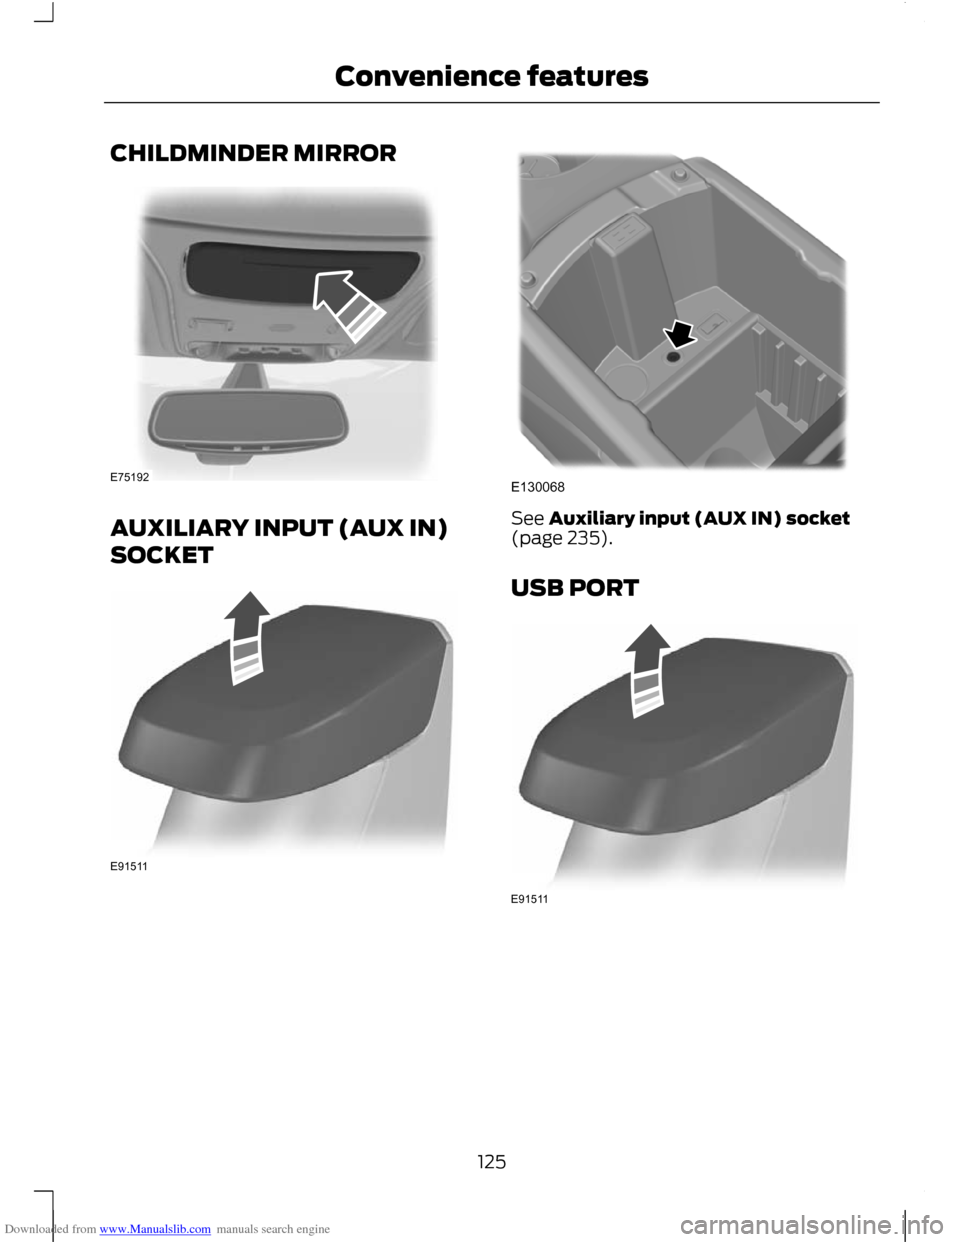
Downloaded from www.Manualslib.com manuals search engine CHILDMINDER MIRROR
AUXILIARY INPUT (AUX IN)
SOCKET See Auxiliary input (AUX IN) socket
(page 235).
USB PORT
125
Convenience featuresE75192 E91511 E130068 E91511
Page 128 of 296
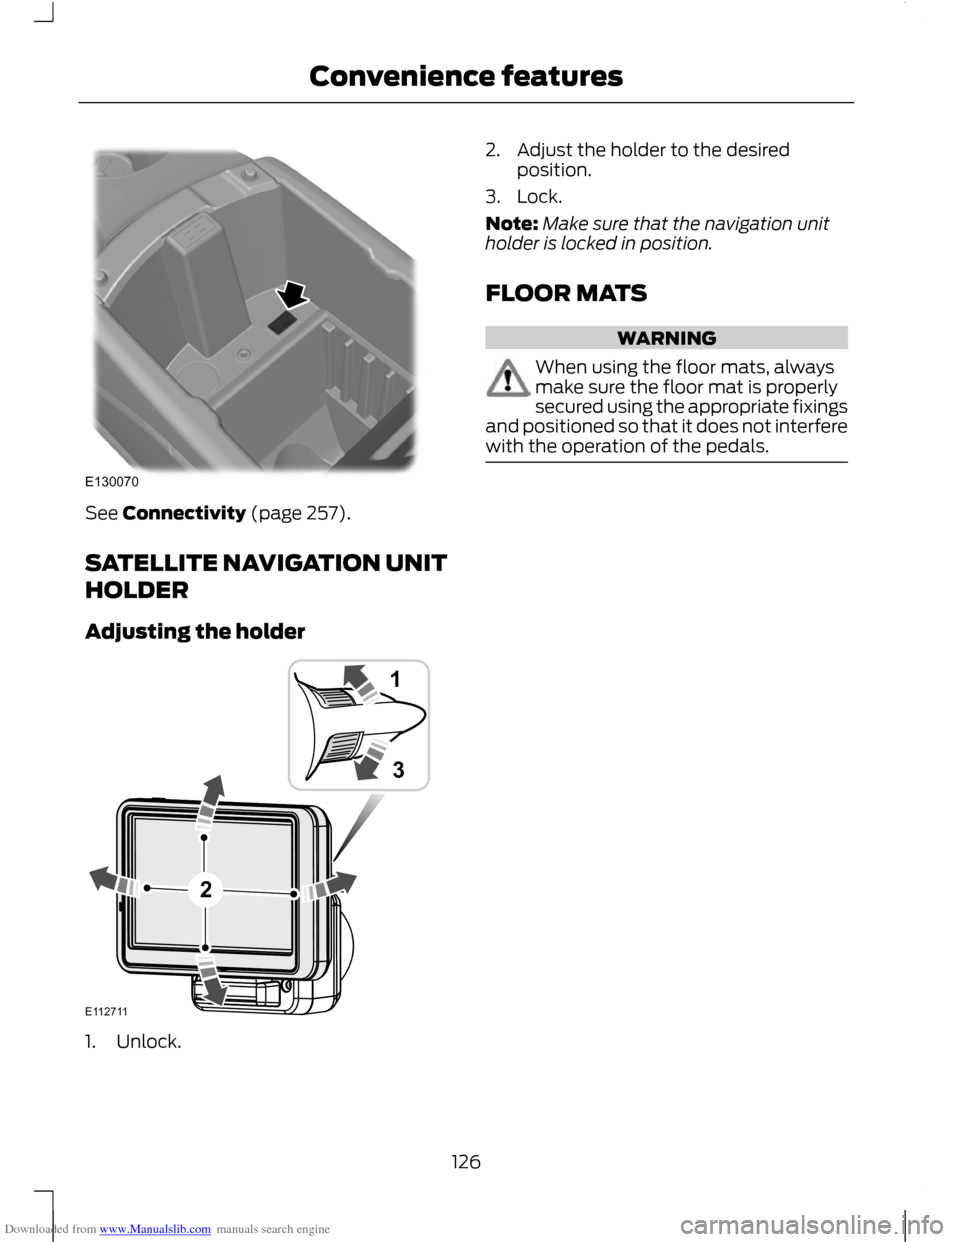
Downloaded from www.Manualslib.com manuals search engine See Connectivity (page 257).
SATELLITE NAVIGATION UNIT
HOLDER
Adjusting the holder
1. Unlock. 2. Adjust the holder to the desired
position.
3. Lock.
Note: Make sure that the navigation unit
holder is locked in position.
FLOOR MATS WARNING
When using the floor mats, always
make sure the floor mat is properly
secured using the appropriate fixings
and positioned so that it does not interfere
with the operation of the pedals. 126
Convenience featuresE130070 E112711132
Page 129 of 296
Downloaded from www.Manualslib.com manuals search engine GENERAL INFORMATION
General points on starting
If the battery has been disconnected the
vehicle may exhibit some unusual driving
characteristics for approx. 8 kilometres (5
miles) after reconnecting the battery.
This is because the engine management
system must realign itself with the engine.
Any unusual driving characteristics during
this period may be disregarded.
Starting the engine by towing or
pushing
WARNING
To prevent damage you must not
push or tow start your vehicle. Use
booster cables and a booster battery.
See Jump-Starting the Vehicle (page
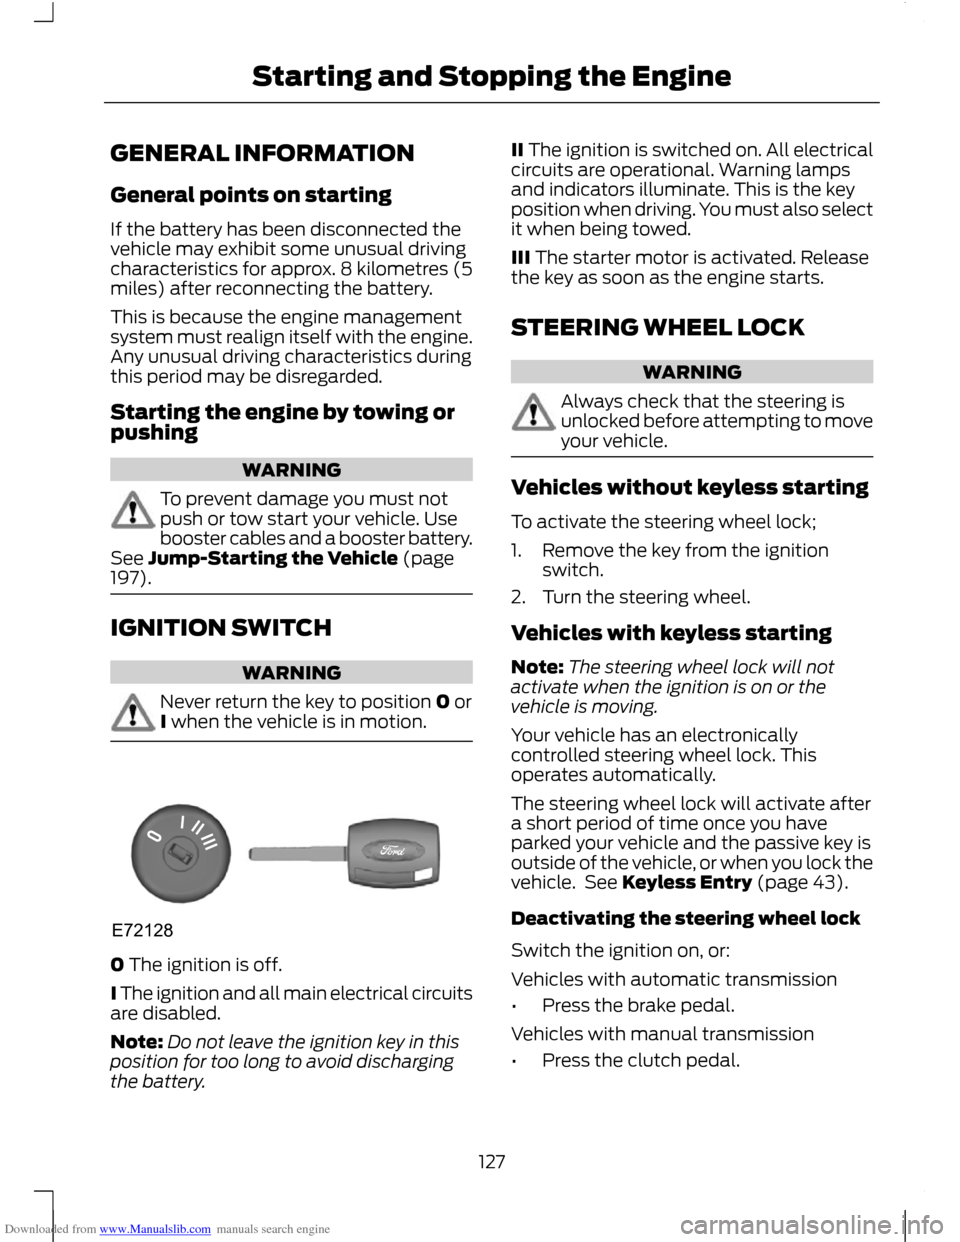
197). IGNITION SWITCH
WARNING
Never return the key to position 0 or
I when the vehicle is in motion.
0 The ignition is off.
I The ignition and all main electrical circuits
are disabled.
Note:
Do not leave the ignition key in this
position for too long to avoid discharging
the battery. II The ignition is switched on. All electrical
circuits are operational. Warning lamps
and indicators illuminate. This is the key
position when driving. You must also select
it when being towed.
III The starter motor is activated. Release
the key as soon as the engine starts.
STEERING WHEEL LOCK
WARNING
Always check that the steering is
unlocked before attempting to move
your vehicle.
Vehicles without keyless starting
To activate the steering wheel lock;
1. Remove the key from the ignition
switch.
2. Turn the steering wheel.
Vehicles with keyless starting
Note: The steering wheel lock will not
activate when the ignition is on or the
vehicle is moving.
Your vehicle has an electronically
controlled steering wheel lock. This
operates automatically.
The steering wheel lock will activate after
a short period of time once you have
parked your vehicle and the passive key is
outside of the vehicle, or when you lock the
vehicle. See Keyless Entry (page 43).
Deactivating the steering wheel lock
Switch the ignition on, or:
Vehicles with automatic transmission
• Press the brake pedal.
Vehicles with manual transmission
• Press the clutch pedal.
127
Starting and Stopping the EngineE72128
Page 130 of 296
Downloaded from www.Manualslib.com manuals search engine STARTING A PETROL ENGINE
Note:
You can only operate the starter for
a maximum of 30 seconds at a time.
Cold or hot engine
All vehicles CAUTION
When the temperature is below -20°C
(-4°F), switch the ignition on for at
least one second before starting the
engine. This will make sure that the
maximum fuel pressure is established for
starting the engine. Vehicles with manual transmission
Note:
Do not touch the accelerator pedal.
1. Fully depress the clutch pedal.
2. Start the engine.
Vehicles with automatic transmission
Note: Do not touch the accelerator pedal.
1. Select park or neutral.
2. Fully depress the brake pedal.
3. Start the engine.
All vehicles
If the engine does not start within 15
seconds, wait for a short period and try
again.
If the engine does not start after three
attempts, wait 10 seconds and follow the
Flooded engine procedure.
If you have difficulty starting the engine
when the temperature is below -25°C
(-13°F), press the accelerator pedal
between ¼ to ½ of its travel and try again. Flooded engine
Vehicles with manual transmission
1. Fully depress the clutch pedal.
2.
Fully depress the accelerator pedal and
hold it there.
3. Start the engine.
Vehicles with automatic transmission
1. Select park or neutral.
2. Fully depress the accelerator pedal and
hold it there.
3. Fully depress the brake pedal.
4. Start the engine.
All vehicles
If the engine does not start, repeat the
Cold or hot engine procedure.
Engine idle speed after starting
The speed at which the engine idles
immediately after starting will vary
depending on the engine temperature.
If the engine is cold then the idle speed will
automatically be increased in order to heat
the catalytic converter as quickly as
possible. This makes sure that vehicle
emissions are kept to an absolute
minimum.
The idle speed will slowly decrease to the
normal level as the catalytic converter
warms up.
STARTING A DIESEL ENGINE
Cold or hot engine
All vehicles
Note: When the temperature is below -15°C
(5°F), you may need to crank the engine for
up to 25 seconds.
128
Starting and Stopping the Engine