FORD TRANSIT 2016 5.G Owners Manual
Manufacturer: FORD, Model Year: 2016, Model line: TRANSIT, Model: FORD TRANSIT 2016 5.GPages: 411, PDF Size: 5.65 MB
Page 151 of 411
WARNINGS
The operation of the camera may
vary depending on the ambient
temperature, vehicle and road
conditions. Do not place objects in front of the
camera.
The camera may not detect objects
that are very close to your vehicle.
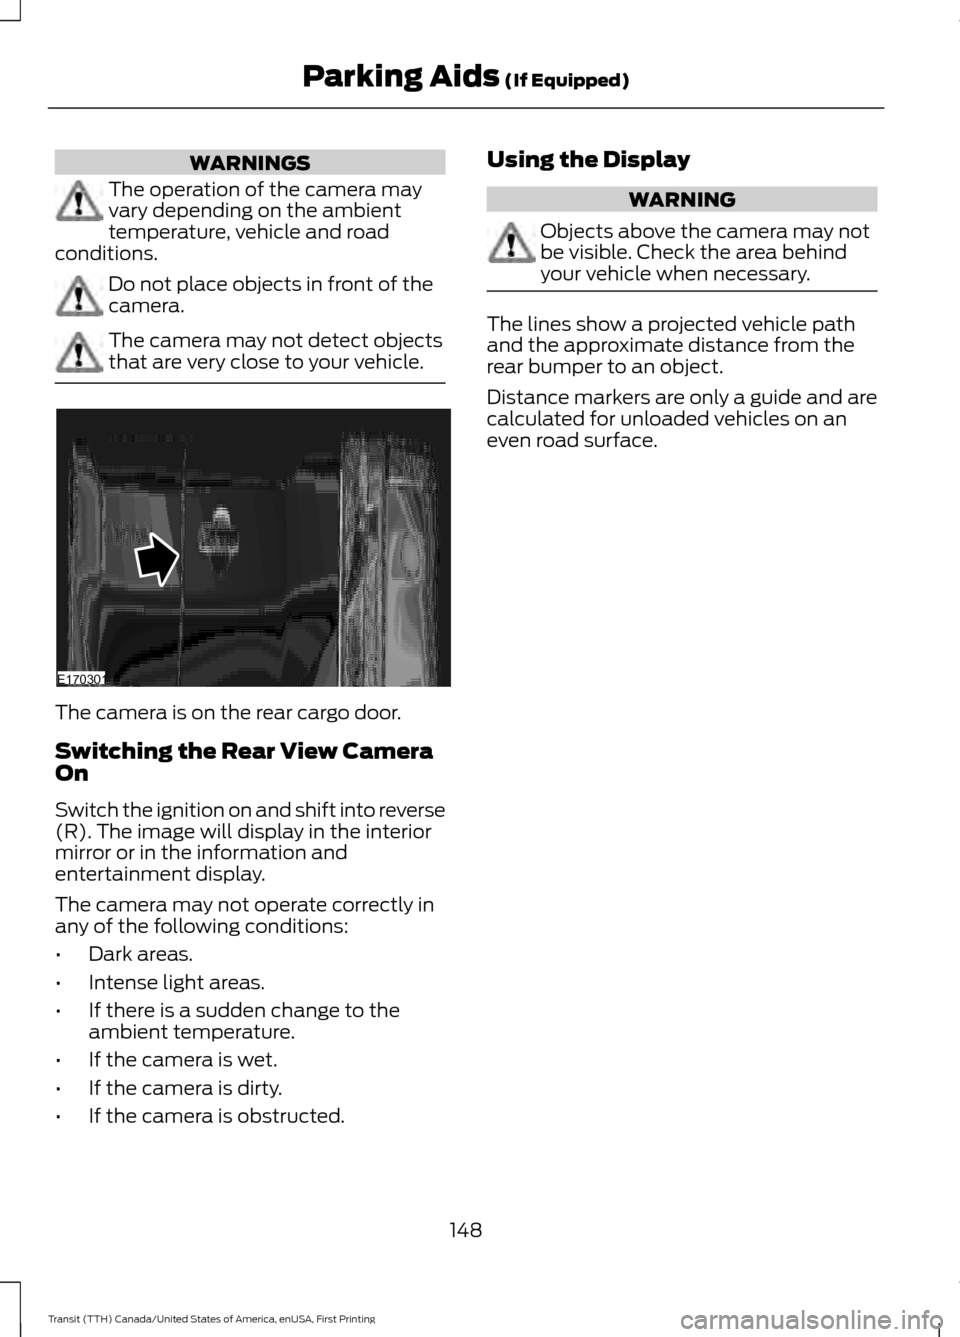
The camera is on the rear cargo door.
Switching the Rear View Camera
On
Switch the ignition on and shift into reverse
(R). The image will display in the interior
mirror or in the information and
entertainment display.
The camera may not operate correctly in
any of the following conditions:
•
Dark areas.
• Intense light areas.
• If there is a sudden change to the
ambient temperature.
• If the camera is wet.
• If the camera is dirty.
• If the camera is obstructed. Using the Display WARNING
Objects above the camera may not
be visible. Check the area behind
your vehicle when necessary.
The lines show a projected vehicle path
and the approximate distance from the
rear bumper to an object.
Distance markers are only a guide and are
calculated for unloaded vehicles on an
even road surface.
148
Transit (TTH) Canada/United States of America, enUSA, First Printing Parking Aids (If Equipped)E170301
Page 152 of 411
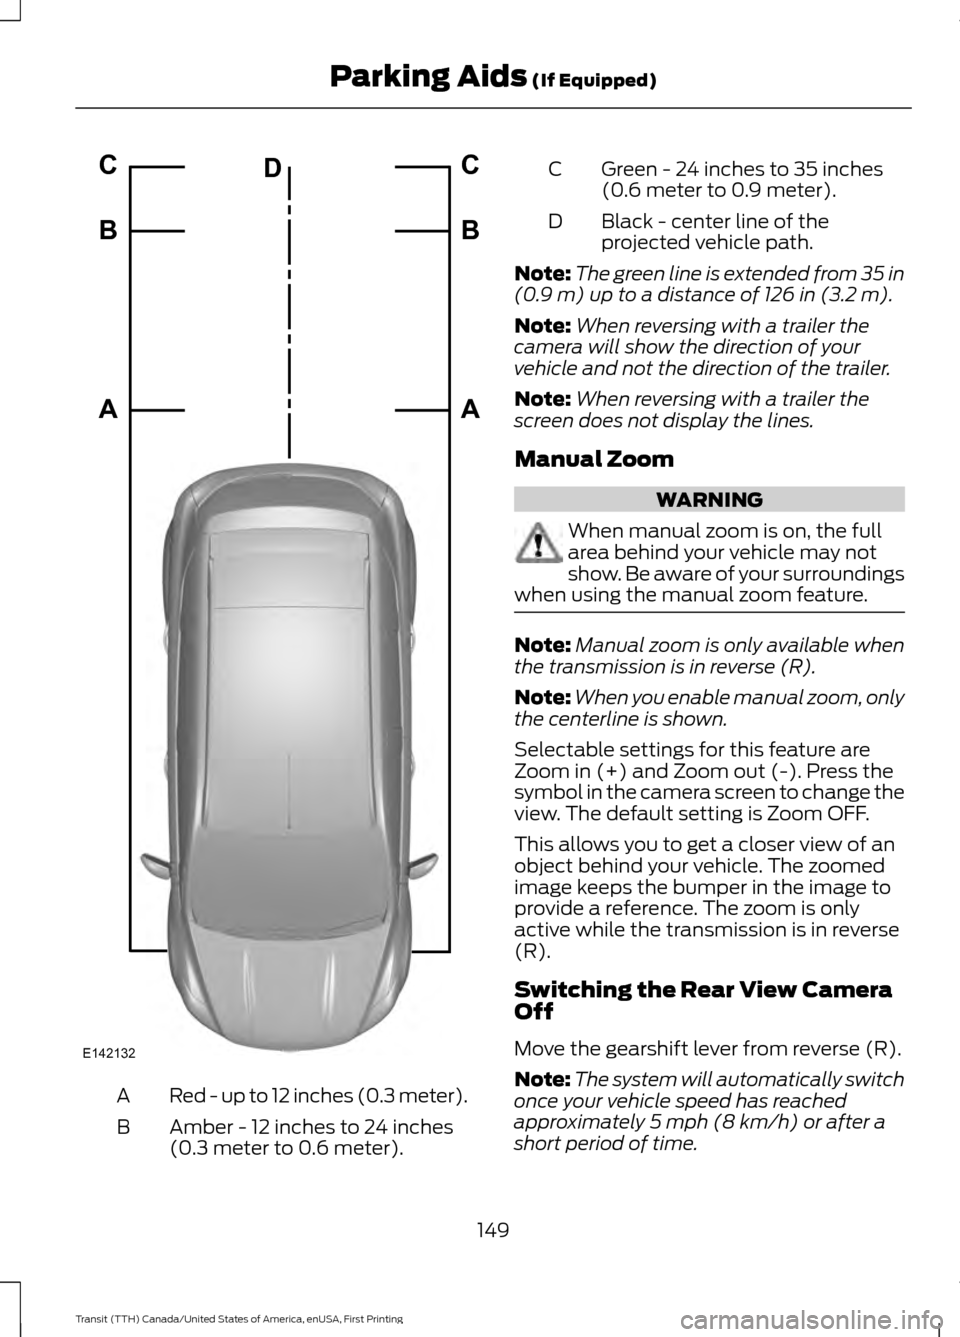
Red - up to 12 inches (0.3 meter).
A
Amber - 12 inches to 24 inches
(0.3 meter to 0.6 meter).
B Green - 24 inches to 35 inches
(0.6 meter to 0.9 meter).
C
Black - center line of the
projected vehicle path.
D
Note: The green line is extended from 35 in
(0.9 m) up to a distance of 126 in (3.2 m).
Note: When reversing with a trailer the
camera will show the direction of your
vehicle and not the direction of the trailer.
Note: When reversing with a trailer the
screen does not display the lines.
Manual Zoom WARNING
When manual zoom is on, the full
area behind your vehicle may not
show. Be aware of your surroundings
when using the manual zoom feature. Note:
Manual zoom is only available when
the transmission is in reverse (R).
Note: When you enable manual zoom, only
the centerline is shown.
Selectable settings for this feature are
Zoom in (+) and Zoom out (-). Press the
symbol in the camera screen to change the
view. The default setting is Zoom OFF.
This allows you to get a closer view of an
object behind your vehicle. The zoomed
image keeps the bumper in the image to
provide a reference. The zoom is only
active while the transmission is in reverse
(R).
Switching the Rear View Camera
Off
Move the gearshift lever from reverse (R).
Note: The system will automatically switch
once your vehicle speed has reached
approximately
5 mph (8 km/h) or after a
short period of time.
149
Transit (TTH) Canada/United States of America, enUSA, First Printing Parking Aids
(If Equipped)E142132A B C
A B C
D
Page 153 of 411
Vehicles with Parking Aid
The display will show a colored distance
bar. This indicates the approximate
distance from the rear bumper to an
object.
These are color coded as follows:
•
Red - up to 12 in (0.3 m).
• Amber -
12 in (0.3 m) to 24 in (0.6 m).
• Green -
24 in (0.6 m) to 71 in (1.8 m).
150
Transit (TTH) Canada/United States of America, enUSA, First Printing Parking Aids
(If Equipped)
Page 154 of 411
PRINCIPLE OF OPERATION
WARNING
The system does not relieve you of
your responsibility to drive with due
care and attention.
Cruise control allows you to control your
speed using the switches on the steering
wheel. You can use cruise control when
you exceed approximately 20 mph (30
km/h).
USING CRUISE CONTROL
WARNINGS
Do not use cruise control in heavy
traffic, on winding roads or when the
road surface is slippery. This could
result in loss of vehicle control, serious
injury or death. When you are going downhill, your
vehicle speed may increase above
the set speed. The system will not
apply the brakes. Change down a gear to
assist the system in maintaining the set
speed. Failure to do so could result in loss
of vehicle control, serious injury or death. Note:
Cruise control will disengage if your
vehicle speed decreases more than 10 mph
(16 km/h) below your set speed while
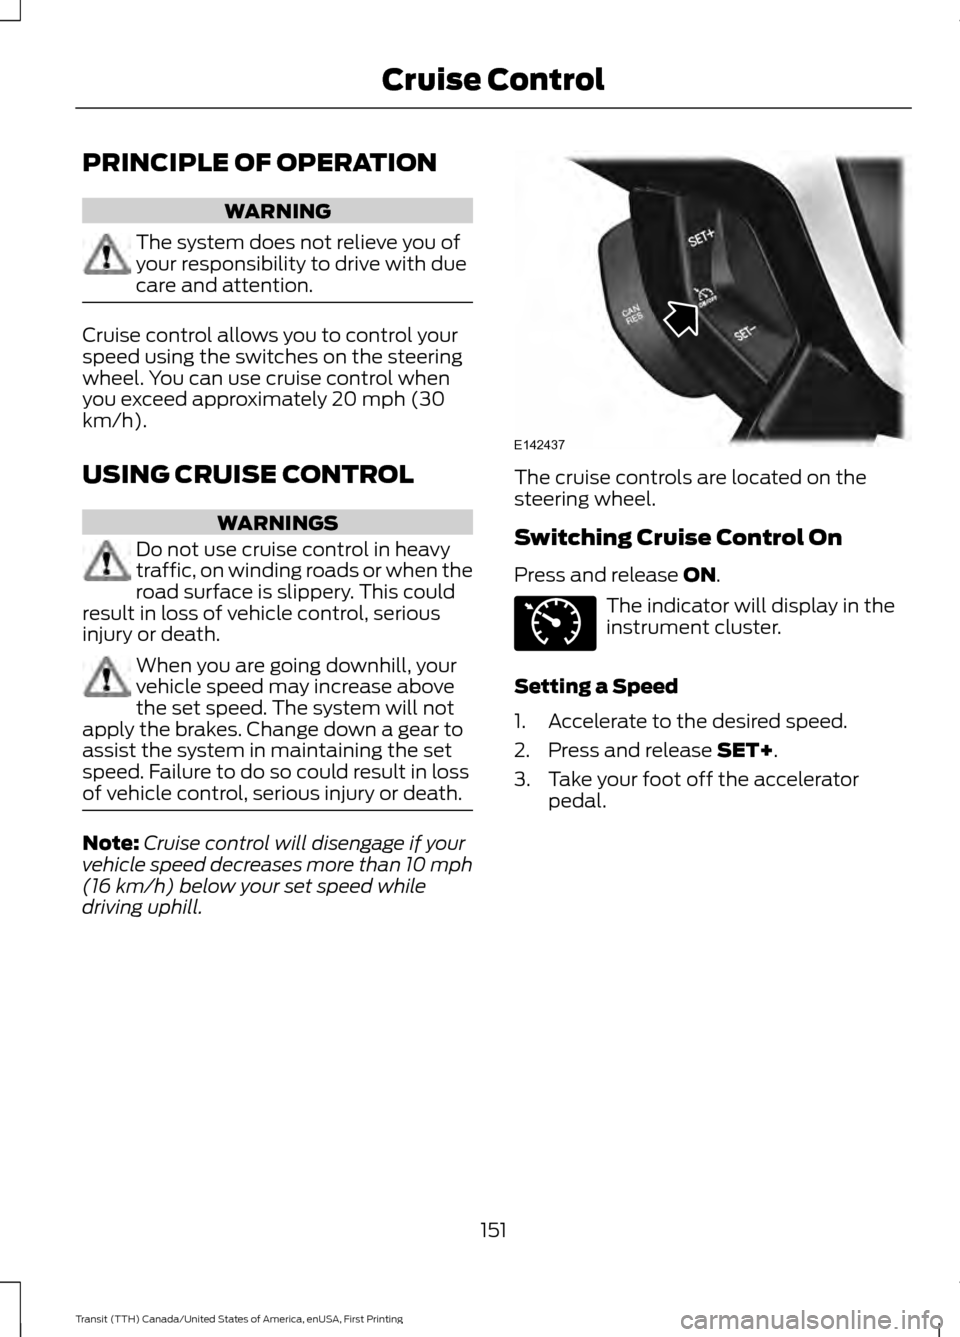
driving uphill. The cruise controls are located on the
steering wheel.
Switching Cruise Control On
Press and release ON.
The indicator will display in the
instrument cluster.
Setting a Speed
1. Accelerate to the desired speed.
2. Press and release
SET+.
3. Take your foot off the accelerator pedal.
151
Transit (TTH) Canada/United States of America, enUSA, First Printing Cruise ControlE142437 E71340
Page 155 of 411
Changing the Set Speed
•
Press and release SET+ or SET-. When
you select kph as the display
measurement in the information
display, the set speed changes in
approximately 2 kph increments. When
you select mph as the display
measurement in the information
display, the set speed changes in
approximately 1 mph increments.
• Press the accelerator or brake pedal
until you reach the desired speed. Press
and release SET+.
• Press and hold SET+ or SET-. Release
the control when you reach the desired
speed.
Canceling the Set Speed
Pull
CAN toward you and release, or tap
the brake pedal. The set speed will not be
erased.
Resuming the Set Speed
Pull
RES toward you and release.
Switching Cruise Control Off
Note: You will erase the set speed if you
switch the system off.
Press and release
OFF or switch the
ignition off.
152
Transit (TTH) Canada/United States of America, enUSA, First Printing Cruise Control
Page 156 of 411
SPEED LIMITER
Engine Speed Limiter
Engine speed is limited to protect the
engine.
Vehicle Speed Limiter - Fixed
The system prevents you from driving
faster than a programmed speed.
DRIVER ALERT
Principle of Operation
WARNINGS
The system does not relieve you of
your responsibility to drive with due
care and attention.
At all times you are responsible for
controlling your vehicle, supervising
the system and intervening if
required. If the sensor becomes blocked the
system may not function.
Take regular rest breaks as required
and do not wait for the system to
warn you if you feel tired.
Take rest breaks only where it is safe
to do so.
Certain driving styles and behavior
may result in the system issuing a
warning even if you are not feeling
tired. In cold and severe weather
conditions the system may not
function. Rain, snow, spray and large
contrasts in lighting can all influence the
sensor. The system will not operate if the
sensor cannot track the road lane
markings. WARNINGS
The system may not operate in areas
during roadwork construction.
The system may not operate on
roads with sharp bends or narrow
lanes.
Do not carry out windshield repairs
in the immediate area surrounding
the sensor.
If your vehicle has a suspension kit
not approved by us, the system may
not function correctly.
Note:
Keep the windshield free from
obstructions such as bird droppings, insects
and snow or ice.
Note: The system assists you when driving
on fast main roads and freeways.
Note: The system calculates an alertness
level at vehicle speeds above approximately
40 mph (65 km/h).
The system automatically monitors your
driving behavior.
The system is designed to alert you if it
detects that you are becoming drowsy or
if your driving deteriorates.
Using Driver Alert
Switching the System On and Off
Note: The system will remain on or off
depending on how it was last set.
Switch the system on using the information
display. See Information Displays (page
82).
The system will calculate your alertness
level based upon your driving behavior in
relation to the lane markings and other
factors.
153
Transit (TTH) Canada/United States of America, enUSA, First Printing Driving Aids
Page 157 of 411
System Warnings
Note:
The system will not issue warnings
below approximately 40 mph (65 km/h).
The warning system has two stages:
1. A temporary warning is issued to advise
you to take a rest. This message only
appears for a short time.
2. If you do not rest and the system continues to detect that your driving
deteriorates, it will issue a further
warning. This will remain in the
information display until you cancel it.
See Information Messages (page
87).
Press
OK on the steering wheel control to
remove the warning.
System Display
When active the system will run
automatically in the background and only
issue warnings if required. You can view
the status at any time using the
information display. See
(page 82).
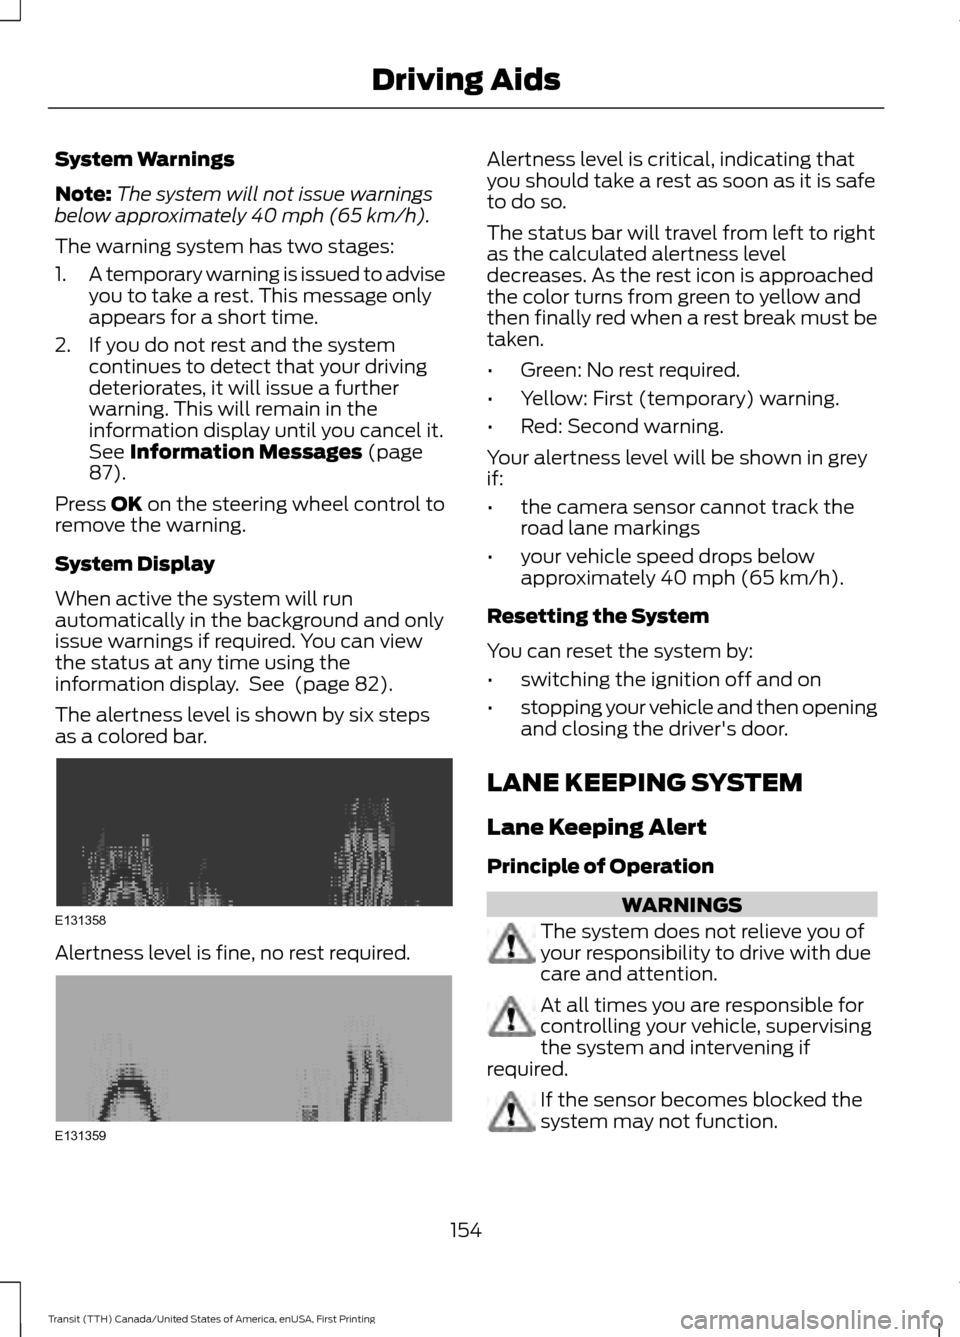
The alertness level is shown by six steps
as a colored bar. Alertness level is fine, no rest required. Alertness level is critical, indicating that
you should take a rest as soon as it is safe
to do so.
The status bar will travel from left to right
as the calculated alertness level
decreases. As the rest icon is approached
the color turns from green to yellow and
then finally red when a rest break must be
taken.
•
Green: No rest required.
• Yellow: First (temporary) warning.
• Red: Second warning.
Your alertness level will be shown in grey
if:
• the camera sensor cannot track the
road lane markings
• your vehicle speed drops below
approximately 40 mph (65 km/h).
Resetting the System
You can reset the system by:
• switching the ignition off and on
• stopping your vehicle and then opening
and closing the driver's door.
LANE KEEPING SYSTEM
Lane Keeping Alert
Principle of Operation WARNINGS
The system does not relieve you of
your responsibility to drive with due
care and attention.
At all times you are responsible for
controlling your vehicle, supervising
the system and intervening if
required. If the sensor becomes blocked the
system may not function.
154
Transit (TTH) Canada/United States of America, enUSA, First Printing Driving AidsE131358 E131359
Page 158 of 411
WARNINGS
The sensor may incorrectly track lane
markings such as other structures or
objects. This can result in a false or
missed warning. In cold and severe weather
conditions the system may not
function. Rain, snow, spray and large
contrasts in lighting can all influence the
sensor. The system will not operate if the
sensor cannot track the road lane
markings.
The system may not operate in areas
during roadwork construction.
The system may not operate on
roads with sharp bends or narrow
lanes.
Do not carry out windshield repairs
in the immediate area surrounding
the sensor.
If your vehicle has a suspension kit
not approved by us, the system may
not function correctly.
Note:
Keep the windshield free from
obstructions such as bird droppings, insects
and snow or ice.
Note: The system may assist you when
driving on fast main roads and freeways.
Note: The system may not operate during
hard braking or acceleration and when you
are intentionally steering your vehicle.
Note: The system will operate with a
minimum of one tracked lane marking.
Note: The system will only operate above
vehicle speeds of approximately 39 mph
(62 km/h).
The sensor is located behind the interior
mirror. It continuously monitors conditions
to alert you of unintentional lane drifting
at high speeds. The system will automatically detect and
track the lane markings on the road. If the
system detects that your vehicle is
unintentionally drifting toward the lane
markings, you will see a warning in the
information display. There is also a warning
given in the form of a vibration felt through
the steering wheel.
Note:
The vibration intensity from the
steering wheel may decease depending on
the quality of the road surface.
Using Lane Keeping Alert
Switching the System On and Off Turn the system on and off using the
button on the direction indicator stalk.
Press the button twice to turn the system
on. Press the button once to turn the
system off.
Note:
When you switch the system off, a
warning indicator will remain illuminated in
the information display. See
Warning
Lamps and Indicators (page 78).
Setting the Steering Wheel Vibration
Level
The system has three intensity levels which
you can set using the information display.
See
(page 82).
Setting the System Sensitivity
You can adjust how quickly the system
warns you. The system has two sensitivity
levels which you can set using the
information display. See
(page 82).
155
Transit (TTH) Canada/United States of America, enUSA, First Printing Driving AidsE132099
Page 159 of 411
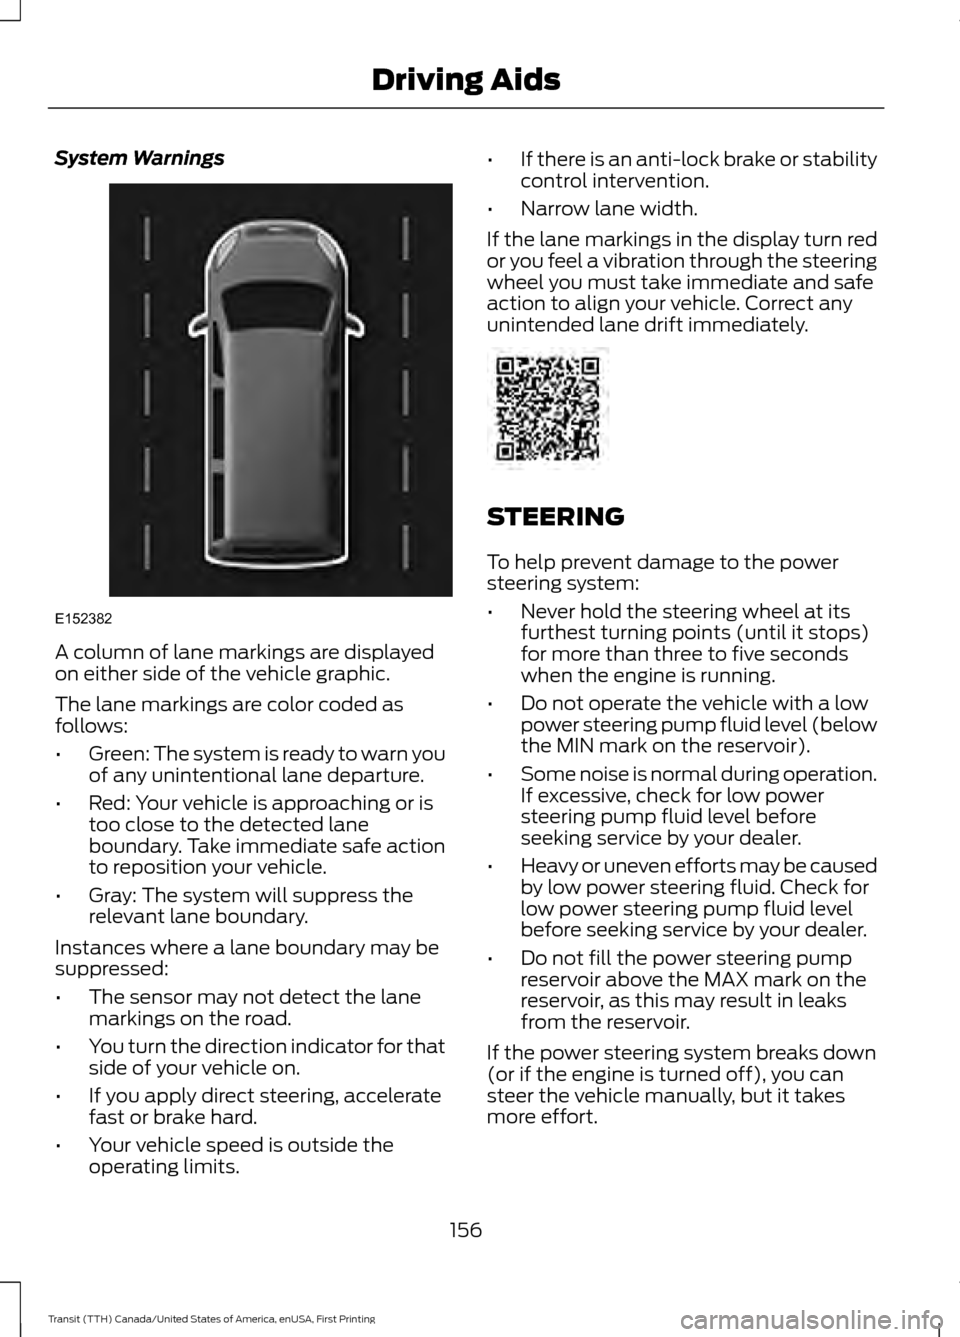
System Warnings
A column of lane markings are displayed
on either side of the vehicle graphic.
The lane markings are color coded as
follows:
•
Green: The system is ready to warn you
of any unintentional lane departure.
• Red: Your vehicle is approaching or is
too close to the detected lane
boundary. Take immediate safe action
to reposition your vehicle.
• Gray: The system will suppress the
relevant lane boundary.
Instances where a lane boundary may be
suppressed:
• The sensor may not detect the lane
markings on the road.
• You turn the direction indicator for that
side of your vehicle on.
• If you apply direct steering, accelerate
fast or brake hard.
• Your vehicle speed is outside the
operating limits. •
If there is an anti-lock brake or stability
control intervention.
• Narrow lane width.
If the lane markings in the display turn red
or you feel a vibration through the steering
wheel you must take immediate and safe
action to align your vehicle. Correct any
unintended lane drift immediately. STEERING
To help prevent damage to the power
steering system:
•
Never hold the steering wheel at its
furthest turning points (until it stops)
for more than three to five seconds
when the engine is running.
• Do not operate the vehicle with a low
power steering pump fluid level (below
the MIN mark on the reservoir).
• Some noise is normal during operation.
If excessive, check for low power
steering pump fluid level before
seeking service by your dealer.
• Heavy or uneven efforts may be caused
by low power steering fluid. Check for
low power steering pump fluid level
before seeking service by your dealer.
• Do not fill the power steering pump
reservoir above the MAX mark on the
reservoir, as this may result in leaks
from the reservoir.
If the power steering system breaks down
(or if the engine is turned off), you can
steer the vehicle manually, but it takes
more effort.
156
Transit (TTH) Canada/United States of America, enUSA, First Printing Driving AidsE152382
Page 160 of 411
If the steering wanders or pulls, check for:
•
an improperly inflated tire
• uneven tire wear
• loose or worn suspension components
• loose or worn steering components
• improper vehicle alignment
If any steering components are serviced or
replaced, install new fasteners (many are
coated with thread adhesive or have
prevailing torque features which may not
be re-used). Never re-use a bolt or nut.
Torque fasteners to specifications.
A high crown in the road or high crosswinds
may also make the steering seem to
wander or pull.
157
Transit (TTH) Canada/United States of America, enUSA, First Printing Driving Aids