Hyundai Accent 2006 Owner's Manual
Manufacturer: HYUNDAI, Model Year: 2006, Model line: Accent, Model: Hyundai Accent 2006Pages: 599, PDF Size: 17.59 MB
Page 411 of 599
1CONTROLS AND EQUIPMENT
4RUNNING IN YOUR NEW HYUNDAI
B020A01FC-EAT (Petrol Engine) The longevity and performance of the vehicle are greatly affected by the careexercised during the first 1,000 miles of motoring. Because of modern manu- facturing techniques, rigid guidelinesregarding maximum road speeds have become unnecessary. However, cer- tain precautions should be observed inorder to obtain the best possible perfor- mance and useful life from the vehicle.
1) Do not race the engine without a load
(i.e revving the engine in neutral).
2) During the first 500 miles the maxi- mum engine speed should be re- stricted to 3,000 rpm and gradually increased thereafter.
3) Avoid prolonged constant speed op- eration. The internal components ofthe engine will become runin morequickly if the operation speed is var- ied during the running-in period.
4) Never allow the engine to labour. Use the gearbox freely and avoid largethrottle openings when the engine speed is below 1,500 rpm. 5) Avoid rapid acceleration and maxi-
mum throttle openings.
6) Avoid harsh braking during the first 100 miles of urban motoring or 1,000miles of motorway driving to allowthe friction facings of the brake pads and shoes to bed against the discs and drums properly.
7) No trailer towing should be under- taken during the running-in period.
B020B01FC-EAT (Diesel Engine) The longevity and performance of the vehicle are greatly affected by the care exercised during the first 1,000 miles of motoring. Because of modern manu-facturing techniques, rigid guidelines regarding maximum road speeds have become unnecessary. However, cer-tain precautions should be observed in order to obtain the best possible perfor- mance and useful life from the vehicle.AFTER ENTERING THE VEHICLE
YB020B1-E
o Ensure that all occupants fasten and
correctly adjust seat belts.
o Ensure that seat and headrestraint
positions are adjusted for optimum safety, control and comfort.
o Adjust interior and exterior rear view
mirrors.
o Verify correct operation of lamps,
horn and other electrical equipment.
o Ensure that warning lamps illumi- nate when ignition is turned on.
NOTE: Fluid levels such as engine oil, en- gine coolant, brake and windscreen washer fluid should be checked daily or at each refuelling, whichever oc-curs sooner.
Page 412 of 599
5
1
CONTROLS AND EQUIPMENT
!
IMMOBILISER SYSTEM
6SB035A1-FE The immobiliser system is an anti-theft device, designed to prevent and deter vehicle theft. B880B03A-GAT Keys All of the locks fitted to the vehicle are operated by the same key. However,since it is possible to lock the doors without the use of the key, care should be exercised to ensure that the keydoes not become locked inside the vehicle by mistake. NOTE: If you make your own duplicate key, you will not be able to cancel the system or start the engine. B880C02A-GAT Key Numbers
B880C01L
1) Do not race the engine without a load
(i.e revving the engine in neutral).
2) During the first 600 miles the maxi- mum engine speed should be re- stricted to 3,000 rpm and graduallyincreased thereafter. And while driv- ing, keep under three quarters of maximum vehicle speed.
3) Avoid prolonged constant speed op- eration. The internal components ofthe engine will become run-in morequickly if the operation speed is var- ied during the running-in period.
4) Never allow the engine to labour. Use the gearbox freely and avoid largethrottle openings when the engine speed is below 1,500 rpm.
5) Avoid rapid acceleration and maxi- mum throttle openings.
6) Avoid harsh braking during the first 100 miles of urban motoring or 1,000 miles of motorway driving to allow the friction facings of the brake padsand shoes to bed against the discs and drums properly.
7) No trailer towing should be under- taken during the running-in period. CAUTION:
o The password should be recorded and kept in a safe place in case the need to order further keys arises.
o If you forget the password, con-
sult your authorized Hyundaidealer. o When starting the engine, do not
use the key with other immobi- lizer keys around. Otherwise the engine may not start or may stopsoon after it starts. Keep each keys separately not to have any malfunction after youreceive your new vehicle.
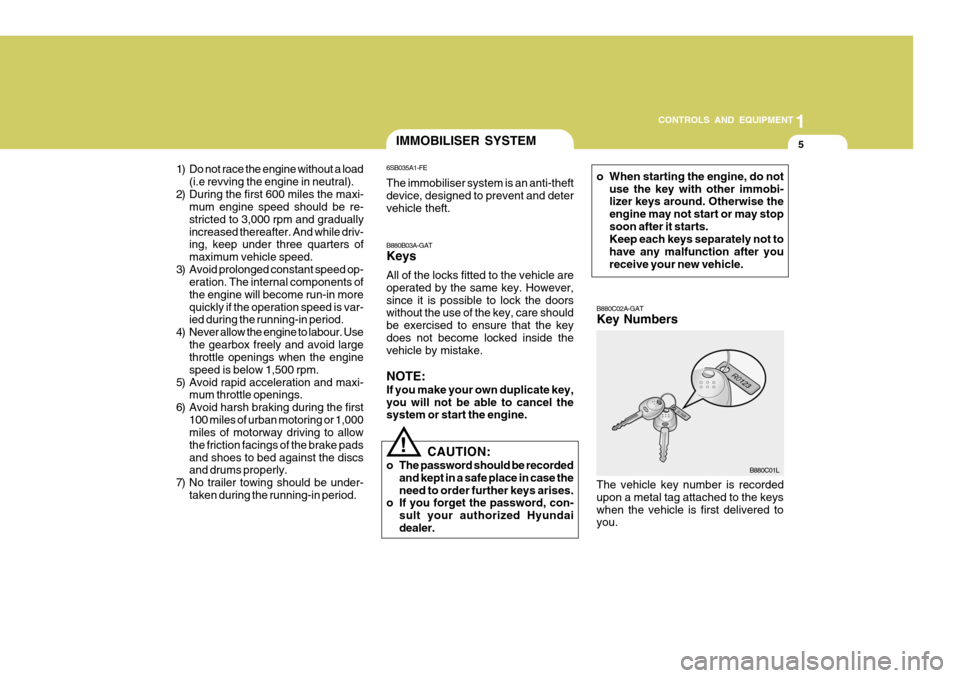
The vehicle key number is recorded upon a metal tag attached to the keyswhen the vehicle is first delivered to you.
Page 413 of 599
1CONTROLS AND EQUIPMENT
6
The key number should be recorded and kept in a safe place in case theneed to order further keys arises. New keys are available from any Hyundai dealer by quoting the relevant keynumber. In the interest of security, the metal tag attached to the keys which bears thekey number should be removed from the key ring after you receive your new vehicle. In addition, key numbers can-not be provided by Hyundai for security reasons. If you need additional keys or if youshould lose your keys, your authorized Hyundai dealer can make new keys.
!
B040A02Y-EAT Door Locks B040B01A-AATLocking and Unlocking Front Doors With a Key
WARNING:
o Unlocked doors can be danger- ous. Before you drive away (espe- cially if there are children in thecar), be sure that all the doors are securely closed and locked so that the doors cannot be inadvert-ently opened from the inside. This helps ensure that doors will not be opened accidentally. Also, when combined with the proper use of seat belts, locking the doors helpskeep occupants from being ejected from the car in case of an accident.
o Before opening the door, always look for and avoid oncoming traf-fic.
o In case of accident the door is unlocked automatically (Not allmodels). o The door can be locked or unlocked
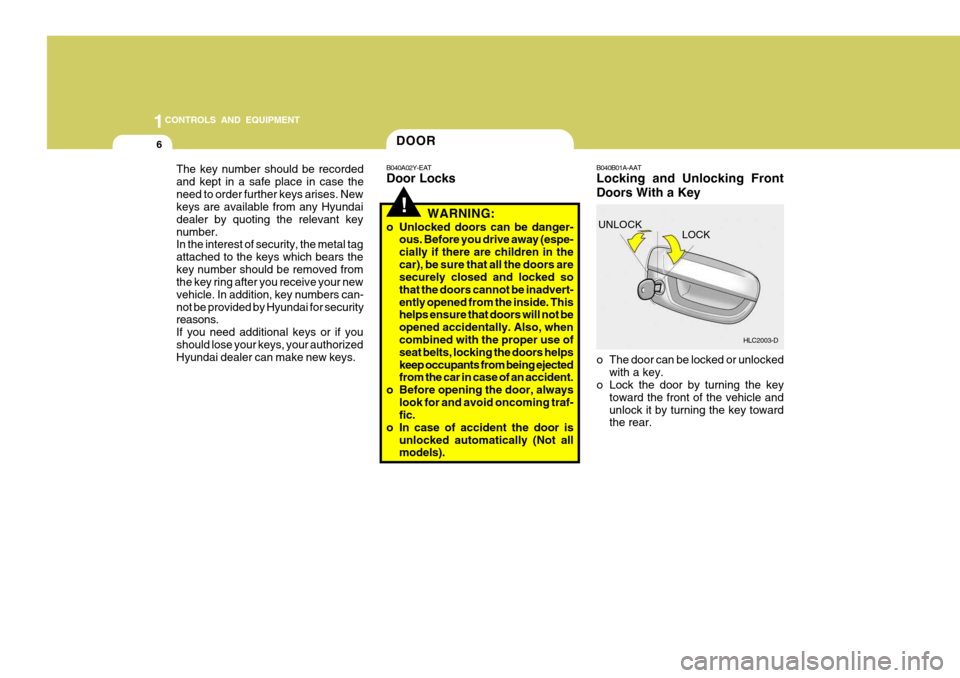
with a key.
o Lock the door by turning the key
toward the front of the vehicle and unlock it by turning the key toward the rear.
UNLOCK
LOCK
HLC2003-D
DOOR
Page 414 of 599
7
1
CONTROLS AND EQUIPMENT
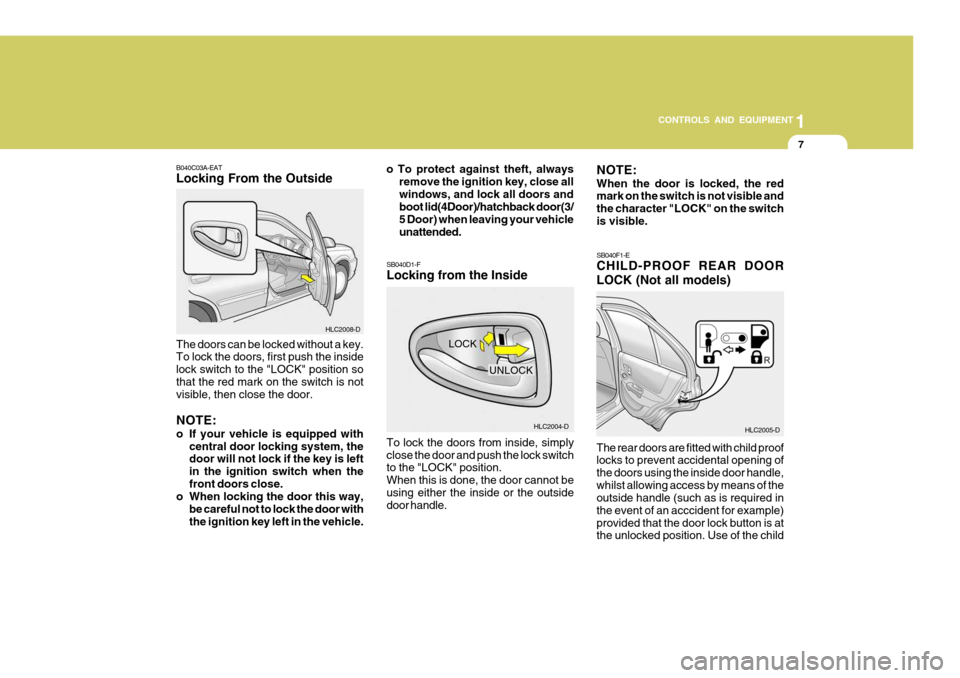
SB040D1-F Locking from the Inside To lock the doors from inside, simply close the door and push the lock switch to the "LOCK" position. When this is done, the door cannot beusing either the inside or the outside door handle. SB040F1-E CHILD-PROOF REAR DOOR LOCK (Not all models) The rear doors are fitted with child proof locks to prevent accidental opening of the doors using the inside door handle,whilst allowing access by means of the outside handle (such as is required in the event of an acccident for example)provided that the door lock button is at the unlocked position. Use of the child
NOTE: When the door is locked, the red mark on the switch is not visible and the character "LOCK" on the switchis visible.
LOCK HLC2005-D
B040C03A-EAT Locking From the Outside The doors can be locked without a key. To lock the doors, first push the inside lock switch to the "LOCK" position sothat the red mark on the switch is not visible, then close the door. NOTE:
o If your vehicle is equipped with
central door locking system, the door will not lock if the key is left in the ignition switch when thefront doors close.
o When locking the door this way,
be careful not to lock the door withthe ignition key left in the vehicle. HLC2008-D
o To protect against theft, always
remove the ignition key, close allwindows, and lock all doors and boot lid(4Door)/hatchback door(3/ 5 Door) when leaving your vehicleunattended.
HLC2004-D
UNLOCK
Page 415 of 599
1CONTROLS AND EQUIPMENT
8ANTI-THEFT ALARM SYSTEM
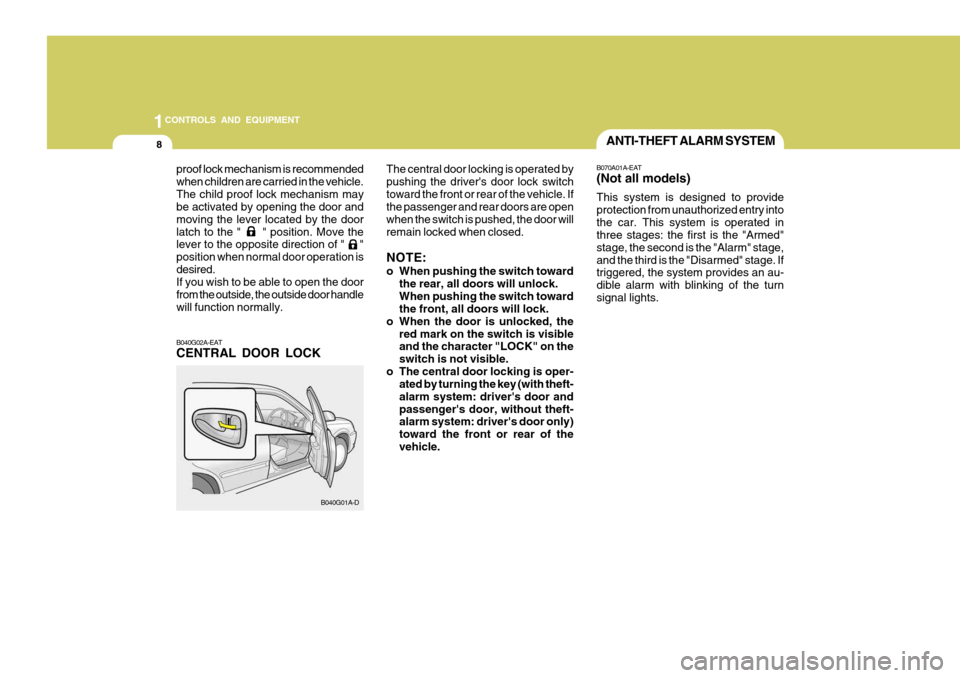
B040G02A-EAT CENTRAL DOOR LOCK
proof lock mechanism is recommended when children are carried in the vehicle.The child proof lock mechanism may be activated by opening the door and moving the lever located by the doorlatch to the " " position. Move the lever to the opposite direction of " " position when normal door operation isdesired. If you wish to be able to open the door from the outside, the outside door handlewill function normally. B040G01A-DThe central door locking is operated bypushing the driver's door lock switchtoward the front or rear of the vehicle. If the passenger and rear doors are open when the switch is pushed, the door willremain locked when closed. NOTE:
o When pushing the switch toward
the rear, all doors will unlock. When pushing the switch toward the front, all doors will lock.
o When the door is unlocked, the red mark on the switch is visibleand the character "LOCK" on the switch is not visible.
o The central door locking is oper- ated by turning the key (with theft-alarm system: driver's door andpassenger's door, without theft- alarm system: driver's door only) toward the front or rear of thevehicle. B070A01A-EAT (Not all models) This system is designed to provide protection from unauthorized entry intothe car. This system is operated in three stages: the first is the "Armed" stage, the second is the "Alarm" stage,and the third is the "Disarmed" stage. If triggered, the system provides an au- dible alarm with blinking of the turnsignal lights.
Page 416 of 599
9
1
CONTROLS AND EQUIPMENT
CAUTION:
Do not arm the system until all pas- sengers have left the car. If the sys- tem is armed while a passenger(s) remains in the car, the alarm may beactivated when the remaining passenger(s) leaves the car.! B070C04A-EAT Alarm Stage The alarm will be activated if any of the following occurs while the car is parkedand the system is armed.
1) A door or hatchback door (3/5 Door)
is opened without using the trans- mitter.
2) The boot lid (4 Door) is opened with- out using the key.
3) The engine bonnet is opened. The alarming horn will sound and the turn signal light will blink continuously for 27 seconds. To turn off the system,unlock the door or hatchback door with the transmitter.
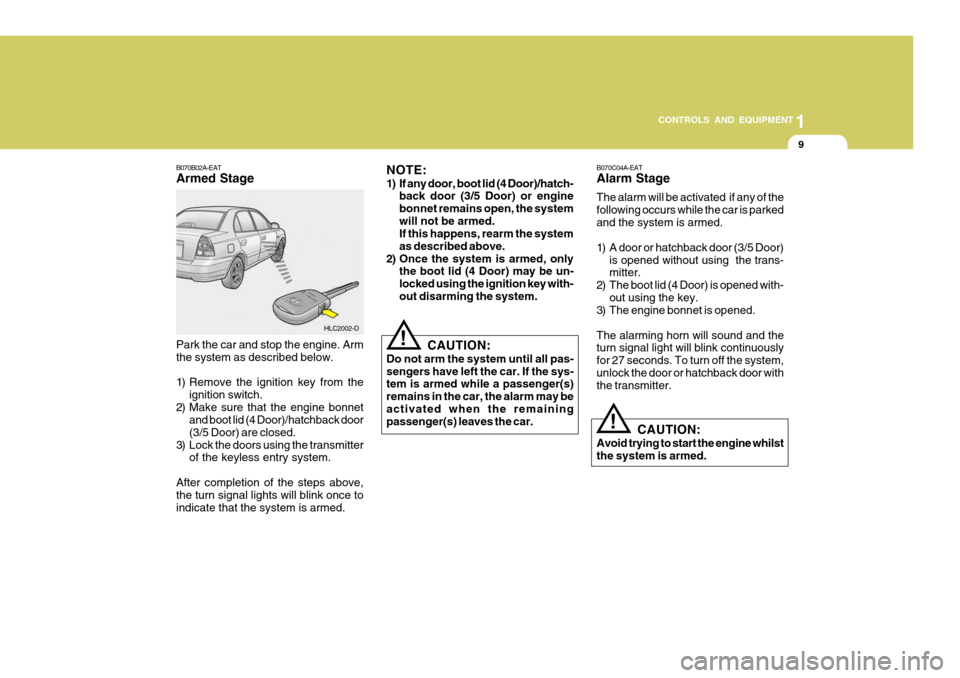
Park the car and stop the engine. Arm the system as described below.
1) Remove the ignition key from the
ignition switch.
2) Make sure that the engine bonnet and boot lid (4 Door)/hatchback door (3/5 Door) are closed.
3) Lock the doors using the transmitter of the keyless entry system.
After completion of the steps above, the turn signal lights will blink once to indicate that the system is armed. HLC2002-D
B070B02A-EAT Armed Stage
NOTE:
1) If any door, boot lid (4 Door)/hatch-
back door (3/5 Door) or engine bonnet remains open, the systemwill not be armed. If this happens, rearm the system as described above.
2) Once the system is armed, only the boot lid (4 Door) may be un-locked using the ignition key with-out disarming the system.
CAUTION:
Avoid trying to start the engine whilst the system is armed.
!
Page 417 of 599
1CONTROLS AND EQUIPMENT
10
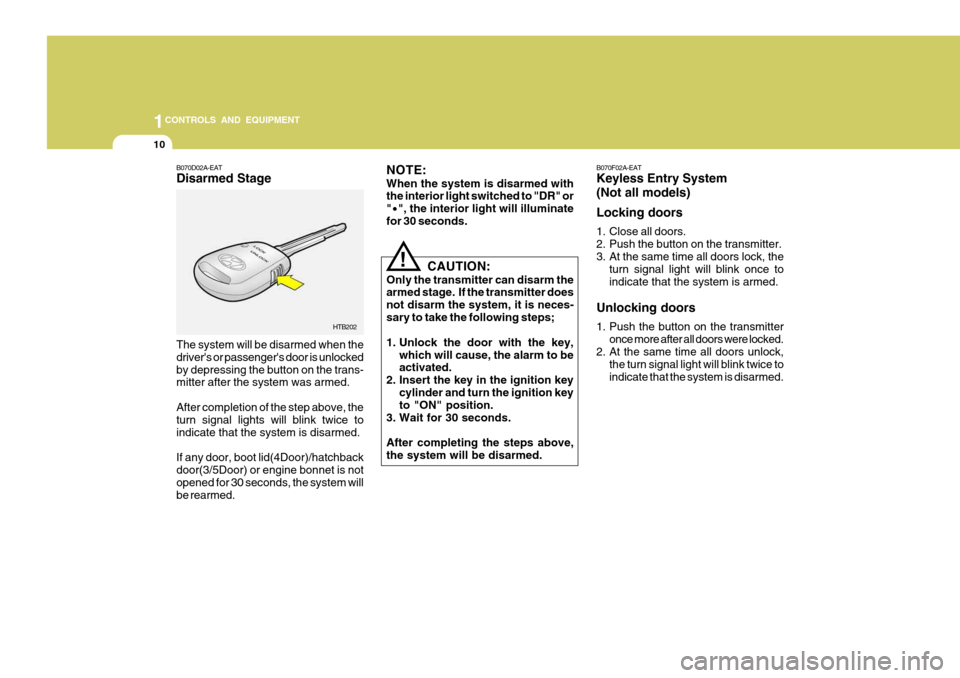
B070D02A-EAT Disarmed Stage The system will be disarmed when the driver's or passenger's door is unlockedby depressing the button on the trans- mitter after the system was armed. After completion of the step above, the turn signal lights will blink twice to indicate that the system is disarmed. If any door, boot lid(4Door)/hatchback door(3/5Door) or engine bonnet is notopened for 30 seconds, the system will be rearmed. HTB202
CAUTION:
Only the transmitter can disarm thearmed stage. If the transmitter does not disarm the system, it is neces-sary to take the following steps;
1. Unlock the door with the key, which will cause, the alarm to be activated.
2. Insert the key in the ignition key
cylinder and turn the ignition keyto "ON" position.
3. Wait for 30 seconds. After completing the steps above, the system will be disarmed.
!
NOTE: When the system is disarmed with the interior light switched to "DR" or "
· ", the interior light will illuminate
for 30 seconds. B070F02A-EAT Keyless Entry System (Not all models) Locking doors
1. Close all doors.
2. Push the button on the transmitter.
3. At the same time all doors lock, the
turn signal light will blink once toindicate that the system is armed.
Unlocking doors
1. Push the button on the transmitter once more after all doors were locked.
2. At the same time all doors unlock,
the turn signal light will blink twice to indicate that the system is disarmed.
Page 418 of 599
11
1
CONTROLS AND EQUIPMENT
POWER WINDOWS
B060A01E-AAT
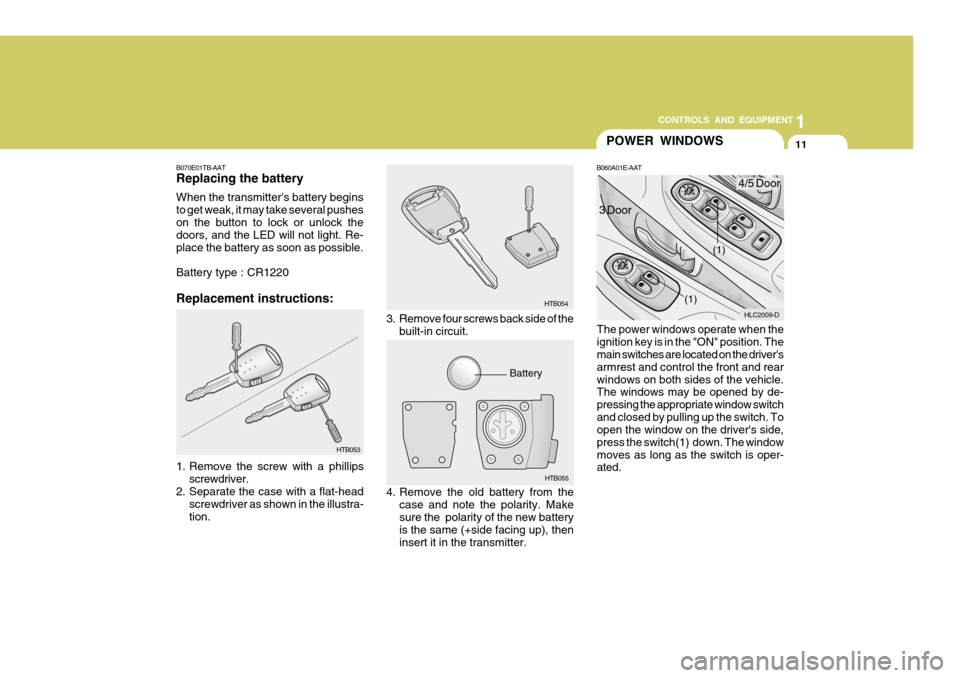
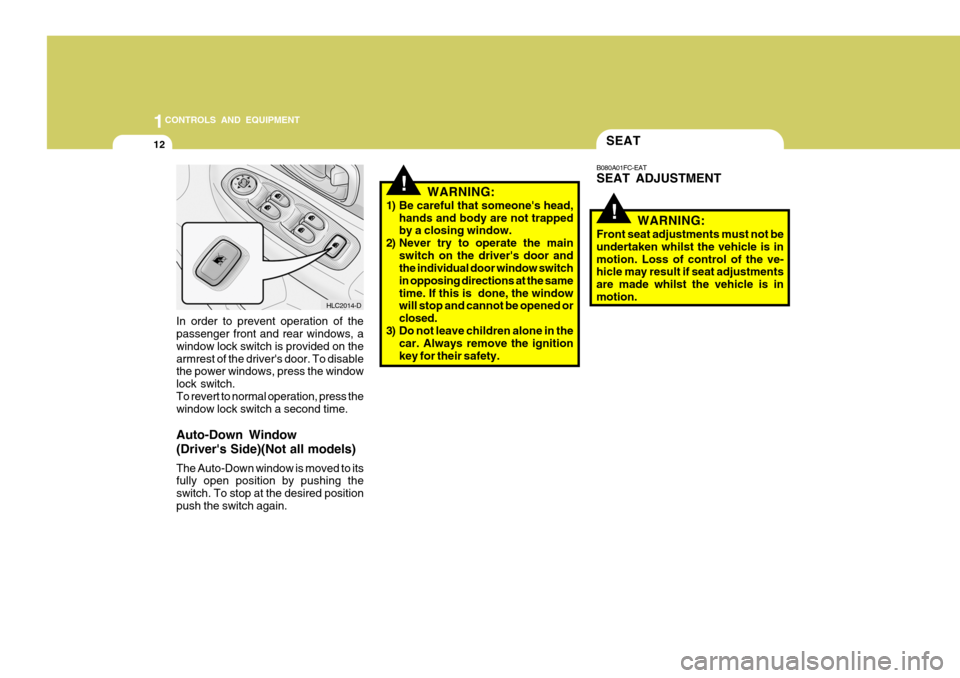
The power windows operate when the ignition key is in the "ON" position. The main switches are located on the driver's armrest and control the front and rearwindows on both sides of the vehicle. The windows may be opened by de- pressing the appropriate window switchand closed by pulling up the switch. To open the window on the driver's side, press the switch(1) down. The windowmoves as long as the switch is oper- ated.
3. Remove four screws back side of the
built-in circuit. HTB054
HTB055
Battery HLC2009-D
(1)
(1)4/5 Door
3 Door
4. Remove the old battery from the case and note the polarity. Make sure the polarity of the new battery is the same (+side facing up), then insert it in the transmitter.
B070E01TB-AAT Replacing the battery When the transmitter's battery begins to get weak, it may take several pusheson the button to lock or unlock the doors, and the LED will not light. Re- place the battery as soon as possible. Battery type : CR1220 Replacement instructions:
1. Remove the screw with a phillips
screwdriver.
2. Separate the case with a flat-head
screwdriver as shown in the illustra- tion. HTB053
Page 419 of 599
1CONTROLS AND EQUIPMENT
12SEAT
In order to prevent operation of the passenger front and rear windows, a window lock switch is provided on thearmrest of the driver's door. To disable the power windows, press the window lock switch.To revert to normal operation, press the window lock switch a second time. Auto-Down Window (Driver's Side)(Not all models) The Auto-Down window is moved to its fully open position by pushing the switch. To stop at the desired positionpush the switch again. HLC2014-D
!
!
B080A01FC-EAT SEAT ADJUSTMENT
WARNING:
Front seat adjustments must not be undertaken whilst the vehicle is inmotion. Loss of control of the ve- hicle may result if seat adjustments are made whilst the vehicle is inmotion.
WARNING:
1) Be careful that someone's head, hands and body are not trapped by a closing window.
2) Never try to operate the main switch on the driver's door andthe individual door window switch in opposing directions at the sametime. If this is done, the window will stop and cannot be opened or closed.
3) Do not leave children alone in the car. Always remove the ignitionkey for their safety.
Page 420 of 599
13
1
CONTROLS AND EQUIPMENT
!
B080B02FC-EAT FRONT SEATS Seat Rake Adjustment
HLC2026-D
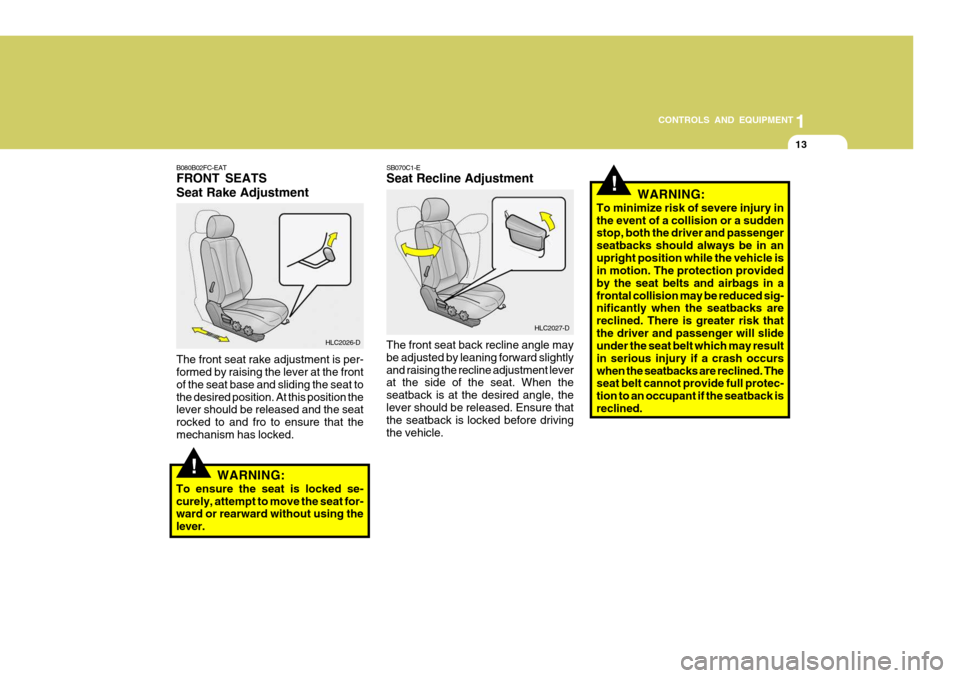
The front seat rake adjustment is per- formed by raising the lever at the front of the seat base and sliding the seat tothe desired position. At this position the lever should be released and the seat rocked to and fro to ensure that themechanism has locked. SB070C1-E Seat Recline Adjustment The front seat back recline angle may be adjusted by leaning forward slightlyand raising the recline adjustment lever at the side of the seat. When the seatback is at the desired angle, thelever should be released. Ensure that the seatback is locked before driving the vehicle.
HLC2027-D
WARNING:
To ensure the seat is locked se-curely, attempt to move the seat for- ward or rearward without using the lever.
!WARNING:
To minimize risk of severe injury in the event of a collision or a sudden stop, both the driver and passenger seatbacks should always be in anupright position while the vehicle is in motion. The protection provided by the seat belts and airbags in afrontal collision may be reduced sig- nificantly when the seatbacks are reclined. There is greater risk thatthe driver and passenger will slide under the seat belt which may result in serious injury if a crash occurswhen the seatbacks are reclined. The seat belt cannot provide full protec- tion to an occupant if the seatback isreclined.