ESP Hyundai Elantra 2009 Инструкция по эксплуатации (in Russian)
[x] Cancel search | Manufacturer: HYUNDAI, Model Year: 2009, Model line: Elantra, Model: Hyundai Elantra 2009Pages: 308, PDF Size: 15.03 MB
Page 146 of 308
491
Features of your vehicle
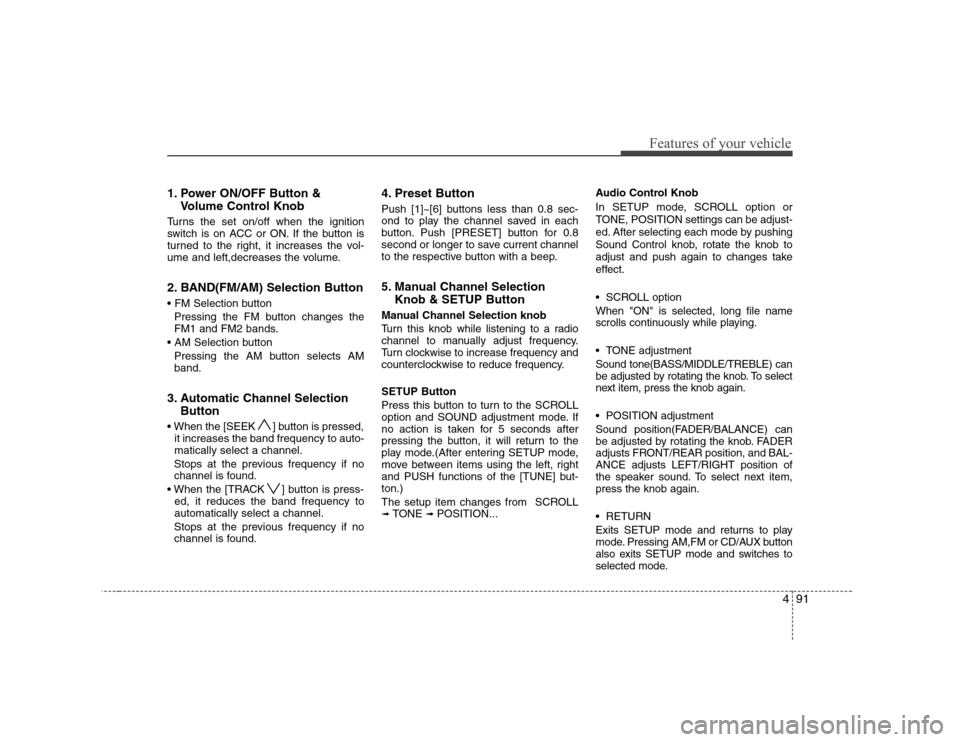
1. Power ON/OFF Button &Volume Control Knob
Turns the set on/off when the ignition
switch is on ACC or ON. If the button is
turned to the right, it increases the vol-
ume and left,decreases the volume.
2. BAND(FM/AM) Selection Button
Pressing the FM button changes the
FM1 and FM2 bands.
Pressing the AM button selects AMband.
3. Automatic Channel Selection Button
] button is pressed, it increases the band frequency to auto-matically select a channel.
Stops at the previous frequency if no
channel is found.
] button is press- ed, it reduces the band frequency toautomatically select a channel.
Stops at the previous frequency if no
channel is found. 4. Preset Button
Push [1]~[6] buttons less than 0.8 sec-
ond to play the channel saved in each
button. Push [PRESET] button for 0.8
second or longer to save current channel
to the respective button with a beep.
5. Manual Channel Selection
Knob & SETUP Button
Manual Channel Selection knob
Turn this knob while listening to a radio
channel to manually adjust frequency.
Turn clockwise to increase frequency and
counterclockwise to reduce frequency. SETUP Button
Press this button to turn to the SCROLL
option and SOUND adjustment mode. If
no action is taken for 5 seconds after
pressing the button, it will return to the
play mode.(After entering SETUP mode,
move between items using the left, right
and PUSH functions of the [TUNE] but-ton.)
The setup item changes from SCROLL ➟ TONE ➟ POSITION... Audio Control Knob
In SETUP mode, SCROLL option or
TONE, POSITION settings can be adjust-
ed. After selecting each mode by pushing
Sound Control knob, rotate the knob to
adjust and push again to changes take
effect.
SCROLL option When "ON" is selected, long file name
scrolls continuously while playing.
TONE adjustment Sound tone(BASS/MIDDLE/TREBLE) can
be adjusted by rotating the knob. To select
next item, press the knob again.
POSITION adjustment
Sound position(FADER/BALANCE) can
be adjusted by rotating the knob. FADER
adjusts FRONT/REAR position, and BAL-ANCE adjusts LEFT/RIGHT position of
the speaker sound. To select next item,press the knob again.
RETURN
Exits SETUP mode and returns to play
mode. Pressing AM,FM or CD/AUX button
also exits SETUP mode and switches to
selected mode.
Page 151 of 308
Features of your vehicle
96
4
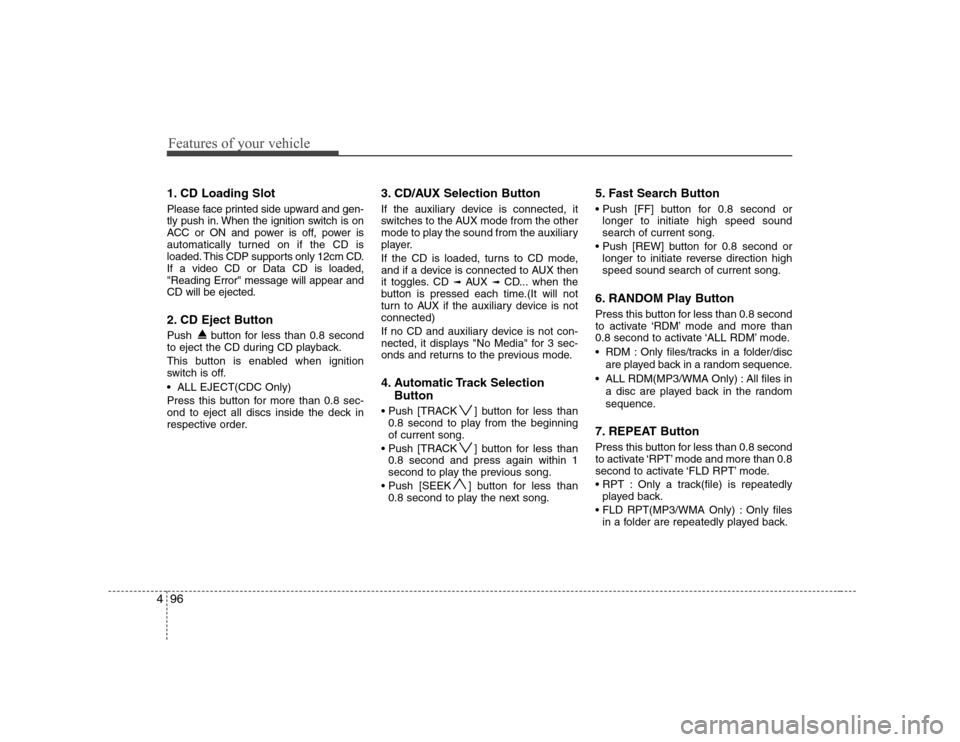
1. CD Loading Slot
Please face printed side upward and gen-
tly push in. When the ignition switch is on
ACC or ON and power is off, power is
automatically turned on if the CD is
loaded. This CDP supports only 12cm CD.If a video CD or Data CD is loaded,"Reading Error" message will appear andCD will be ejected.
2. CD Eject Button
Push button for less than 0.8 second
to eject the CD during CD playback.
This button is enabled when ignition
switch is off.
ALL EJECT(CDC Only)
Press this button for more than 0.8 sec-
ond to eject all discs inside the deck in
respective order. 3. CD/AUX Selection Button
If the auxiliary device is connected, it
switches to the AUX mode from the other
mode to play the sound from the auxiliary
player.
If the CD is loaded, turns to CD mode,
and if a device is connected to AUX then
it toggles. CD
➟
AUX ➟ CD... when the
button is pressed each time.(It will not
turn to AUX if the auxiliary device is notconnected)
If no CD and auxiliary device is not con-
nected, it displays "No Media" for 3 sec-
onds and returns to the previous mode.
4. Automatic Track Selection
Button
] button for less than 0.8 second to play from the beginning of current song.
] button for less than 0.8 second and press again within 1
second to play the previous song.
] button for less than 0.8 second to play the next song. 5. Fast Search Button
longer to initiate high speed sound search of current song.
longer to initiate reverse direction highspeed sound search of current song.
6. RANDOM Play Button
Press this button for less than 0.8 second
to activate ‘RDM’ mode and more than
0.8 second to activate ‘ALL RDM’ mode.
RDM : Only files/tracks in a folder/disc are played back in a random sequence.
ALL RDM(MP3/WMA Only) : All files in a disc are played back in the random
sequence.
7. REPEAT Button
Press this button for less than 0.8 second
to activate ‘RPT’ mode and more than 0.8
second to activate ‘FLD RPT’ mode.
Only a track(file) is repeatedly played back.
Only files in a folder are repeatedly played back.
Page 165 of 308
53
Driving your vehicle
Before entering vehicle
• Be sure that all windows, outside mir-ror(s), and outside lights are clean.
Check the condition of the tyres.
Check under the vehicle for any sign of leaks.
Be sure there are no obstacles behind you if you intend to back up.
Necessary inspections
Fluid levels, such as engine oil, engine
coolant, brake fluid, and washer fluid
should be checked on a regular basis,
with the exact interval depending on the
fluid. Further details are provided in
Section 7, “Maintenance”.
Before starting
Close and lock all doors.
Position the seat so that all controls are easily reached.
Adjust the inside and outside rearview mirrors. Be sure that all lights work.
Check all gauges.
Check the operation of warning lights
when the ignition switch is turned to the ON position.
Release the hand brake and make sure the brake warning light goes out.
For safe operation, be sure you are famil-
iar with your vehicle and its equipment.
BEFORE DRIVING
WARNING
All passengers must be properly
belted whenever the vehicle is mov-
ing. Refer to “Seat belts” in section
3 for more information on their
proper use.
WARNING
Always check the surrounding
areas near your vehicle for people,
especially children, before putting a
car into “Drive” or “Reverse”.
WARNING - Driving under
the influence of alcohol or drugs
Drinking and driving is dangerous.
Drunk driving is the number one
contributor to the highway death
toll each year. Even a small amount
of alcohol will affect your reflexes,
perceptions and judgement.Driving while under the influence of
drugs is as dangerous or more dan-
gerous than driving drunk.
You are much more likely to have a
serious accident if you drink or
take drugs and drive.
If you are drinking or taking drugs,
don’t drive. Do not ride with a driv-er who has been drinking or taking
drugs. Choose a designated driveror call a cab.
WARNING
When you intend to park or stop the
vehicle with the engine on, be care-ful not to depress the accelerator
pedal for a long period of time. It
may overheat the engine or exhaust
system and cause fire.
Page 170 of 308
Driving your vehicle
8
5
Using the clutch
The clutch should be pressed all the way
to the floor before shifting, then released
slowly. The clutch pedal should always be
fully released while driving. Do not rest
your foot on the clutch pedal while driv-
ing. This can cause unnecessary wear.
Do not partially engage the clutch to hold
the car on an incline. This causes unnec-
essary wear. Use the foot brake or hand
brake to hold the car on an incline. Do not
operate the clutch pedal rapidly and
repeatedly.
Downshifting
When you must slow down in heavy traf-
fic or while driving up steep hills, down-
shift before the engine starts to labour.
Downshifting reduces the chance of
stalling and gives better acceleration
when you again need to increase your
speed. When the vehicle is travelling
down steep hills, downshifting helps
maintain safe speed and prolongs brake
life. Good driving practices
Never take the car out of gear and
coast down a hill. This is extremely
hazardous. Always leave the car in
gear.
Don't "ride" the brakes. This can cause them to overheat and malfunction.
Instead, when you are driving down a
long hill, slow down and shift to a lower
gear. When you do this, engine braking
will help slow the car.
Slow down before shifting to a lower gear. This will help avoid over-revving
the engine, which can cause damage.
Slow down when you encounter cross winds. This gives you much better con-
trol of your car.
Be sure the car is completely stopped before you attempt to shift into reverse.
The transaxle can be damaged if you
do not. To shift into reverse, depress
the clutch, move the shift lever to neu-
tral, wait three seconds, then shift to
the reverse position.
Exercise extreme caution when driving on a slippery surface. Be especially
careful when braking, accelerating or
shifting gears. On a slippery surface,
an abrupt change in vehicle speed can
cause the drive wheels to lose traction
and the vehicle to go out of control.
WARNING
Always buckle-up! In a collision, an unbelted occupant is signifi-
cantly more likely to be seriously
injured or killed than a properlybelted occupant.
Avoid high speeds when corner- ing or turning.
Do not make quick steering wheel movements, such as sharp
lane changes or fast, sharp turns.
The risk of rollover is greatly increased if you lose control of
your vehicle at highway speeds.
Loss of control often occurs if two or more wheels drop off the
roadway and the driver over-
steers to reenter the roadway.
In the event your vehicle leaves the roadway, do not steer sharply.
Instead, slow down before pulling
back into the travel lanes.
Never exceed posted speed lim- its.
Page 172 of 308
Driving your vehicle
10
5
Automatic transaxle operation
The highly efficient automatic transaxle
has 4 forward gears and one reverse
gear. The individual gears are selected
automatically, depending on the position
of the shift lever.
All normal forward driving is done with
the shift lever in the D (Drive) position.
To move the shift lever from the P (Park)
position, the brake pedal must bedepressed.
✽✽
NOTICE
The first few shifts on a new vehicle, if the battery has been disconnected, may
be somewhat abrupt. This is a normalcondition, and the shifting sequence will
adjust after shifts are cycled a few times
by the TCM (Transaxle ControlModule).
For smooth operation, depress the brake pedal when shifting from N (Neutral) to a forward or reverse gear.
Transaxle ranges
The indicator lights in the instrument
cluster indicate the shift lever position
when the ignition switch is in the ONposition.
P (Park)
Always come to a complete stop before
shifting into P (Park). This position locks
the transaxle and prevents the frontwheels from rotating.
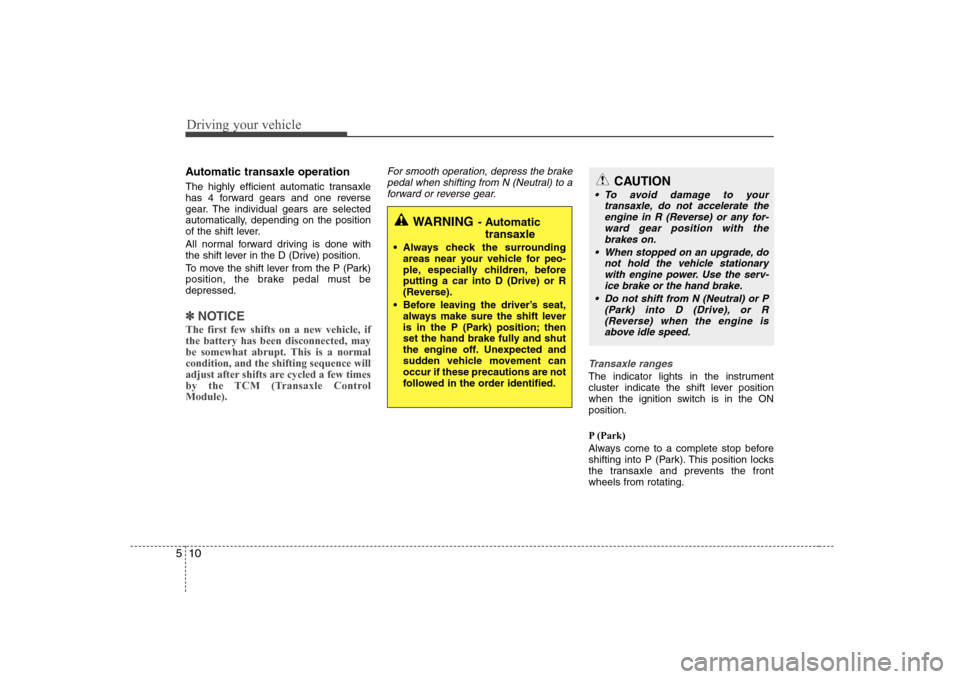
WARNING - Automatic
transaxle
Always check the surrounding areas near your vehicle for peo-
ple, especially children, beforeputting a car into D (Drive) or R
(Reverse).
Before leaving the driver’s seat, always make sure the shift lever
is in the P (Park) position; then
set the hand brake fully and shut
the engine off. Unexpected and
sudden vehicle movement canoccur if these precautions are not
followed in the order identified.
CAUTION
To avoid damage to your
transaxle, do not accelerate theengine in R (Reverse) or any for- ward gear position with the
brakes on.
When stopped on an upgrade, do not hold the vehicle stationarywith engine power. Use the serv-ice brake or the hand brake.
Do not shift from N (Neutral) or P (Park) into D (Drive), or R(Reverse) when the engine is above idle speed.
Page 176 of 308

Driving your vehicle
14
5
Good driving practices
Never move the gear selector lever
from P (Park) or N (Neutral) to any
other position with the acceleratorpedal depressed.
Never move the gear selector lever into "P" when the vehicle is in motion.
Be sure the car is completely stopped before you attempt to shift into R
(Reverse).
Never take the car out of gear and coast down a hill. This may be
extremely hazardous. Always leave the
car in gear when moving.
Do not "ride" the brakes. This can cause them to overheat and malfunc-
tion. Instead, when you are driving
down a long hill, slow down and shift to
a lower gear. When you do this, engine
braking will help slow the car.
Slow down before shifting to a lower gear. Otherwise, the lower gear maynot be engaged.
Always use the hand brake. Do not depend on placing the transaxle in P
(Park) to keep the car from moving.
Exercise extreme caution when driving on a slippery surface. Be especially
careful when braking, accelerating or
shifting gears. On a slippery surface,
an abrupt change in vehicle speed can
cause the drive wheels to lose traction
and the vehicle to go out of control. Optimum vehicle performance and
economy is obtained by smoothly
depressing and releasing the accelera-tor pedal.
Moving up a steep grade from a stand-
ing start
To move up a steep grade from a stand-
ing start, depress the brake pedal, shift
the shift lever to D (Drive). Select the
appropriate gear depending on load
weight and steepness of the grade, and
release the hand brake. Depress the
accelerator gradually while releasing the
service brakes.
When accelerating from a stop on a
steep hill, the vehicle may have a ten-
dency to roll backwards. Shifting the
shift lever into 2 (Second Gear) will
help prevent the vehicle from rolling
backwards.
WARNING
Always buckle-up! In a collision, an unbelted occupant is signifi-
cantly more likely to be seriously
injured or killed than a properlybelted occupant.
Avoid high speeds when corner- ing or turning.
Do not make quick steering wheel movements, such as sharp
lane changes or fast, sharp turns.
The risk of rollover is greatly increased if you lose control of
your vehicle at highway speeds.
Loss of control often occurs if two or more wheels drop off the
roadway and the driver over-
steers to reenter the roadway.
In the event your vehicle leaves the roadway, do not steer sharply.
Instead, slow down before pulling
back into the travel lanes.
Never exceed posted speed lim- its.
CAUTION
If your vehicle becomes stuck in
snow, mud, sand, etc., then you mayattempt to rock the vehicle free by moving it forward and backward. Do
not attempt this procedure if people or objects are anywhere near thevehicle. During the rocking opera- tion the vehicle may suddenly move
forward of backward as it becomes unstuck, causing injury or damageto nearby people or objects.
Page 180 of 308
Driving your vehicle
18
5
Anti-lock brake system (ABS) (if equipped) The ABS continuously senses the speed
of the wheels. If the wheels are going to
lock, the ABS system repeatedly modu-
lates the hydraulic brake pressure to the
wheels.
When you apply your brakes under con-
ditions which may lock the wheels, you
may hear a “tik-tik’’ sound from the
brakes, or feel a corresponding sensation
in the brake pedal. This is normal and it
means your ABS is active.
In order to obtain the maximum efficien-
cy from your ABS in an emergency situ-
ation, do not attempt to modulate your
brake pressure and do not try to pump
your brakes. Press your brake pedal as
hard as possible or as hard as the situa-
tion warrants and allow the ABS to con-
trol the force being delivered to the
brakes.
WARNING
ABS (ESP) will not prevent acci-
dents due to improper or danger-
ous driving manoeuvres. Even
though vehicle control is improved
during emergency braking, always
maintain a safe distance between
you and objects ahead. Vehicle
speeds should always be reduced
during extreme road conditions.
The braking distance for cars
equipped with an anti-lock braking
system (Electronic Stability
Program System) may be longer
than for those without it in the fol-
lowing road conditions.
During these conditions the vehicle should be driven at reducedspeeds:
Rough, gravel or snow-covered roads.
With tyre chains installed.
On roads where the road surface is pitted or has different surface height.
(Continued)
(Continued)
The safety features of an ABS
(ESP) equipped vehicle should not
be tested by high speed driving or
cornering. This could endanger the
safety of yourself or others.
Page 182 of 308
Driving your vehicle
20
5
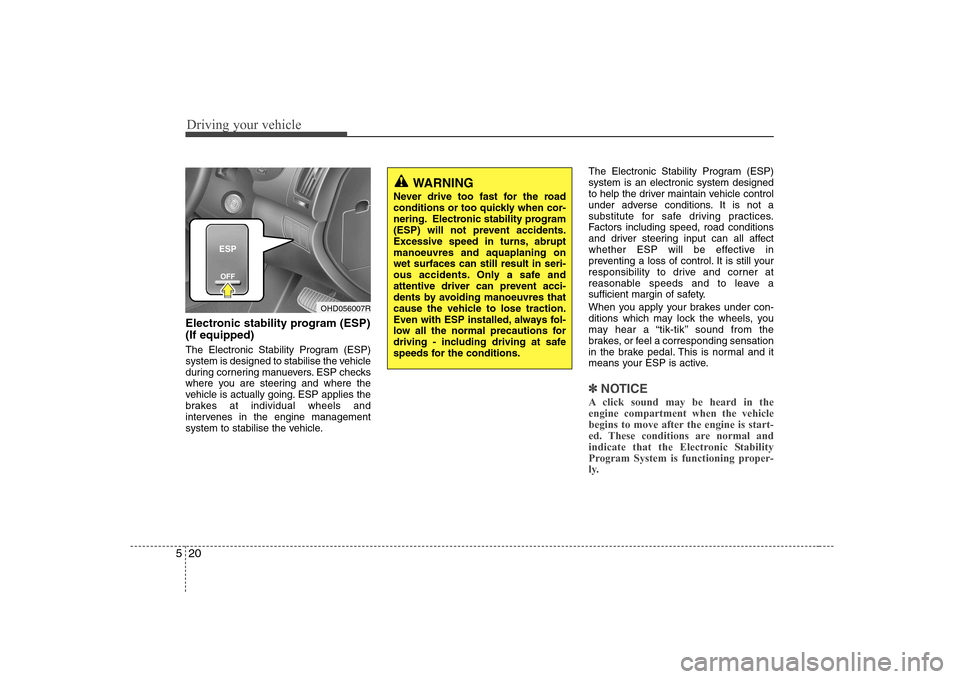
Electronic stability program (ESP) (If equipped)
The Electronic Stability Program (ESP)
system is designed to stabilise the vehicle
during cornering manuevers. ESP checks
where you are steering and where the
vehicle is actually going. ESP applies the
brakes at individual wheels and
intervenes in the engine management
system to stabilise the vehicle. The Electronic Stability Program (ESP)system is an electronic system designed
to help the driver maintain vehicle control
under adverse conditions. It is not a
substitute for safe driving practices.
Factors including speed, road conditions
and driver steering input can all affect
whether ESP will be effective in
preventing a loss of control. It is still your
responsibility to drive and corner at
reasonable speeds and to leave a
sufficient margin of safety.
When you apply your brakes under con-
ditions which may lock the wheels, you
may hear a “tik-tik’’ sound from the
brakes, or feel a corresponding sensation
in the brake pedal. This is normal and it
means your ESP is active.
✽✽
NOTICE
A click sound may be heard in the engine compartment when the vehicle
begins to move after the engine is start-
ed. These conditions are normal and
indicate that the Electronic Stability
Program System is functioning proper-
ly.
WARNING
Never drive too fast for the road
conditions or too quickly when cor-
nering. Electronic stability program
(ESP) will not prevent accidents.
Excessive speed in turns, abruptmanoeuvres and aquaplaning onwet surfaces can still result in seri-
ous accidents. Only a safe and
attentive driver can prevent acci-
dents by avoiding manoeuvres that
cause the vehicle to lose traction.
Even with ESP installed, always fol-
low all the normal precautions for
driving - including driving at safe
speeds for the conditions.
OHD056007R
Page 183 of 308
521
Driving your vehicle
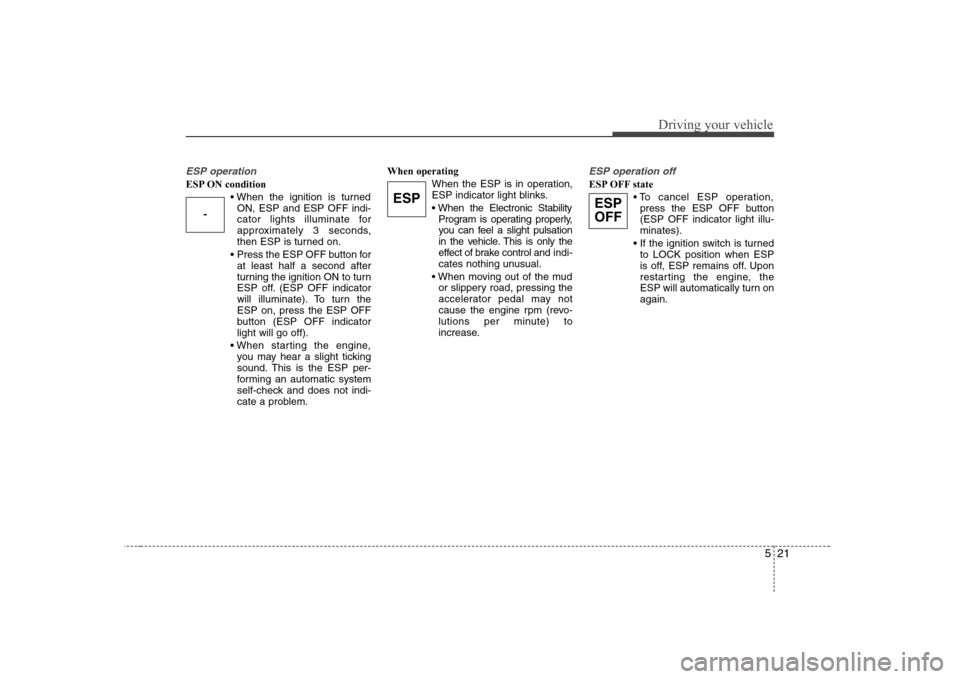
ESP operation
ESP ON conditionON, ESP and ESP OFF indi-
cator lights illuminate for
approximately 3 seconds,
then ESP is turned on.
Press the ESP OFF button for at least half a second after
turning the ignition ON to turn
ESP off. (ESP OFF indicator
will illuminate). To turn theESP on, press the ESP OFF
button (ESP OFF indicatorlight will go off).
you may hear a slight ticking
sound. This is the ESP per-
forming an automatic system
self-check and does not indi-
cate a problem. When operating
When the ESP is in operation,
ESP indicator light blinks.
Program is operating properly,
you can feel a slight pulsation
in the vehicle. This is only the
effect of brake control and indi-
cates nothing unusual.
or slippery road, pressing the
accelerator pedal may not
cause the engine rpm (revo-
lutions per minute) to
increase.
ESP operation off
ESP OFF state
press the ESP OFF button (ESP OFF indicator light illu-minates).
to LOCK position when ESP
is off, ESP remains off. Upon
restarting the engine, the
ESP will automatically turn onagain.
-
ESPESP
OFF
Page 184 of 308
Driving your vehicle
22
5
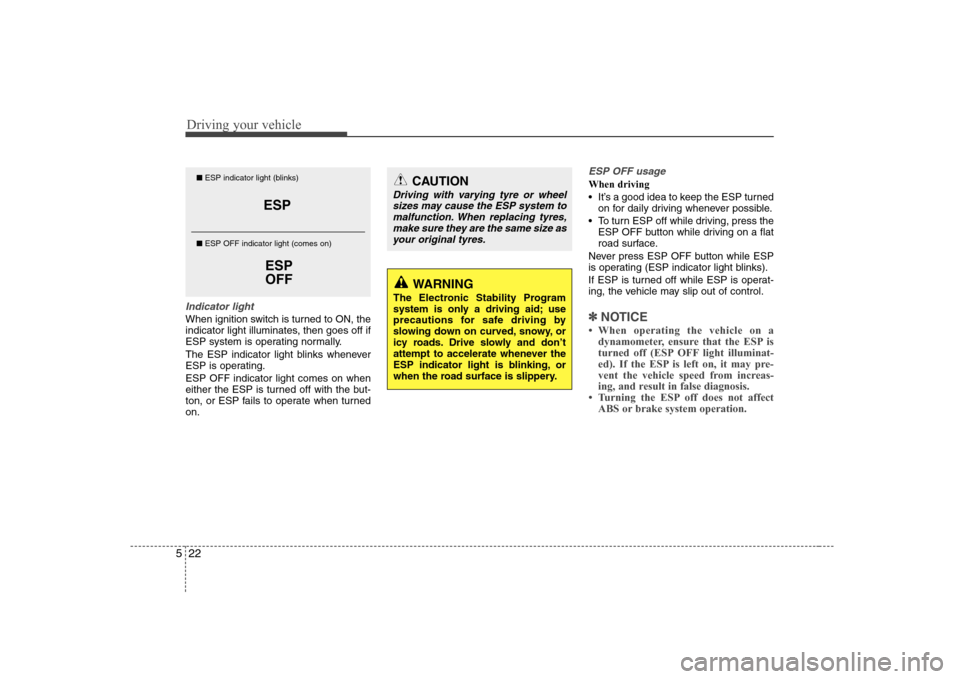
Indicator light
When ignition switch is turned to ON, the
indicator light illuminates, then goes off if
ESP system is operating normally.
The ESP indicator light blinks whenever
ESP is operating. ESP OFF indicator light comes on when
either the ESP is turned off with the but-
ton, or ESP fails to operate when turnedon.
ESP OFF usage
When driving
It’s a good idea to keep the ESP turned
on for daily driving whenever possible.
To turn ESP off while driving, press the ESP OFF button while driving on a flat
road surface.
Never press ESP OFF button while ESP
is operating (ESP indicator light blinks).
If ESP is turned off while ESP is operat-
ing, the vehicle may slip out of control.
✽✽ NOTICE