trunk JAGUAR X308 1998 2.G Repair Manual
[x] Cancel search | Manufacturer: JAGUAR, Model Year: 1998, Model line: X308, Model: JAGUAR X308 1998 2.GPages: 2490, PDF Size: 69.81 MB
Page 2081 of 2490

Interior Trim and Ornamentation - Luggage Compartment Lid Trim Panel
Removal and Installation
Removal
Installation
1. Remove trunk lamp assemblies. Refer to 86.45.16.
2. Release the three warning triang le securing clips and remove
warning triangle.
3. Slacken and remove warning triangle mounting bracket
securing screws an d remove bracket.
4. Remove covers from trunk latc h finisher securing bolts,
slacken and remove bolts and remove finisher.
5. Remove and discard the eighteee n trunk lid liner fasteners and
remove liner from vehicle.
Page 2082 of 2490

1.
Position liner on trunk lid and pass lamp harness multiplugs
through apertures.
2. Align and fully seat liner on trunk lid and secure with new
fasteners.
3. Position finisher over trunk lid latch, fit and tighten securing
bolts and fit bolt covers..
4. Position warning triangle mounti ng bracket and fit and tighten
securing screws.
5. Install triangle on mounting br acket and secure with clips.
6. Install trunk lamp assemblies. Refer to 86.45.16.
Page 2083 of 2490

Interior Trim and Ornamentation - Luggage Compartment Rear Trim Panel
Removal and Installation
Removal
Installation
1. Remove tail lamp covers.
2. Remove trunk floor and battery cover. Refer to operations in
this section.
3. Remove and discard the two fir tr ee fasteners securing finisher
to trunk rear panel.
4. Pull rear finisher upwards to release upper spring clips and
remove finisher from trunk.
1. Position finisher on trunk rear panel and press firmly
downwards to engage spring clips.
2. Fit and fully seat fir tree fasteners.
3. Fit trunk floor and battery cover. Refer to operations in this
section.
4. Fit tail lamp covers.
Page 2084 of 2490

Interior Trim and Ornamentation - Luggage Compartment Side Trim Panel
Removal and Installation
Removal
Installation
1.
Remove trunk floor carpet.
2. Remove trunk front liner. Refer to 76.19.31.
3. Remove trunk rear finisher. Refer to 76.19.44.
4. Remove literature pack from tr unk side liner (RH side only).
5. Remove side liner from trunk.
1. Position and fully seat side liner in trunk.
2. Install literature pack on side liner (RH side only).
3. Fit trunk rear finisher.Refer to 76.19.44.
4. Fit trunk front liner. Refer to 76.19.31.
5. Fit trunk floor carpet.
Page 2099 of 2490

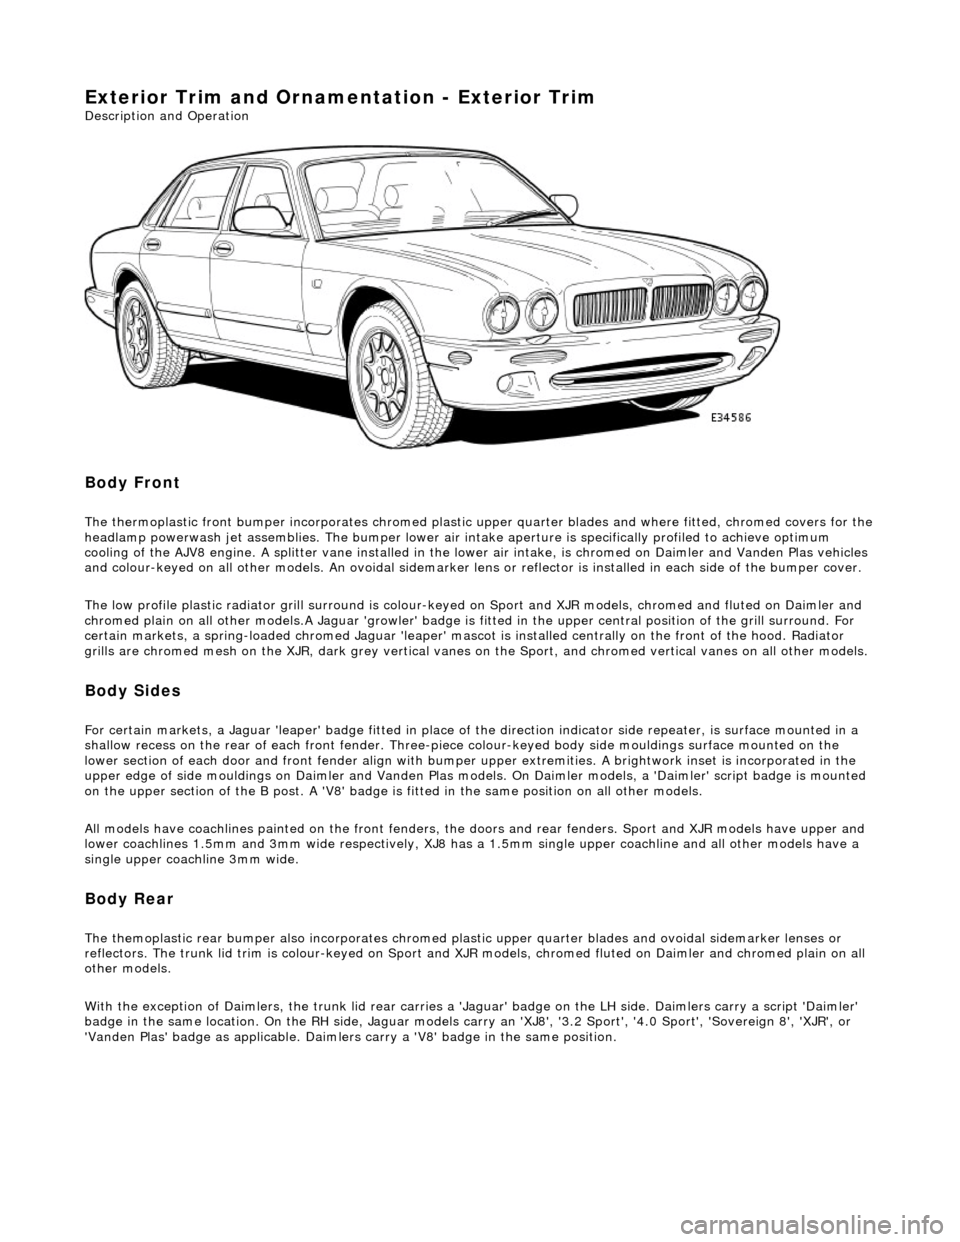
Exterior Trim and Ornamentation - Exterior Trim
Description and Operation
Body Front
The thermoplastic front bumper incorporates chromed plastic upper quarter blades and where fitted, chromed covers for the headlamp powerwash jet assemblie s. The bumper lower air intake aperture is specifically profiled to achieve optimum
cooling of the AJV8 engine. A splitter vane installed in the lowe r air intake, is chromed on Daimler and Vanden Plas vehicles
and colour-keyed on all other models. An ov oidal sidemarker lens or reflector is installed in each side of the bumper cover.
The low profile plastic radiator grill surround is colour-keyed on Sport and XJR mo dels, chromed and fluted on Daimler and
chromed plain on all other models .A Jaguar 'growler' badge is fitted in the upper central positi on of the grill surround. For
certain markets, a spring-loaded chromed Ja guar 'leaper' mascot is installed centrally on the front of the hood. Radiator
grills are chromed mesh on the XJR, dark grey vertical vanes on the Sport, and chromed ve rtical vanes on all other models.
Body Sides
For certain markets, a Jaguar 'l eaper' badge fitted in place of the direction indicator side re peater, is surface mounted in a
shallow recess on the rear of each fro nt fender. Three-piece colour-keyed body side mouldings surface mounted on the
lower section of each door and front fender align with bumper upper extremities. A brightwork inset is incorporated in the
upper edge of side mouldings on Daimler and Vanden Plas models. On Daimler models, a 'Daimler' script badge is mounted
on the upper section of the B post. A 'V8' badge is fitted in the same position on all other models.
All models have coachlines painted on th e front fenders, the doors and rear fender s. Sport and XJR models have upper and
lower coachlines 1.5mm an d 3mm wide respectively, XJ8 has a 1.5mm single upper coachline and all other models have a
single upper coachline 3mm wide.
Body Rear
The themoplastic rear bumper also inco rporates chromed plastic upper quarter blades and ovoi dal sidemarker lenses or
reflectors. The trunk lid trim is colour-keyed on Sport and XJ R models, chromed fluted on Daimler and chromed plain on all
other models.
With the exception of Daimlers, the trunk lid rear carries a 'Jaguar' badge on the LH side. Daimlers carry a script 'Daimler'
badge in the same location. On th e RH side, Jaguar models carry an 'XJ8', '3.2 Sport', '4.0 Sport', 'Sovereign 8', 'XJR', or
'Vanden Plas' badge as applic able. Daimlers carry a 'V8' badge in the same position.
Page 2105 of 2490

Exterior Trim and Ornamentation - Luggage Compartment Lid Badges
Removal and Installation
Removal
Installation
1.
Apply protective tape to area immediately surrounding and up
to the badge edge.
2. Using a thin plastic lever and a fulcrum of suitable material
positioned on the taped area, carefully ease the badge free.
3. Remove protective tape.
4. Using white spirit, remove any residual adhesive.
1. Ensure that contact area is clean and dry.
2. Remove backing sheet from badge.
3. Ensuring correct alig nment with trunk lid recess and where
applicable lock aperture and pr ess badge firmly into position.
4. Clean affected area and apply su itable polish to trunk lid and
badge.
Page 2106 of 2490

Exterior Trim and Ornamentation - Luggage Comp artment Lid Moulding
Removal and Installation
Removal
1. Remove battery cover and disc onnect ground cable from
battery terminal. Refer to 86.15.19.
2. Disconnect and remove trunk lamp assemblies. Refer to
86.45.16.
3. Remove covers from trunk latc h finisher securing bolts,
slacken and remove bolts and remove finisher.
4. Remove and discard trunk li d liner rear fasteners and
position liner for access.
5. Free trunk lid release button harness from retaining clip and
disconnect multiplug.
6. NOTE: The pressed steel fasteners fitted to Jaguar models
should be discarded on removal.
Slacken and remove nuts/fasteners securing trim finisher to
trunk lid.
Page 2107 of 2490

Installation
7. Position trim finisher for a ccess and withdraw and discard
release button harness grommet from trunk lid.
8. Remove trim finisher from trunk lid.
9. Carefully remove seal from trim finisher.
10. Slacken and remove screws securing release button assembly
to trim finisher and remove release button from finisher.
1. Fit and fully seat release button in trim finisher and fit and
tighten securing screws.
2. Apply suitable adhesive to contac t area of trim finisher and fit
and align seal to finisher.
3. Position trim finisher and pass release button harness through
trunk lid aperture.
Page 2108 of 2490

4.
Fit and fully seat a new harn ess grommet in trunk lid.
5. NOTE: Fit new pressed steel fasteners on Jaguar models.
Align and fully seat trim finisher on trunk lid and fit and fully
tighten securing nuts/fasteners.
6. Connect release button harness multiplug and position harness
in retaining clip.
7. Position and fully seat trunk li d trim pad and secure with new
fir tree fasteners.
8. Fit finisher over trunk latch, fi t and tighten securing bolts and
fit bolt covers..
9. Fit trunk lamp assemblies. Refer to 86.45.16.
10. Connect ground cable to batt ery terminal and fit battery
cover. Refer to 86.15.15.
Page 2248 of 2490

reinforcement.
44. Remove illumination control module.
1. Disconnect illumination control module harness
multiplug.
2. Slide module upwards to release it from facia.
45. Remove captive bolt retaining body processor module harness multiplug and disconnect multiplug.
46. Remove three nuts securing body processor module to facia
and remove module.
47. Turn facia around to fa ce outwards on bench.
48. Remove instrument panel veneer. Refer to 76.47.24.
49. Remove major gauge module. Refer to 88.20.24.
50. Remove and discard instrument panel veneer retaining plastic
inserts from facia.
51. Release in-car sensor/trunk release switch assembly from
facia for access and disconnect trunk release switch harness