JEEP RENEGADE 2015 1.G Manual Online
Manufacturer: JEEP, Model Year: 2015, Model line: RENEGADE, Model: JEEP RENEGADE 2015 1.GPages: 678, PDF Size: 29.84 MB
Page 81 of 678
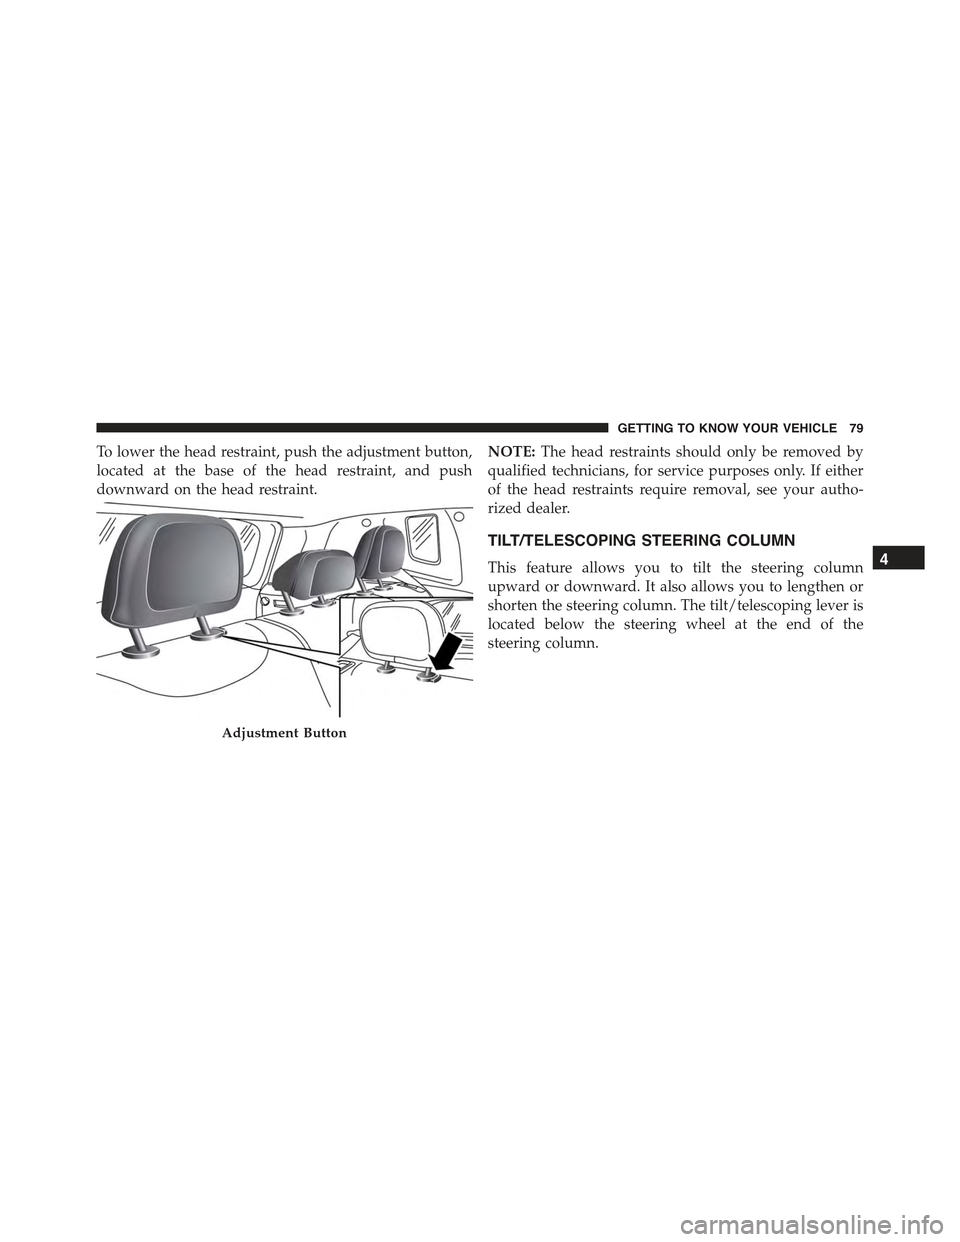
To lower the head restraint, push the adjustment button,
located at the base of the head restraint, and push
downward on the head restraint.
NOTE:The head restraints should only be removed by
qualified technicians, for service purposes only. If either
of the head restraints require removal, see your autho-
rized dealer.
TILT/TELESCOPING STEERING COLUMN
This feature allows you to tilt the steering column
upward or downward. It also allows you to lengthen or
shorten the steering column. The tilt/telescoping lever is
located below the steering wheel at the end of the
steering column.
Adjustment Button
4
GETTING TO KNOW YOUR VEHICLE 79
Page 82 of 678
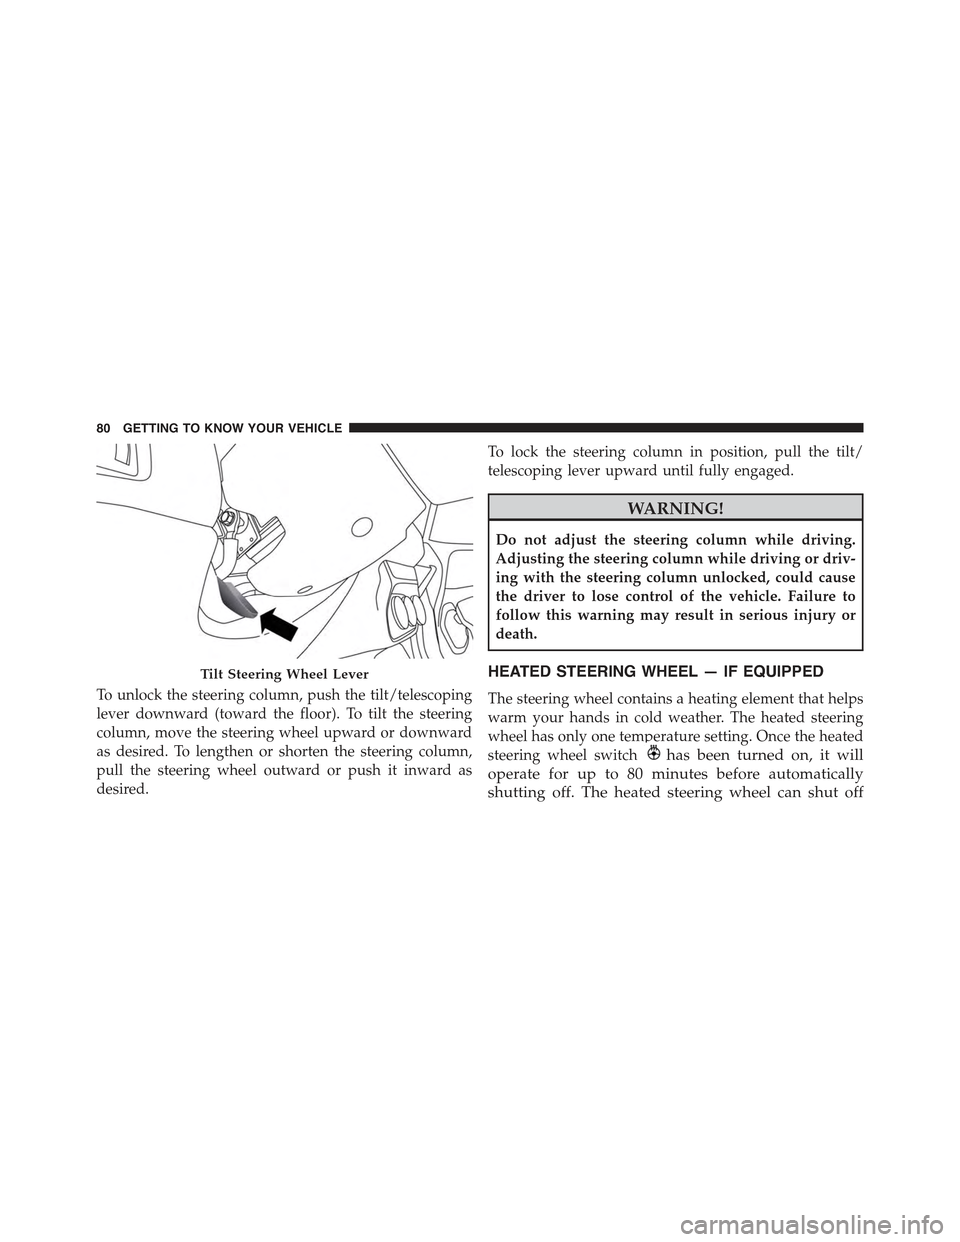
To unlock the steering column, push the tilt/telescoping
lever downward (toward the floor). To tilt the steering
column, move the steering wheel upward or downward
as desired. To lengthen or shorten the steering column,
pull the steering wheel outward or push it inward as
desired.
To lock the steering column in position, pull the tilt/
telescoping lever upward until fully engaged.
WARNING!
Do not adjust the steering column while driving.
Adjusting the steering column while driving or driv-
ing with the steering column unlocked, could cause
the driver to lose control of the vehicle. Failure to
follow this warning may result in serious injury or
death.
HEATED STEERING WHEEL — IF EQUIPPED
The steering wheel contains a heating element that helps
warm your hands in cold weather. The heated steering
wheel has only one temperature setting. Once the heated
steering wheel switchhas been turned on, it will
operate for up to 80 minutes before automatically
shutting off. The heated steering wheel can shut off
Tilt Steering Wheel Lever
80 GETTING TO KNOW YOUR VEHICLE
Page 83 of 678
early or may not turn on when the steering wheel is
already warm. The heated steering wheel control
button is located on the center of the instrument panel
below the radio screen.
WARNING!
•Persons who are unable to feel pain to the skin
because of advanced age, chronic illness, diabetes,
spinal cord injury, medication, alcohol use, exhaus-
tion, or other physical conditions must exercise
care when using the steering wheel heater. It may
cause burns even at low temperatures, especially if
used for long periods.
•Do not place anything on the steering wheel that
insulates against heat, such as a blanket or steering
wheel covers of any type and material. This may
cause the steering wheel heater to overheat.
REAR-VIEW MIRRORS
Inside Day/Night Mirror
The mirror can be adjusted up, down, left, and right. The
mirror should be adjusted to center on the view through
the rear window. Headlight glare from vehicles behind
you can be reduced by moving the lever under the mirror
to the night position (toward the rear of the vehicle). The
mirror should be adjusted while the lever under the
mirror is set in the day position (toward the windshield).
4
GETTING TO KNOW YOUR VEHICLE 81
Page 84 of 678
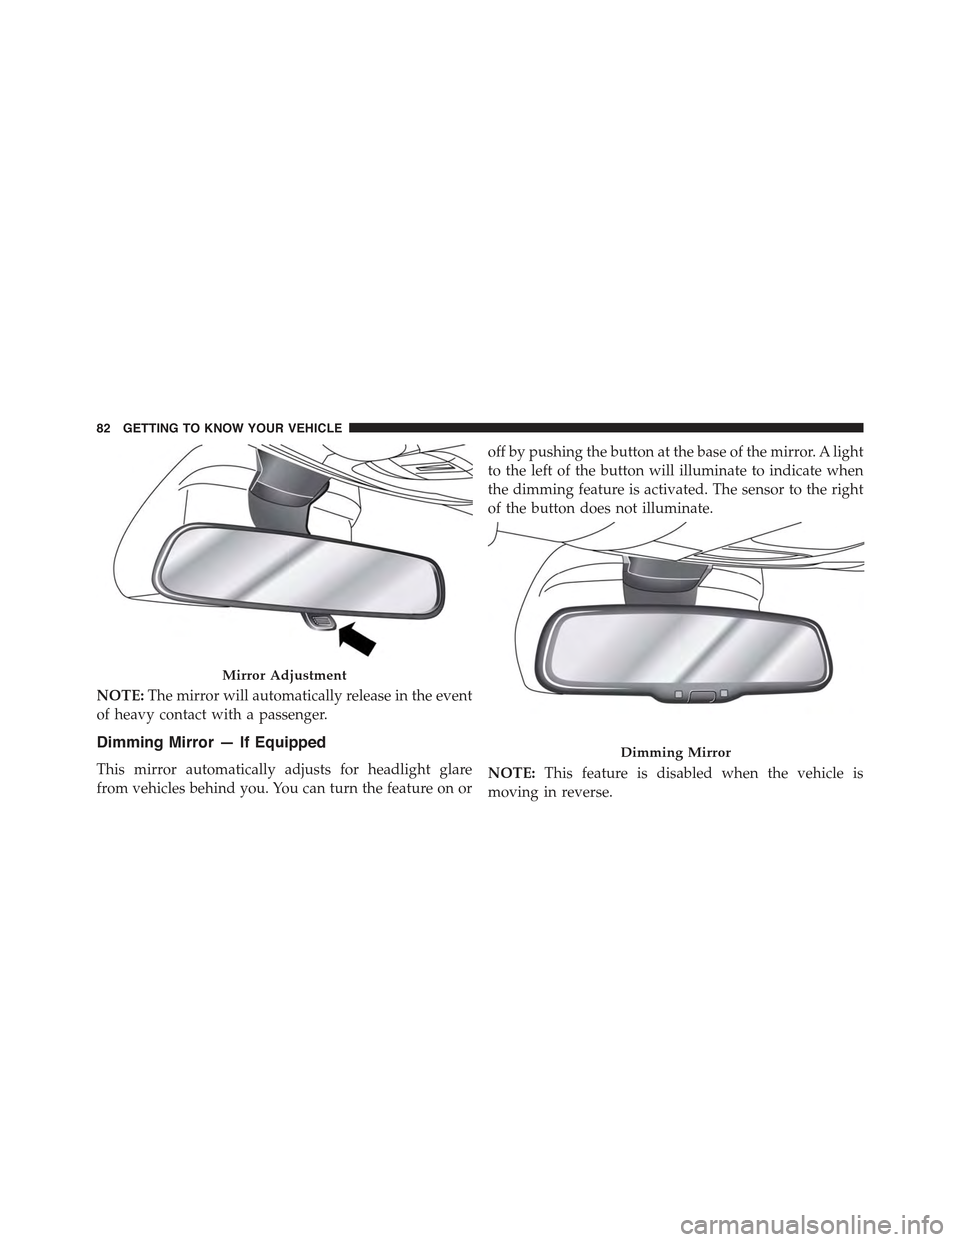
NOTE:The mirror will automatically release in the event
of heavy contact with a passenger.
Dimming Mirror — If Equipped
This mirror automatically adjusts for headlight glare
from vehicles behind you. You can turn the feature on or
off by pushing the button at the base of the mirror. A light
to the left of the button will illuminate to indicate when
the dimming feature is activated. The sensor to the right
of the button does not illuminate.
NOTE:This feature is disabled when the vehicle is
moving in reverse.
Mirror Adjustment
Dimming Mirror
82 GETTING TO KNOW YOUR VEHICLE
Page 85 of 678
Outside Mirrors
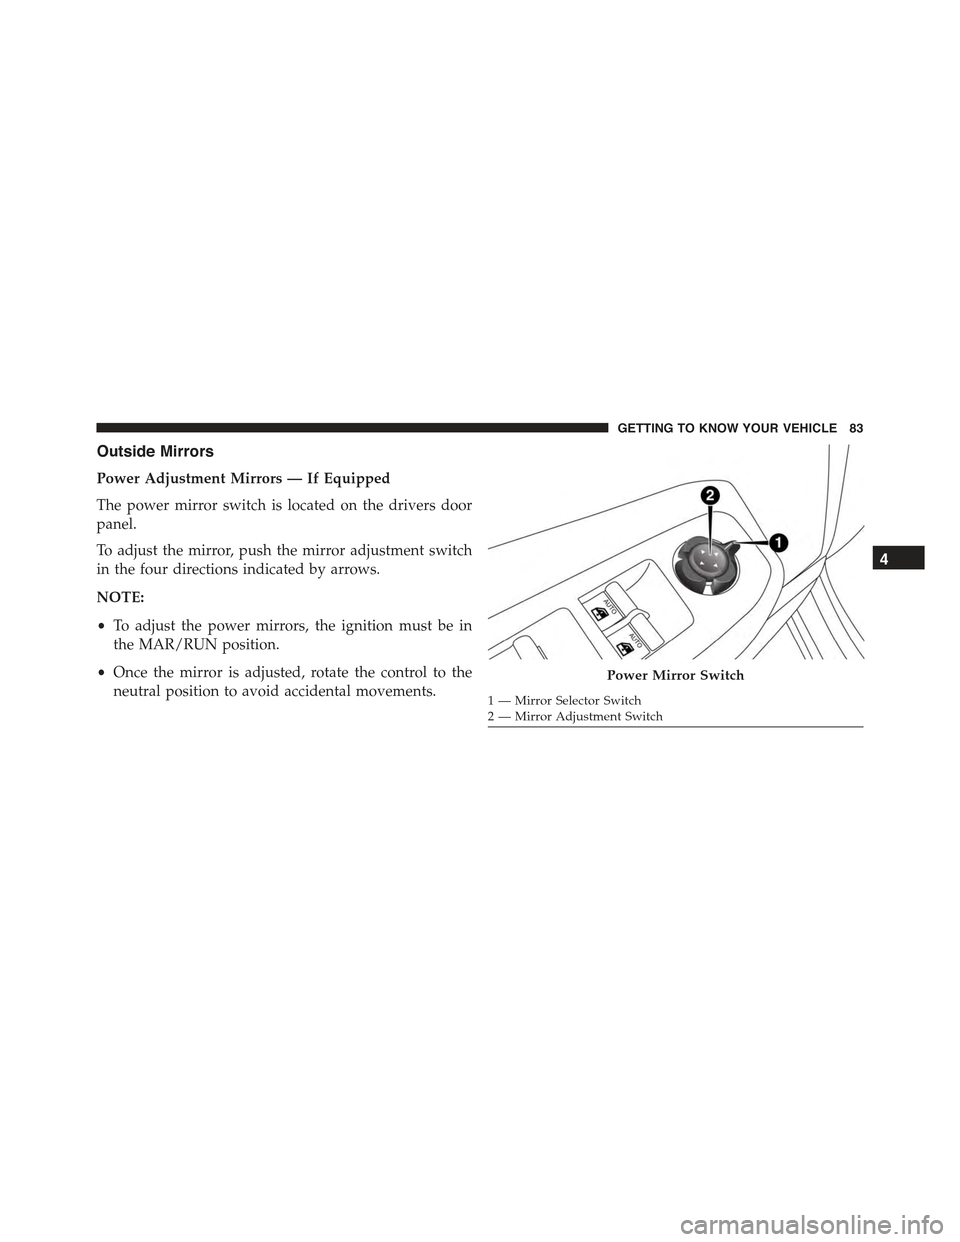
Power Adjustment Mirrors — If Equipped
The power mirror switch is located on the drivers door
panel.
To adjust the mirror, push the mirror adjustment switch
in the four directions indicated by arrows.
NOTE:
•To adjust the power mirrors, the ignition must be in
the MAR/RUN position.
•Once the mirror is adjusted, rotate the control to the
neutral position to avoid accidental movements.
Power Mirror Switch
1 — Mirror Selector Switch2 — Mirror Adjustment Switch
4
GETTING TO KNOW YOUR VEHICLE 83
Page 86 of 678
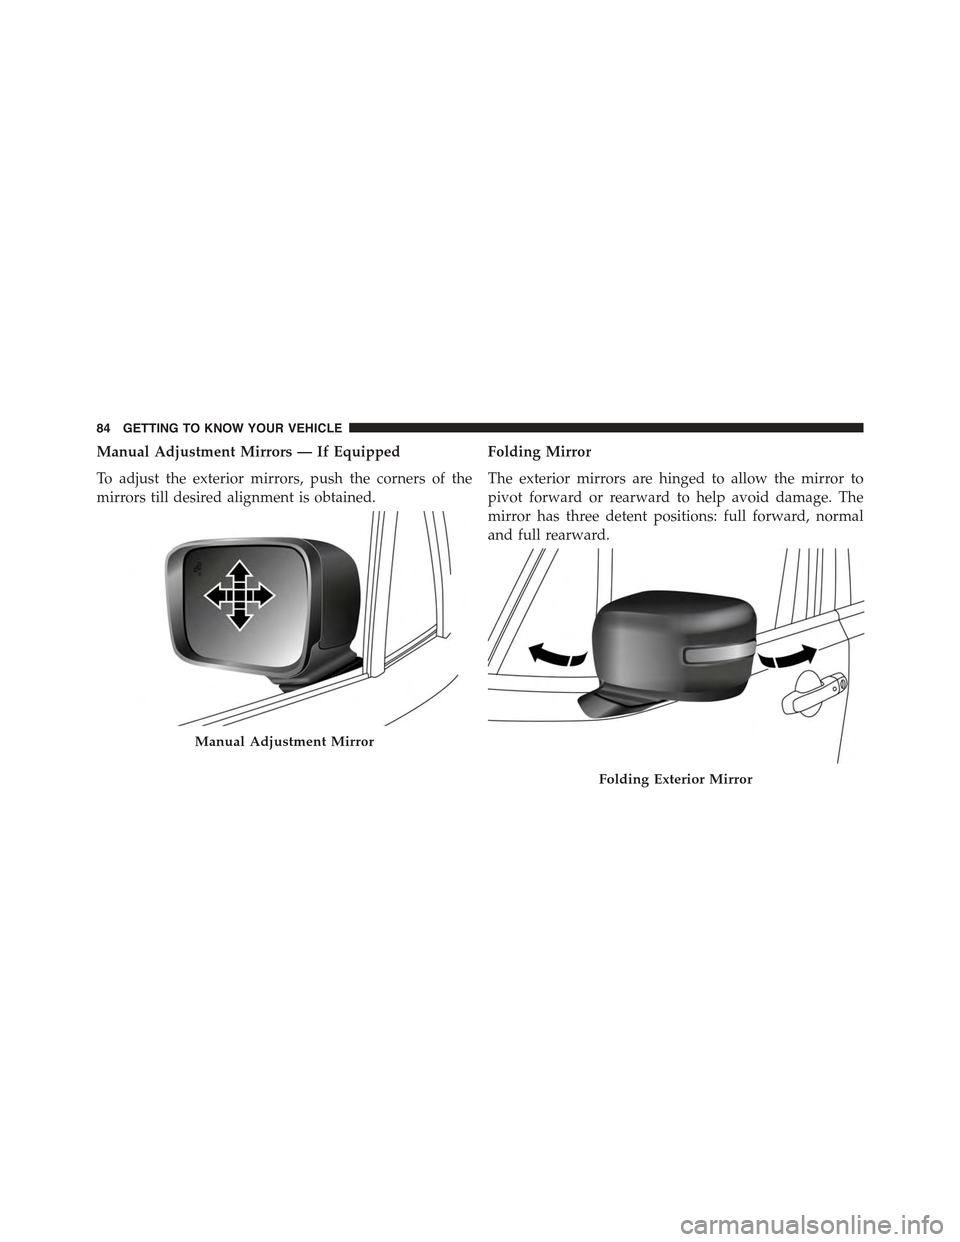
Manual Adjustment Mirrors — If Equipped
To adjust the exterior mirrors, push the corners of the
mirrors till desired alignment is obtained.
Folding Mirror
The exterior mirrors are hinged to allow the mirror to
pivot forward or rearward to help avoid damage. The
mirror has three detent positions: full forward, normal
and full rearward.
Manual Adjustment Mirror
Folding Exterior Mirror
84 GETTING TO KNOW YOUR VEHICLE
Page 87 of 678
Heated Mirrors — If Equipped
These mirrors are heated to melt frost or ice. This
feature can be activated whenever you turn on the
Rear Window Defroster.
BLIND SPOT MONITORING (BSM) — IF
EQUIPPED
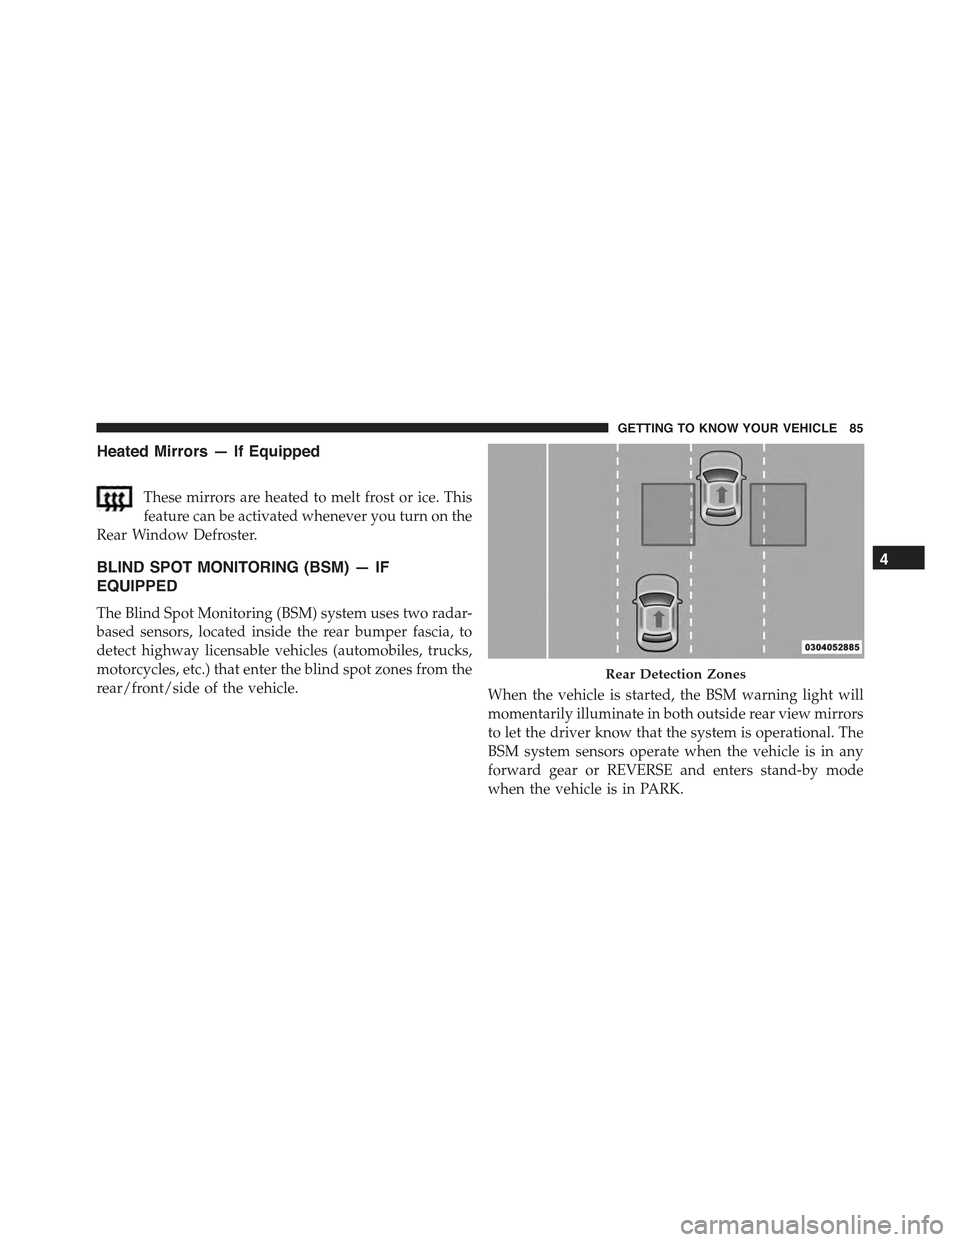
The Blind Spot Monitoring (BSM) system uses two radar-
based sensors, located inside the rear bumper fascia, to
detect highway licensable vehicles (automobiles, trucks,
motorcycles, etc.) that enter the blind spot zones from the
rear/front/side of the vehicle.When the vehicle is started, the BSM warning light will
momentarily illuminate in both outside rear view mirrors
to let the driver know that the system is operational. The
BSM system sensors operate when the vehicle is in any
forward gear or REVERSE and enters stand-by mode
when the vehicle is in PARK.
Rear Detection Zones
4
GETTING TO KNOW YOUR VEHICLE 85
Page 88 of 678
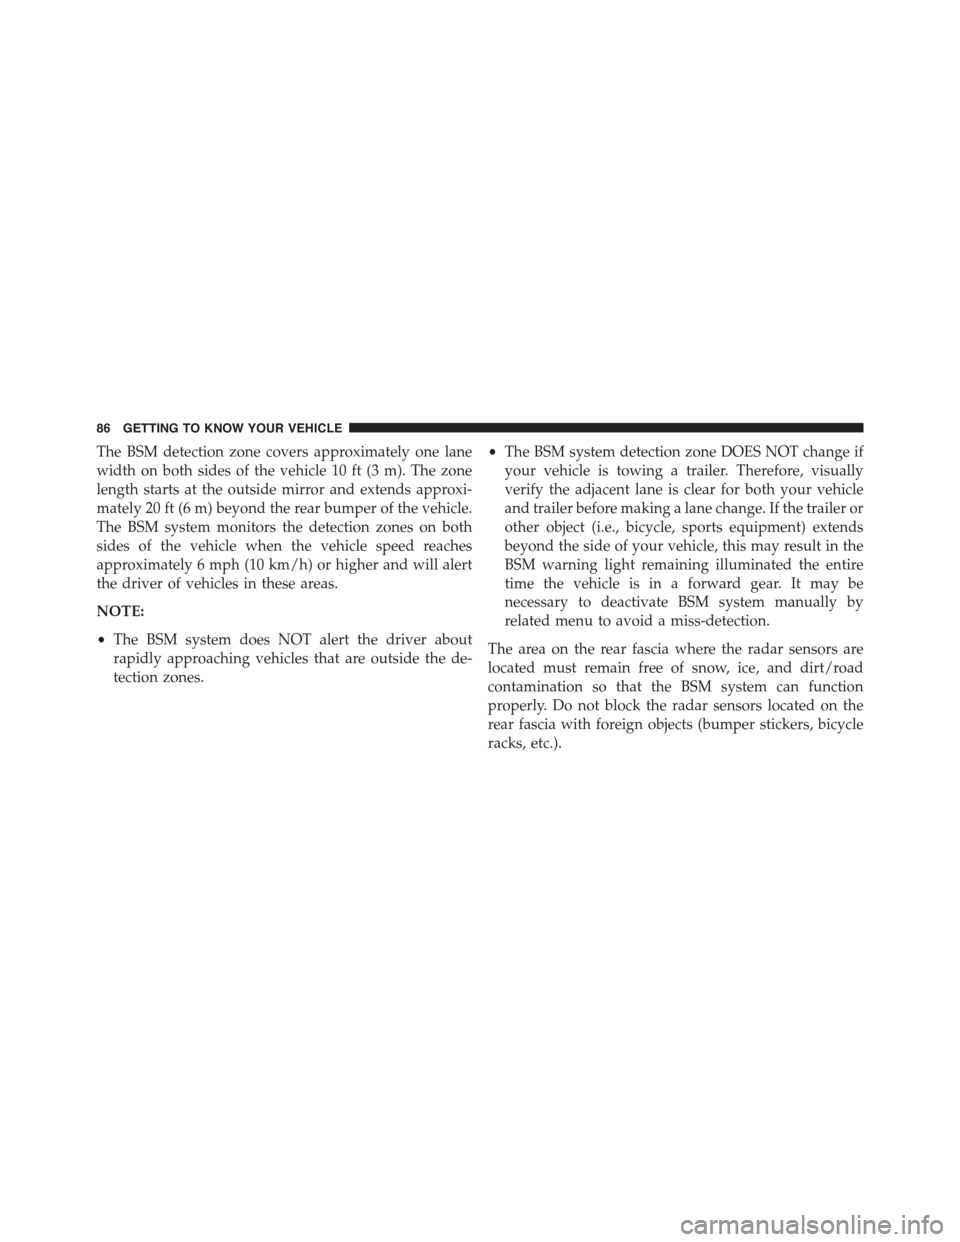
The BSM detection zone covers approximately one lane
width on both sides of the vehicle 10 ft (3 m). The zone
length starts at the outside mirror and extends approxi-
mately 20 ft (6 m) beyond the rear bumper of the vehicle.
The BSM system monitors the detection zones on both
sides of the vehicle when the vehicle speed reaches
approximately 6 mph (10 km/h) or higher and will alert
the driver of vehicles in these areas.
NOTE:
•The BSM system does NOT alert the driver about
rapidly approaching vehicles that are outside the de-
tection zones.
•The BSM system detection zone DOES NOT change if
your vehicle is towing a trailer. Therefore, visually
verify the adjacent lane is clear for both your vehicle
and trailer before making a lane change. If the trailer or
other object (i.e., bicycle, sports equipment) extends
beyond the side of your vehicle, this may result in the
BSM warning light remaining illuminated the entire
time the vehicle is in a forward gear. It may be
necessary to deactivate BSM system manually by
related menu to avoid a miss-detection.
The area on the rear fascia where the radar sensors are
located must remain free of snow, ice, and dirt/road
contamination so that the BSM system can function
properly. Do not block the radar sensors located on the
rear fascia with foreign objects (bumper stickers, bicycle
racks, etc.).
86 GETTING TO KNOW YOUR VEHICLE
Page 89 of 678
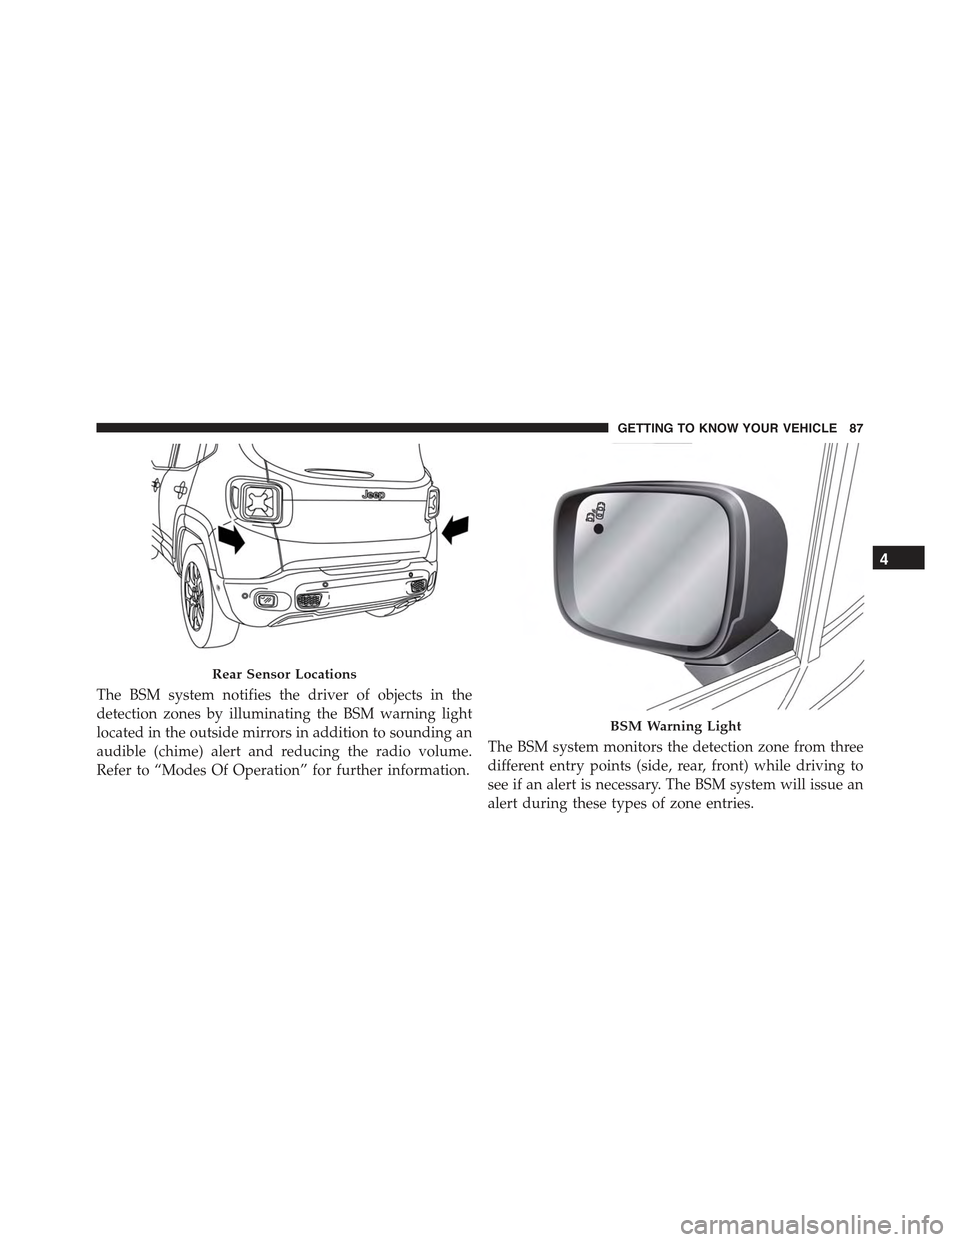
The BSM system notifies the driver of objects in the
detection zones by illuminating the BSM warning light
located in the outside mirrors in addition to sounding an
audible (chime) alert and reducing the radio volume.
Refer to “Modes Of Operation” for further information.
The BSM system monitors the detection zone from three
different entry points (side, rear, front) while driving to
see if an alert is necessary. The BSM system will issue an
alert during these types of zone entries.
Rear Sensor Locations
BSM Warning Light
4
GETTING TO KNOW YOUR VEHICLE 87
Page 90 of 678
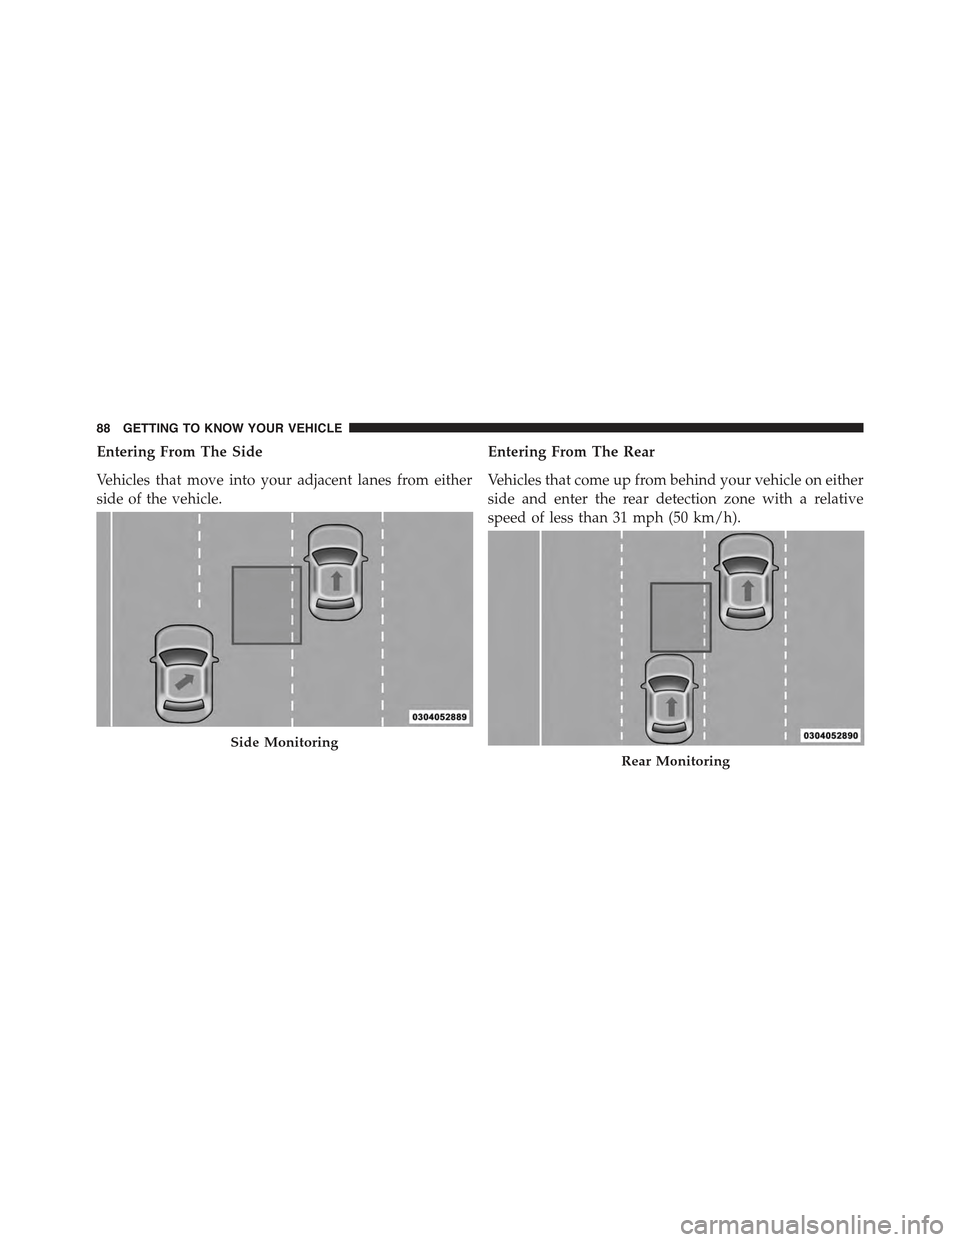
Entering From The Side
Vehicles that move into your adjacent lanes from either
side of the vehicle.
Entering From The Rear
Vehicles that come up from behind your vehicle on either
side and enter the rear detection zone with a relative
speed of less than 31 mph (50 km/h).
Side Monitoring
Rear Monitoring
88 GETTING TO KNOW YOUR VEHICLE