KIA Sorento 2006 1.G Owners Manual
Manufacturer: KIA, Model Year: 2006, Model line: Sorento, Model: KIA Sorento 2006 1.GPages: 312, PDF Size: 5.21 MB
Page 91 of 312
ELECTRICAL POWER
OUTLET (IF EQUIPPED)
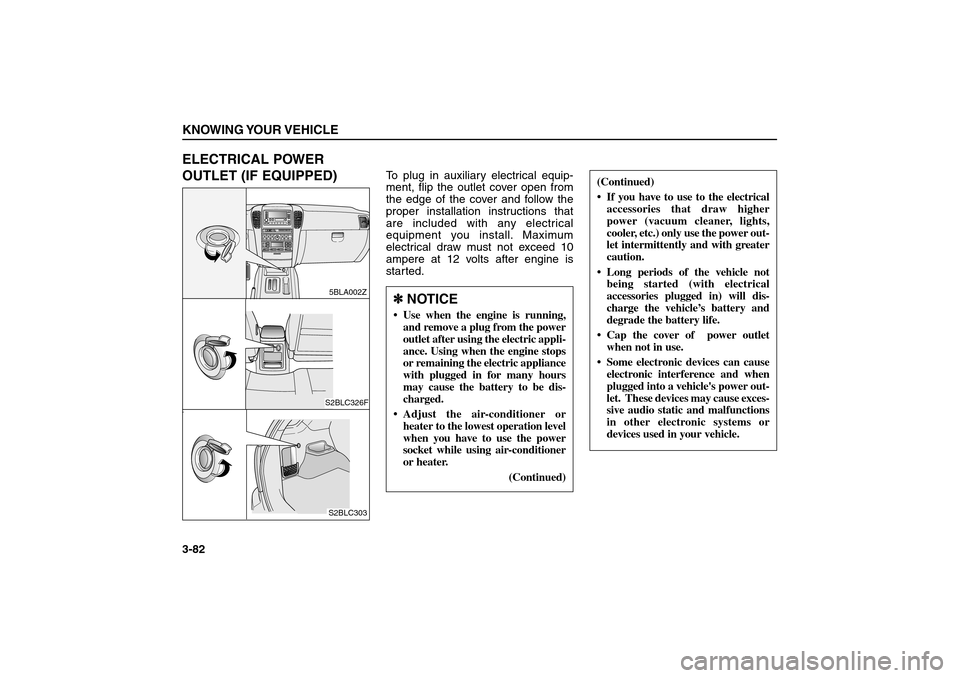
To plug in auxiliary electrical equip-
ment, flip the outlet cover open from
the edge of the cover and follow the
proper installation instructions that
are included with any electrical
equipment you install. Maximum
electrical draw must not exceed 10
ampere at 12 volts after engine is
started.
KNOWING YOUR VEHICLE3-82
P
R
N
D2LH
M
5BLA002ZS2BLC326FS2BLC303
(Continued)
If you have to use to the electrical
accessories that draw higher
power (vacuum cleaner, lights,
cooler, etc.) only use the power out-
let intermittently and with greater
caution.
Long periods of the vehicle not
being started (with electrical
accessories plugged in) will dis-
charge the vehicle’s battery and
degrade the battery life.
Cap the cover of power outlet
when not in use.
Some electronic devices can cause
electronic interference and when
plugged into a vehicle's power out-
let. These devices may cause exces-
sive audio static and malfunctions
in other electronic systems or
devices used in your vehicle.
✽ ✽
NOTICE Use when the engine is running,
and remove a plug from the power
outlet after using the electric appli-
ance. Using when the engine stops
or remaining the electric appliance
with plugged in for many hours
may cause the battery to be dis-
charged.
Adjust the air-conditioner or
heater to the lowest operation level
when you have to use the power
socket while using air-conditioner
or heater.
(Continued)
BL-ENG (CAN)-3.qxd 7/28/05 5:52 PM Page 82
Page 92 of 312
SUNROOF (IF EQUIPPED)If your vehicle is equipped with this
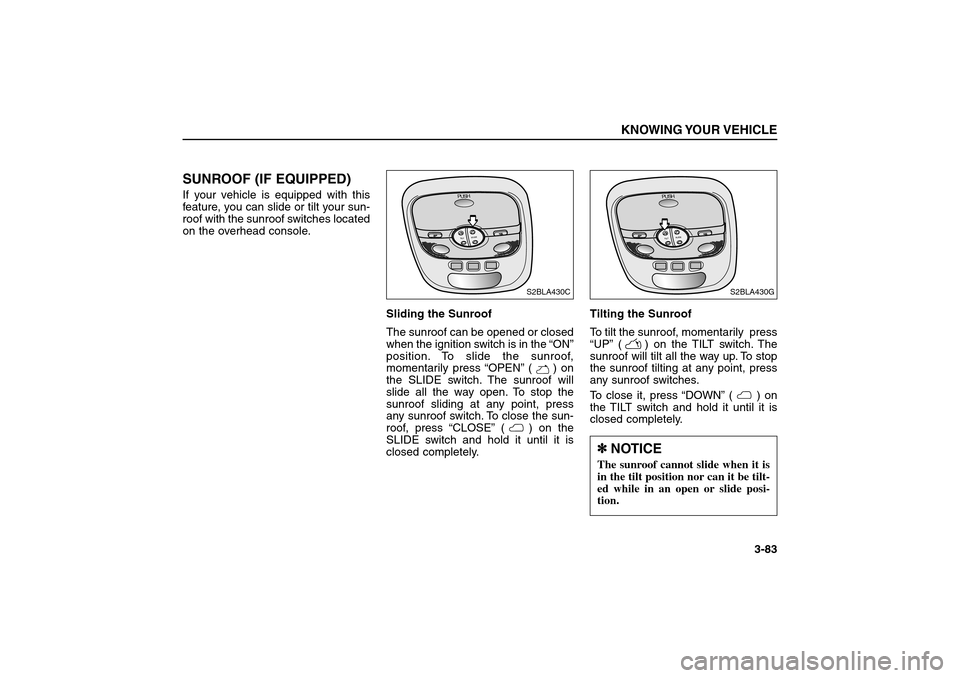
feature, you can slide or tilt your sun-
roof with the sunroof switches located
on the overhead console.
Sliding the Sunroof
The sunroof can be opened or closed
when the ignition switch is in the “ON”
position. To slide the sunroof,
momentarily press “OPEN”() on
the SLIDE switch. The sunroof will
slide all the way open. To stop the
sunroof sliding at any point, press
any sunroof switch. To close the sun-
roof, press “CLOSE”( ) on the
SLIDE switch and hold it until it is
closed completely.Tilting the Sunroof
To tilt the sunroof, momentarily press
“UP”( ) on the TILT switch. The
sunroof will tilt all the way up. To stop
the sunroof tilting at any point, press
any sunroof switches.
To close it, press “DOWN”() on
the TILT switch and hold it until it is
closed completely.
KNOWING YOUR VEHICLE
3-83
PUSHTILTSLIDE
S2BLA430C
PUSHTILTSLIDE
S2BLA430G
✽ ✽
NOTICEThe sunroof cannot slide when it is
in the tilt position nor can it be tilt-
ed while in an open or slide posi-
tion.
BL-ENG (CAN)-3.qxd 7/28/05 5:52 PM Page 83
Page 93 of 312
Sunshade
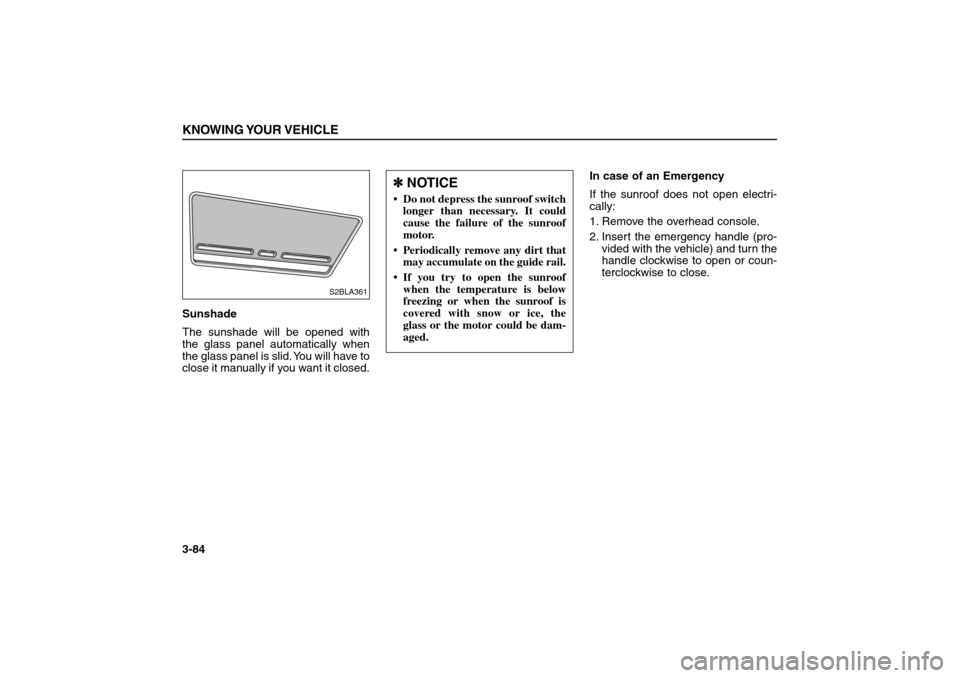
The sunshade will be opened with
the glass panel automatically when
the glass panel is slid. You will have to
close it manually if you want it closed.In case of an Emergency
If the sunroof does not open electri-
cally:
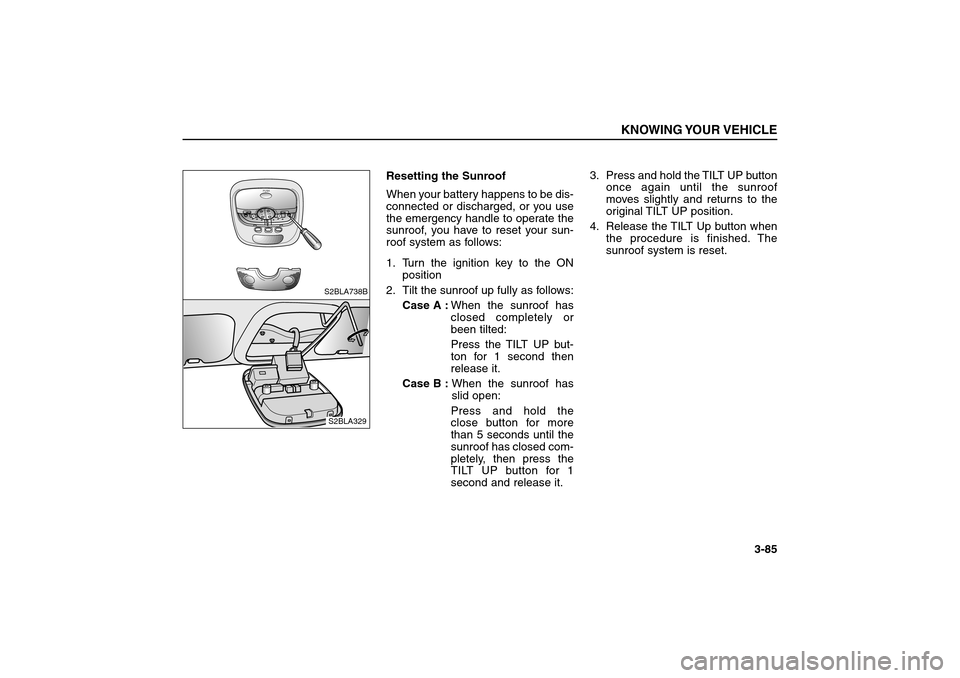
1. Remove the overhead console.
2. Insert the emergency handle (pro-
vided with the vehicle) and turn the
handle clockwise to open or coun-
terclockwise to close.KNOWING YOUR VEHICLE3-84
S2BLA361
✽ ✽
NOTICE Do not depress the sunroof switch
longer than necessary. It could
cause the failure of the sunroof
motor.
Periodically remove any dirt that
may accumulate on the guide rail.
If you try to open the sunroof
when the temperature is below
freezing or when the sunroof is
covered with snow or ice, the
glass or the motor could be dam-
aged.
BL-ENG (CAN)-3.qxd 7/28/05 5:52 PM Page 84
Page 94 of 312
Resetting the Sunroof
When your battery happens to be dis-
connected or discharged, or you use
the emergency handle to operate the
sunroof, you have to reset your sun-
roof system as follows:
1. Turn the ignition key to the ON
position
2. Tilt the sunroof up fully as follows:
Case A :When the sunroof has
closed completely or
been tilted:
Press the TILT UP but-
ton for 1 second then
release it.
Case B :When the sunroof has
slid open:
Press and hold the
close button for more
than 5 seconds until the
sunroof has closed com-
pletely, then press the
TILT UP button for 1
second and release it.3. Press and hold the TILT UP button
once again until the sunroof
moves slightly and returns to the
original TILT UP position.
4. Release the TILT Up button when
the procedure is finished. The
sunroof system is reset.
KNOWING YOUR VEHICLE
3-85
PUSHTILTSLIDE
S2BLA738BS2BLA329
BL-ENG (CAN)-3.qxd 7/28/05 5:52 PM Page 85
Page 95 of 312
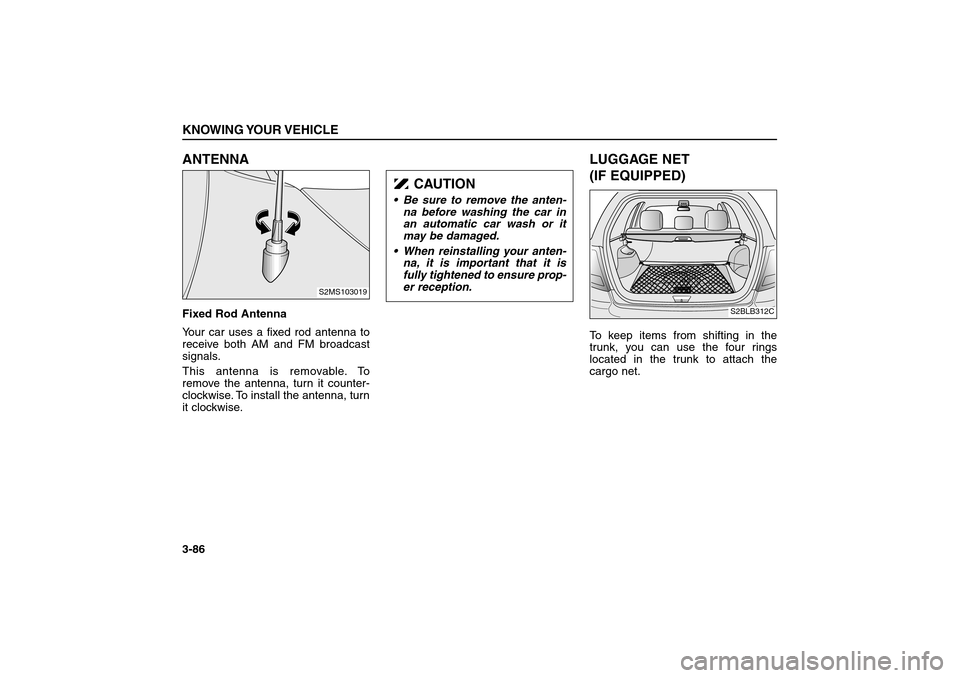
ANTENNA Fixed Rod Antenna
Your car uses a fixed rod antenna to
receive both AM and FM broadcast
signals.
This antenna is removable. To
remove the antenna, turn it counter-
clockwise. To install the antenna, turn
it clockwise.
LUGGAGE NET
(IF EQUIPPED)To keep items from shifting in the
trunk, you can use the four rings
located in the trunk to attach the
cargo net.
KNOWING YOUR VEHICLE3-86
S2MS103019
S2BLB312C
CAUTION
Be sure to remove the anten-
na before washing the car in
an automatic car wash or it
may be damaged.
When reinstalling your anten-
na, it is important that it is
fully tightened to ensure prop-
er reception.
BL-ENG (CAN)-3.qxd 7/28/05 5:52 PM Page 86
Page 96 of 312
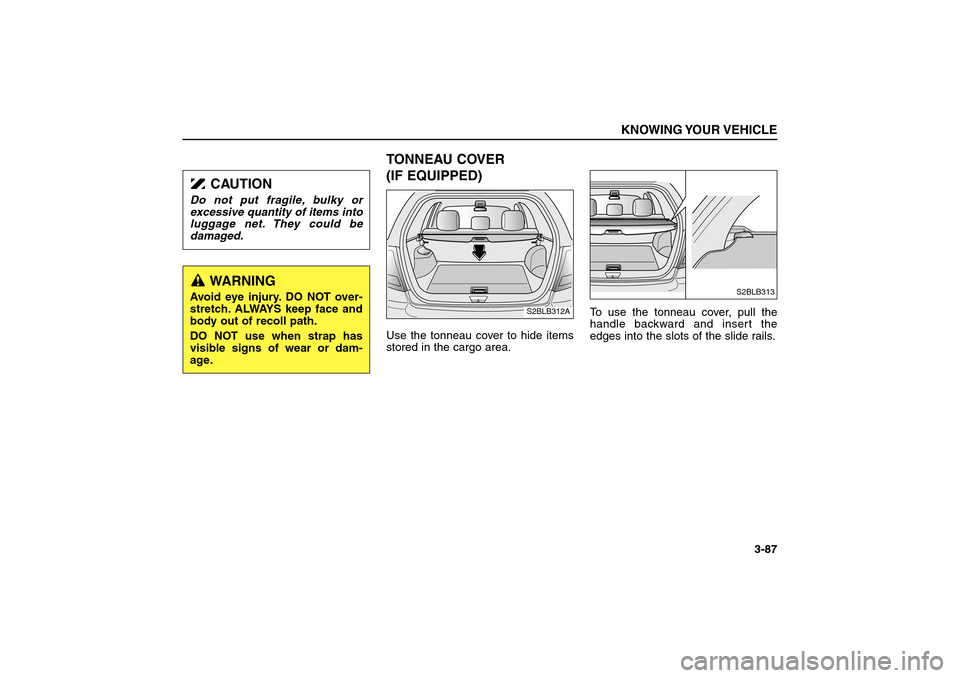
TONNEAU COVER
(IF EQUIPPED)Use the tonneau cover to hide items
stored in the cargo area.To use the tonneau cover, pull the
handle backward and insert the
edges into the slots of the slide rails.
KNOWING YOUR VEHICLE
3-87
S2BLB312A
CAUTION
Do not put fragile, bulky or
excessive quantity of items into
luggage net. They could be
damaged.
S2BLB313
WARNING
Avoid eye injury. DO NOT over-
stretch. ALWAYS keep face and
body out of recoll path.
DO NOT use when strap has
visible signs of wear or dam-
age.
BL-ENG (CAN)-3.qxd 7/28/05 5:52 PM Page 87
Page 97 of 312
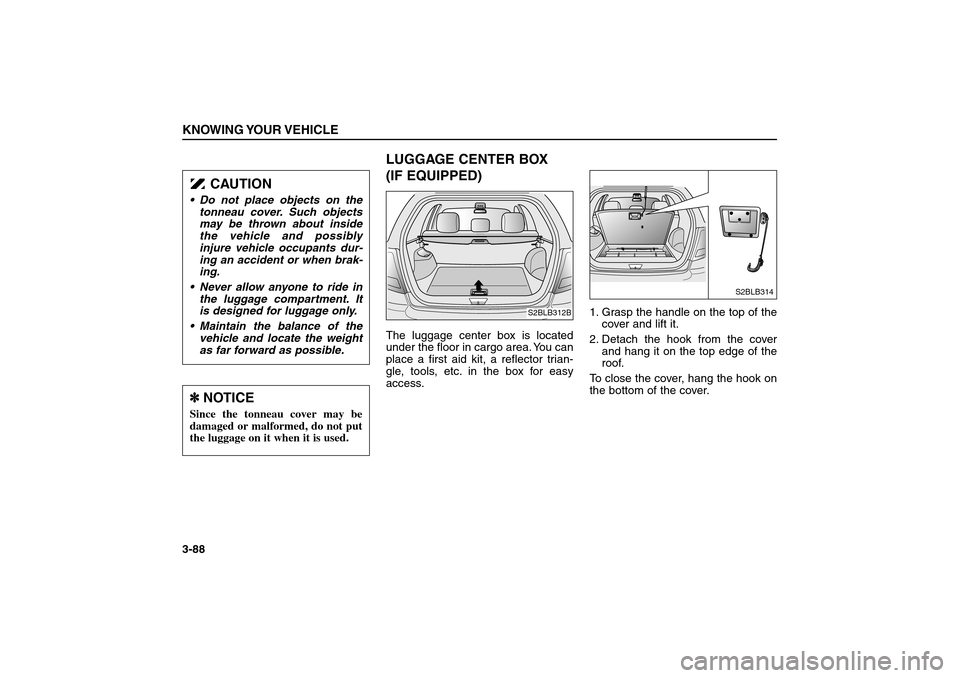
LUGGAGE CENTER BOX
(IF EQUIPPED)The luggage center box is located
under the floor in cargo area. You can
place a first aid kit, a reflector trian-
gle, tools, etc. in the box for easy
access.1. Grasp the handle on the top of the
cover and lift it.
2. Detach the hook from the cover
and hang it on the top edge of the
roof.
To close the cover, hang the hook on
the bottom of the cover.
KNOWING YOUR VEHICLE3-88
S2BLB312B
S2BLB314
CAUTION
Do not place objects on the
tonneau cover. Such objects
may be thrown about inside
the vehicle and possibly
injure vehicle occupants dur-
ing an accident or when brak-
ing.
Never allow anyone to ride in
the luggage compartment. It
is designed for luggage only.
Maintain the balance of the
vehicle and locate the weight
as far forward as possible.✽ ✽
NOTICESince the tonneau cover may be
damaged or malformed, do not put
the luggage on it when it is used.
BL-ENG (CAN)-3.qxd 7/28/05 5:52 PM Page 88
Page 98 of 312
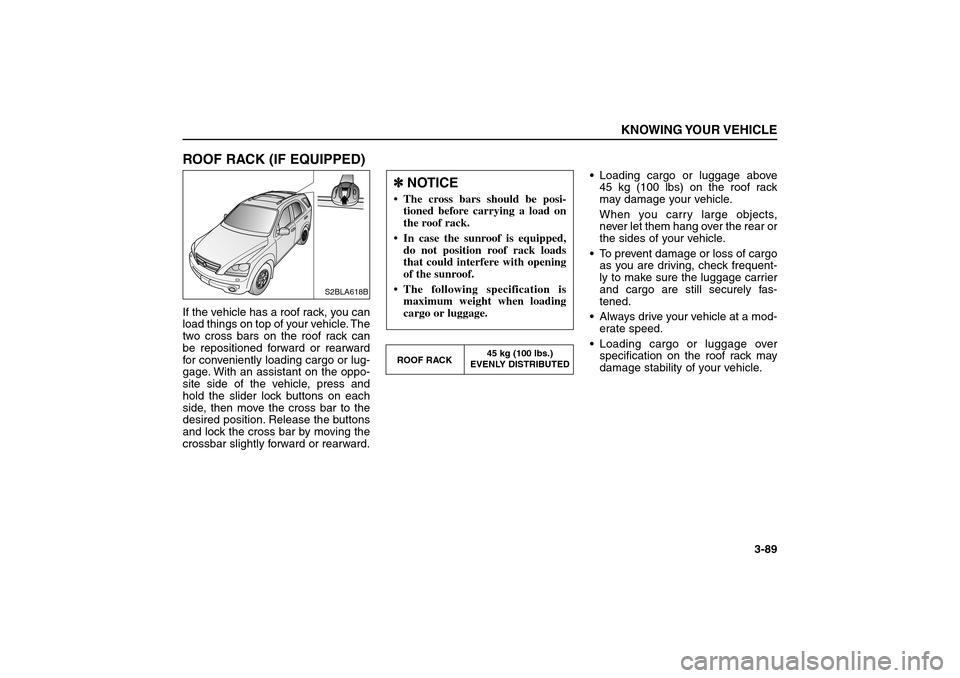
ROOF RACK (IF EQUIPPED)If the vehicle has a roof rack, you can
load things on top of your vehicle. The
two cross bars on the roof rack can
be repositioned forward or rearward
for conveniently loading cargo or lug-
gage. With an assistant on the oppo-
site side of the vehicle, press and
hold the slider lock buttons on each
side, then move the cross bar to the
desired position. Release the buttons
and lock the cross bar by moving the
crossbar slightly forward or rearward.Loading cargo or luggage above
45 kg (100 lbs) on the roof rack
may damage your vehicle.
When you carry large objects,
never let them hang over the rear or
the sides of your vehicle.
To prevent damage or loss of cargo
as you are driving, check frequent-
ly to make sure the luggage carrier
and cargo are still securely fas-
tened.
Always drive your vehicle at a mod-
erate speed.
Loading cargo or luggage over
specification on the roof rack may
damage stability of your vehicle.
KNOWING YOUR VEHICLE
3-89
S2BLA618B
ROOF RACK45 kg (100 lbs.)
EVENLY DISTRIBUTED✽ ✽
NOTICE The cross bars should be posi-
tioned before carrying a load on
the roof rack.
In case the sunroof is equipped,
do not position roof rack loads
that could interfere with opening
of the sunroof.
The following specification is
maximum weight when loading
cargo or luggage.
BL-ENG (CAN)-3.qxd 7/28/05 5:52 PM Page 89
Page 99 of 312
4-1
DRIVING YOUR VEHICLEIgnition Switch . . . . . . . . . . . . . . . . . . . . . . . . . . . . . . . . . . . . 4-2
Starting the Gasoline Engine . . . . . . . . . . . . . . . . . . . . . . . . 4-4
Manual Transmission . . . . . . . . . . . . . . . . . . . . . . . . . . . . . . . 4-7
Automatic Transmission . . . . . . . . . . . . . . . . . . . . . . . . . . . . 4-9
Four Wheel Drive(4WD) . . . . . . . . . . . . . . . . . . . . . . . . . . . . 4-20
Limited Slip Differential . . . . . . . . . . . . . . . . . . . . . . . . . . . . 4-30
Brake System . . . . . . . . . . . . . . . . . . . . . . . . . . . . . . . . . . . . 4-30
Power Steering . . . . . . . . . . . . . . . . . . . . . . . . . . . . . . . . . . . 4-37
Cruise Control . . . . . . . . . . . . . . . . . . . . . . . . . . . . . . . . . . . 4-38
Instrument Cluster . . . . . . . . . . . . . . . . . . . . . . . . . . . . . . . 4-41
Gauges . . . . . . . . . . . . . . . . . . . . . . . . . . . . . . . . . . . . . . . . . 4-43
Warnings and Indicators . . . . . . . . . . . . . . . . . . . . . . . . . . . 4-45
Multi-Meter . . . . . . . . . . . . . . . . . . . . . . . . . . . . . . . . . . . . . . 4-52
Lighting . . . . . . . . . . . . . . . . . . . . . . . . . . . . . . . . . . . . . . . . 4-58
Wipers and Washers . . . . . . . . . . . . . . . . . . . . . . . . . . . . . . 4-62
Defroster . . . . . . . . . . . . . . . . . . . . . . . . . . . . . . . . . . . . . . . . 4-65
Hazard Warning Flasher . . . . . . . . . . . . . . . . . . . . . . . . . . . . 4-66
Interior Features . . . . . . . . . . . . . . . . . . . . . . . . . . . . . . . . . . 4-67
Manual Climate Control System . . . . . . . . . . . . . . . . . . . . . 4-71
Automatic Climate Control System . . . . . . . . . . . . . . . . . . . 4-79
Windshield Defrosting and Defogging (Manual type) . . . . . 4-86
Windshield Defrosting and Defogging (Automatic type) . . 4-88
4
BL-ENG (CAN)-4.qxd 7/28/05 5:55 PM Page 1
Page 100 of 312
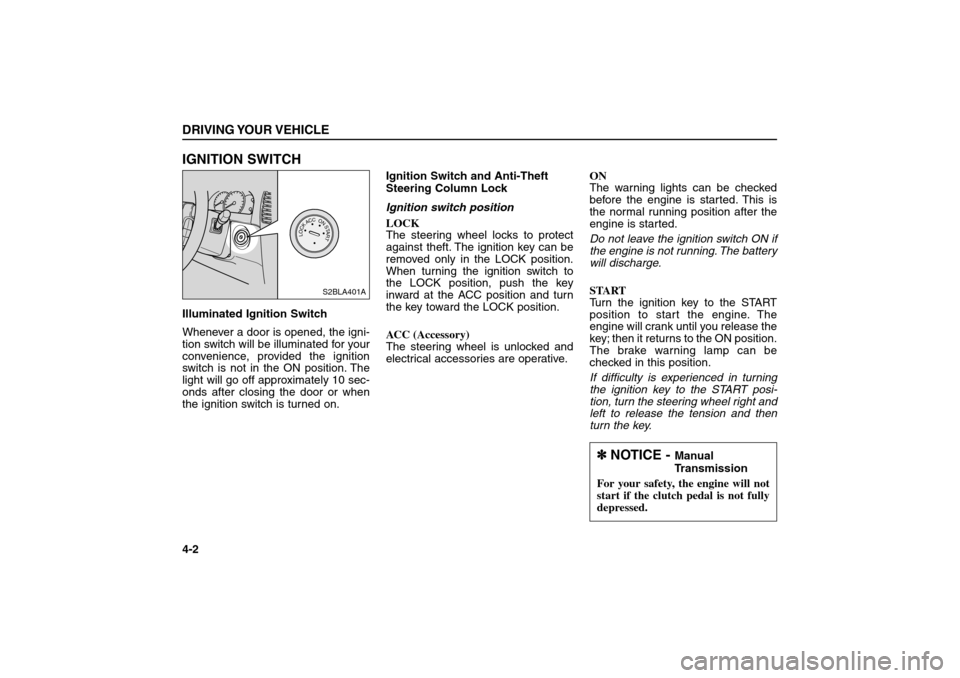
IGNITION SWITCHIlluminated Ignition Switch
Whenever a door is opened, the igni-
tion switch will be illuminated for your
convenience, provided the ignition
switch is not in the ON position. The
light will go off approximately 10 sec-
onds after closing the door or when
the ignition switch is turned on.Ignition Switch and Anti-Theft
Steering Column Lock
Ignition switch position
LOCK
The steering wheel locks to protect
against theft. The ignition key can be
removed only in the LOCK position.
When turning the ignition switch to
the LOCK position, push the key
inward at the ACC position and turn
the key toward the LOCK position.
ACC (Accessory)
The steering wheel is unlocked and
electrical accessories are operative.ON
The warning lights can be checked
before the engine is started. This is
the normal running position after the
engine is started.
Do not leave the ignition switch ON if
the engine is not running. The battery
will discharge.
START
Turn the ignition key to the START
position to start the engine. The
engine will crank until you release the
key; then it returns to the ON position.
The brake warning lamp can be
checked in this position.
If difficulty is experienced in turning
the ignition key to the START posi-
tion, turn the steering wheel right and
left to release the tension and then
turn the key.DRIVING YOUR VEHICLE4-2
PUSH
LOCKACCONSTARTS2BLA401A
✽ ✽
NOTICE -
Manual
Transmission
For your safety, the engine will not
start if the clutch pedal is not fully
depressed.
BL-ENG (CAN)-4.qxd 7/28/05 5:55 PM Page 2