MERCEDES-BENZ G-Class 2009 W463 Owner's Manual
Manufacturer: MERCEDES-BENZ, Model Year: 2009, Model line: G-Class, Model: MERCEDES-BENZ G-Class 2009 W463Pages: 264, PDF Size: 6.98 MB
Page 101 of 264
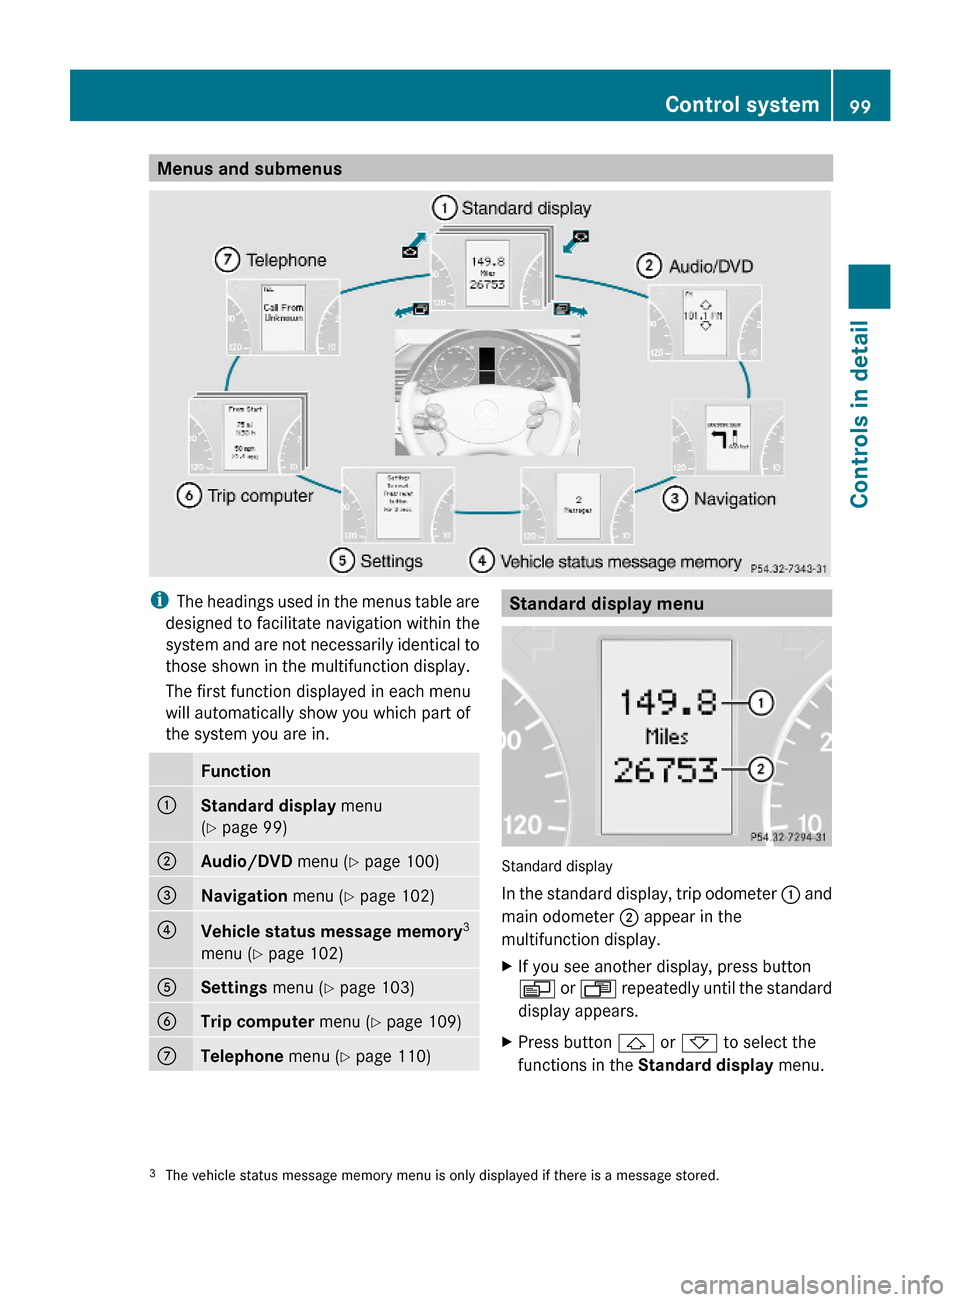
Menus and submenusiThe headings used in the menus table are
designed to facilitate navigation within the
system and are not necessarily identical to
those shown in the multifunction display.
The first function displayed in each menu
will automatically show you which part of
the system you are in.
Function:Standard display menu
(Y page 99)
;Audio/DVD menu (Y page 100)=Navigation menu (Y page 102)?Vehicle status message memory3
menu (Y page 102)
ASettings menu (Y page 103)BTrip computer menu (Y page 109)CTelephone menu (Y page 110)Standard display menu
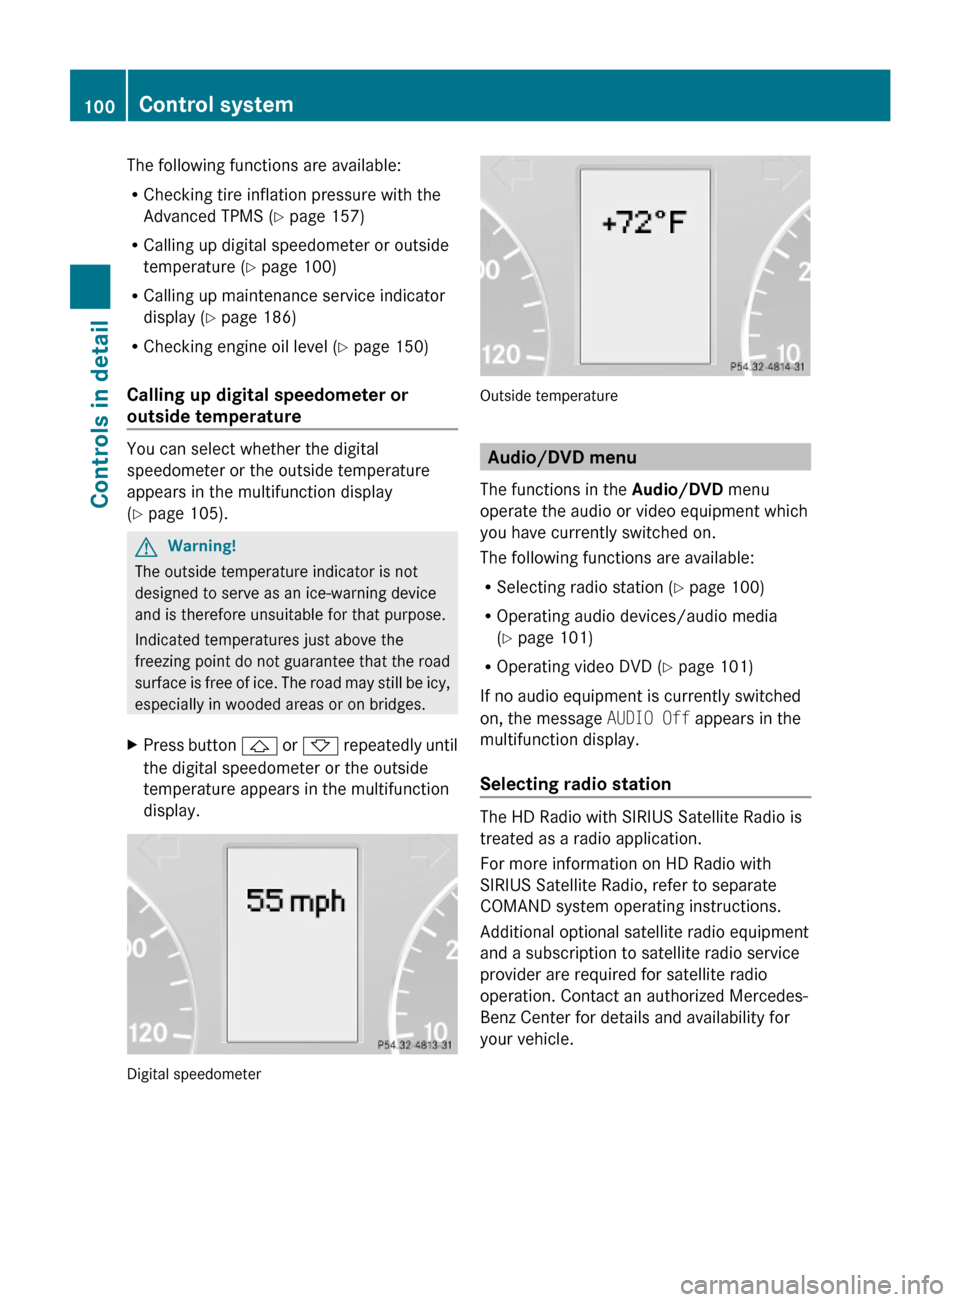
Standard display
In the standard display, trip odometer : and
main odometer ; appear in the
multifunction display.
XIf you see another display, press button
V or U repeatedly until the standard
display appears.
XPress button & or * to select the
functions in the Standard display menu.3The vehicle status message memory menu is only displayed if there is a message stored.Control system99Controls in detail463_AKB; 2; 52, en-USd2ureepe,Version: 2.11.7.12008-12-02T10:52:11+01:00 - Seite 99Z
Page 102 of 264
The following functions are available:
RChecking tire inflation pressure with the
Advanced TPMS (Y page 157)
RCalling up digital speedometer or outside
temperature (Y page 100)
RCalling up maintenance service indicator
display (Y page 186)
RChecking engine oil level (Y page 150)
Calling up digital speedometer or
outside temperature
You can select whether the digital
speedometer or the outside temperature
appears in the multifunction display
(Y page 105).
GWarning!
The outside temperature indicator is not
designed to serve as an ice-warning device
and is therefore unsuitable for that purpose.
Indicated temperatures just above the
freezing point do not guarantee that the road
surface is free of ice. The road may still be icy,
especially in wooded areas or on bridges.
XPress button & or * repeatedly until
the digital speedometer or the outside
temperature appears in the multifunction
display.
Digital speedometer
Outside temperature
Audio/DVD menu
The functions in the Audio/DVD menu
operate the audio or video equipment which
you have currently switched on.
The following functions are available:
RSelecting radio station (Y page 100)
ROperating audio devices/audio media
(Y page 101)
ROperating video DVD (Y page 101)
If no audio equipment is currently switched
on, the message AUDIO Off appears in the
multifunction display.
Selecting radio station
The HD Radio with SIRIUS Satellite Radio is
treated as a radio application.
For more information on HD Radio with
SIRIUS Satellite Radio, refer to separate
COMAND system operating instructions.
Additional optional satellite radio equipment
and a subscription to satellite radio service
provider are required for satellite radio
operation. Contact an authorized Mercedes-
Benz Center for details and availability for
your vehicle.
100Control systemControls in detail
463_AKB; 2; 52, en-USd2ureepe,Version: 2.11.7.12008-12-02T10:52:11+01:00 - Seite 100
Page 103 of 264
XSwitch on the COMAND system and select
radio. Refer to separate COMAND system
operating instructions.
XPress button V or U repeatedly until
the currently tuned station appears in the
multifunction display.
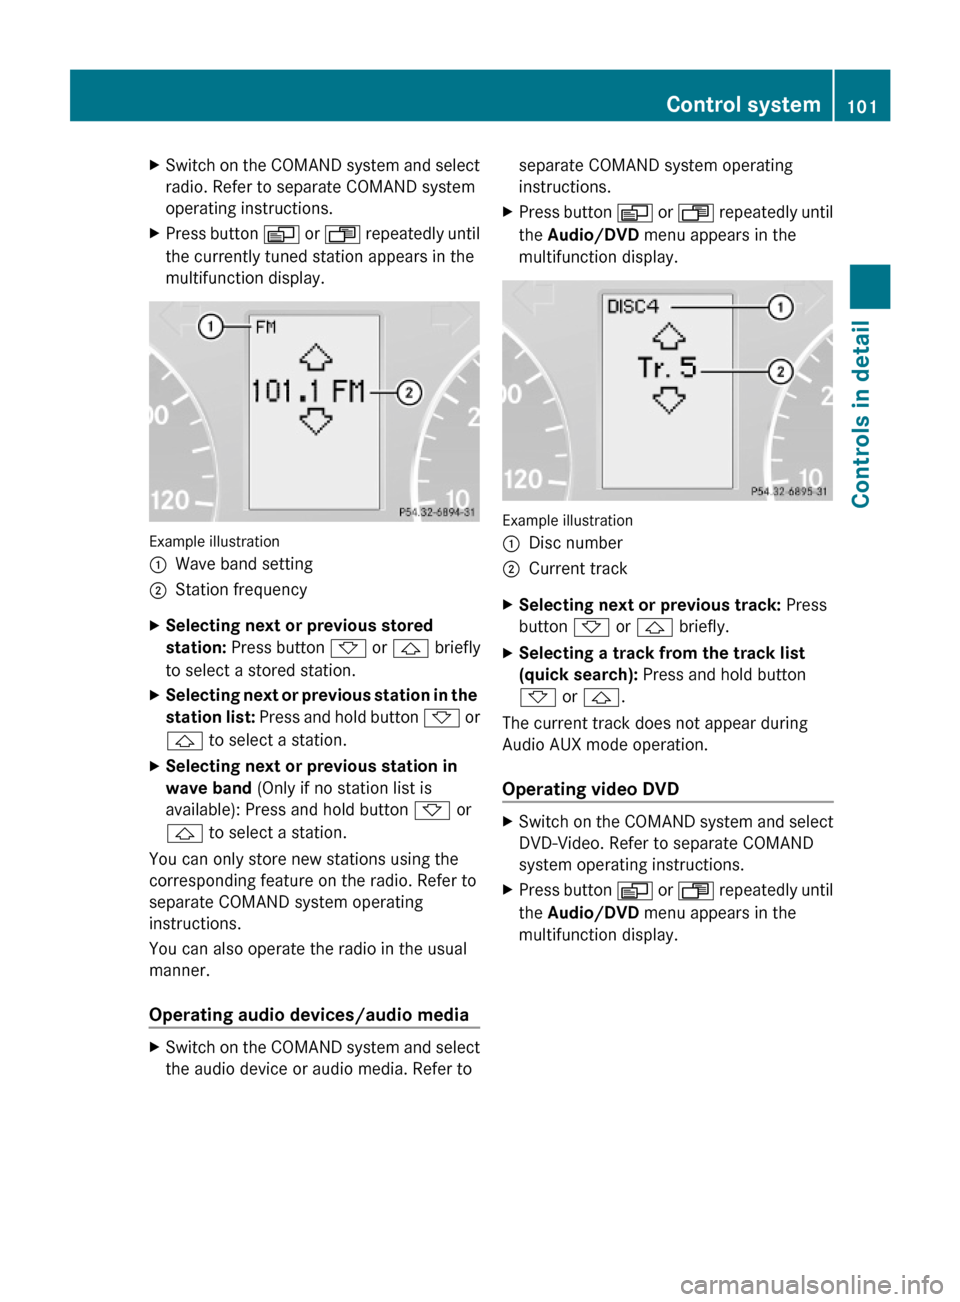
Example illustration
:Wave band setting;Station frequencyXSelecting next or previous stored
station: Press button * or & briefly
to select a stored station.
XSelecting next or previous station in the
station list: Press and hold button * or
& to select a station.
XSelecting next or previous station in
wave band (Only if no station list is
available): Press and hold button * or
& to select a station.
You can only store new stations using the
corresponding feature on the radio. Refer to
separate COMAND system operating
instructions.
You can also operate the radio in the usual
manner.
Operating audio devices/audio media
XSwitch on the COMAND system and select
the audio device or audio media. Refer to
separate COMAND system operating
instructions.
XPress button V or U repeatedly until
the Audio/DVD menu appears in the
multifunction display.
Example illustration
:Disc number;Current trackXSelecting next or previous track: Press
button * or & briefly.
XSelecting a track from the track list
(quick search): Press and hold button
* or &.
The current track does not appear during
Audio AUX mode operation.
Operating video DVD
XSwitch on the COMAND system and select
DVD-Video. Refer to separate COMAND
system operating instructions.
XPress button V or U repeatedly until
the Audio/DVD menu appears in the
multifunction display.
Control system101Controls in detail463_AKB; 2; 52, en-USd2ureepe,Version: 2.11.7.12008-12-02T10:52:11+01:00 - Seite 101Z
Page 104 of 264
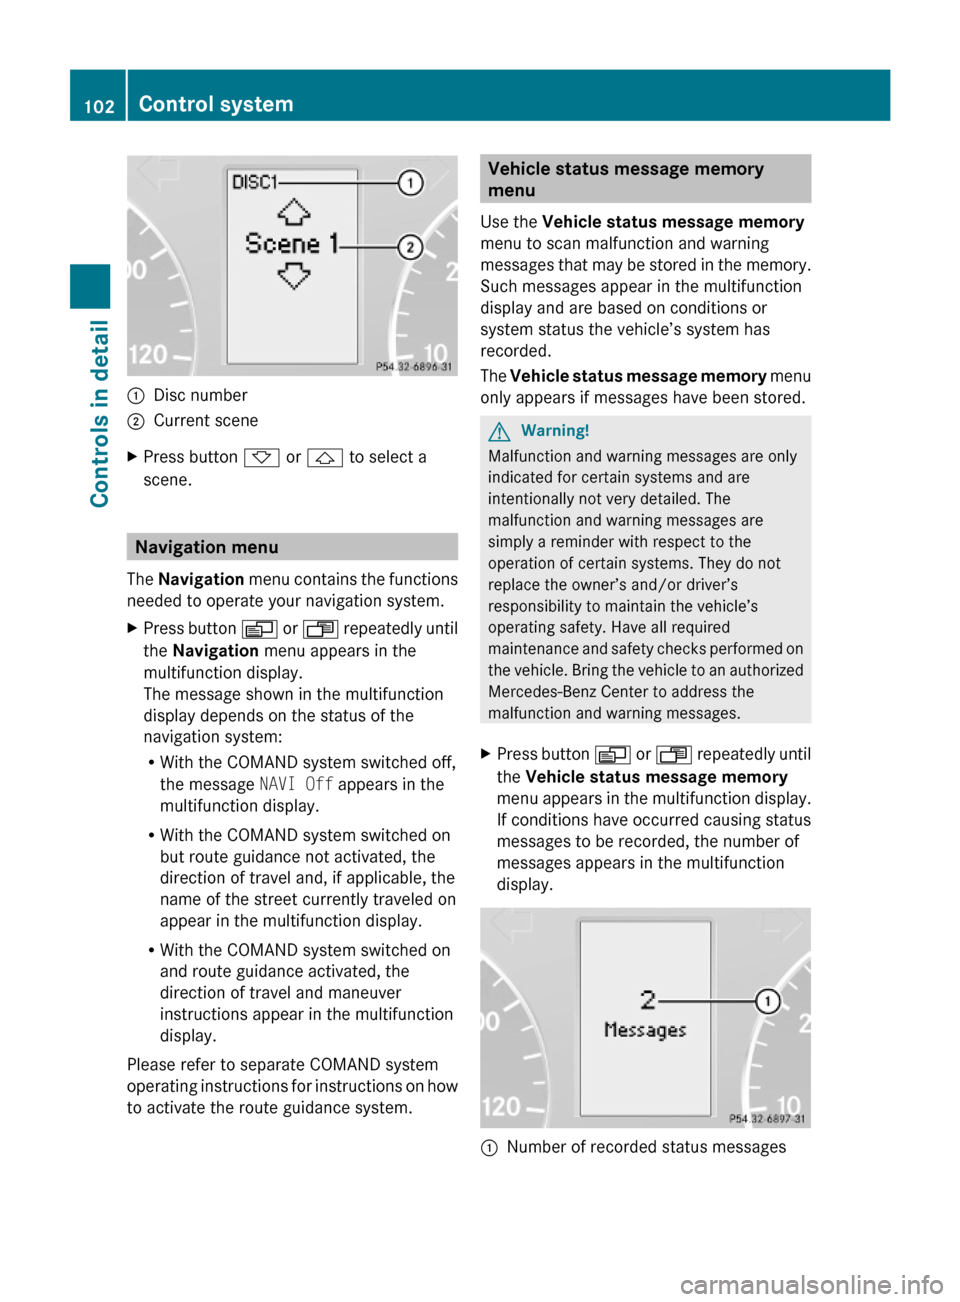
:Disc number;Current sceneXPress button * or & to select a
scene.
Navigation menu
The Navigation menu contains the functions
needed to operate your navigation system.
XPress button V or U repeatedly until
the Navigation menu appears in the
multifunction display.
The message shown in the multifunction
display depends on the status of the
navigation system:
RWith the COMAND system switched off,
the message NAVI Off appears in the
multifunction display.
RWith the COMAND system switched on
but route guidance not activated, the
direction of travel and, if applicable, the
name of the street currently traveled on
appear in the multifunction display.
RWith the COMAND system switched on
and route guidance activated, the
direction of travel and maneuver
instructions appear in the multifunction
display.
Please refer to separate COMAND system
operating instructions for instructions on how
to activate the route guidance system.
Vehicle status message memory
menu
Use the Vehicle status message memory
menu to scan malfunction and warning
messages that may be stored in the memory.
Such messages appear in the multifunction
display and are based on conditions or
system status the vehicle’s system has
recorded.
The Vehicle status message memory menu
only appears if messages have been stored.
GWarning!
Malfunction and warning messages are only
indicated for certain systems and are
intentionally not very detailed. The
malfunction and warning messages are
simply a reminder with respect to the
operation of certain systems. They do not
replace the owner’s and/or driver’s
responsibility to maintain the vehicle’s
operating safety. Have all required
maintenance and safety checks performed on
the vehicle. Bring the vehicle to an authorized
Mercedes-Benz Center to address the
malfunction and warning messages.
XPress button V or U repeatedly until
the Vehicle status message memory
menu appears in the multifunction display.
If conditions have occurred causing status
messages to be recorded, the number of
messages appears in the multifunction
display.
:Number of recorded status messages102Control systemControls in detail
463_AKB; 2; 52, en-USd2ureepe,Version: 2.11.7.12008-12-02T10:52:11+01:00 - Seite 102
Page 105 of 264
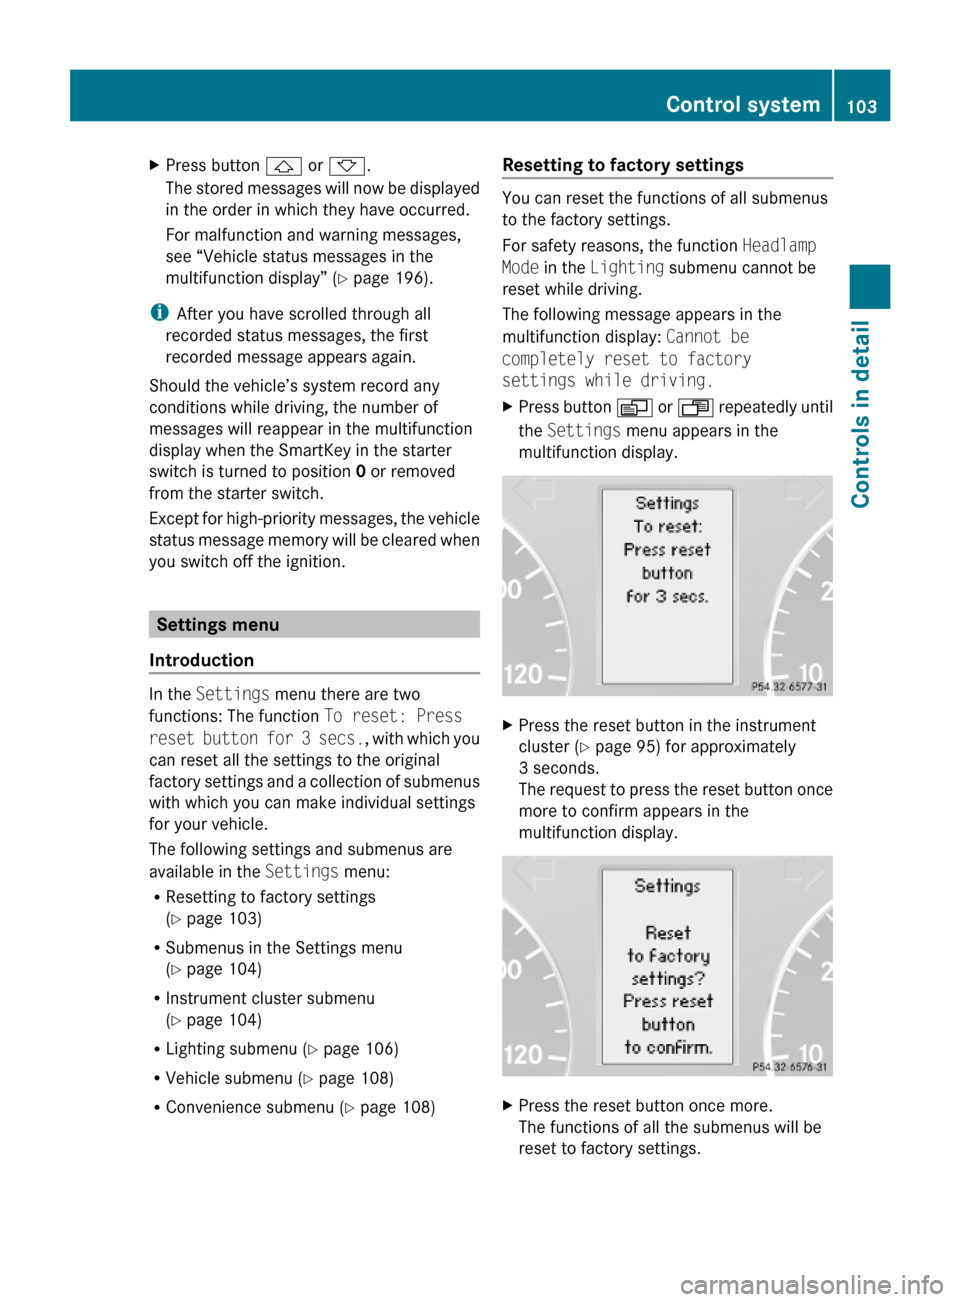
XPress button & or *.
The stored messages will now be displayed
in the order in which they have occurred.
For malfunction and warning messages,
see “Vehicle status messages in the
multifunction display” (Y page 196).
iAfter you have scrolled through all
recorded status messages, the first
recorded message appears again.
Should the vehicle’s system record any
conditions while driving, the number of
messages will reappear in the multifunction
display when the SmartKey in the starter
switch is turned to position 0 or removed
from the starter switch.
Except for high-priority messages, the vehicle
status message memory will be cleared when
you switch off the ignition.
Settings menu
Introduction
In the Settings menu there are two
functions: The function To reset: Press
reset button for 3 secs., with which you
can reset all the settings to the original
factory settings and a collection of submenus
with which you can make individual settings
for your vehicle.
The following settings and submenus are
available in the Settings menu:
RResetting to factory settings
(Y page 103)
RSubmenus in the Settings menu
(Y page 104)
RInstrument cluster submenu
(Y page 104)
RLighting submenu (Y page 106)
RVehicle submenu (Y page 108)
RConvenience submenu (Y page 108)
Resetting to factory settings
You can reset the functions of all submenus
to the factory settings.
For safety reasons, the function Headlamp
Mode in the Lighting submenu cannot be
reset while driving.
The following message appears in the
multifunction display: Cannot be
completely reset to factory
settings while driving.
XPress button V or U repeatedly until
the Settings menu appears in the
multifunction display.
XPress the reset button in the instrument
cluster (Y page 95) for approximately
3 seconds.
The request to press the reset button once
more to confirm appears in the
multifunction display.
XPress the reset button once more.
The functions of all the submenus will be
reset to factory settings.
Control system103Controls in detail463_AKB; 2; 52, en-USd2ureepe,Version: 2.11.7.12008-12-02T10:52:11+01:00 - Seite 103Z
Page 106 of 264
The settings you have changed will not be
reset unless you confirm the action by
pressing the reset button a second time. After
approximately 5 seconds, the Settings
menu reappears in the multifunction display.
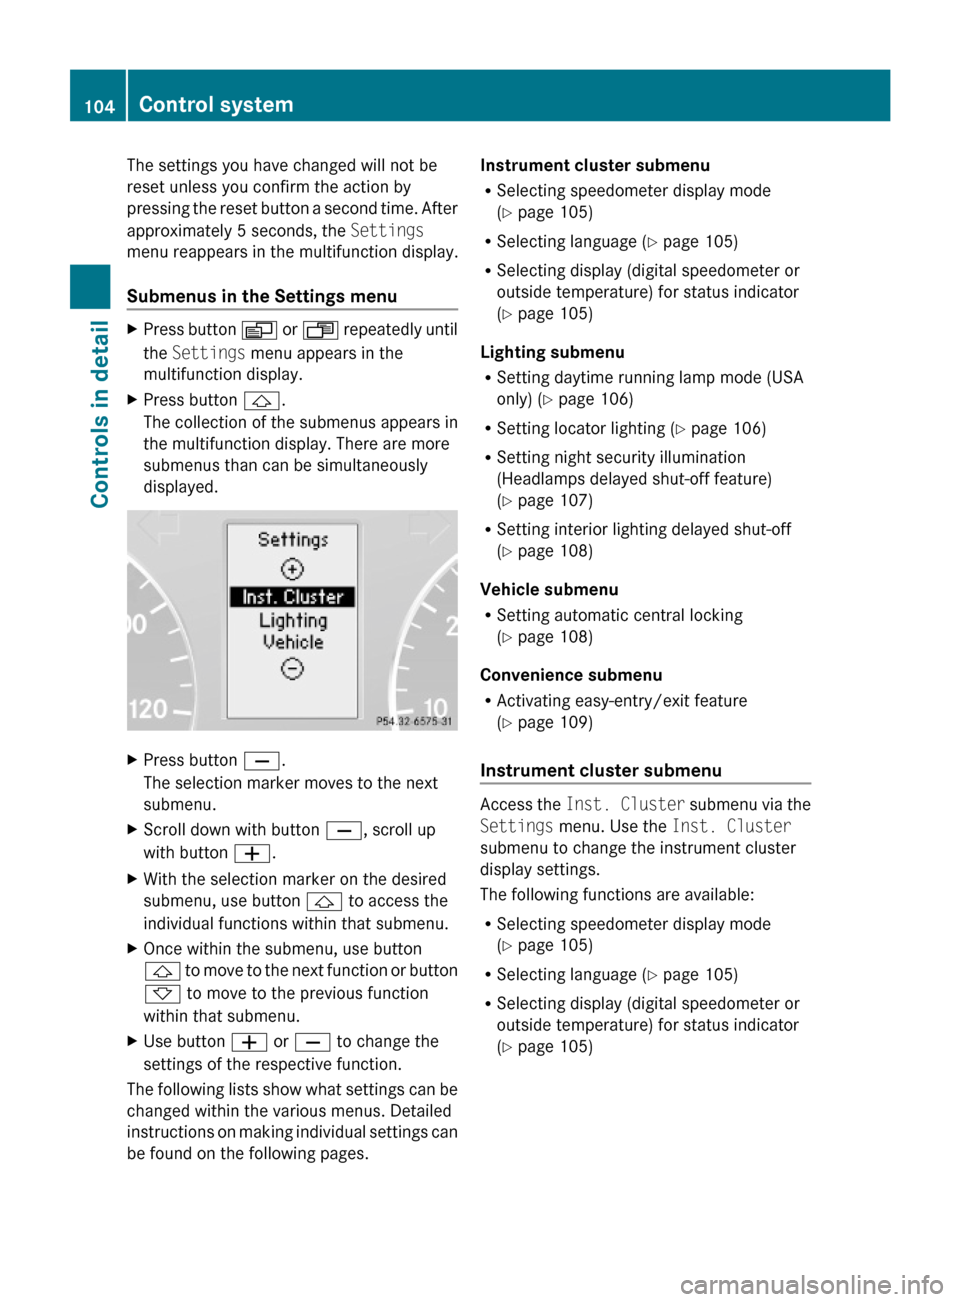
Submenus in the Settings menu
XPress button V or U repeatedly until
the Settings menu appears in the
multifunction display.
XPress button &.
The collection of the submenus appears in
the multifunction display. There are more
submenus than can be simultaneously
displayed.
XPress button X.
The selection marker moves to the next
submenu.
XScroll down with button X, scroll up
with button W.
XWith the selection marker on the desired
submenu, use button & to access the
individual functions within that submenu.
XOnce within the submenu, use button
& to move to the next function or button
* to move to the previous function
within that submenu.
XUse button W or X to change the
settings of the respective function.
The following lists show what settings can be
changed within the various menus. Detailed
instructions on making individual settings can
be found on the following pages.
Instrument cluster submenu
RSelecting speedometer display mode
(Y page 105)
RSelecting language (Y page 105)
RSelecting display (digital speedometer or
outside temperature) for status indicator
(Y page 105)
Lighting submenu
RSetting daytime running lamp mode (USA
only) (Y page 106)
RSetting locator lighting (Y page 106)
RSetting night security illumination
(Headlamps delayed shut-off feature)
(Y page 107)
RSetting interior lighting delayed shut-off
(Y page 108)
Vehicle submenu
RSetting automatic central locking
(Y page 108)
Convenience submenu
RActivating easy-entry/exit feature
(Y page 109)
Instrument cluster submenu
Access the Inst. Cluster submenu via the
Settings menu. Use the Inst. Cluster
submenu to change the instrument cluster
display settings.
The following functions are available:
RSelecting speedometer display mode
(Y page 105)
RSelecting language (Y page 105)
RSelecting display (digital speedometer or
outside temperature) for status indicator
(Y page 105)
104Control systemControls in detail
463_AKB; 2; 52, en-USd2ureepe,Version: 2.11.7.12008-12-02T10:52:11+01:00 - Seite 104
Page 107 of 264
Selecting speedometer display mode XPress button V or U repeatedly until
the Settings menu appears in the
multifunction display.
XPress button &.XMove the selection marker with button
W or X to the Inst. Cluster
submenu.
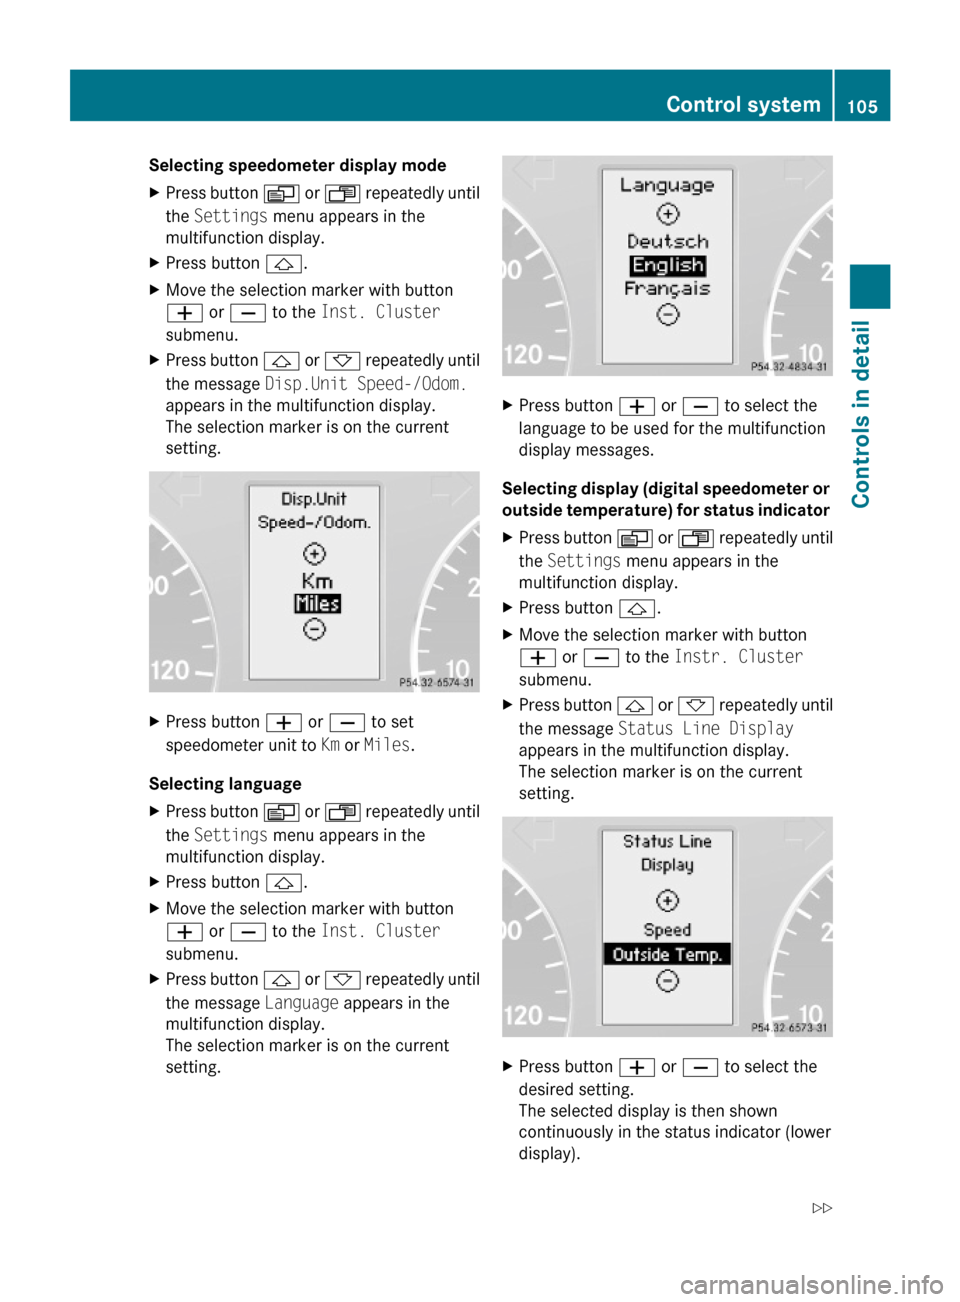
XPress button & or * repeatedly until
the message Disp.Unit Speed-/Odom.
appears in the multifunction display.
The selection marker is on the current
setting.
XPress button W or X to set
speedometer unit to Km or Miles.
Selecting language
XPress button V or U repeatedly until
the Settings menu appears in the
multifunction display.
XPress button &.XMove the selection marker with button
W or X to the Inst. Cluster
submenu.
XPress button & or * repeatedly until
the message Language appears in the
multifunction display.
The selection marker is on the current
setting.
XPress button W or X to select the
language to be used for the multifunction
display messages.
Selecting display (digital speedometer or
outside temperature) for status indicator
XPress button V or U repeatedly until
the Settings menu appears in the
multifunction display.
XPress button &.XMove the selection marker with button
W or X to the Instr. Cluster
submenu.
XPress button & or * repeatedly until
the message Status Line Display
appears in the multifunction display.
The selection marker is on the current
setting.
XPress button W or X to select the
desired setting.
The selected display is then shown
continuously in the status indicator (lower
display).
Control system105Controls in detail463_AKB; 2; 52, en-USd2ureepe,Version: 2.11.7.12008-12-02T10:52:11+01:00 - Seite 105Z
Page 108 of 264
The other display now appears in the
Standard display menu (Y page 99).
Lighting submenu
Access the Lighting submenu via the
Settings menu. Use the Lighting submenu
to change the lamp and lighting settings on
your vehicle.
The following functions are available:
RSetting daytime running lamp mode (USA
only) (Y page 106)
RSetting locator lighting (Y page 106)
RSetting night security illumination
(Y page 107)
RSetting interior lighting delayed shut-off
(Y page 108)
Setting daytime running lamp mode (USA
only)
XPress button V or U repeatedly until
the Settings menu appears in the
multifunction display.
XPress button &.XMove the selection marker with button
W or X to the Lighting submenu.
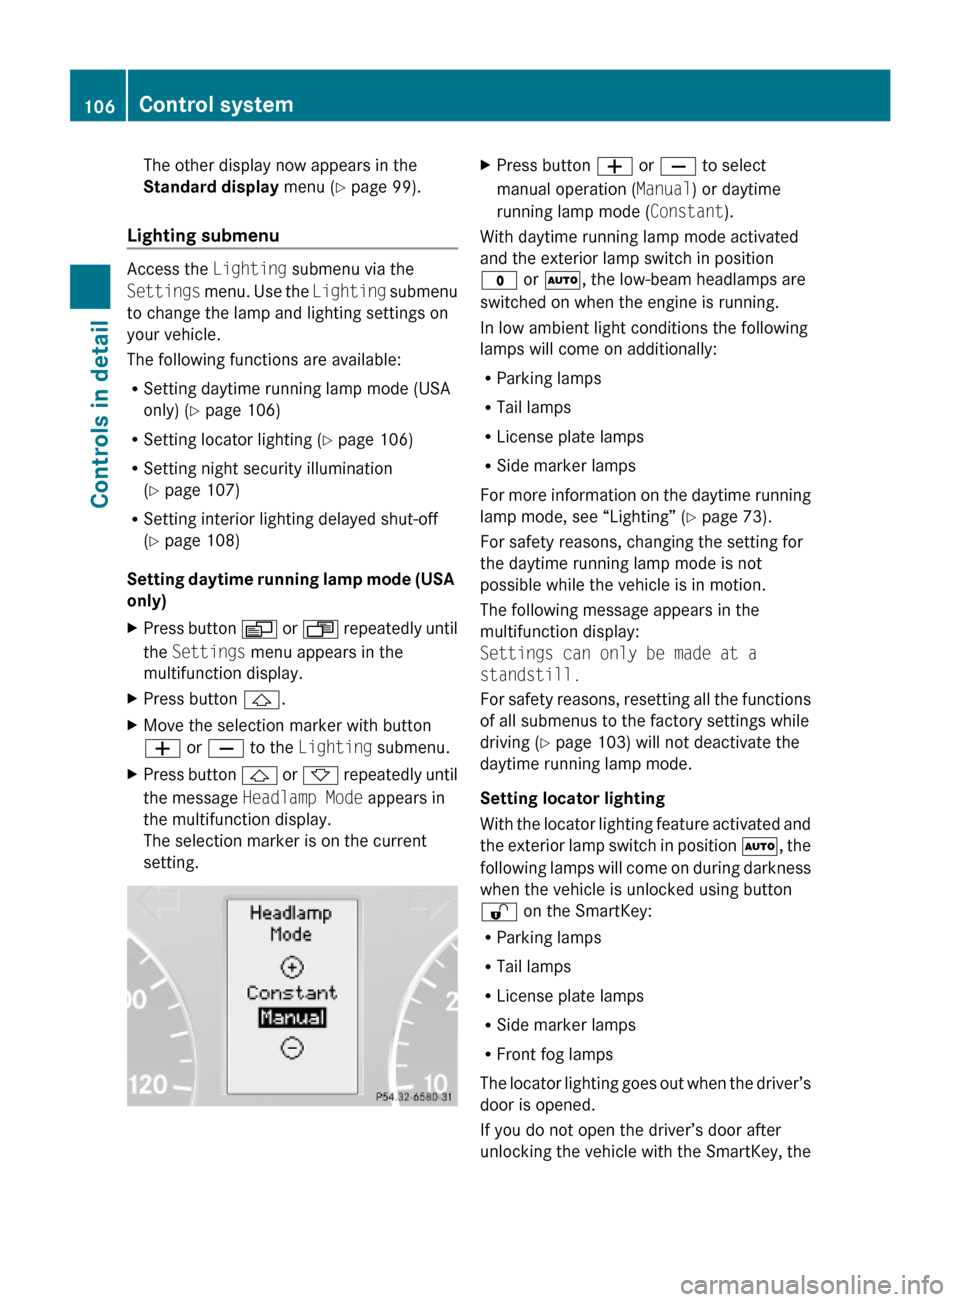
XPress button & or * repeatedly until
the message Headlamp Mode appears in
the multifunction display.
The selection marker is on the current
setting.
XPress button W or X to select
manual operation (Manual) or daytime
running lamp mode (Constant).
With daytime running lamp mode activated
and the exterior lamp switch in position
$ or Ã, the low-beam headlamps are
switched on when the engine is running.
In low ambient light conditions the following
lamps will come on additionally:
RParking lamps
RTail lamps
RLicense plate lamps
RSide marker lamps
For more information on the daytime running
lamp mode, see “Lighting” (Y page 73).
For safety reasons, changing the setting for
the daytime running lamp mode is not
possible while the vehicle is in motion.
The following message appears in the
multifunction display:
Settings can only be made at a
standstill.
For safety reasons, resetting all the functions
of all submenus to the factory settings while
driving (Y page 103) will not deactivate the
daytime running lamp mode.
Setting locator lighting
With the locator lighting feature activated and
the exterior lamp switch in position Ã, the
following lamps will come on during darkness
when the vehicle is unlocked using button
% on the SmartKey:
RParking lamps
RTail lamps
RLicense plate lamps
RSide marker lamps
RFront fog lamps
The locator lighting goes out when the driver’s
door is opened.
If you do not open the driver’s door after
unlocking the vehicle with the SmartKey, the
106Control systemControls in detail
463_AKB; 2; 52, en-USd2ureepe,Version: 2.11.7.12008-12-02T10:52:11+01:00 - Seite 106
Page 109 of 264
lamps will go out automatically after
approximately 40 seconds.
XPress button V or U repeatedly until
the Settings menu appears in the
multifunction display.
XPress button &.XMove the selection marker with button
W or X to the Lighting submenu.
XPress button & or * repeatedly until
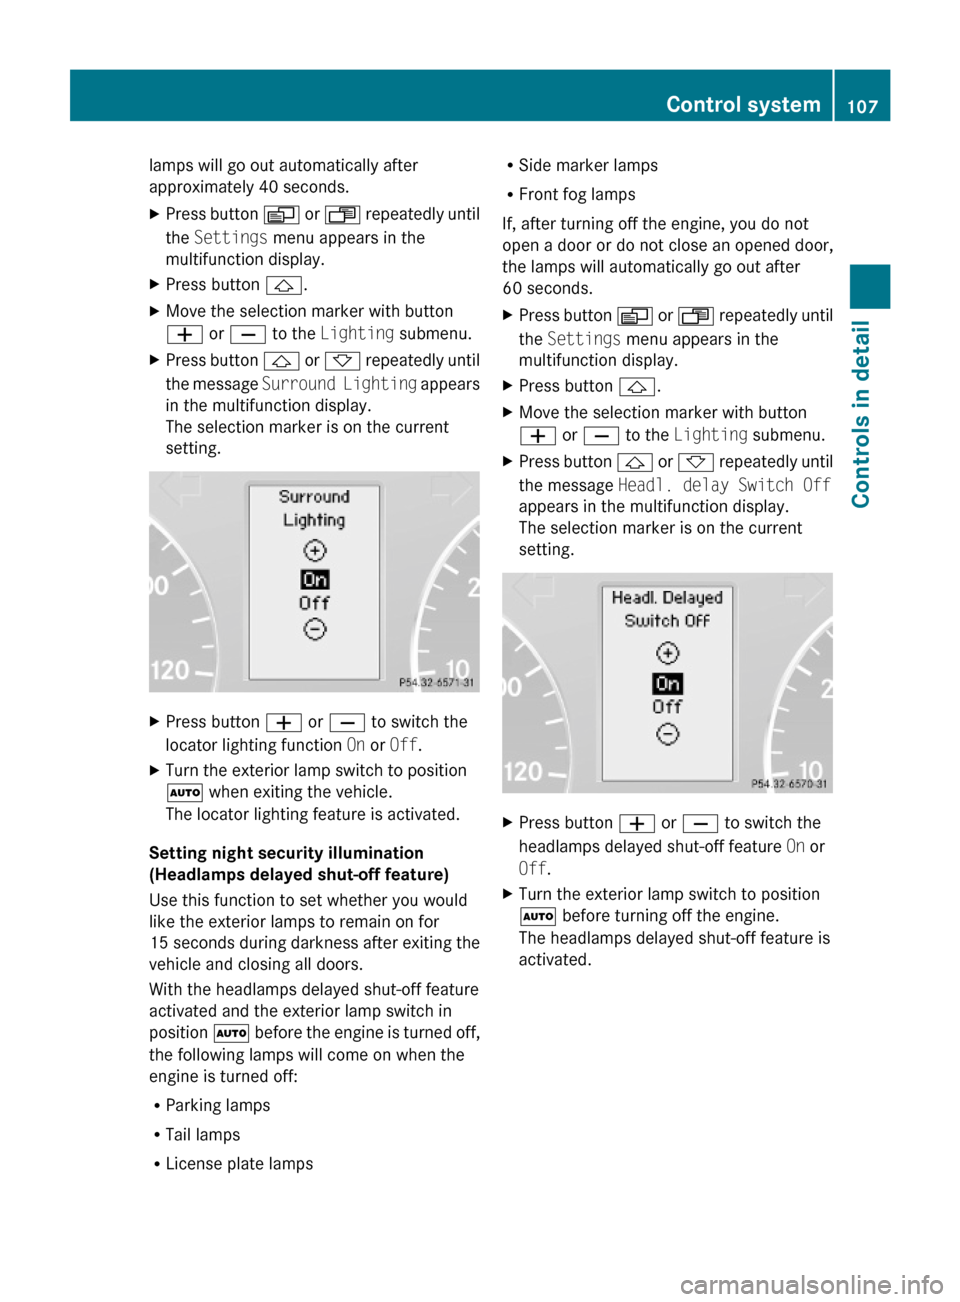
the message Surround Lighting appears
in the multifunction display.
The selection marker is on the current
setting.
XPress button W or X to switch the
locator lighting function On or Off.
XTurn the exterior lamp switch to position
à when exiting the vehicle.
The locator lighting feature is activated.
Setting night security illumination
(Headlamps delayed shut-off feature)
Use this function to set whether you would
like the exterior lamps to remain on for
15 seconds during darkness after exiting the
vehicle and closing all doors.
With the headlamps delayed shut-off feature
activated and the exterior lamp switch in
position à before the engine is turned off,
the following lamps will come on when the
engine is turned off:
RParking lamps
RTail lamps
RLicense plate lamps
RSide marker lamps
RFront fog lamps
If, after turning off the engine, you do not
open a door or do not close an opened door,
the lamps will automatically go out after
60 seconds.
XPress button V or U repeatedly until
the Settings menu appears in the
multifunction display.
XPress button &.XMove the selection marker with button
W or X to the Lighting submenu.
XPress button & or * repeatedly until
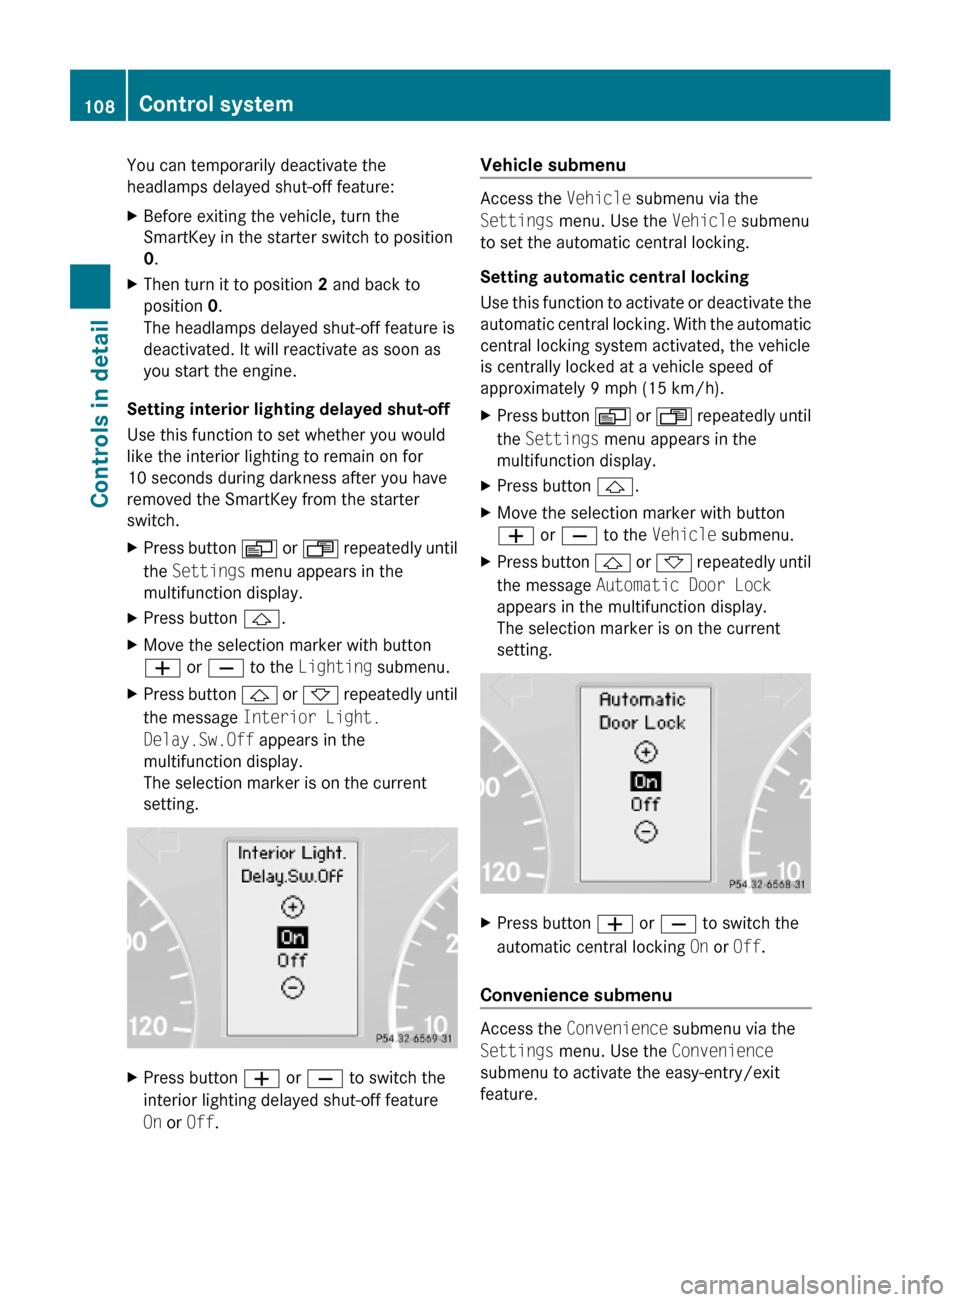
the message Headl. delay Switch Off
appears in the multifunction display.
The selection marker is on the current
setting.
XPress button W or X to switch the
headlamps delayed shut-off feature On or
Off.
XTurn the exterior lamp switch to position
à before turning off the engine.
The headlamps delayed shut-off feature is
activated.
Control system107Controls in detail463_AKB; 2; 52, en-USd2ureepe,Version: 2.11.7.12008-12-02T10:52:11+01:00 - Seite 107Z
Page 110 of 264
You can temporarily deactivate the
headlamps delayed shut-off feature:
XBefore exiting the vehicle, turn the
SmartKey in the starter switch to position
0.
XThen turn it to position 2 and back to
position 0.
The headlamps delayed shut-off feature is
deactivated. It will reactivate as soon as
you start the engine.
Setting interior lighting delayed shut-off
Use this function to set whether you would
like the interior lighting to remain on for
10 seconds during darkness after you have
removed the SmartKey from the starter
switch.
XPress button V or U repeatedly until
the Settings menu appears in the
multifunction display.
XPress button &.XMove the selection marker with button
W or X to the Lighting submenu.
XPress button & or * repeatedly until
the message Interior Light.
Delay.Sw.Off appears in the
multifunction display.
The selection marker is on the current
setting.
XPress button W or X to switch the
interior lighting delayed shut-off feature
On or Off.
Vehicle submenu
Access the Vehicle submenu via the
Settings menu. Use the Vehicle submenu
to set the automatic central locking.
Setting automatic central locking
Use this function to activate or deactivate the
automatic central locking. With the automatic
central locking system activated, the vehicle
is centrally locked at a vehicle speed of
approximately 9 mph (15 km/h).
XPress button V or U repeatedly until
the Settings menu appears in the
multifunction display.
XPress button &.XMove the selection marker with button
W or X to the Vehicle submenu.
XPress button & or * repeatedly until
the message Automatic Door Lock
appears in the multifunction display.
The selection marker is on the current
setting.
XPress button W or X to switch the
automatic central locking On or Off.
Convenience submenu
Access the Convenience submenu via the
Settings menu. Use the Convenience
submenu to activate the easy-entry/exit
feature.
108Control systemControls in detail
463_AKB; 2; 52, en-USd2ureepe,Version: 2.11.7.12008-12-02T10:52:11+01:00 - Seite 108