MERCEDES-BENZ GL SUV 2012 Owners Manual
Manufacturer: MERCEDES-BENZ, Model Year: 2012, Model line: GL SUV, Model: MERCEDES-BENZ GL SUV 2012Pages: 441, PDF Size: 10.66 MB
Page 281 of 441
If the
Sensors deactivated messa
ge
appears, the radar senso rsystem is deacti-
vated.
X Check whether or not the radar sensor sys-
tem is permitted to be activated
(Y page 433).
X Switc honthe radar sensor system
(Y page 28 3).
Activating/deactivating distance warn-
ing function X
Press =or; on the steering wheel
to select the Assist. menu.
X Press 9or: to select Dist. warn‐
ing .
X Press the abutton.
The curren tselection is displayed.
X To activate/deac tivate: press the a
button again.
When the distanc ewarning function is acti-
vated, the multifunction display shows the
Ä symbol if the HOLD function is not acti-
vated (Y page 211).
Vehicles with Active Parking Assist: if
PARKTRONIC is activated and you are driving
at as peed under 35 km/h, the jActive
Parkin gAssist symbol is shown instead of the
Ä symbol ( Ypage 21 9).
Further information on the distance warning
function (Y page63).
Activating/deactivatin gPRE-SAFE ®
Brake PRE-SAFE
®
Brake is only available in vehicles
with DISTRONIC PLUS.
X Press =or; on the steering wheel
to select the Assist. menu.
X Pres sthe 9 or: button to select
PRE-SA FEBrake .X
Press the abutton.
The curren tselection is displayed.
X To activate/deac tivate: press the a
button again.
When PRE-SAFE ®
Brak eisa ctivated, the mul-
tifunction displa yshows the Äsymbol as
long as the HOL Dfunction is not activated
(Y page 211).
Vehicles with Active Parking Assist: if
PARKTRONIC is activated and you are driving
at as peed under 35 km/h, the jActive
Parkin gAssist symbol is shown instead of the
Ä symbol ( Ypage 21 9).
If the PRE-SA FEBrake: Sensors deacti‐ vated message appears
,the radar sensor
system is deactivated.
X Chec kwhether or not the radar sensor sys-
tem is permi tted to be activated
(Y page 43 3).
X Switch on the radar senso rsystem
(Y page 283).
For more information on PRE-SAFE ®
Brake,
see (Y page 68).
Activating/deactivating ATTENTION
ASSIST X
Press =or; on the stee ring wheel
to select the Assist. menu.
X Pres sthe 9 or: button to select
Attent ionA sst. X
Press the abutton.
The curren tselection is displayed.
X To activate/deac tivate: press the a
button again.
When ATTENTION ASSI STis activated, the
À symbol appears in the multifunction
display when the ignition is on.
For further information about ATTENTION
ASSIST, see (Y page 232).278
Menus and submenusOn-boar
dcomputer and displays
Page 282 of 441
Activating/deactivating Blind Spot
Assist X
Press =or; on thesteering wheel
to select the Assist. menu.
X Pres sthe 9 or: buttontos elect
Blin dSpot Asst. .
X Press the abutton.
Th ec urrent selection is displayed.
X To activate/deactivate: press thea
button again.
If the BlindSpot Assist Sensors deac‐ tivated or
Active blind spot assist. sensor system deactivated message
appears ,the radar sensor system is deacti-
vated.
X Chec kwhether or not the radar sensor sys-
tem is permitted to be activated
(Y page 433).
X Switc hont he radar sensor system
(Y page 283).
For further information about Blind Spot
Assist ,see (Y page 238).
For further information about Active Blind
Spot Assist ,see (Y page 242).
Activating/deactivating Lane Keeping
Assist X
Press =or; on the steerin gwheel
to selec tthe Assist. menu.
X Press the 9or: button to select
Lane Keep .Asst. X
Press the abutton.
Th ec urrent selection is displayed.
X Press ato confirm.
X Press :or9 to set Off ,
Standard or
Adaptive .
X Press the abutton to save the setting.
When Lane Keeping Assis torActive Lane
Keeping Assist is activated, the Ãsymbol
appears in the multifunction displa ywhen the
ignition is on. For further information about Lane Keeping
Assist
,see (Y page 240).
For further information about Active Lane
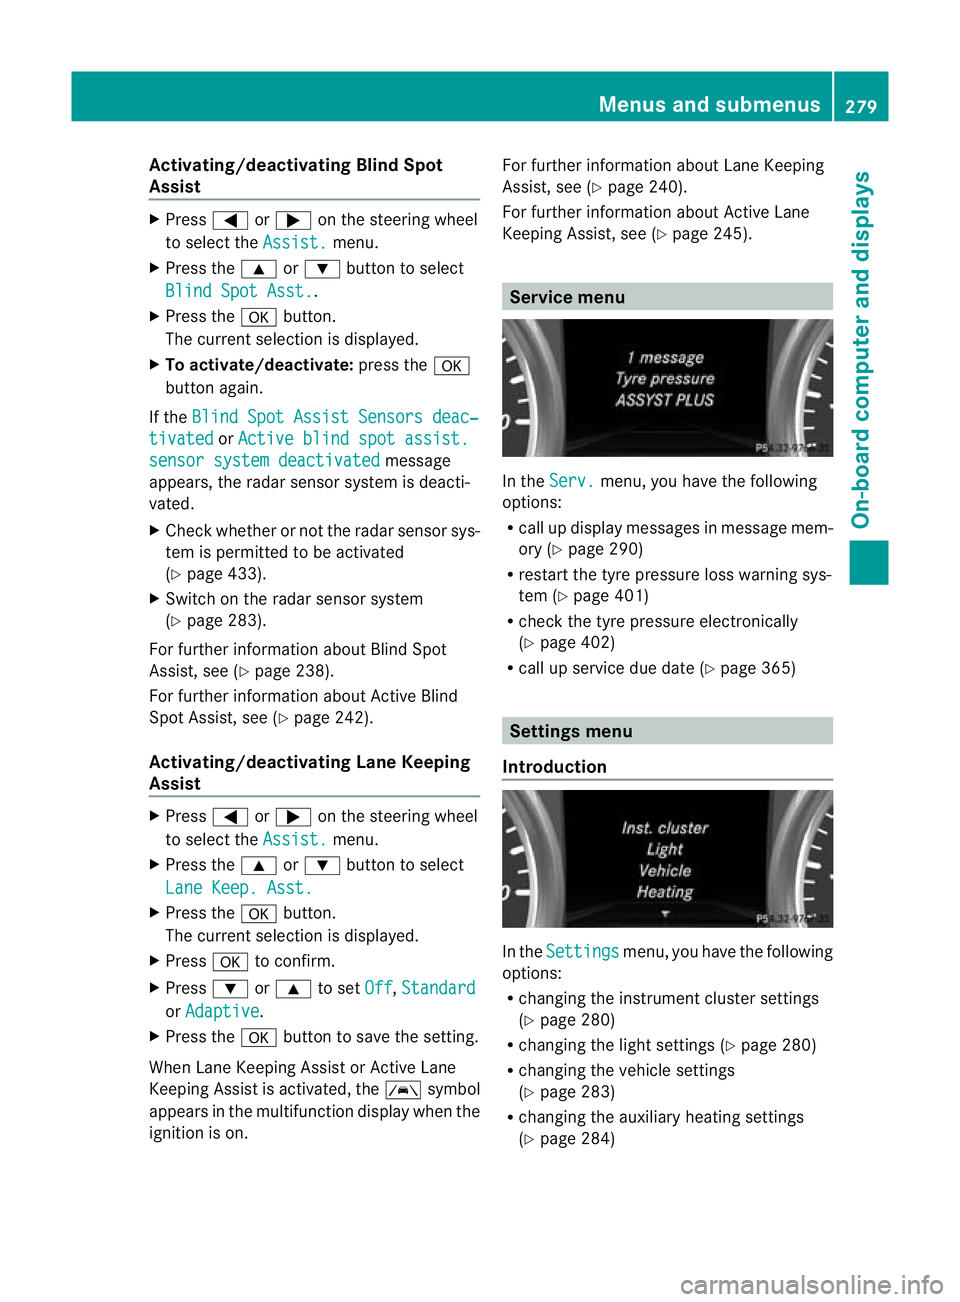
Keepin gAssist ,see (Y page 245). Service menu
In the
Serv. menu, you have the following
options:
R call up display messages in message mem-
ory (Y page 290)
R restart the tyr epressure loss warning sys-
tem (Y page 401)
R check th etyre pressure electronically
(Y page 402)
R call up service due date (Y page 365) Settings menu
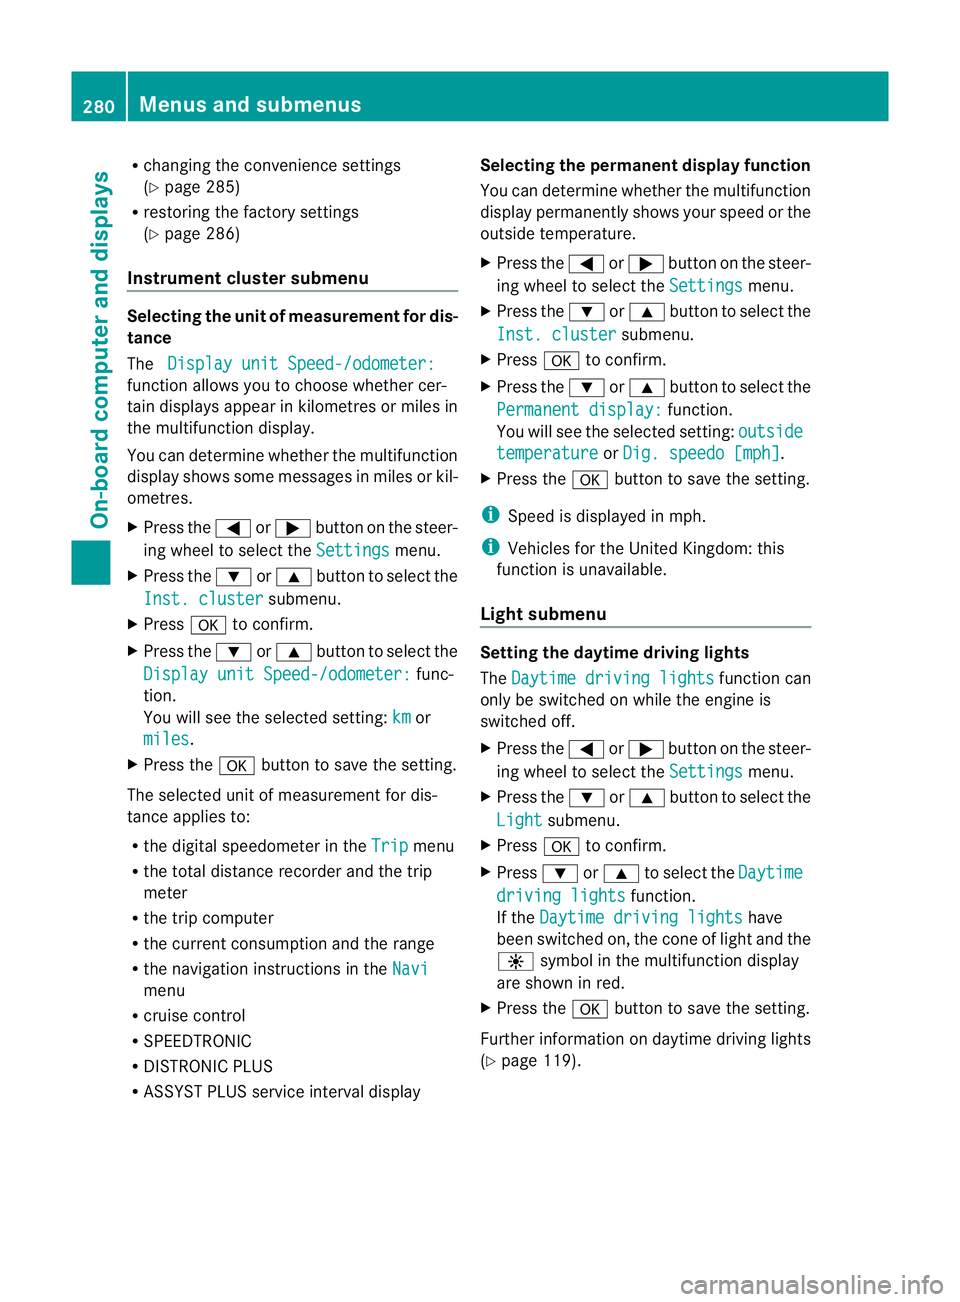
Introduction In the
Settings menu, you have the following
options:
R changing the instrument cluster settings
(Y page 280)
R changing the ligh tsettings (Y page 280)
R changing the vehicle settings
(Y page 283)
R changing the auxiliary heatin gsettings
(Y page 284) Menu
sand submenus
279On-board computer and displays Z
Page 283 of 441
R
changin gthe conven ience sett ings
( Y pag e285)
R restoring the factory settings
(Y page 286)
Instrumen tcluster submenu Selecting th
eunit of measurement for dis-
tance
The Displa yunit Speed-/odometer: fun
ction allows you to choose whether cer-
tain displays appear in kilometres or miles in
the multifunction display.
You can determin ewhether the multifunction
displa yshows some messa ges in milesorkil-
ometres.
X Press the =or; button on the steer-
ing wheel to select the Settings menu.
X Press the :or9 button to select the
Inst .cluster submenu.
X Press ato confirm.
X Press the :or9 buttontoselect the
Displa yunit Speed-/odometer: func-
tion.
Yo uw ill see the selected setting: km or
miles .
X Press the abutton to save the setting.
The selected unit of measurement for dis-
tance applies to:
R the digital speedometer in the Trip menu
R the total distance recorder and the trip
meter
R the trip computer
R the current consumption and the range
R the navigation instruc tions in the Navi menu
R cruise con trol
R SPEEDTRONIC
R DISTRONIC PLUS
R ASSYST PLUS service interval display Selecting the permanent display function
You can determine whethe
rthe multifunction
display permanen tlys hows your speed or the
outside temperature.
X Press the =or; button on the steer-
ing wheel to selec tthe Settings menu.
X Press the :or9 button to selec tthe
Inst .cluster submenu.
X Press ato confirm.
X Press the :or9 buttontoselect the
Permanen tdisplay: function.
Yo uw ill see the selected setting: outside temperature or
Dig. speedo [mph] .
X Press the abutton to save the setting.
i Speed is displayed in mph.
i Vehicles for the United Kingdom: this
func tion is unavailable.
Ligh tsubmenu Settin
gthe daytime drivin glights
The Daytim edriving lights functio
ncan
only be switched on while the engine is
switched off.
X Press the =or; button on the steer-
ing wheel to select the Settings menu.
X Press the :or9 button to select the
Light submenu.
X Press ato confirm.
X Press :or9 to select the Daytime drivin
glights function.
If the Daytime driving lights have
been switched on ,the con eoflight and the
W symbol in the multifunction display
are shown in red.
X Press the abutton to save the setting.
Further information on daytime drivin glights
(Y page 119). 280
Menus and submenusOn-board computer and displays
Page 284 of 441
Switching th
eIntelligent Ligh tSystem
on/off
X Press the =or; buttononthe steer-
ing wheel to selec tthe Settings menu.
X Press the :or9 button to selec tthe
Light submenu.
X Press ato con firm.
X Press :or9 to select the Intell. Ligh
tSystem function.
If the Intell. Light System functio
nhas
been switched on, the cone of light and the
L symbol in the multifunc tion display
ar es hown in red.
X Press the abutton to sav ethe setti ng.
When you activate Intell.Light System ,
yo ua ctivate the following functions:
R motorway mode
R active light function
R cornering light function
R exte nded range foglamps
R off-road lights
If you set the dipped-beam headlamps for
driving on the right/left ,the multifunc tion
display shows the Intell. Light System:
system inoperativ
eInactive for left-side traffic or
Intell. Light System: System inoperative Inactive
for right-side traffic (Y
page 281) dis-
play message instea doftheIntell. Light
System func
tion in the Light submenu.
Further information on the In telligent Light
System (Y page 123).
Setting the dippe d-beam headlamps for
driving on the left/right
X Press the =or; button on the steer-
ing wheel to select the Settings menu.
X Press the :or9 button to select the
Light submenu.
X Press ato confirm. X
Press the :or9 button to select the
Dipped beam sSetting for: function.
Yo uw ill see the selected setting: Right- side traffic or
Left-sid etraffic .
X Press the abuttontos ave the setting.
When you change the setting, conversion
does not take place until the next time the
vehicle is stationary.
This function is only available on vehicles with
the Intelligent Light System.
You can use this function to switch between
symmetrical and asymmetrical dipped beam
(Y page 118).
If you set the dipped-beam headlamps for
driving on the right/left ,then motorway
mode and the extended range foglamps are
unavailable.
You can hav ethe dipped-beam headlamps
set for driving on the right or lef tataqualified
specialist workshop.
Switching Adaptive Highbeam Assist on/
off
X Press the =or; button on the steer-
ing wheel to select the Settings menu.
X Press the :or9 button to select the
Light submenu.
X Press ato confirm.
X Press the :or9 button to select the
Adapt. main beam function.
If the Adapt. main beam function has
been switched on, the cone of light and the
_ symbol in the upper multifunction
display are shown in red.
X Press the abutton to save the setting.
For further information about Adaptive High-
beam Assist, see (Y page 125).
Setting the brightness of the ambient
lighting
X Press the =or; button on the steer-
ing wheel to select the Settings menu.
X Press the :or9 button to select the
Light submenu. Menus and submenus
281On-board computer and displays Z
Page 285 of 441
X
Press ato confirm.
X Press the :or9 button to select the
Amb. ligh t+/- function.
Yo uw ill see the selected setting.
X Press ato confirm.
X Press the :or9 button to adjust the
brightness to any level from Off to
Level 5 (bright).
X Press the aor% button to save the
setting.
Setting the ambient lighting colour
X Press the =or; button on the steer-
ing wheel to select the Settings menu.
X Press the :or9 button to select the
Light submenu.
X Press ato confirm.
X Press the :or9 button to select the
Ambien tlight colour function.
X Press ato confirm.
X Press the :or9 buttontos et the
colour to SOLAR ,
NEUTRAL or
POLAR .
X Press the aor% button to save the
setting.
Surround lighting and exterior lighting
delayed switch-off
X Press the =or; button on the steer-
ing wheel to select the Settings menu.
X Press the :or9 button to select the
Light submenu.
X Press ato confirm.
X Press :or9 to select the Sur‐ roun
dlighting function.
When the Surround lighting function is
activated, th elight cone and the area
around the vehicle are displaye dinred in
the multifunction display.
X Press the abutton to save the setting. Deac
tivating delayed switch -off of th eexte-
rior lighting tempo rarily:
X Befor eleaving the vehicle, tur nthe key to
position 0in the ignition lock.
X Tur nthe key to position 2in the ignition
lock.
The exterior lighting delayed switch-off is
deactivated.
Delayed switch-off of the exterior lighting is
reactivated the nex ttime you start the
engine.
If you have activated the Surround light‐ ing func
tion and the light switc hisset to
Ã,t he followin gfunctions are activated
when it is dark:
R Surround lighting: the exterior lighting
remains lit for 40 seconds after unlocking
with the key. If you start the engine, the
surround lighting is switched off and the
automatic headlamp mode is activated
(Y page 119).
R Exterior lighting delayed switch-off: the
exterior lighting remains lit for
60 seconds after the engine is switched off.
If you close all the doors and the tailgate,
the exterior lighting goes off after
5s econds.
i Depending on your vehicle's equipment,
when the surround lighting and delayed
switch-off exterior lighting are on, the fol-
lowing light up:
R side lamps
R daytime driving lights
R surround lighting in the exterior mirrors
Activating/deactivating th einterior light-
ing delayed switch-off
If you activa tethe Lighti ngdelayed sw.- off function, th
einterior lighting remains on
for 20seconds after you remove the key from
the ignition lock. 282
Menus and submenusOn-boar
dcomputer and displays
Page 286 of 441
X
Press the =or; button on the steer-
ing wheel to select the Settings menu.
X Press the :or9 button to select the
Light submenu.
X Press ato confirm.
X Press :or9 to select the Light‐ in
gd elayed sw.-off function.
When the Lighting delayed sw.-off function is activated, th
evehicle interior is
displayed in red in the multifunction dis-
play.
X Press the abutton to save the setting.
Vehicle submenu Setting per
manent SPEEDTRONIC
X Press the =or; button on the steer-
ing wheel to select the Settings menu.
X Press :or9 to select the Vehicle submenu.
X Press ato confirm.
X Press the :or9 button to select the
Limit speed (winter tyres): function.
You will see the curren tsetting.
X Press ato confirm.
X Press the :or9 button to adjust
permanen tSPEEDTRONI Cinincrements of
ten (23 0km/h to
160 km/h ). The
Off set-
ting switches permanent SPEED TRONIC
off.
X Press the abuttontos tore the entry.
For furth erinformation on perm anent SPEED-
TRONIC (Y page 198).
Switchin gthe automati clocking feature
on/off
If yo uactivate the Automatic door locks function, the vehicl
eiscentrally locked above
as peed of around 15 km/h.
X Press the =or; button on the steer-
ing whee ltoselectthe Settings men
u.
X Press :or9 to select the Vehicle submenu. X
Press ato confirm.
X Press :or9 to select the Auto‐ matic door locks function.
When the Automaticdoorl ocks func-
ti on is activated, the vehicle doors are dis-
played in red in the multifunction displ ay.
X Press the abutton to save the setting.
For further information on the automatic lock-
ing feature, see (Y page 84).
Activating/deactivating th eacoustic
lockin gconfirmation
If you switch on the Acoustic Lock function,
an acoustic signal sounds when you lock the
vehicle.
X Press the =or; button on the steer-
ing wheel to select the Settings menu.
X Press :or9 to select the Vehicle submenu.
X Press ato confirm.
X Press the :or9 button to select the
Acoustic Lock function.
If the Acoustic Lock function is activated,
the & symbol in the multifunction dis-
play lights up red.
X Press the abutton to save the setting.
Activating/deactivating the radar sensor
system
X Press the =or; button on the steer-
ing wheel to select the Settings menu.
X Press :or9 to select the Vehicle submenu.
X Press ato confirm.
X Press the 9or: button to select
Rada rsensor (See Owner's Man.): .
Yo uw ill see the selected setting: on or
off .
X Press the abutton to save the setting.
i You must deactivate the radar sensor sys-
tem in certain countries and near radio
telescope facilities. For further informa-
tion, see (Y page 433). Menus and submenus
283On-board computer and displays Z
Page 287 of 441
When you are close to radi
otelescope facili-
ties, the rada rsensor system will be deacti-
vated automatically.
The following system sare switche doff when
th er adar senso rsystem is deactivated:
R DISTRONIC PLUS (Y page 198)
R BAS PLUS (Y page 62)
R PRE-SAFE ®
Brak e(Ypage 68)
R Blin dSpot Assist (Y page 238)
R Active Blin dSpot Assist (Y page 242)
Heating submenu Auxiliary heating dep
arture time G
WARNING
Exhaus tfumes are produced when the auxili-
ary heating is in operation. Inhaling the se
exhaus tfumes can be poisonous. You should
therefor eswitch off th eauxiliar yheating in
confine dspaces without an extraction sys-
tem, e.g .agarage. G
WARNING
When operating the auxiliary heating parts of
the vehicle can get very hot. Make sure that
the exhaust system does not under any cir-
cumstances come into contact with easily
ignitable material such as dry grass or fuels.
The material could otherwise ignite and set
the vehicle alight. Choos eyour parkin gspot
accordingly.
Operating the auxiliary heating is thus pro-
hibited at fillin gstations or when your vehicle
is being refuelled .You must therefor eswitch
off the auxiliary heating at filling stations.
! Operating the auxiliary heating/ventila-
tion draws on the vehicle battery. After you
have heated or ventilated the vehicle a
maximum of two times, drive for alonger
distance.
This func tion is only available on vehicles with
auxiliary heatin g(Ypage 148). In the
Heating submenu, you can select a
stored departure tim eorchange adeparture
time.
The auxiliary heatin gtimer func tion calcu-
lates the switch-on tim eaccording to the out-
sid etemperatur esothat the vehicle is pre-
heate dbyt he departur etime. When the
departur etime is reached, the auxiliary heat-
ing continues to heat for afurther five
minutes and then switches off. The auxiliary
heating adopts the THERMATI Cor
THERMOTRONI Ctemperature setting.
You can switc hoff th eauxiliary heating by
using the remot econtrol or the auxiliar yheat-
ing button on the centre console.
i Swit chthe auxiliary heating on regularly
once amonthfor about ten minutes.
Selecting th edepartur etime or deactivat-
ing aselected depa rtur et ime
X Press the =or; button on the steer-
ing wheel to select the Settings menu.
X Press the :or9 button to select the
Heating submenu.
X Press ato confirm.
You will see the selected setting.
X Press ato confirm.
X Press the :or9 button to select
one of the three departur etimes or Timer off (no timer active).
X Press ato confirm.
If ad eparture tim eisselected, the yellow
indicator lam plights up on the auxiliary
heating button.
Changing the depa rtur et ime
X Press the =or; button on the steer-
ing wheel to select the Settings menu.
X Press the :or9 button to select the
Heating submenu.
X Press ato confirm.
You will see the selected setting.
X Press ato confirm. 284
Menus and submenusOn-board computer and displays
Page 288 of 441
X
Press the :or9 button to select A ,
B or
Change C .
X Press ato confirm.
You can now change the departur etime.
X Press the =or; button to select the
display to be changed: hours, minutes.
X Press the :or9 button to set the
selected display.
X Press the abutton to store the entry.
The yellow indicator lamp on the auxiliary
heating button lights up.
Convenience submenu Activating/deactivating the EASY-
ENTRY/EXIT feature
G
WARNING
The steerin gwheel moves when the EASY-
ENTRY/ EXIT feature is active. There is arisk
of occupant sbecoming trapped. Before acti-
vating the EASY-ENTRY/EXI Tfeature, make
sure that nobody can becom etrapped.
Do not leave children unsupervised in the
vehicle, eve nifthey ar esecured in achild
rest raint system. The children could open the
driver's door and thereby unintentionally acti-
vate the EASY-ENTRY/EXIT featur eand
become trapped.
X Pres sthe = or; button on the steer-
ing wheel to selec tthe Settings menu.
X Press the :or9 button to selec tthe
Convenie nce submenu.
X Press ato con firm.
X Press :or9 to select the Easy Entry/Ex
it function.
If the Easy Entry/Exit function is activa-
ted ,the vehicle steerin gwheel is displayed
in red in the multifunction display.
X Press the abutton to sav ethe setting.
Further information on the EASY- ENTRY/EXIT
feature (Y page 111). Switching the belt adjustment on/off
X
Press the =or; button on the steer-
ing whee ltoselect the Settings menu.
X Press the :or9 button to select the
Convenie nce submenu.
X Press ato con firm.
X Press the :or9 buttontos elect the
Belt adjustme nt function.
When the Belt adjustment function is
activated, th evehicle seat belt is displayed
in red in the multifunction display.
X Press the abutton to save the setting.
For further information on belt adjustment,
see (Y page 48).
Switching th eFold in mirrors when lock-
ing function on/off
This func tion is only available on vehicles with
Memor yFunction (Y page 115).
When you activat ethe Auto. fold-in mir‐
rors func
tion, the exterior mirror sare folded
in when th evehicle is locked. When you
unloc kthe vehicle and then open adoor, the
exterior mirror sfold out again.
X Press the =or; button on the steer-
ing wheel to select the Settings menu.
X Press the :or9 button to select the
Convenie nce submenu.
X Press ato con firm.
X Press :or9 to select the Auto. fold-in mirrors function.
If the Auto. fold-in mirrors function is
activated, th evehicle' sexterior mirror is
displaye dinred in the multifunction dis-
play.
X Press the abutton to save the setting. Menus and submenus
285On-board computera nd displays Z
Page 289 of 441
:
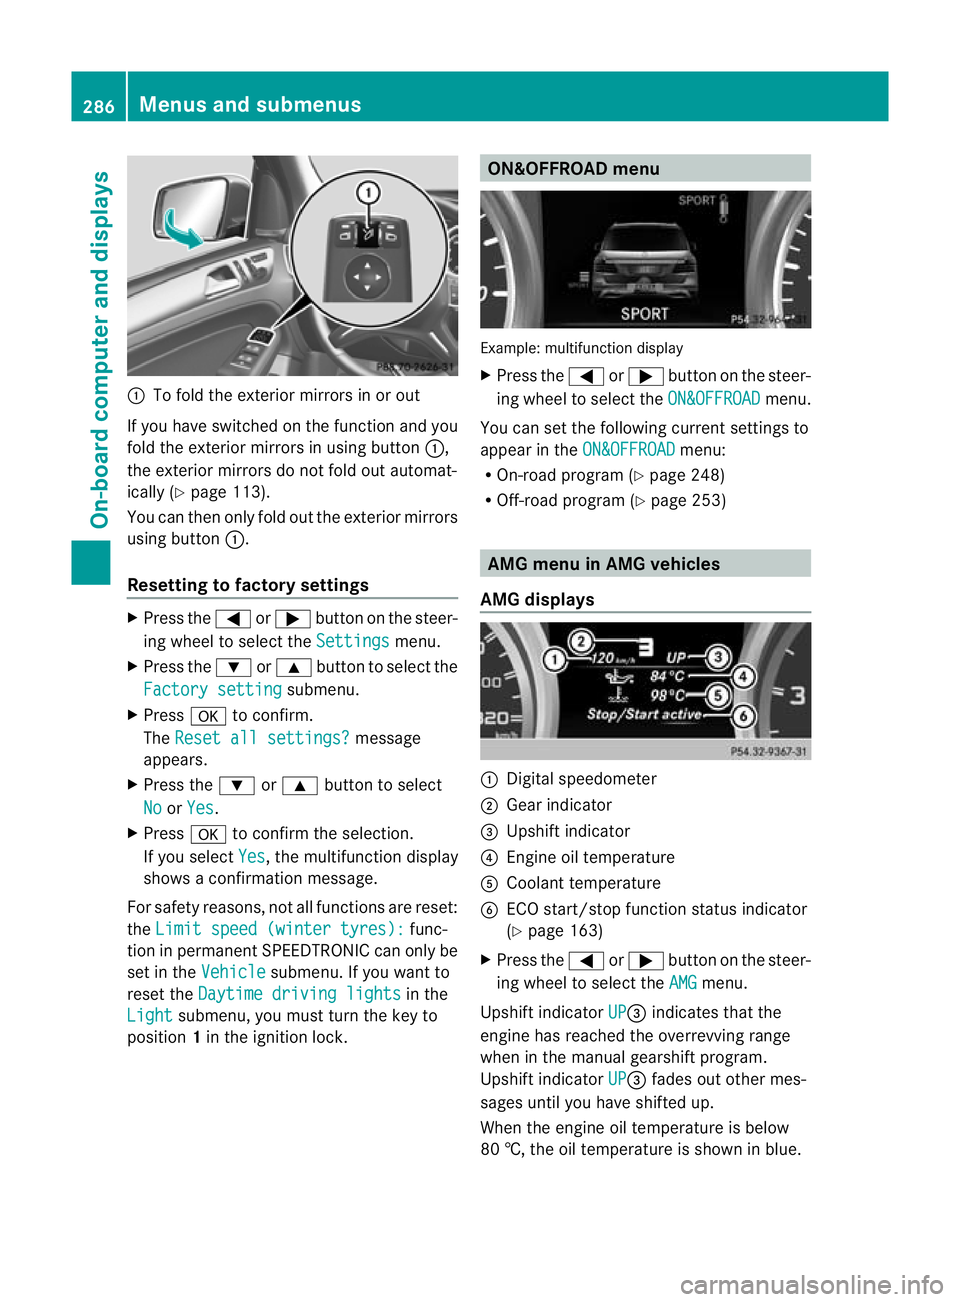
To fold the exterior mirror sinorout
If you have switched on the function and you
fold the exterior mirrors in using button :,
the exterior mirrors do not fold out automat-
ically (Y page 113).
You can then only fold out the exterior mirrors
using button :.
Resetting to factor ysettings X
Pres sthe = or; button on th esteer-
ing wheel to selec tthe Settings menu.
X Press the :or9 button to selec tthe
Factor ysetting submenu.
X Press ato confirm.
The Reset all settings? message
appe ars.
X Pres sthe : or9 button to select
No or
Yes .
X Press ato confir mthe selection.
If you select Yes ,t
he multifunction display
shows aconfirmation message.
For safet yreasons, not all functions are reset:
the Limi tspeed (winter tyres): func-
tion in permanen tSPEEDTRONIC can only be
set in the Vehicle submenu. If you want to
reset the Daytimedriving lights in the
Light submenu, yo
umust turn the key to
position 1in the ignition lock. ON&OFFROAD menu
Example: multifunction display
X
Press the =or; button on the steer-
ing wheel to select the ON&OFFROAD menu.
You can set the following current settings to
appea rintheON&OFFROAD menu:
R On-road program (Y page 248)
R Off-road program (Y page 253) AM
Gm enu in AMG vehicles
AMG displays :
Digital speedometer
; Gear indicator
= Upshift indicator
? Engin eoil temperature
A Coolant temperature
B ECO start/stop func tion status indicator
(Y page 163)
X Press the =or; button on the steer-
ing wheel to select the AMG menu.
Upshift indicator UP =
indicates that the
engin ehas reached the overrevving range
when in the manual gearshift program.
Upshift indicator UP =
fades out other mes-
sages until you have shifted up.
When the engine oil temperature is below
80 †, the oil temperature is shown in blue. 286
Menus and submenusOn-board computer and displays
Page 290 of 441
Avoi
dusing the ful loutpu toft he engin edur-
ing this time.
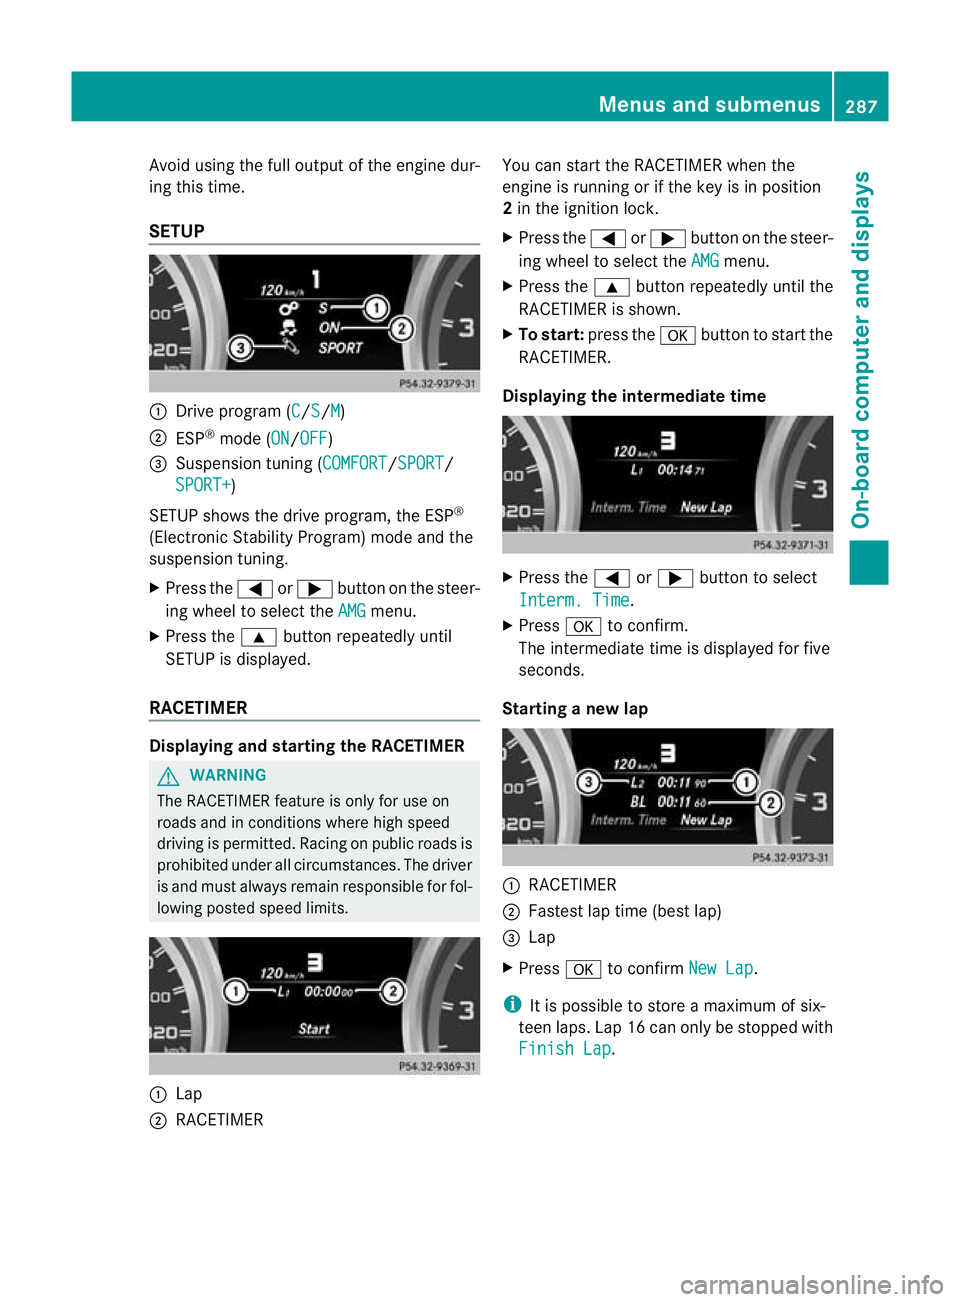
SETUP :
Drive program (C /S /M )
; ESP ®
mode (ON /OFF )
= Suspension tuning (COMFORT /SPORT /
SPORT+ )
SETUP shows the drive program, the ESP ®
(Electronic Stability Program) mode and the
suspensio ntuning.
X Press the =or; button on the steer-
ing wheel to select the AMG menu.
X Press the 9button repeatedly until
SETUP is displayed.
RACETIMER Displaying and starting the RACETIMER
G
WARNING
The RACETIMER feature is only for use on
roads and in conditions where high speed
driving is permitted. Racing on publi croads is
prohibited under all circumstances. The driver
is and must always remain responsible for fol-
lowin gposted speed limits. :
Lap
; RACETIMER You can star
tthe RACETIME Rwhen the
engin eisrunnin gorift he key is in position
2 in the ignition lock.
X Press the =or; button on the steer-
ing wheel to selec tthe AMG menu.
X Press the 9button repeatedly until the
RACETIME Risshown.
X To sta rt:press the abutton to start the
RACETIMER.
Displaying the intermediate time X
Press the =or; button to select
Interm .Time .
X Press ato confirm.
Th eintermediate time is displayed for five
seconds.
Starting anew lap :
RACETIMER
; Fastest lap time (best lap)
= Lap
X Press ato confirm NewL ap .
i It is possible to store amaximum of six-
teen laps. Lap 16 can only be stopped with
Finish Lap .Menus and submenus
287On-board computer and displays Z