NISSAN QASHQAI 2017 Owner´s Manual
Manufacturer: NISSAN, Model Year: 2017, Model line: QASHQAI, Model: NISSAN QASHQAI 2017Pages: 508, PDF Size: 2.68 MB
Page 131 of 508
2-52Instruments and controls
SIC4544
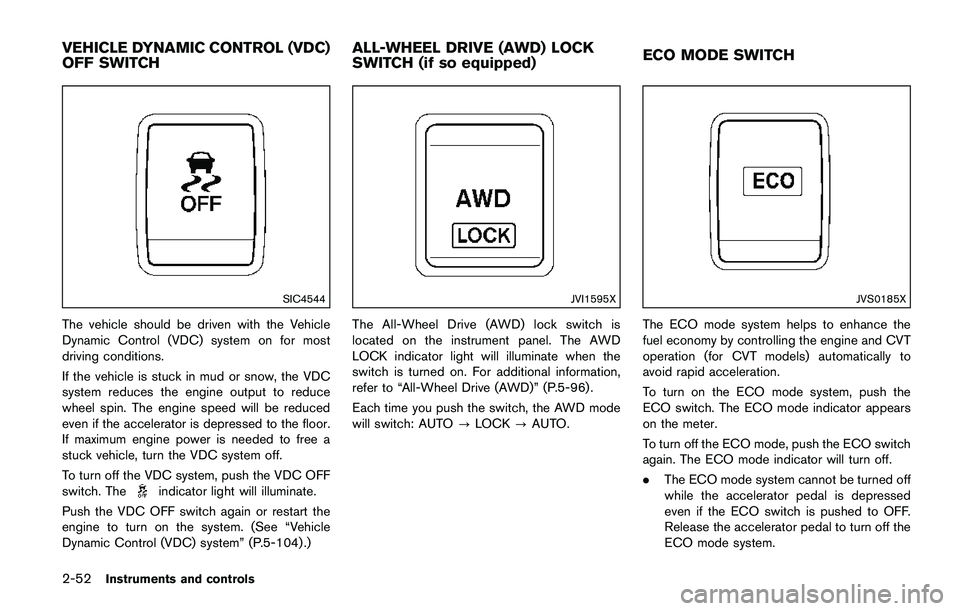
The vehicle should be driven with the Vehicle
Dynamic Control (VDC) system on for most
driving conditions.
If the vehicle is stuck in mud or snow, the VDC
system reduces the engine output to reduce
wheel spin. The engine speed will be reduced
even if the accelerator is depressed to the floor.
If maximum engine power is needed to free a
stuck vehicle, turn the VDC system off.
To turn off the VDC system, push the VDC OFF
switch. The
indicator light will illuminate.
Push the VDC OFF switch again or restart the
engine to turn on the system. (See “Vehicle
Dynamic Control (VDC) system” (P.5-104) .)
JVI1595X
The All-Wheel Drive (AWD) lock switch is
located on the instrument panel. The AWD
LOCK indicator light will illuminate when the
switch is turned on. For additional information,
refer to “All-Wheel Drive (AWD)” (P.5-96) .
Each time you push the switch, the AWD mode
will switch: AUTO?LOCK?AUTO.
JVS0185X
The ECO mode system helps to enhance the
fuel economy by controlling the engine and CVT
operation (for CVT models) automatically to
avoid rapid acceleration.
To turn on the ECO mode system, push the
ECO switch. The ECO mode indicator appears
on the meter.
To turn off the ECO mode, push the ECO switch
again. The ECO mode indicator will turn off.
.The ECO mode system cannot be turned off
while the accelerator pedal is depressed
even if the ECO switch is pushed to OFF.
Release the accelerator pedal to turn off the
ECO mode system.
VEHICLE DYNAMIC CONTROL (VDC)
OFF SWITCHALL-WHEEL DRIVE (AWD) LOCK
SWITCH (if so equipped)ECO MODE SWITCH
Page 132 of 508
.The ECO mode system will turn off auto-
matically if a malfunction occurs in the
system.
.Turn off the ECO mode system when
acceleration is required such as when:
— driving with a heavy load of passengers
or cargo in the vehicle
— driving on a steep uphill slope
JVI0878X
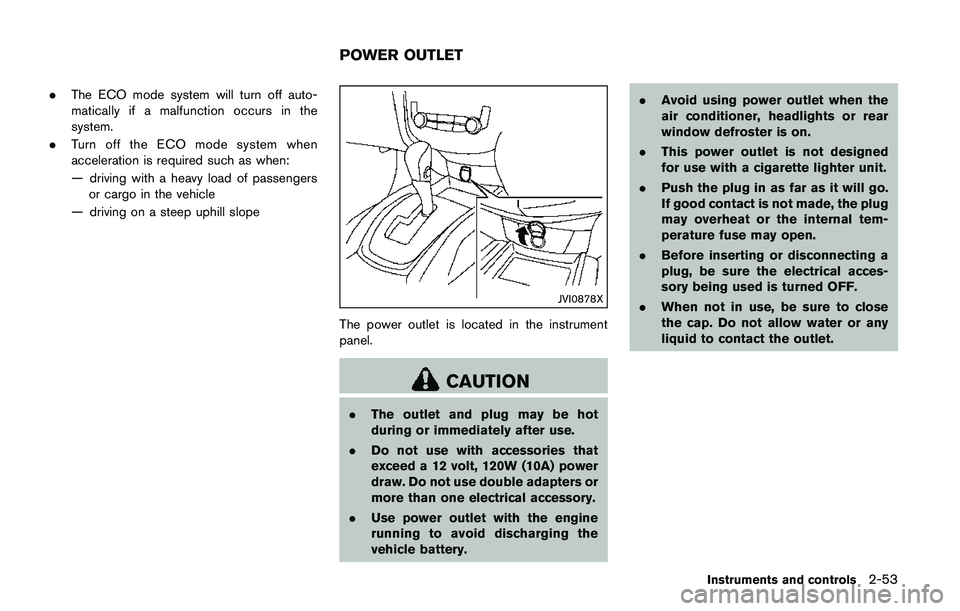
The power outlet is located in the instrument
panel.
CAUTION
.The outlet and plug may be hot
during or immediately after use.
.Do not use with accessories that
exceed a 12 volt, 120W (10A) power
draw. Do not use double adapters or
more than one electrical accessory.
.Use power outlet with the engine
running to avoid discharging the
vehicle battery..Avoid using power outlet when the
air conditioner, headlights or rear
window defroster is on.
.This power outlet is not designed
for use with a cigarette lighter unit.
.Push the plug in as far as it will go.
If good contact is not made, the plug
may overheat or the internal tem-
perature fuse may open.
.Before inserting or disconnecting a
plug, be sure the electrical acces-
sory being used is turned OFF.
.When not in use, be sure to close
the cap. Do not allow water or any
liquid to contact the outlet.
Instruments and controls2-53
POWER OUTLET
Page 133 of 508
2-54Instruments and controls
CUP HOLDERS
CAUTION
.Avoid abrupt starting and braking
when the cup holder is being used
to prevent spilling the drink. If the
liquid is hot, it can scald you or your
passenger.
.Use only soft cups in the cup holder.
Hard objects can injure you in an
accident.
JVI1601X
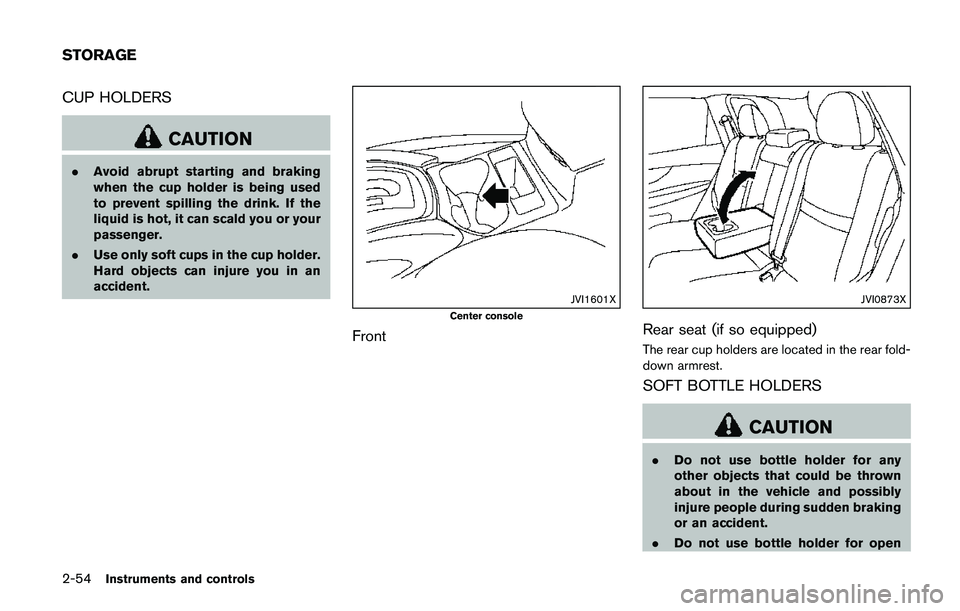
Center console
Front
JVI0873X
Rear seat (if so equipped)
The rear cup holders are located in the rear fold-
down armrest.
SOFT BOTTLE HOLDERS
CAUTION
.Do not use bottle holder for any
other objects that could be thrown
about in the vehicle and possibly
injure people during sudden braking
or an accident.
.Do not use bottle holder for open
STORAGE
Page 134 of 508
liquid containers.
JVI0884X
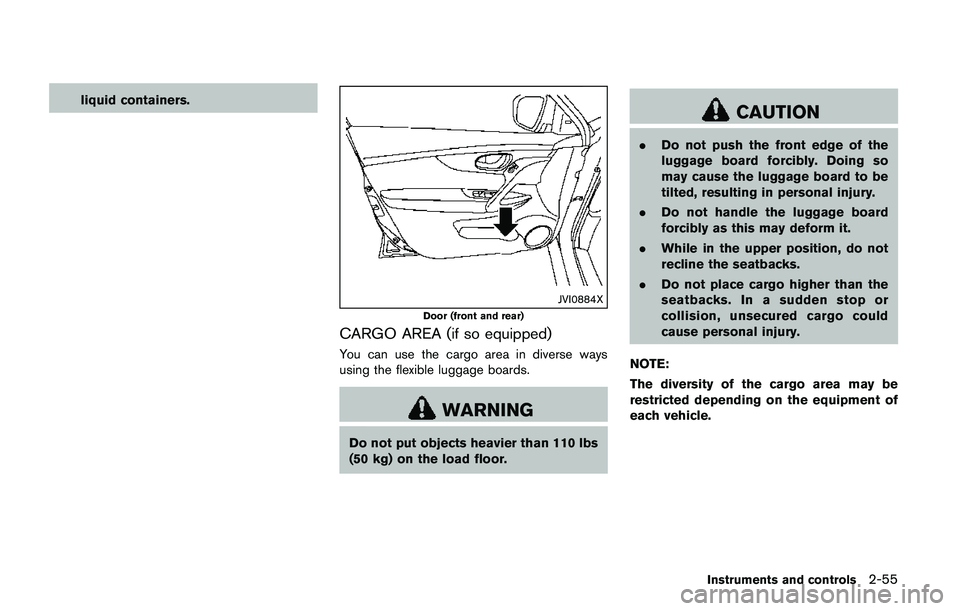
Door (front and rear)
CARGO AREA (if so equipped)
You can use the cargo area in diverse ways
using the flexible luggage boards.
WARNING
Do not put objects heavier than 110 lbs
(50 kg) on the load floor.
CAUTION
.Do not push the front edge of the
luggage board forcibly. Doing so
may cause the luggage board to be
tilted, resulting in personal injury.
.Do not handle the luggage board
forcibly as this may deform it.
.While in the upper position, do not
recline the seatbacks.
.Do not place cargo higher than the
seatbacks. In a sudden stop or
collision, unsecured cargo could
cause personal injury.
NOTE:
The diversity of the cargo area may be
restricted depending on the equipment of
each vehicle.
Instruments and controls2-55
Page 135 of 508
2-56Instruments and controls
JVI1620X
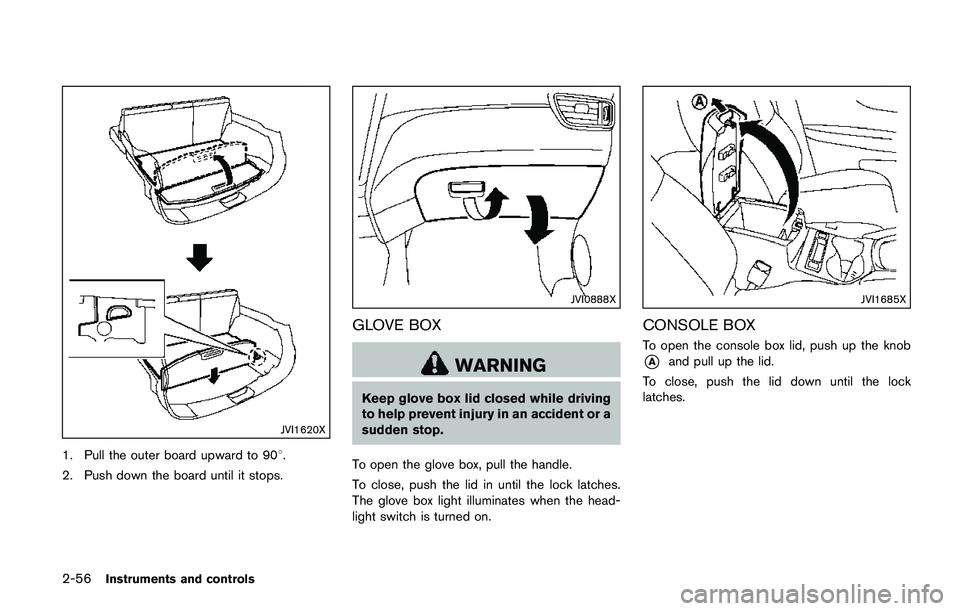
1. Pull the outer board upward to 908.
2. Push down the board until it stops.
JVI0888X
GLOVE BOX
WARNING
Keep glove box lid closed while driving
to help prevent injury in an accident or a
sudden stop.
To open the glove box, pull the handle.
To close, push the lid in until the lock latches.
The glove box light illuminates when the head-
light switch is turned on.
JVI1685X
CONSOLE BOX
To open the console box lid, push up the knob
*Aand pull up the lid.
To close, push the lid down until the lock
latches.
Page 136 of 508
JVI0619X
SUNGLASSES HOLDER
WARNING
Keep the sunglasses holder closed
while driving to avoid obstructing the
driver’s view and to help prevent an
accident.
CAUTION
.Do not use for anything other than
sunglasses..Do not leave sunglasses in the
sunglasses holder while parking in
direct sunlight. The heat may da-
mage the sunglasses.
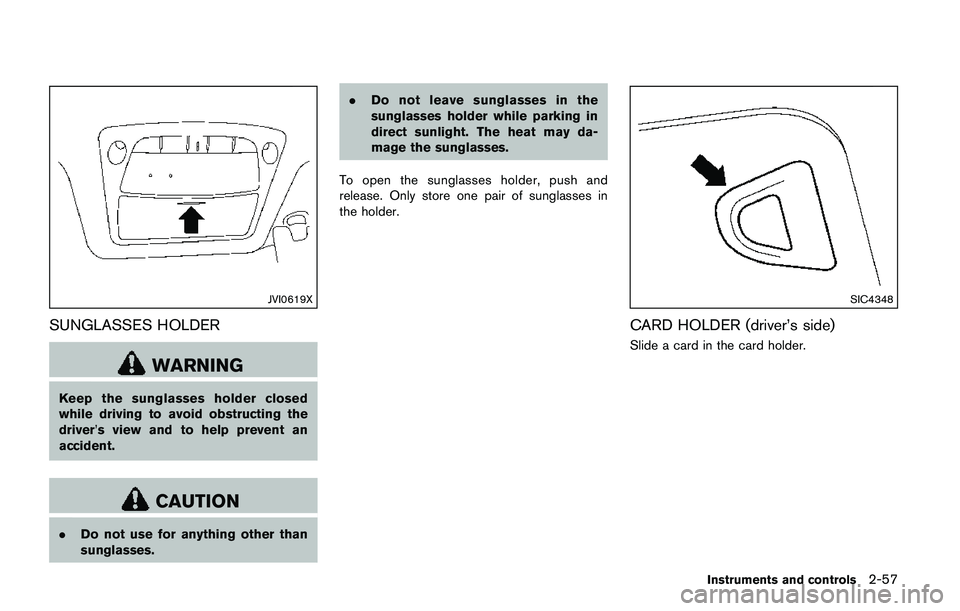
To open the sunglasses holder, push and
release. Only store one pair of sunglasses in
the holder.
SIC4348
CARD HOLDER (driver’s side)
Slide a card in the card holder.
Instruments and controls2-57
Page 137 of 508
2-58Instruments and controls
JVI1686X
Cargo area
LUGGAGE HOOKS
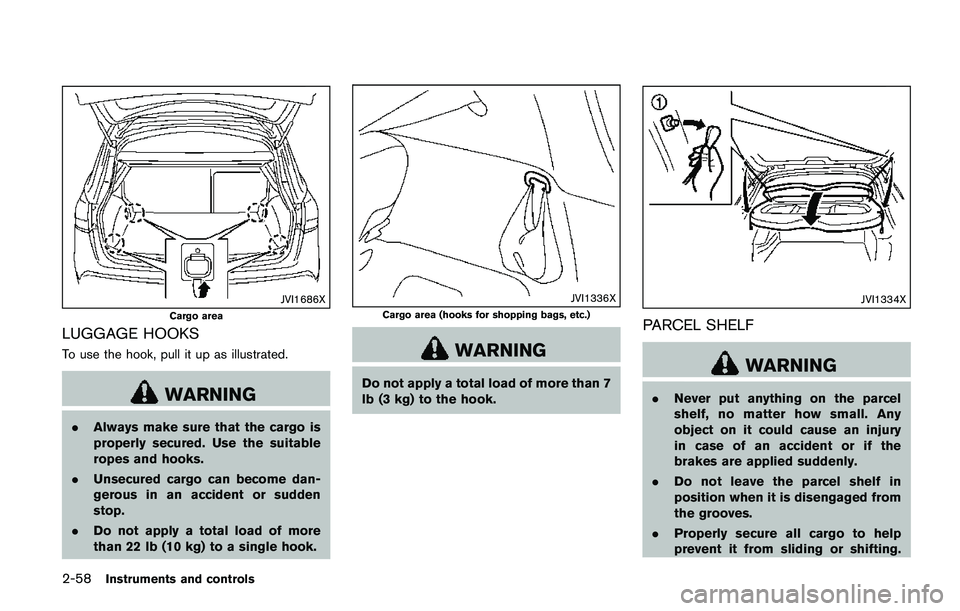
To use the hook, pull it up as illustrated.
WARNING
.Always make sure that the cargo is
properly secured. Use the suitable
ropes and hooks.
.Unsecured cargo can become dan-
gerous in an accident or sudden
stop.
.Do not apply a total load of more
than 22 lb (10 kg) to a single hook.
JVI1336X
Cargo area (hooks for shopping bags, etc.)
WARNING
Do not apply a total load of more than 7
lb (3 kg) to the hook.
JVI1334X
PARCEL SHELF
WARNING
.Never put anything on the parcel
shelf, no matter how small. Any
object on it could cause an injury
in case of an accident or if the
brakes are applied suddenly.
.Do not leave the parcel shelf in
position when it is disengaged from
the grooves.
.Properly secure all cargo to help
prevent it from sliding or shifting.
Page 138 of 508
Do not place cargo higher than the
seatbacks. In a sudden stop or
collision, unsecured cargo could
cause personal injury
.The child restraint top tether strap
may be damaged by contact with
the parcel shelf or items in the cargo
area. Remove the parcel shelf from
the vehicle or store it in its storage
space. Also, secure any lose items in
the cargo area. Your child could be
seriously injured or killed in a colli-
sion if the top tether strap is da-
maged.
Removal
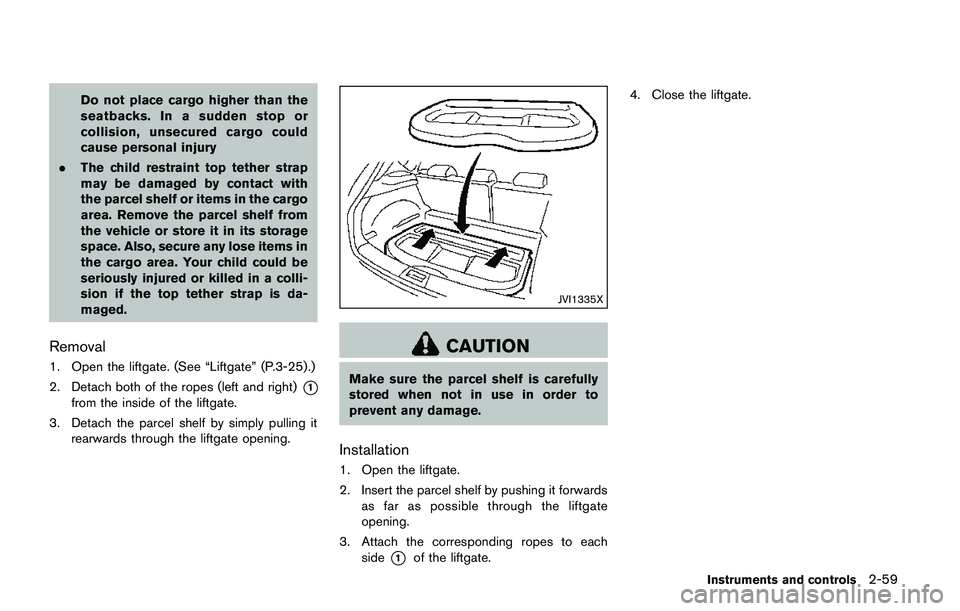
1. Open the liftgate. (See “Liftgate” (P.3-25) .)
2. Detach both of the ropes (left and right)
*1
from the inside of the liftgate.
3. Detach the parcel shelf by simply pulling it
rearwards through the liftgate opening.
JVI1335X
CAUTION
Make sure the parcel shelf is carefully
stored when not in use in order to
prevent any damage.
Installation
1. Open the liftgate.
2. Insert the parcel shelf by pushing it forwards
as far as possible through the liftgate
opening.
3. Attach the corresponding ropes to each
side
*1of the liftgate.4. Close the liftgate.
Instruments and controls2-59
Page 139 of 508
2-60Instruments and controls
JVI0889X
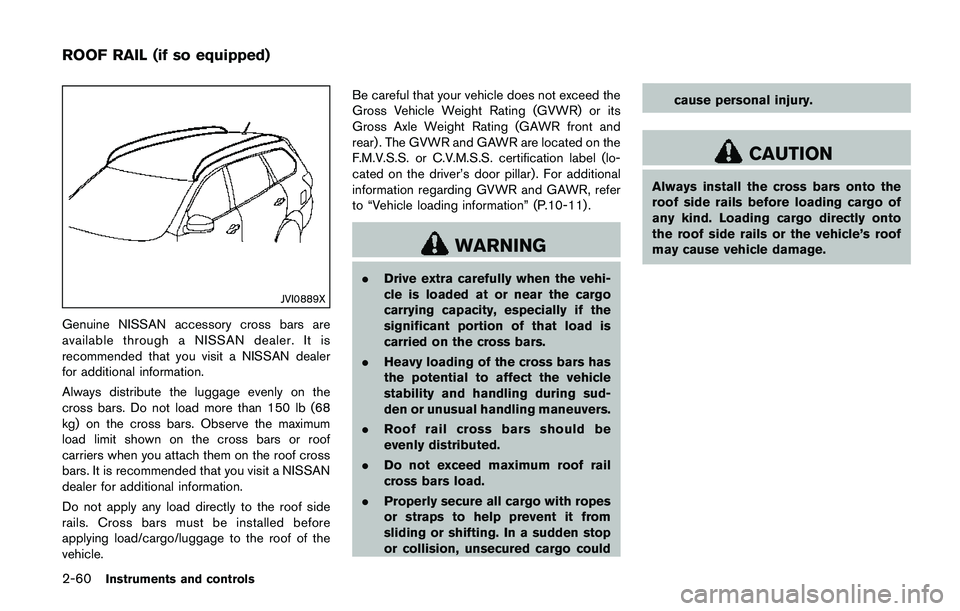
Genuine NISSAN accessory cross bars are
available through a NISSAN dealer. It is
recommended that you visit a NISSAN dealer
for additional information.
Always distribute the luggage evenly on the
cross bars. Do not load more than 150 lb (68
kg) on the cross bars. Observe the maximum
load limit shown on the cross bars or roof
carriers when you attach them on the roof cross
bars. It is recommended that you visit a NISSAN
dealer for additional information.
Do not apply any load directly to the roof side
rails. Cross bars must be installed before
applying load/cargo/luggage to the roof of the
vehicle.Be careful that your vehicle does not exceed the
Gross Vehicle Weight Rating (GVWR) or its
Gross Axle Weight Rating (GAWR front and
rear) . The GVWR and GAWR are located on the
F.M.V.S.S. or C.V.M.S.S. certification label (lo-
cated on the driver’s door pillar). For additional
information regarding GVWR and GAWR, refer
to “Vehicle loading information” (P.10-11) .
WARNING
.Drive extra carefully when the vehi-
cle is loaded at or near the cargo
carrying capacity, especially if the
significant portion of that load is
carried on the cross bars.
.Heavy loading of the cross bars has
the potential to affect the vehicle
stability and handling during sud-
den or unusual handling maneuvers.
.Roof rail cross bars should be
evenly distributed.
.Do not exceed maximum roof rail
cross bars load.
.Properly secure all cargo with ropes
or straps to help prevent it from
sliding or shifting. In a sudden stop
or collision, unsecured cargo couldcause personal injury.
CAUTION
Always install the cross bars onto the
roof side rails before loading cargo of
any kind. Loading cargo directly onto
the roof side rails or the vehicle’s roof
may cause vehicle damage.
ROOF RAIL (if so equipped)
Page 140 of 508
POWER WINDOWS
WARNING
.Make sure that all passengers have
their hands, etc. inside the vehicle
while it is in motion and before
closing the windows. Use the win-
dow lock switch to prevent unex-
pected use of the power windows.
.To help avoid risk of injury or death
through unintended operation of
the vehicle and or its systems,
including entrapment in windows
or inadvertent door lock activation,
do not leave children, people who
require the assistance of others or
pets unattended in your vehicle.
Additionally, the temperature inside
a closed vehicle on a warm day can
quickly become high enough to
cause a significant risk of injury or
death to people and pets.
The power windows operate when the ignition
switch is in the ON position, or for about 45
seconds after the ignition switch is placed in the
OFF position. If the driver’s or front passenger’s
door is opened during this period of about 45seconds, power to the windows is canceled.
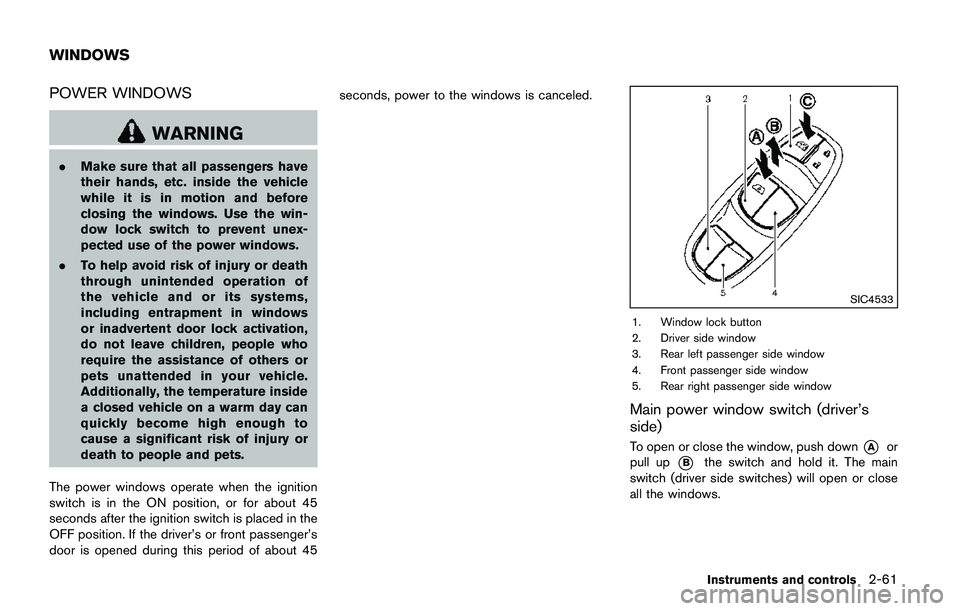
SIC4533
1. Window lock button
2. Driver side window
3. Rear left passenger side window
4. Front passenger side window
5. Rear right passenger side window
Main power window switch (driver’s
side)
To open or close the window, push down*Aor
pull up
*Bthe switch and hold it. The main
switch (driver side switches) will open or close
all the windows.
Instruments and controls2-61
WINDOWS