buttons NISSAN VERSA HATCHBACK 2010 1.G Quick Reference Guide
[x] Cancel search | Manufacturer: NISSAN, Model Year: 2010, Model line: VERSA HATCHBACK, Model: NISSAN VERSA HATCHBACK 2010 1.GPages: 28, PDF Size: 4.25 MB
Page 4 of 28

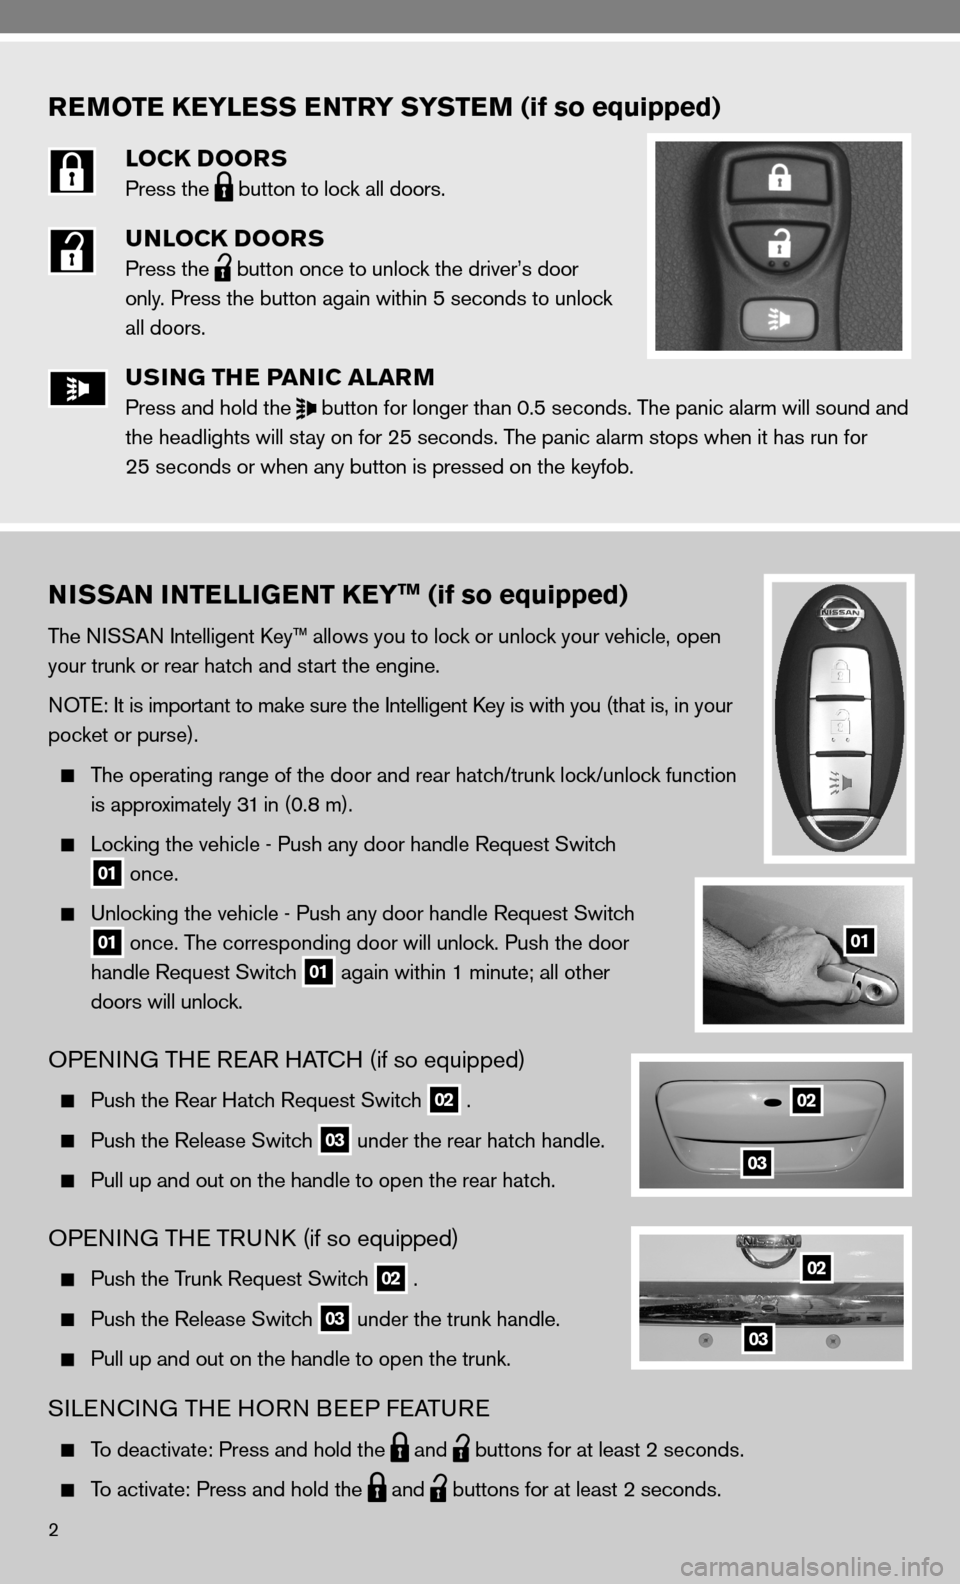
REMOTE KEYLESS ENTRY SYSTEM (if so equipped)
LOCK DOORS
Press the
button to lock all doors.
UNLOCK DOORS
Press the
button once to unlock the driver’s door
only. Press the button again within 5 seconds to unlock
all doors.
USING THE PANIC ALARM
Press and hold the
button for longer than 0.5 seconds. The panic alarm will sound and
the headlights will stay on for 25 seconds. The panic alarm stops when it has run for
25 seconds or when any button is pressed on the keyfob.
2
NISSAN INTELLIGENT KEYTM (if so equipped)
The niSSAn intelligent k ey™ allows you to lock or unlock your vehicle, open
your trunk or rear hatch and start the engine.
n OTe: it is important to make sure the intelligent k ey is with you (that is, in your
pocket or purse).
The operating range of the door and rear hatch/trunk lock/unlock function
is approximately 31 in (0.8 m).
Locking the vehicle - Push any door handle Request Switch
01 once.
unlocking the vehicle - Push any door handle Request Switch
01 once. The corresponding door will unlock. Push the door
handle Request Switch
01 again within 1 minute; all other
doors will unlock.
OPenin G THe ReAR HAT cH (if so equipped)
Push the Rear Hatch Request Switch 02 .
Push the Release Switch 03 under the rear hatch handle.
Pull up and out on the handle to open the rear hatch.
OP enin G THe TRunk (if so equipped)
Push the Trunk Request Switch 02 .
Push the Release Switch 03 under the trunk handle.
Pull up and out on the handle to open the trunk.
SiLencin G THe HOR n BeeP feATu Re
To deactivate: Press and hold the
and
buttons for at least 2 seconds.
To activate: Press and hold the
and
buttons for at least 2 seconds.
01
02
02
03
03
Page 9 of 28

7
03 CD BUTTON
Press the CD button to play a cd.
05 AUX BUTTON
Press the AUX button to play a compatible device such as an MP3 player when it is
plugged into the AUX (auxiliary) jack.
Pressing the AUX button will also change the satellite band (A uX, SAT1 and SAT2)
(if so equipped).
n OT e: You may need to adjust the volume on any compatible device plugged into the auxiliary
jack to find the most desired sound level of the audio system.
06 EJECT BUTTON
EJECT A DISC - Press the
button for less than 1.5 seconds. The cd will then eject.
07 DISP/TEXT BUTTON
Press the DISP/TEXT button to change the text displayed while playing an fM radio station,
cd or iPod
®.
08 SEEK/TRACK BUTTON
To scan quickly through each broadcasting station, press the SEEK/TRACK button.
To skip from one track to another on a cd, press the SEEK/TRACK button.
10 STATION SELECT BUTTONS
Your radio is equipped with three separate banks, each with six station presets. choose a
radio band AM, f M1 or fM2 using the FM/AM button. Tune to the desired station using
SEEK/TRACK or S CAN tuning. Press and hold any of the desired station select buttons
(1 - 6 ) until a beep is heard. now the station is set in memory.
11 SCAN/RPT BUTTON
Press the SCAN/RPT button to stop at each broadcasting station for 5 seconds.
Pressing the button again during this 5-second period will stop scan tuning and the radio
will remain tuned to that station.
Press the SCAN/RPT button to change the play pattern while listening to a cd, MP3
cd or iPod®.
13 AUDIO BUTTON
To adjust the bass, treble, fade, balance, Speed Sensitive Volume (SSV) (if so equipped)
and beep settings, press the AUDIO button until the desired mode appears in the display.
Press the TUNE or SEEK buttons to adjust the selected mode to the desired level.
Once you’ve adjusted the sound quality to the desired level, press th\
e AUDIO button
repeatedly until the radio or cd mode appears on the display.
15 TUNE/FF-REW/FOLDER BUTTON
To manually tune the radio, press the TUNE/FF-REW/FOLDER button.
While listening to a cd, press the TUNE/FF-REW/FOLDER button for more than
1.5 seconds to
fast forward or rewind. When the button is released, the cd returns
to normal play.
if playing a cd that is formatted with MP3/WMA folders, press the TUNE/FF-REW/
FOLDER button to scroll through the available folders.
Page 10 of 28

8
iPod® PLAYER OPERATION (if so equipped)
The iPod
® outlet connector is located on the center console. connect the cable to the iPod®
connector and then connect the other end of the cable to your iPod®. Your vehicle is equipped
with the specialized cable for connecting the iPod® to your vehicle’s audio unit. if compatible, the
battery of your iPod® will charge while connected to the vehicle.
PLAYING AN iPod
®
The interface for iPod® operation shown on the vehicle’s display is similar to the iPod® interface.
The iPod® can only be operated by the vehicle audio controls while connected.
04 iPOD® BUTTON
Press the iPod® button to switch to the iPod® mode.
09 iPOD® MENU BUTTON
Press the iPod® MENU button to show the interface for iPod® operation on the audio display.
TUNE/FF-REW/FOLDER BUTTON
When the TUNE/FF-REW/FOLDER button is pressed for more than 1.5 seconds, the
iPod® will play while fast forwarding or rewinding. When the button is released, the iPod®
will return to normal play.
When the TUNE/FF-REW/FOLDER button is pressed for less than 1.5 seconds while
the iPod® is playing, the next track or the beginning of the current track on the iPod® will
be played.
SCAN/RPT BUTTON
Press the SCAN/RPT button to change the iPod® play pattern.
DISP/TEXT
Press the DISP/TEXT button to change the displayed program information (Album Title,
Artist name, Song Title, normal Mode, Podcast) while a program is playing.
12 ENTER AND 14 BACK BUTTONS
Press the ENTER button while the top menu is displayed to show program details on the
audio display. use the SEEK button to scroll through the choices and press the ENTER
button to make a selection. Press the BACK button to return to the previous display.
*XM
® Satellite Radio is only available on vehicles equipped with optional XM® Satellite
subscription service.
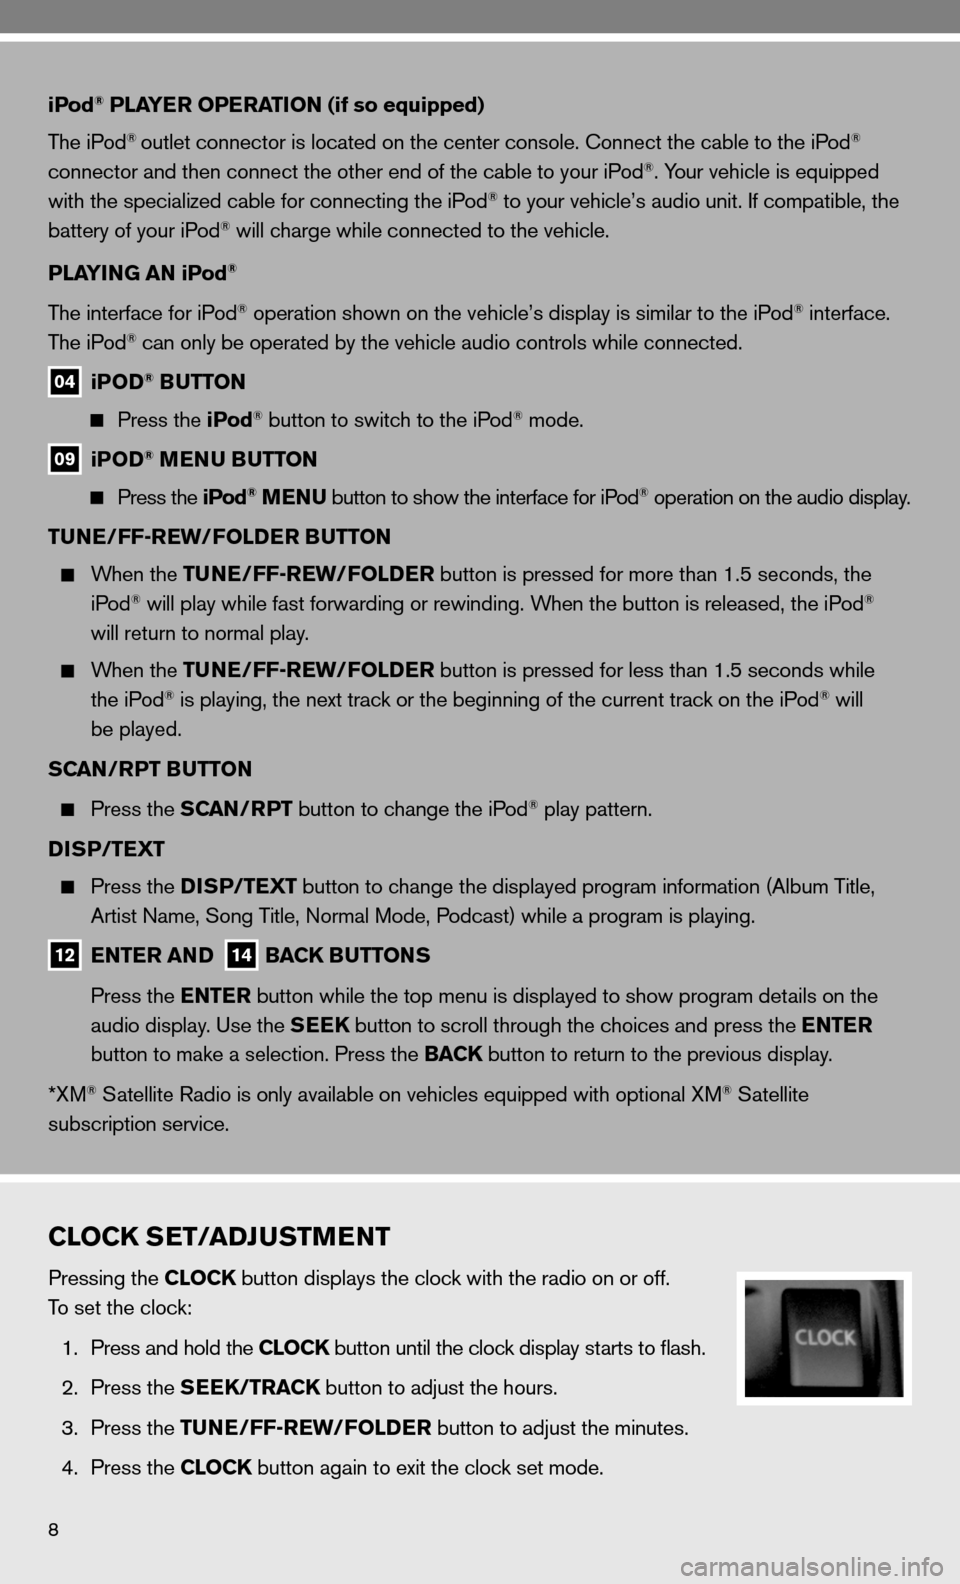
CLOCK SET/ADJUSTMENT
Pressing the CLOCK button displays the clock with the radio on or off.
To set the clock:
1. Press and hold the CLOCK button until the clock display starts to flash.
2. Press the SEEK/TRACK button to adjust the hours.
3. Press the TUNE/FF-REW/FOLDER button to adjust the minutes.
4. Press the CLOCK button again to exit the clock set mode.