reset OLDSMOBILE AURORA 2003 Owners Manual
[x] Cancel search | Manufacturer: OLDSMOBILE, Model Year: 2003, Model line: AURORA, Model: OLDSMOBILE AURORA 2003Pages: 387, PDF Size: 18.05 MB
Page 74 of 387

Central Door Unlocking System
If the key is held in the outside key cylinder unlock
position for more than two seconds, all doors will unlock.
All doors will also unlock
if the key is turned to the
unlock position twice within three seconds.
Power Door Locks
With power door locks, you
can lock or unlock all the
doors on your vehicle
using the driver’s or the
front passenger’s door lock
switch.
Door Ajar Reminder
If a door is not fully closed when the transaxle is in
gear, a chime will sound and the DIC will display one of
these messages:
DRIVERS DOOR AJAR
e PASSENGER DOOR AJAR
0 LEFT REAR DOOR AJAR
0 RIGHT REAR DOOR AJAR
Delayed Locking
This personalization feature lets the driver delay the
actual locking of the vehicle. When the driver’s power
door lock switch, or the lock symbol on the remote
keyless entry is pressed with the key removed from the
ignition and the driver’s door open, a chime will
sound three times to signal that the lock delay mode
is
active. When all doors have been closed, the doors
will lock automatically after five seconds.
If any door is
itself once all the doors have been closed again.
Pressing the driver’s or passenger’s door lock switch or
the lock symbol on the remote keyless entry a second
time will override this feature.
You must program this feature through the Driver
Information Center (DIC). See
DIC Vehicle
Personalization
on page 3-52.
CpeEed bek-e fhk, the fi\!e-secQnr_! timer \vi!! reset
2-1 1
ProCarManuals.com
Page 107 of 387
Using HorneLink@
Press and hold the appropriate HomeLink@ button for at
least half
of a second. The indicator light will come
on while the signal is being transmitted.
Erasing HorneLink@ Buttons
To erase programming from the three buttons do the
following:
1. Press and hold down the two outside buttons until
the indicator light begins to flash, after 20 seconds.
2. Release both buttons. Do not hold for longer than
HomeLink@ is now in the train (learning) mode and can
be programmed at any time beginning with Step
2
under “Programming HomeLink@.”
Individual buttons can not be erased, but they can be
reprogrammed. See “Reprogramming a Single
HomeLink@ Button” next.
30
seconds.
Reprogramming a Single HomeLink@
Button
To program a device to HomeLink@ using a HomeLink@
button previously trained, follow these steps:
1. Press and hold the desired HomeLink@ button.
Do
not release the button.
2. The indicator light will begin to flash after
20 seconds. While still holding the HomeLink@
button, proceed with Step
2 under “Programming
HomeLink@.”
Resetting Defaults
To reset HomeLink@ to default settings do the following:
1. Hold down the two outside buttons for about
20 seconds until the indicator light begins to flash.
2. Continue to hold both buttons until the HomeLink@
indicator light turns
off.
3. Release both buttons.
For questions or comments, contact HomeLink@ at
1-800-355-351
5, or on the internet at
www.homelink.com.
2-44
ProCarManuals.com
Page 123 of 387

The RainsenseTM system is activated by moving the
wiper lever up to the INT position and turning the
INT ADJ band to one
of the five sensitivity levels within
the delay area. The bottom INT ADJ position is the
lowest sensitivity setting, level one. This allows more
rain or snow to collect on the windshield between wipes.
You can increase the sensitivity of the system and the
frequency of wipes by turning the INT ADJ band
away from you to the higher sensitivity levels. The top
position is the highest sensitivity setting, level five.
A single wipe will occur each time you turn the INT ADJ
band to a higher sensitivity level to indicate that the
sensitivity level has been increased.
Notice: The wipers must be turned off when going
through a car wash to avoid damage.
The MIST and wash cycles operate as normal and are
not affected by the RainsenseTM function. The
system can be overridden at any time by manually
changing the wiper control to
LO or HI speed.
Notice: Do not place stickers or other items on the
exterior glass surface directly in front of the
rainsensor. Doing this could cause the rainsensor
to malfunction.
Windshield Washer
The lever on the right side of your steering column also
controls your windshield washer. To spray washer
fluid on the windshield, push the button on the end
of
the lever. The wipers will clear the window and then
either stop or return
to your preset speed. For more
washer cvcles, push and hold the button.
In freezing weather, don’t use your washer
until the windshield is warmed. Otherwise the
washer fluid can form ice on the windshield,
blocking your vision.
Ice build up can block washer nozzles. Remove ice for
proper operation.
If the fluid level in the windshield washer bottle is low,
the message LOW WASHER FLUID will appear on
the
DIC. See Windshield Washer Fluid on page 5-38.
3-1 0
ProCarManuals.com
Page 125 of 387

Resuming a Set Speed
Setting the cruise control at a desired speed and then
applying the brake will end the cruise control function.
Once you’re going about
25 mph (40 km/h) or more, you
can briefly push the cruise control lever up to RES-ACC
(Resume-Accelerate) to reset. This returns you to
the desired preset speed.
Remember,
if you hold the lever up at RES-ACC, the
vehicle will accelerate until you release the lever
or apply the brake.
So unless you want to go faster,
don’t hold the lever at RES-ACC.
Increasing Speed While Using Cruise
Control
1.
2.
3.
4.
Push the cruise control switch, located on the right
side of the steering column at the end of the lever,
in to
ON.
Get up to the speed you want.
Push the lever down to SET-CST (Coast) and
release it. The CRUISE light on the instrument
panel cluster will come on.
Take your foot
off the accelerator pedal. There are
three ways to go to a higher speed:
Use the accelerator pedal to go to a higher speed.
Push the lever down, then release the lever and
the accelerator pedal. You’ll now cruise at the higher
speed.
Move the cruise lever up to RES-ACC. Hold it there
until you reach a desired speed and then release
the lever.
3-1 2
ProCarManuals.com
Page 145 of 387
Speedometer and Odometer
Your speedometer lets you see your speed in both
miles per hour (mph) and kilometers per hour (km/h).
Your odometer shows how far your vehicle has
been driven, in either miles (used in the United States)
, or kilometers (used in Canada).
The speedometer shows a top speed of
140 mph
(220 km/h). This is not intended to be the vehicle’s top
speed.
You may wonder what happens
if your vehicle needs a
new odometer installed. If the new one can be set to
the mileage total of the old odometer, then it must
be. But
if it can’t, then it’s set at zero and a label must
be put on the driver’s door to show the old mileage
reading when the new odometer was installed.
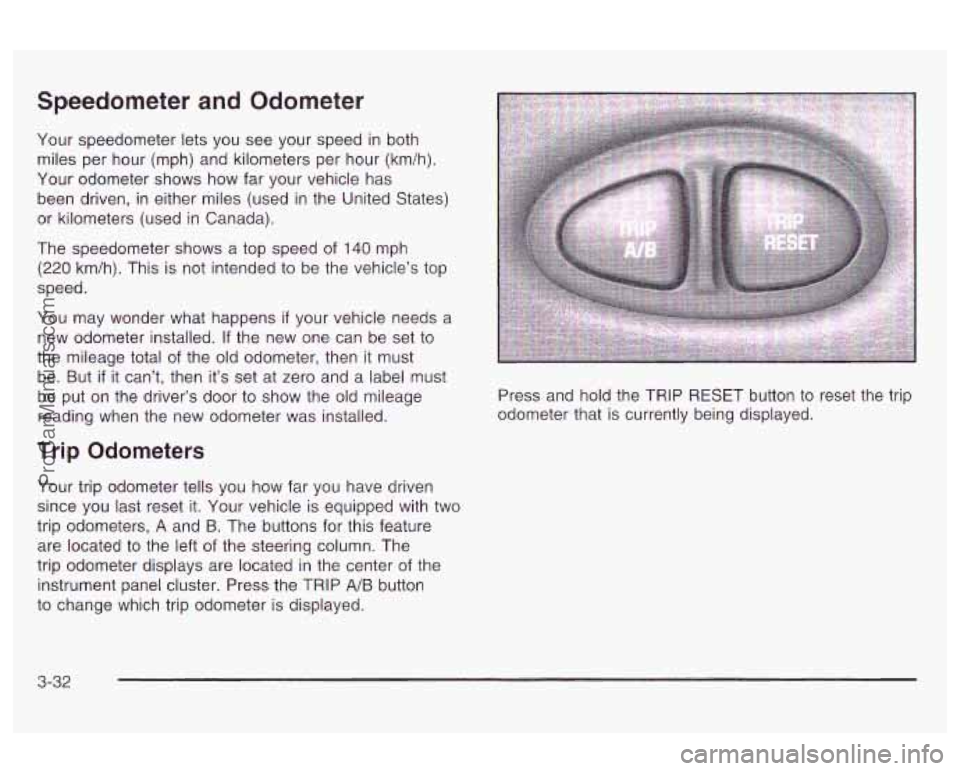
Trip Odometers
Your trip odometer tells you how far you have driven
since you last reset it. Your vehicle is equipped with two
trip odometers,
A and B. The buttons for this feature
are located to the left
of the steering column. The
trip odometer displays are located in the center of the
instrument panel cluster. Press the TRIP
A/B button
to change which trip odometer is displayed. Press and
hold the TRIP RESET button to reset the trip
odometer that is currently being displayed.
3-32
ProCarManuals.com
Page 149 of 387
A PARK BRAKE SET message will be displayed on the
Driver Information Center (DIC) while the parking
brake is set and the vehicle is moving. The message
will not come on
if the transaxle is in PARK (P).
If the light comes on while you are driving, pull
off the
road and stop carefully. You may notice that the pedal is
harder
to push. Or, the pedal may go closer to the
floor. It may take longer
to stop. If the light is still on,
have the vehicle towed for service. See
Towing
Your Vehicle
on page 4-33.
Your brake system may not be working
properly
if the brake system warning light is
on. Driving with the brake system warning light
on can lead to an accident.
If the light is still
on after you’ve pulled
off the road and stopped
carefully, have the vehicle towed for service.
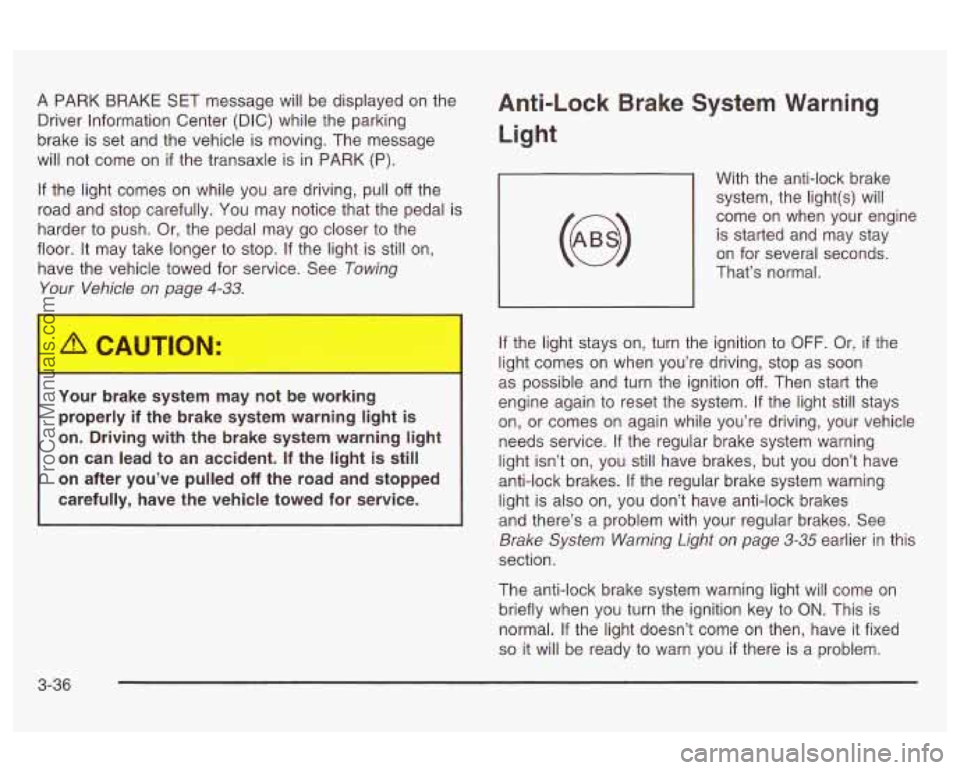
Anti-Lock Brake System Warning
Light
With the anti-lock brake
system, the light(s) will
come on when your engine is started and may stay
on for several seconds.
That’s normal.
If the light stays on, turn the ignition to
OFF. Or, if the
light comes on when you’re driving, stop as soon
as possible and turn the ignition
off. Then start the
engine again to reset the system.
If the light still stays
on, or comes on again while you’re driving, your vehicle
needs service.
If the regular brake system warning
light isn’t on, you still have brakes, but you don’t have
anti-lock brakes.
If the regular brake system warning
light is also on, you don’t have anti-lock brakes
and there’s a problem with your regular brakes. See
Brake System Warning Light on page 3-35 earlier in this
section.
The anti-lock brake system warning light will come on
briefly when you turn the ignition key to
ON. This is
normal.
If the light doesn’t come on then, have it fixed
so it will be ready to warn you if there is a problem.
3-36
ProCarManuals.com
Page 158 of 387
Driver Information Center (DIG) To turn off messages on the DIC (except LOW OIL
PRESSURE, LOW BRAKE FLUID, PARK BRAKE SET,
STARTING DISABLED and the HOT
... STOP ENGINE
warning), press the RESET button.
Pressing the SELECT right arrow button will allow you
to access the following modes, DATE/ET, FUEL, ECON,
OIL and GAGE. While
in any sf these modes, warning
messages can interrupt and take over the display
until you acknowledge the message, or the condition
causing the problem goes away.
English/Metric
The DIC can display information in either English or
metric. To change the display, press and hold the
ON/OFF button for about three seconds. This will also
change the digital screen for the climate control
system between English and metric.
Date/Elapsed Time
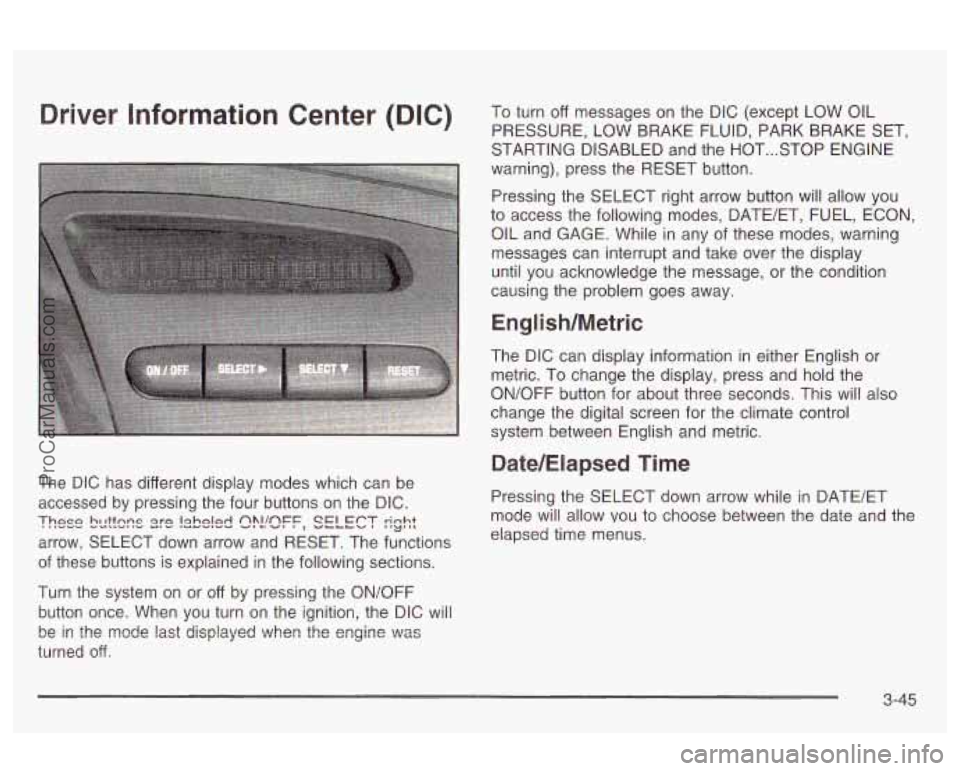
The DIC has different display modes which can be
accessed by pressing the four buttons on the DIC. Pressing the SELECT down arrow while in BATE/ET
arrow, SELECT down arrow and RESET. The functions
These bcttsns s)?!!sFF, SELECT rinht I'LJ',L mode will allow vou to choose between the date and the
elapsed time menus.
of these buttons is explained in the following sections.
Turn the system
on or off by pressing the ON/OFF
button once. When you turn on the ignition, the DIC will
turned
off.
be in the mode last displayed ?..lhen the engine \":as
3-45
ProCarManuals.com
Page 159 of 387
Date
To set the date, press and hold the RESET button for
about three seconds while the date is being displayed on
the DIC. When the date set mode is entered the
display will show the following:
YEAR?
M M/D D/OO
The year will be flashing. To increase the item that is
flashing press SELECT right arrow. To decrease
the item that is flashing press SELECT down arrow.
When you reach the current year press the RESET
button. The DIC will ask for the month. The month will
flash the same as the year. Use the SELECT buttons
to
reach the current month and press RESET. The DIC
will then ask for the day. The day will flash the same as
the year. Use the SELECT buttons
to reach the
current day. Press the RESET button again and the set
display will stop flashing and go back to the normal
operation mode.
Elapsed Time (ET)
When the ignition is on, the DIC can be used as a
stopwatch. The display will show hours and minutes.
The elapsed time indicator will record
up to 100 hours,
then it will reset
to zero and continue counting. Press
SELECT down arrow while in the DATE/ET mode, and
the display will show the amount of time that has
elapsed since the elapsed time indicator was last reset
(not including time the ignition is
off), such as:
01 :08 ELAPSED TIME
To start or stop the counting of time, press the RESET
button briefly.
If the colon (:) in the time is flashing,
time is being counted. Time is displayed in hours and
minutes. Seconds are not displayed. Time will continue
to be counted as long as the ignition is on, even
if
another display is being shown on the DIC.
To reset elapsed time to zero, press the RESET button
for three seconds while the elapsed time
is displayed.
Fuel
Press the SELECT down arrow while in the FUEL mode
to see how much fuel has been used and the fuel
range functions.
3-46
ProCarManuals.com
Page 160 of 387

Fuel Used
While in the FUEL USED function the display will show
a reading such as:
FUEL USED:
10.4 GAL or FUEL USED: 39.4 L
To learn how much fuel will be used from a specific
starting point, first enter the FUEL USED mode to
display FUEL USED, then press and hold the RESET
button for three seconds.
Don't confuse fuel used with the amount of fuel in
your tank.
Fuel Range
The FUEL RANGE mode calculates the remaining
distance you can drive without refueling. It's based
on
fuel economy and the fuel remaining in the tank.
The display will show a reading such as:
FUEL RANGE:
235 MI or FUEL RANGE: 378 KM
I4 the rnmc~e ;c. 1ec.c. +hnn iZn -;le- /On I,- +he A:mnlm., II LII~ IUIIYU IQ ~~aa LIIUII dw IIIIIL~ \ww 1x1111, LIIO ulayluy
will read LOW FUEL RANGE.
The fuel economy data used to determine fuel range is
an average of recent driving conditions.
As your
driving conditions change, this data is gradually updated.
Fuel range cannd be reset.
Fuel Economy
Pressing the SELECT down arrow while in the ECON
mode displays average fuel economy and instantaneous
fuel economy calculated for your specific driving
conditions.
Average fuel economy will be shown
in a reading
such as:
25.2 AVG MVGAL or 9.3 AVG UlOO KM
Instantaneous fuel economy will be shown in a reading
such as:
28 INST MVGAL or 8.4 INST UlOO KM
The average fuel economy is viewed as a long-term
approximation of your overall driving conditions.
If you press and hold RESET for three seconds in this
mode while you're driving, the system will begin figuring
average fuel economy from that point in time.
Instantaneous fuel economy cannot be reset.
3-47
ProCarManuals.com
Page 161 of 387
Oil Life
The GM Oil Life SystemTM is the only function accessible
in the OIL mode. Engine oil life is displayed in a
reading such as the following:
OIL LIFE 30%
This is an estimate of the oil’s remaining useful life. It
will show
100% when the system is reset after an
oil change. It will alert you to change your oil on a
schedule consistent with your driving conditions.
When the remaining
oil life is low, the system will alert
you with this message:
CHANGE OIL
SOON
Always reset the OIL LIFE reminder after an oil change.
To reset the oil life system, see “How to Reset the
Oil Life System” under
Engine Oil on page 5-75.
Remember, you must reset the OIL LIFE yourself after
each oil change. It will not reset itself. Also, be
careful not to reset the OIL LIFE accidentally at any
time other than when the oil has just been changed. It
can’t be reset accurately until the next oil change.
The DIC does not replace the need to maintain your
vehicle as recommended in the Maintenance Schedule
in this manual.
Also, the oil change reminder will not
detect dusty conditions or engine malfunctions that may
affect the oil. If you drive
in dusty areas, change your
oil after every
3,000 miles (5 000 km) or three months,
whichever occurs first, unless the DIC instructs you
to do
so sooner. Also, the oil change reminder does not
measure how much oil you have in your engine.
So,
be sure to check your oil level often. See Engine Oil on
page 5- 15.
3-48
ProCarManuals.com