change time Oldsmobile Bravada 2003 s Owner's Guide
[x] Cancel search | Manufacturer: OLDSMOBILE, Model Year: 2003, Model line: Bravada, Model: Oldsmobile Bravada 2003Pages: 410, PDF Size: 20.1 MB
Page 215 of 410
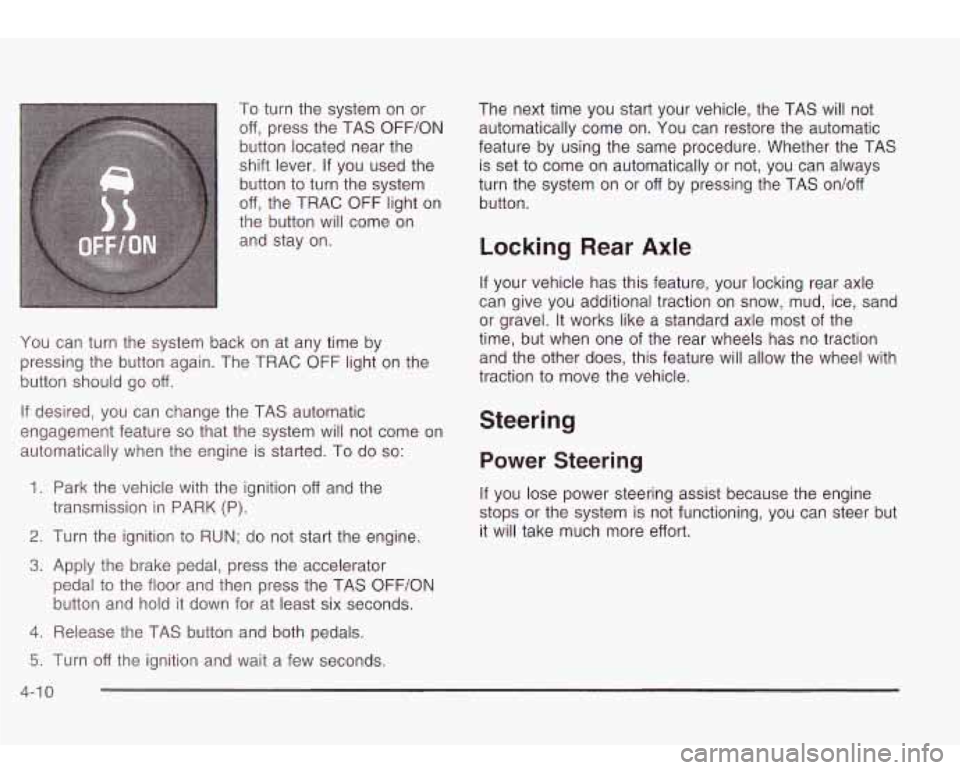
To turn the system on or
off, press the TAS OFF/ON
button located near the
shift lever.
If you used the
button to turn the system
off, the TRAC OFF light on
the button will come on
and stay on.
You can turn the system back on at any time by
pressing the button again. The TRAC OFF light on the
button should go off.
If desired, you can change the TAS automatic
engagement feature
so that the system will not come on
automatically when the engine is started. To do
so:
1.
Park the vehicle with the ignition off and the
2. Turn the ignition to RUN; do not start the engine.
3. Apply the brake pedal, press the accelerator
transmission in
PARK (P).
pedal
to the floor and then press the TAS OFF/ON
button and hold it down for at least six seconds.
4. Release the TAS button and both pedals. The next time you
start your vehicle, the TAS will not
automatically come on. You can restore the automatic
feature by using the same procedure. Whether the TAS
is set
to come on automatically or not, you can always
turn the system on or off by pressing the TAS on/off
button.
Locking Rear Axle
If your vehicle has this feature, your locking rear axle
can give you additional traction on snow, mud, ice, sand
or gravel. It works like a standard axle most of the
time, but when one
of the rear wheels has no traction
and the other does, this feature will allow the wheel with
traction to move the vehicle.
Steering
Power Steering
If you lose power steering assist because the engine
stops or the system is not functioning, you can steer but
it will take much more effort.
5. Turn off the ignition and wait a few seconds.
4-1 0
Page 216 of 410
Steering Tips
Driving on Curves
It’s important to take curves at a reasonable speed.
A lot of the “driver lost control” accidents mentioned on
the news happen on curves. Here’s why:
Experienced driver or beginner] each of us is subject
to
the same laws of physics when driving on curves.
The traction of the tires against the road surface makes
it possible for the vehicle
to change its path when
you turn the front wheels. If there’s no traction, inertia
will keep the vehicle going in the same direction. If
you’ve ever tried to steer a vehicle on wet ice, you’ll
understand this.
The traction you can get in a curve depends on the
condition of your tires and the road surface, the angle at
which the curve is banked, and your speed. While
you’re in a curve, speed is the one factor you can
control.
Suppose you’re steering through a sharp curve. Then you
suddenly accelerate. Both control systems
- steering
and acceleration
- have to do their work where the tires
meet the road. Adding the sudden acceleration can
demand
too much of those places. You can lose control.
See
Traction Assist System (TAS) on page 4-9.
What should you do if this ever happens? Ease up on
the accelerator pedal, steer the vehicle the way you
want
it to go, and slow down. Speed limit signs near curves
warn that you should
adjust your speed. Of course, the posted speeds
are based on good weather and road conditions. Under
less favorable conditions you’ll want
to go slower.
If you need
to reduce your speed as you approach a
curve,
do it before you enter the curve, while your front
wheels are straight ahead.
Try
to adjust your speed so you can “drive” through the
curve. Maintain a reasonable, steady speed. Wait
to
accelerate until you are out of the curve, and then
accelerate gently into the straightaway.
Steering in Emergencies
There are times when steering can be more effective
than braking. For example, you come over a hill and find
a truck stopped in your lane, or a car suddenly pulls
out from nowhere, or a child darts out from between
parked cars and stops right in front of you. You
can avoid these problems by braking
- if you can stop
in time. But sometimes you can’t; there isn’t room.
That’s the time for evasive action
- steering around the
problem.
Your vehicle can perform very well in emergencies like
these. First apply your brakes.
See
Braking on page 4-6. It is better to remove as much
speed as you can from a possible collision. Then
steer around the problem,
to the left or right depending
on the space available.
4-1 1
Page 219 of 410
Check your mirrors, glance over your shoulder, and
start your left lane change signal before moving out
of the right lane to pass. When you are far
enough ahead of the passed vehicle to see its front
in your inside mirror, activate your right lane
change signal and move back into the right lane.
(Remember that your right outside mirror is convex.
The vehicle you just passed may seem to be
farther away from you than it really is.)
Try not to pass more than one vehicle at a time on
two-lane roads. Reconsider before passing the
next vehicle.
Don’t overtake a slowly moving vehicle too rapidly.
Even though the brake lamps are not flashing, it
may be slowing down or starting to turn.
If you’re being passed, make it easy for the
following driver to get ahead of you. Perhaps you
can ease a little to the right.
LOSS of Control
Let’s review what driving experts say about what
happens when the three control systems (brakes,
steering and acceleration) don’t have enough friction
where the tires meet the road to do what the driver
has
asked.
In any emergency, don’t give
up. Keep trying to steer
and constantly seek an escape route or area of
less danger.
Skidding
In a skid, a driver can lose control of the vehicle.
Defensive drivers avoid most skids by taking reasonable
care suited to existing conditions, and by not
“overdriving” those conditions. But skids are always
possible.
The three types of skids correspond to your vehicle’s
three control systems. In the braking skid, your wheels
aren’t rolling. In the steering or cornering skid, too much
speed or steering in a curve causes tires to slip and lose
cornering force. And in the acceleration skid, too much
throttle causes the driving wheels to spin.
A cornering skid is best handled by easing your foot off
the accelerator pedal.
If you have the Traction Assist System, remember: It
helps avoid only the acceleration skid.
If you do not have
this system, or
if the system is off, then an acceleration
skid
is also best handled by easing your foot off the
accelerator pedal.
If your vehicle starts to slide, ease your foot off the
accelerator pedal and quickly steer the way you want
the vehicle to
go. If you start steering quickly enough,
your vehicle may straighten out. Always be ready
for a second skid
if it occurs.
4-1 4
Page 223 of 410
Controlling your vehicle is the key to successful off-road
driving. One of the best ways to control your vehicle
is to control your speed. Here are some things to keep
in mind. At higher speeds:
you approach things faster and you have less time
to scan the terrain for obstacles.
you have less time to react.
you have more vehicle bounce when you drive over
obstacles.
you’ll need more distance for braking, especially
since you’re on an unpaved surface.
I
When you’re driving off-road, bouncing and
quick changes in direction can easily throw
you out of position. This could cause you to
lose control and crash.
So, whether you’re
driving on
or off the road, you and your
passengers should wear safety belts.
Scanning the Terrain
Off-road driving can take you over many different kinds of
terrain.
You need to be familiar with the terrain and its
many different features. Here are some things to
consider.
Surface Conditions: Off-roading can take you over
hard-packed dirt, gravel, rocks, grass, sand, mud, snow
or ice. Each of these surfaces affects the steering,
acceleration and braking of your vehicle in different ways.
Depending upon the kind of surface you are on, you may
experience slipping, sliding, wheel spinning, delayed
acceleration, poor traction and longer braking distances.
Surface Obstacles: Unseen or hidden obstacles can
be hazardous.
A rock, log, hole, rut or bump can startle
you
if you’re not prepared for them. Often these
obstacles are hidden by grass, bushes, snow or even
the rise and fall of the terrain itself. Here are some
things
to consider:
Is the path ahead clear?
Will the surface texture change abruptly up ahead?
Does the travel take you uphill or downhill?
(There’s more discussion of these subjects later.)
Will you have to stop suddenly or change direction
quickly?
Page 224 of 410

When you drive over obstacles or rough terrain, keep a
firm grip on the steering wheel. Ruts, troughs or
other surface features can jerk the wheel out of your
hands
if you’re not prepared.
When you drive over bumps, rocks, or other obstacles,
your wheels can leave the ground.
If this happens,
even with one or two wheels, you can’t control
the vehicle as well or at all.
Because you will be on an unpaved surface, it’s
especially important
to avoid sudden acceleration,
sudden turns or sudden braking.
In a way, off-road driving requires a different kind of
alertness from driving on paved roads and highways.
There are no road signs, posted speed limits or
signal lights.
You have to use your own good judgment
about what is safe and what isn’t.
Drinking and driving can be very dangerous on any
road. And this is certainly true for off-road driving. At the
very time you need special alertness and driving
skills, your reflexes, perceptions and judgment can be
affected by even a small amount of alcohol.
You
could have a serious - or even fatal - accident if you
drink and drive or ride with a driver who has been
drinking. See
Drunken Driving on page 4-2.
Driving on Off-Road Hills
Off-road driving often takes you up, down or across a
hill. Driving safely on hills requires good judgment
and understanding of what your vehicle can and can’t
do. There are some hills that simply can’t be driven, no
matter how well bui he vehicle.
Man) ills are ~..-.ply .,o steep for any vehicle.
If you drive up them, you will stall. If you drive
down them, you can’t control your speed.
If you
drive across them, you
will roll over. You could
be seriously injured or killed. If you have any
doubt about the steepness, don’t drive the hill.
Approaching a Hill
When you approach a hill, you need to decide if it’s one
of those hills that’s just
too steep to climb, descend
or cross. Steepness can be hard to judge. On a very
small hill, for example, there may be a smooth, constant
incline with only a small change in elevation where
you can easily see all the way to the top. On a large hill,
the incline may get steeper as you near the top, but
you may not see this because the crest
of the hill
is hidden by bushes, grass or shrubs.
4-1 9
Page 250 of 410
Towing a Trailer
If you don’t use the correct equipment and
drive properly, you can lose control when you
pull
a trailer. For example, if the trailer is too
heavy, the brakes may not work well
-- or even
at all. You and your passengers could be
seriously injured. Pull a trailer only if you have
followed all the steps in this section. Ask your
dealer for advice and information about towing
a trailer with your vehicle.
Notice: Pulling a trailer improperly can damage
your vehicle and result
in costly repairs not covered
by your warranty.
To pull a trailer correctly, follow
the advice in
this part, and see your dealer for
important information about towing a trailer with
your vehicle. Additional rear axle maintenance
is required for a vehicle used to tow a trailer. See
“Scheduled Maintenance Services’’
in the Index.
To identify the trailering capacity of your vehicle,
you should read the information in “Weight of the Trailer’’
that appears later in this section.
Trailering is different than just driving your vehicle by
itself. Trailering means changes in handling, durability
and fuel economy. Successful, safe trailering takes
correct equipment, and
it has to be used properly.
That’s the reason for this part. In
it are many time-testea,
important trailering
tips and safety rules. Many of
these are important for your safety and that of your
passengers.
So please read this section carefully before
you pull a trailer.
4-45
Page 276 of 410
As in the chart shown previously, SAE 5W-30 is the
only viscosity grade recommended for your vehicle. You
should look for and use only oils which have the API
Starburst symbol and which are also identified as
SAE 5W-30.
If you cannot find such SAE 5W-30 oils,
you can use an SAE IOW-30 oil which has the API
Starburst symbol,
if it's going to be 0°F (-18°C)
or above. Do not use other viscosity grade oils, such as
SAE IOW-40 or SAE 20W-50 under any conditions.
Notice: Use only engine oil with the American
Petroleum Institute Certified For Gasoline Engines
starburst symbol. Failure to use the recommended
oil can result in engine damage not covered by
your warranty.
GM Goodwrench@ oil meets all the requirements for
your vehicle.
If you are in an area of extreme cold, where the
temperature falls below -20°F (-29"C), it is
recommended that you use either an SAE 5W-30
synthetic
oil or an SAE OW-30 oil. Both will provide
easier cold starting and better protection for your engine
at extremely low temperatures.
Engine Oil Additives
Don't add anything to your oil. The recommended oils
with the starburst symbol are all you will need for
good performance and engine protection.
When to Change Engine Oil
(GM Oil Life System)
Your vehicle has a computer system that lets YO
when to change the engine oil-and filter. This is
IU know
based on engine revolutions and engine temperature,
and not on mileage. Based on driving conditions,
the mileage at which an oil change will be indicated can
vary considerably. For the oil life system to work
properly, you must reset the system every time the oil is
changed.
When the system has calculated that oil life has been
diminished, it will indicate that an oil change
is
necessary. A CHANGE ENG OIL light in the Driver
Information Center (DIC) will come on. Change your oil
as soon
as possible within the next two times you
stop for fuel. It is possible that,
if you are driving under
the best conditions, the oil life system may not
indicate that an oil change is necessary for over a year.
However, your engine oil and filter must be changed
at least once a year and at this time the system must be
reset. It is also important to check your oil regularly
and keep it at the proper level.
If the system is ever reset accidentally, you must
change your oil at 3,000 miles (5
000 km) since your
last oil change. Remember to reset the oil life system
whenever the oil is changed.
5-1
7
Page 277 of 410
How to Reset the CHANGE ENG OIL Light
The GM Oil Life System calculates when to change
your engine oil and filter based on vehicle use. Anytime
your oil is changed, reset the system
so it can
calculate when the next oil change is required. If a
situation occurs where you change your oil prior to a
CHANGE ENG OIL light being turned on, reset the
system.
To reset the CHANGE ENG OIL light, do the following:
1. Turn the ignition key to RUN with the
2. Fully press and release the accelerator pedal three
engine
off.
times within five seconds.
For vehicles with the Driver Information Center, see
Driver Information Center (DE) on page 3-43 to reset
the system.
What to Do with Used Oil
Used engine oil contains certain elements that may be
unhealthy for your skin and could even cause cancer.
Don’t let used oil stay on your skin for very long. Clean
your skin and nails with soap and water, or a good
hand cleaner. Wash or properly dispose of clothing or
rags containing used engine oil. See the manufacturer’s
warnings about the use and disposal of oil products. Used oil can be a threat
to the environment. If you
change your own oil, be sure to drain all the oil from the
filter before disposal. Never dispose
of oil by putting it
in the trash, pouring it on the ground, into sewers, or into
streams
or bodies of water. Instead, recycle it by
taking it to a place that collects used oil. If you have a
problem properly disposing
of your used oil, ask
your dealer, a service station or a local recycling center
for help.
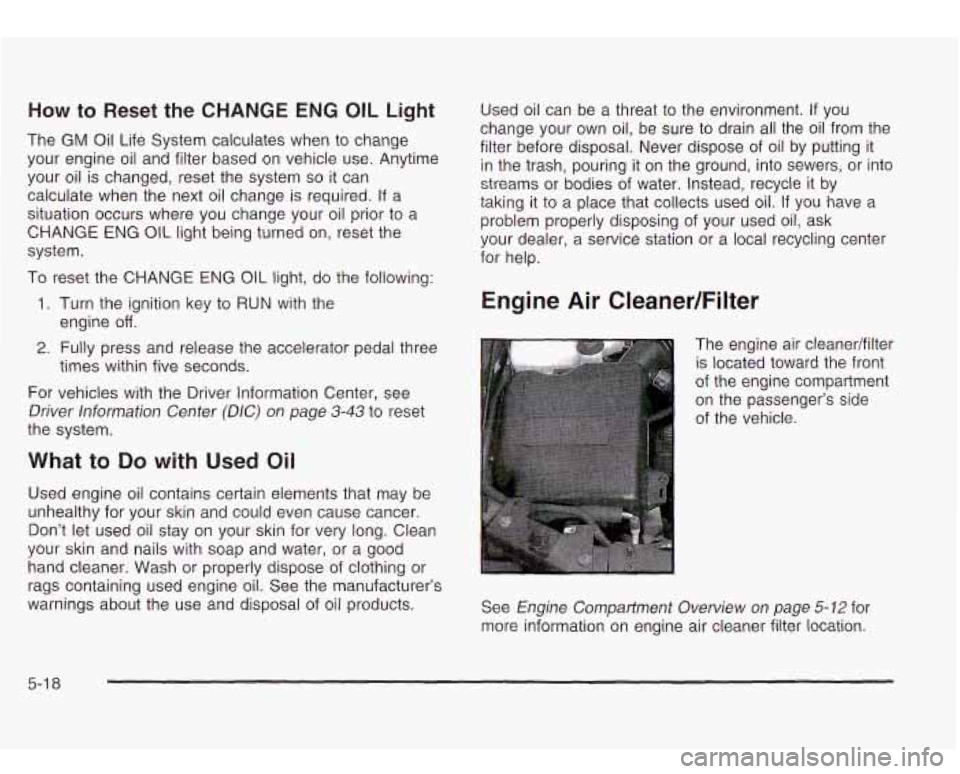
Engine Air CleanedFilter
The engine air cleanedfilter
is located toward the front
of the engine compartment
on the passenger’s side
of the vehicle.
See
Engine Compartment Overview on page 5-12 for
more information on engine air cleaner filter location.
5-1 8
Page 279 of 410
Automatic Transmission Fluid
When to Check and Change
A good time to check your automatic transmission fluid
level is when the engine oil is changed.
Change both the fluid and filter every
50,000 miles
(83
000 km) if the vehicle is mainly driven under one or
more of these conditions:
In heavy city traffic where the outside temperature
9 In hilly or mountainous terrain.
0 When doing frequent trailer towing.
regularly
reaches
90°F (32°C) or higher.
Uses such as found in taxi, police or delivery
If you do not use your vehicle under any of these
conditions, change the fluid and filter every
100,000 miles (1 66 000 km).
service.
How to Check
Because this operation can
be a little difficult, you may
choose
to have this done at the dealership service
department.
If you do it yourself, be sure to follow all the instructions
here, or you could get a false reading on the dipstick.
Notice: Too much or too little fluid can damage
your transmission.
Too much can mean that some
of the fluid could come out and fall on hot engine
part or exhaust system parts, starting
a fire.
Too little fluid could cause the transmission to
overheat.
Be sure to get an accurate reading if you
check your transmission fluid.
Wait at least 30 minutes before checking the
transmission fluid level
if you have been driving:
When outside temperatures are above
90°F (32°C).
At high speed for quite a while.
In heavy traffic-especially in hot weather
While pulling a trailer.
To get the right reading, the fluid should be at normal
operating temperature, which is 180°F
to 200°F
(82°C to 93°C).
5-20
Page 296 of 410
Brake Pedal Travel
The brake wear warning sound means that
soon your brakes won’t work well. That could
lead to an accident. When you hear the brake
wear warning sound, have your vehicle
serviced.
Notice: Continuing to drive with worn-out brake
pads could result
in costly brake repair.
Some driving conditions or climates may cause a brake
squeal when the brakes are first applied or lightly
applied. This does not mean something is wrong with
your brakes.
Properly torqued wheel nuts are necessary
to help
prevent brake pulsation. When tires are rotated, inspect
brake pads for wear and evenly tighten wheel nuts in
the proper sequence
to GM torque specifications.
Brake linings should always be replaced as complete
axle sets.
See
Brake System Inspection on page 6-16.
See your dealer if the brake pedal does not return to
normal height, or
if there is a rapid increase in
pedal travel. This could be a sign of brake trouble.
Brake Adjustment
Every time you make a brake stop, your disc brakes
adjust for wear.
Replacing Brake System Parts
The braking system on a vehicle is complex. Its many
parts have
to be of top quality and work well together if
the vehicle is to have really good braking. Your
vehicle was designed and tested with top-quality GM
brake parts. When you replace parts
of your braking
system
- for example, when your brake linings
wear down and you need new ones put in
- be sure
you get new approved GM replacement parts.
If
you don’t, your brakes may no longer work properly. For
example,
if someone puts in brake linings that are
wrong for your vehicle, the balance between your front
and rear brakes can change
- for the worse. The
braking performance you’ve come
to expect can change
in many other ways
if someone puts in the wrong
replacement brake parts.
5-37