light OLDSMOBILE SILHOUETTE 1996 Owner's Manual
[x] Cancel search | Manufacturer: OLDSMOBILE, Model Year: 1996, Model line: SILHOUETTE, Model: OLDSMOBILE SILHOUETTE 1996Pages: 372, PDF Size: 19.39 MB
Page 116 of 372
Mirrors
Inside Daymight Rearview Mirror Power Remote Control Mirrors
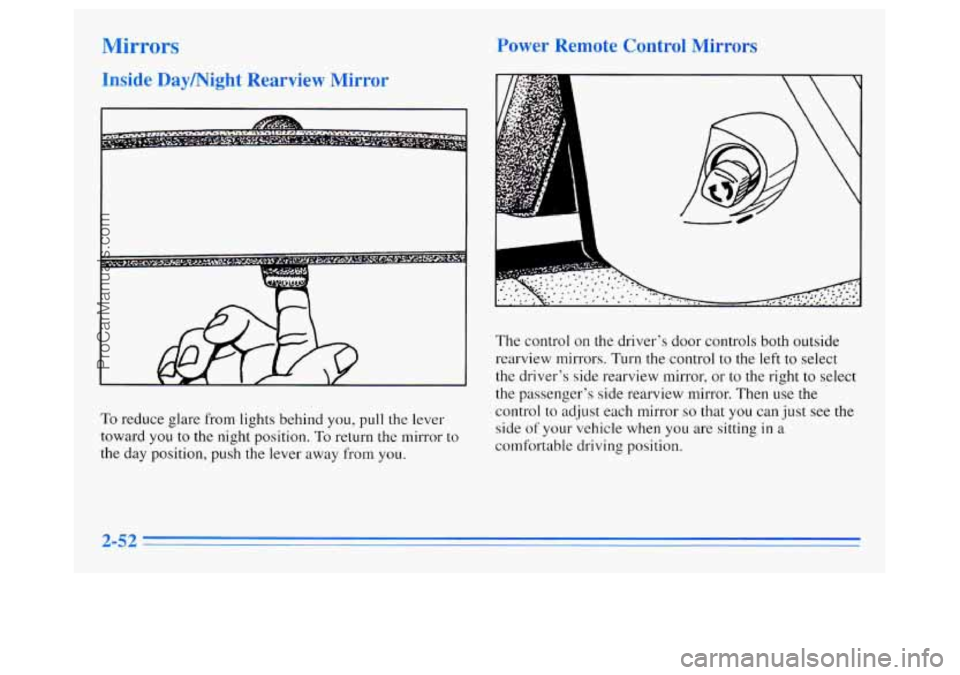
The
control on the driver's door controls both outside
rearview mirrors.
Turn the control to the left to select
the driver's side rearview mirror, or to the right to select
the passenger's side rearview mirror. Then use
the
To reduce glare from lights behind you, pull the lever
toward you to
the night position. To return the mirror to
the day position, push the lever away from you. control
to adjust each mirror
so that you can just see the
side of your vehicle when you are sitting in a
comfortable driving position.
2-52
ProCarManuals.com
Page 122 of 372
A
L
1:
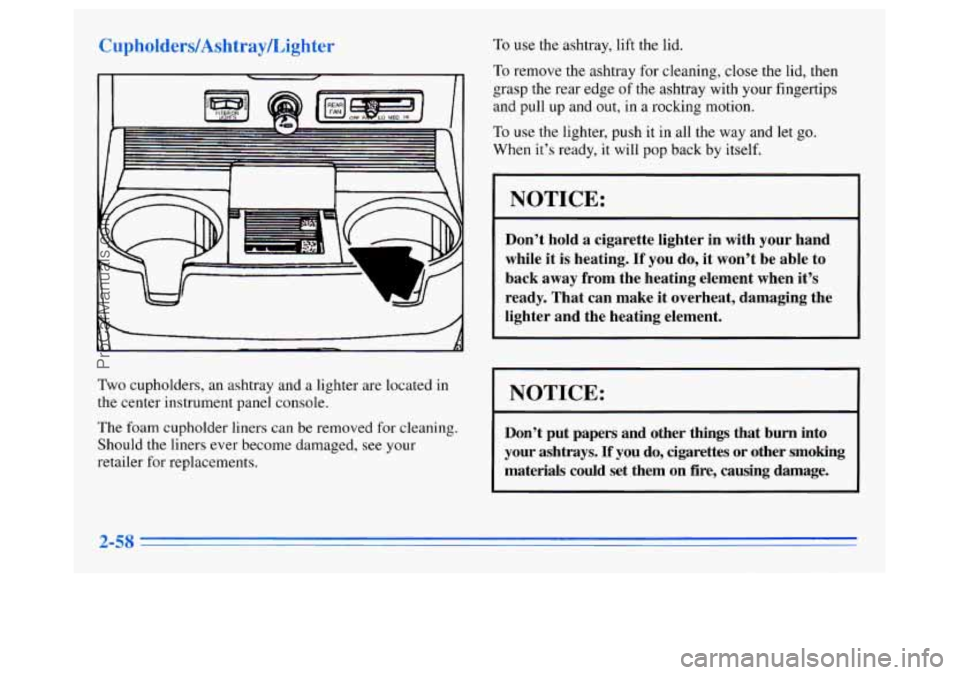
Two cupholders, an ashtray and a lighter are located in
the center instrument panel console.
The foam cupholder liners can be removed
for cleaning.
Should the liners ever become damaged, see your
retailer
for replacements. To
use the ashtray, lift the lid.
To remove the ashtray
for cleaning, close the lid, then
grasp the rear edge of the ashtray with your fingertips
and pull up and
out, in a rocking motion.
To use the lighter, push it in all the way and let go.
When it’s ready, it will pop back by itself.
NOTICE:
Don’t hold a cigarette lighter in with your hand
while it
is heating. If you do, it won’t be able to
back away from the heating element when it’s
ready. That can make it overheat, damaging the
lighter and the heating element.
I NOTICE:
Don’t put papers and other things that burn into
your ashtrays.
If you do, cigarettes or other smoking
materials could set them on fire, causing damage.
ProCarManuals.com
Page 123 of 372

Side A Locking Stc
To open the ashtray, press the right side and turn it open.
To remove the ashtray for cleaning, press the snuffer as
you lift up the bottom of the ashtray.
If you have the optional rear climate control, your side
ashtray will have a flip-up cover.
To remove the ashtray for cleaning, pull up on the
snuffer or the cover.
I
At the base of the center instrument panel console is a
storage bin. Use the door key
to lock and unlock it. To
open the bin, pinch the latch release. Inside the storage
bin, you will find a coinholder.
To remove the bin for cleaning, open it part way, then
pull out and slightly up.
To clean the inside of the bin, vacuum or wipe with a
slightly damp cloth.
ProCarManuals.com
Page 133 of 372

Your instrument panel is designed to let you know at a
glance how your vehicle is running. You’ll know how fast
you’re going, how much fuel you’re using, and many
other things you’ll need to drive safely and economically.
Refer to the accompanying diagram
of your instrument
panel to locate
the components listed below.
1. Side Vents
2. Lamp Controls
3. Turn Signal/Multifunction Lever
4. Tilt Steering Wheel Lever
5. Instrument Cluster
6. Gearshift Lever
7. Wiper/Washer Controls
8. Center Vents
9. Storage Compartment
10. Side Vents
1 1. Circuit Breaker/Relay Panel
12. Glove Box/Fuse Panel
13. Audio System
14. Rear Fan Controls
15. CupholdedAshtray
16. Locking Storage Bin
1 7. Lighter
18. Interior Lights Override Switch
19. Climate Controls
20. Hazard Warning Flashers Switch
21. Ignition Switch
22. Horn
23. Steering Wheel Touch Controls (Option)
2-69
ProCarManuals.com
Page 134 of 372
Instrument Panel Cluster
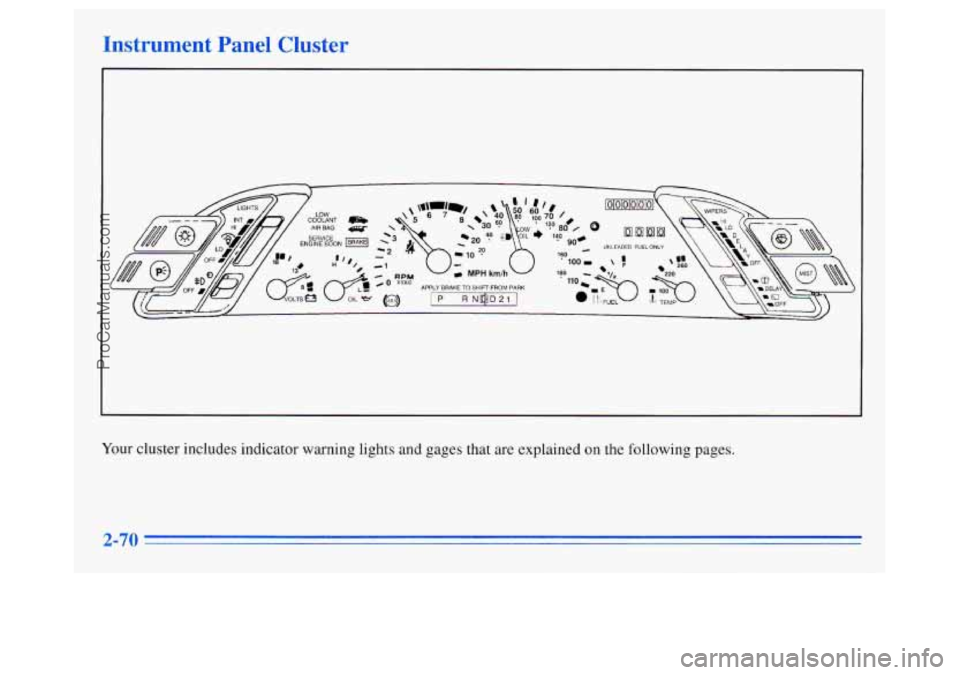
Your cluster includes indicator warning lights and gages that are explained on the following pages.
2-70
ProCarManuals.com
Page 136 of 372

Rip Odometer
UNLEADED FUEL ONLY
The trip odometer can tell you how far your vehicle has
been driven since
you last set it to zero. To set it to zero,
push the reset button located above the fuel gage.
Warning Lights, Gages and Indicators
This part describes the warning lights and gages that may
be on
your vehicle. The pictures will help you locate them.
Warning lights and gages can signal that something is
wrong before
it becomes serious enough to cause an
expensive repair or replacement. Paying attention to
your warning lights and gages could also save you or
others from injury.
Warning lights come on when there may be or
is a
problem with one of your vehicle’s functions.
As you
will see in the details on the next few pages, some
warning lights come on briefly when you start the
engine just to let you know they’re working.
If you are
familiar with this section, you should not be alarmed
when this happens.
Gages can indicate when there may be or
is a problem
with one
of your vehicle’s functions. Often gages and
warning lights work together to let you know when
there’s a problem with
your vehicle.
When one
of the warning lights comes on and stays on
when you are driving, or when one of the gages shows
there may be a problem, check the section that tells you
what to do about
it. Please follow this manual’s advice.
Waiting
to do repairs can be costly -- and even
dangerous.
So please get to know your warning lights
and gages. They’re a big help.
ProCarManuals.com
Page 137 of 372

Safety Belt Reminder Light
When the key is turned to RUN or START, a chime will
come on for about eight seconds to remind people
to
fasten their safety belts, unless the driver’s safety belt is
already buckled.
The safety belt light will
also come on and stay
on
until the driver’s belt
is buckled.
Air Bag Readiness Light
There is an air bag readiness light on the instrument
panel, which shows the words AIR BAG. The system
checks the air bag’s electrical system for malfunctions.
The light tells you if there is an electrical problem. The
system check includes the air bag sensors, the air bag
module, the wiring and the diagnostic module.
For more
information
on the air bag system, see “Air Bag” in
the Index.
AIR BAG
You will see this light flash
for a few seconds when
you
turn your ignition to RUN
or START. Then the light
should go out. This means
the system is ready.
If the air bag readiness light doesn’t come on when you
start your vehicle,
or stays on, or comes on when you
are driving, your air bag system may not work properly.
Have your vehicle serviced right away.
ProCarManuals.com
Page 138 of 372

Voltmeter Brake System Warning Light
Irn
18 /
Your charging system gage will show the rate of charge
when the engine is running.
The reading will change
as the rate of charge changes
(with the engine speed, etc.), but readings between the
red warning zones indicate the normal operating range.
Readings
in either red zone indicate a possible problem
with your charging system. Have your Oldsmobile
serviced immediately.
When the engine
is not running, but the ignition is on (in
the RUN position), the display measures the voltage
output
of your battery. Your
Oldsmobile’s hydraulic brake system is divided
into two parts.
If one part isn’t working, the other part
can still work and stop you. For good braking, though,
you need both parts working well.
If the warning light comes on, there could be a brake
problem. Have your brake system inspected right away.
I BRAKE I
This light should come on
briefly
when you turn the
ignition key to RUN.
If it
doesn’t come on then,
have
it fixed so it will be
ready to warn you if there’s
a problem.
If the light comes on while you are driving, puli off the
road and stop carefully. You may notice that the pedal is
harder to push. Or, the pedal may go closer to the floor.
It may take longer to stop. If the light is still on, or if the
anti-lock brake system warning light is flashing, have
the vehicle towed for service. (See “Anti-Lock Brake
System Warning Light” and “Towing Your Vehicle”
in
the Index.)
ProCarManuals.com
Page 139 of 372
Anti-Lock Brake System Warning Light
Your brake system may not be working properly
if the brake system warning light is on. Driving
with the brake system warning light on can lead
to an accident.
If the light is still on or if the
anti-lock brake system warning light is flashing
after you’ve pulled off the road and stopped
carefully, have the vehicle towed for service.
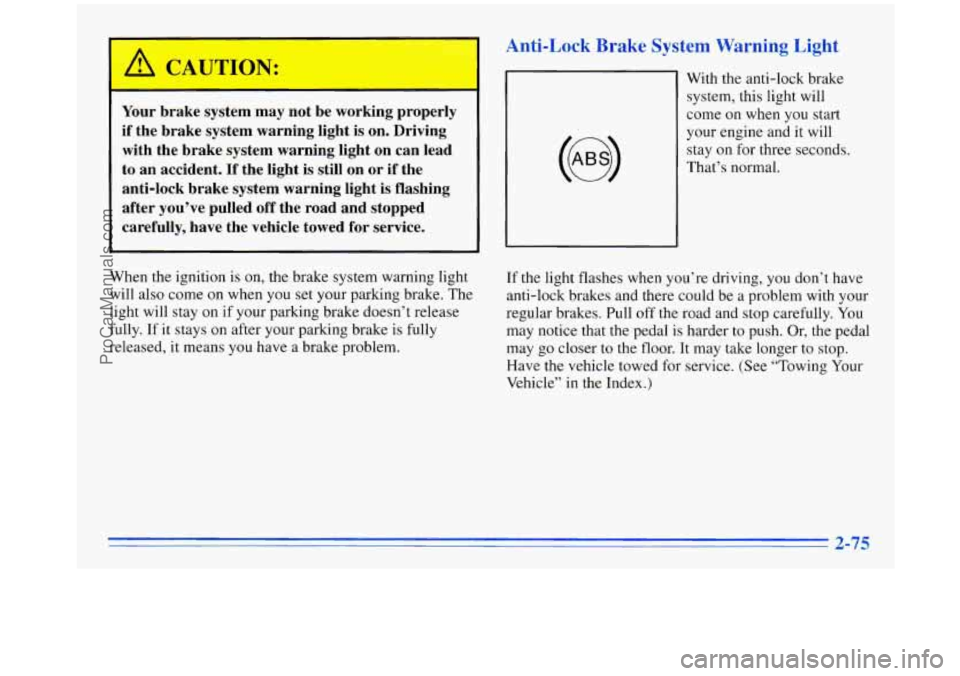
With the anti-lock brake
system, this light will
come on when you start
your engine and it will
stay on for three seconds.
That’s normal.
When the ignition is on, the brake system warning light
will also come
on when you set your parking brake. The
light will stay on if your parking brake doesn’t release
fully.
If it stays on after your parking brake is fully
released, it means you have a brake problem. If
the light flashes when you’re driving, you don’t have
anti-lock brakes and there could be a problem with your
regular brakes. Pull off the road and stop carefully. You
may notice that the pedal is harder to push. Or, the pedal
may go closer to the floor. It may take longer to stop.
Have the vehicle towed for service. (See “Towing Your
Vehicle”
in the Index.)
ProCarManuals.com
Page 140 of 372
A CAUTION:
Your regular brake system may not be working
properly if the anti-lock brake system warning light
is flashing. Driving with the anti-lock
brake system warning light flashing can lead to an accident. After you’ve pulled
off the road
and stopped carefully, have the vehicle towed
for service.
If the anti-lock brake system warning light stays on
longer than normal after you’ve started your engine, turn
the ignition off. Or, if the light comes on and stays on
when you’re driving, stop as soon as possible and turn
the ignition
off. Then start the engine again to reset the
system. If the light still stays on, or comes on again
while you’re driving, your Oldsmobile needs service. If
the light is on but not flashing and the regular brake
system warning light isn’t on, you still have brakes, but
you don’t have anti-lock brakes.
The anti-lock brake system warning light should come
on briefly when you turn the ignition key to
RUN. If the
light doesn’t come on then, have it fixed
so it will be
ready to warn you if there
is a problem.
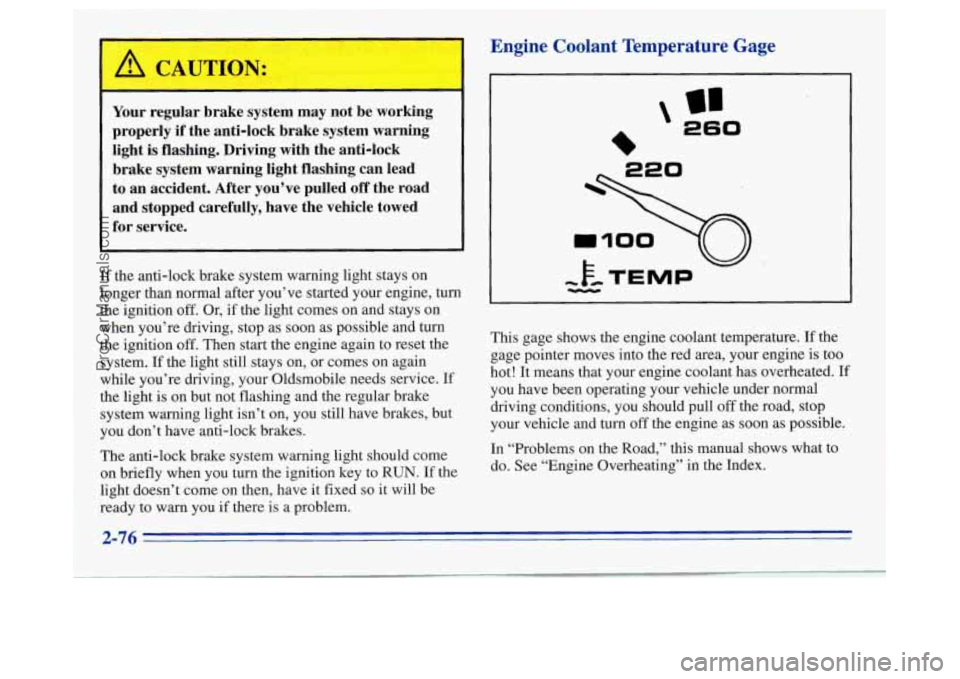
Engine Coolant Temperature Gage
’ 260
This gage shows the engine coolant temperature. If the
gage pointer moves into the red area, your engine
is too
hot! It means that your engine coolant has overheated. If
you have been operating your vehicle under normal
driving conditions, you should pull
off the road, stop
your vehicle and turn
off the engine as soon as possible.
In “Problems on the Road,” this manual shows what to
do. See “Engine Overheating” in the Index.
ProCarManuals.com