OLDSMOBILE SILHOUETTE 1996 Owners Manual
Manufacturer: OLDSMOBILE, Model Year: 1996, Model line: SILHOUETTE, Model: OLDSMOBILE SILHOUETTE 1996Pages: 372, PDF Size: 19.39 MB
Page 301 of 372

Fuse Usage
GAUGES/AC A/C Compressor Relay, ABS,
Electronic Level Control Height
Sensor, Instrument Panel Cluster,
Power Sliding Door Controller
LPS
ABS Interior Lamps Dimming, Rear
Climate Control Blower, Door Lock
Switches, Temperature and Compass
Display, Headlamp and Instrument
Panel Dimmer Switch, Heater-A/C
Control, Instrument Panel Cluster,
Illumination for Power Sliding
Door Switches
ABS Enable Relay
Fuse
RD02
R WIPER
F WIPER
IGN
HTR-A/C
R BLW
Usage
Radio, Steering Wheel Controls
Temperature and Compass Display,
Rear Window Wipermasher
Windshield and Rear Window
Wipermasher
Cruise Control Switch, Heater-A/C
Control, Speedometer and
Tachometer, Rear Window Defogger
Relay, Safety Belt Reminder Chime,
Lamps on Reminder, Key in the
Ignition Warning
Low Speed A/C Blower Relay
Rear Climate Control Blower
6-55
ProCarManuals.com
Page 302 of 372

.
Circuit Breakermelay Panel
Circuit breakers and relays are located in the circuit
breakerhelay panel.
This is located belund the panel
under the glove box, near the passenger’s door.
Circuit
Breakers Usage
1 Hazard Flashers
2 Automatic Transaxle, Evaporative
(fuse) Emission (EVAP) Canister Purge
Solenoid Valve, Evaporative Emissions
Canister Purge Vacuum Diagnostic
Switch, Linear Exhaust Gas Recirculation
(EGR) Valve, Front Engine Fan Relay,
Heated Oxygen Sensors, Mass Air
Flow (MAF) Sensor, Powertrain Control
Module (PCM)
3
4
5
6
7
8
9
10
6-56
Not Used
Power Windows
Power Seat, Power Sliding
Door
Controller, Power Door Locks
Rear Defogger
Air Conditioning Blower,
Rear Blower Motor
Horns
Safety Belt Reminder Chime, Lamps on
Reminder, Key In the Ignition, Warning
(Chime Module)
Rear Defogger Timer
1
ProCarManuals.com
Page 303 of 372

Anti-Lock Brake System (ABS ‘unction Block Fuse Injector Fuse
You’ll find this fuse under the hood in the ABS junction
block, located next to the remote positive jump
starting terminal.
To open the junction block, press in on both sides of
the cover. This fuse
is located under the hood, on a bracket
just
behind the passenger’s side headlamp. It
is mounted on the
face of the bracket in the position closest to
the passenger’s
side of the vehicle. The fuse services the injectors, fuel
pump, oil pressure sender and fuel pump switch.
To access the fuse, pry back the latch with a screwdliver,
then pull down on
the base of the unit. If you need to replace
the fuse, be sure to use one with the same amperage.
Push
the base of the unit firmly into the cover until the
latch snaps into
the locked position.
6-57
ProCarManuals.com
Page 304 of 372

Replacement Bulbs
OUTSIDE LAMPS BULB
Back-up Lamps ......................... 3057
Center High-Mounted Stoplamp
............. 577
Front Parkingmurn Signal Lamps
........... 3357
Halogen Headlamps License Plate Lamp
....................... 194
Outer
................................ 9006
Inner ................................ 9005
FogLamps
.............................. H-1
Front Sidemarker Lamps ................... 194
Stop/Tail/Turn Signal Lamps
Upper
Two Positions ..................... 194
Lower Two Positions ................... 2057
Underhood Lamp
......................... 561
BULB INSIDE LAMPS
Dome Lamps
Front
................................. 561
Rear .................................. 561
ProCarManuals.com
Page 305 of 372

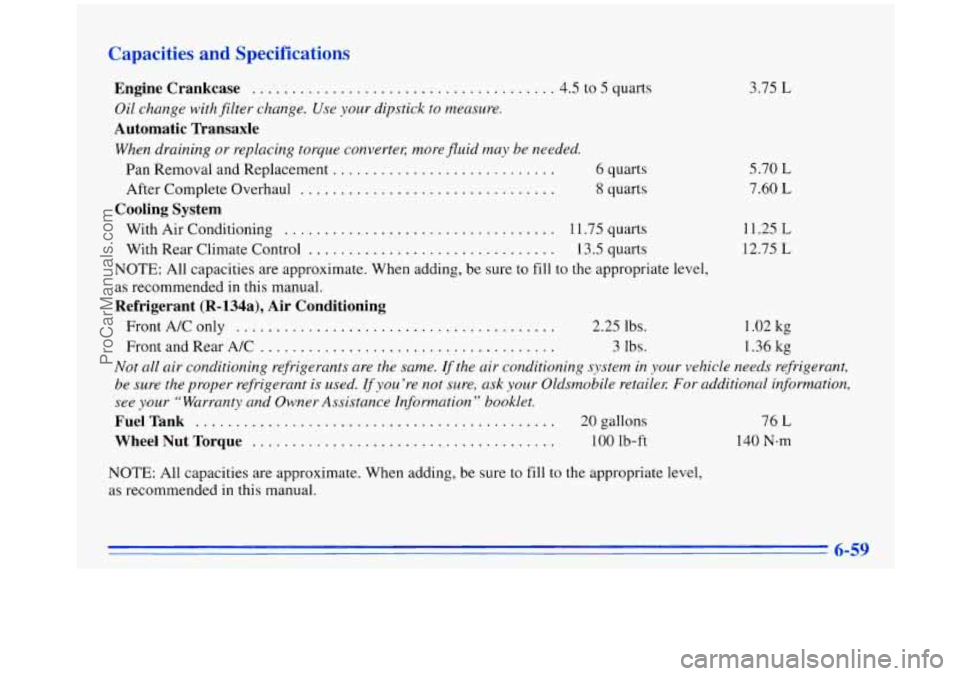
Capacities and Specifications
Engine Crankcase ...................................... 4.5 to 5 quarts
Oil change with filter change. Use your dipstick to measure.
Automatic Transaxle
When draining or replacing torque convertel; more fluid may be needed.
Pan Removal and Replacement ............................ 6 quarts
After Complete Overhaul
................................ 8 quarts
With Air Conditioning
.................................. 11.75 quarts
With Rear Climate Control
............................... 13.5 quarts
Cooling System
NOTE: All capacities are approximate. When adding, be sure to fill to the appropriate level,
as recommended in this manual.
Refrigerant (R-l34a), Air Conditioning
FrontA/Conly ........................................ 2.25 lbs. 1.02 kg
Front and Rear A/C ..................................... 3 lbs. 1.36 kg
Not all air conditioning refrigerants are the same. rfthe air conditioning system in your vehicle needs refrigerant,
be sure the proper refrigerant is used.
lfyou ’re not sure, ask your Oldsmobile retailez For additional information,
see
your “Warranty and Owner Assistance Information ” booklet.
FuelTank ............................................. 20gallons 76 L
WheelNutTorque ...................................... 100 lb-ft 140 N-m
NOTE: All capacities are approximate. When adding, be sure to fill to the appropriate level,
as recommended
in this manual. 3.75
L
5.70 L
7.60 L
11.25 L
12.75 L
6-59
ProCarManuals.com
Page 306 of 372

Engine Specifications
VIN Engine Code ........................... E
Type
.................................... V6
Firing Order ...................... 1-2-3-4-5-6
Thermostat Temperature Displacement
............................ 3.4L
Specification
.................. 195 "F (9 1 O C)
Normal Maintenance Replacement Parts
Engine Oil Filter ................ AC Type PF-47
Air
Cleaner Element
........... AC Type A-974C
PCV Valve
.................. AC Type CV-892C
Spark Plugs
................... AC Type 4 1-940
Gap: 0.060 inch
(1 -52 mm)
Remote Lock Control Battery (1)
........ CR 2032
Dimensions
Wheelbase ............... 109.8 inches 2788 mm
Tread Width
Front
................... 59.2 inches 1503 mm
Rear .................... 61.4 inches 1559 mm
Width .................... 73.9 inches 1878 mm
Length
.................. 194.7 inches
4946 mm
Height. ................... 65.7 inches 1670 mrn
6-60
ProCarManuals.com
Page 307 of 372

Section 7 Maintenance Schedule
KEEP ENGINE OIL
AT THE PROPER
EVEL
AND CHANGE AS
RECOMMENDED
I
This section covers the maintenance required for your
Oldsmobile. Your vehicle needs these services to retain its
safety, dependability and emission control performance.
I protection
Huve yo~t purchased the GM Protection Plan? The Plan
SLqplements yo~tr new vehicle warranties. See your
Warrfllzni and Owner Assistance booklet, oy your
Oldsnwbile retailer for details.
Introduction
Your Vehicle and the Environment
Proper vehicle maintenance not only helps to keep your
vehicle
in good working condition, but also helps the
environment.
All recommended maintenance procedures
are important. Improper vehicle maintenance can even
affect the quality of the air we breathe. Improper fluid
levels or the wrong tire inflation can increase the level
of emissions from your vehicle. To help protect our
environment, and to keep your vehicle in good
condition, please maintain your vehicle properly.
7-1
ProCarManuals.com
Page 308 of 372

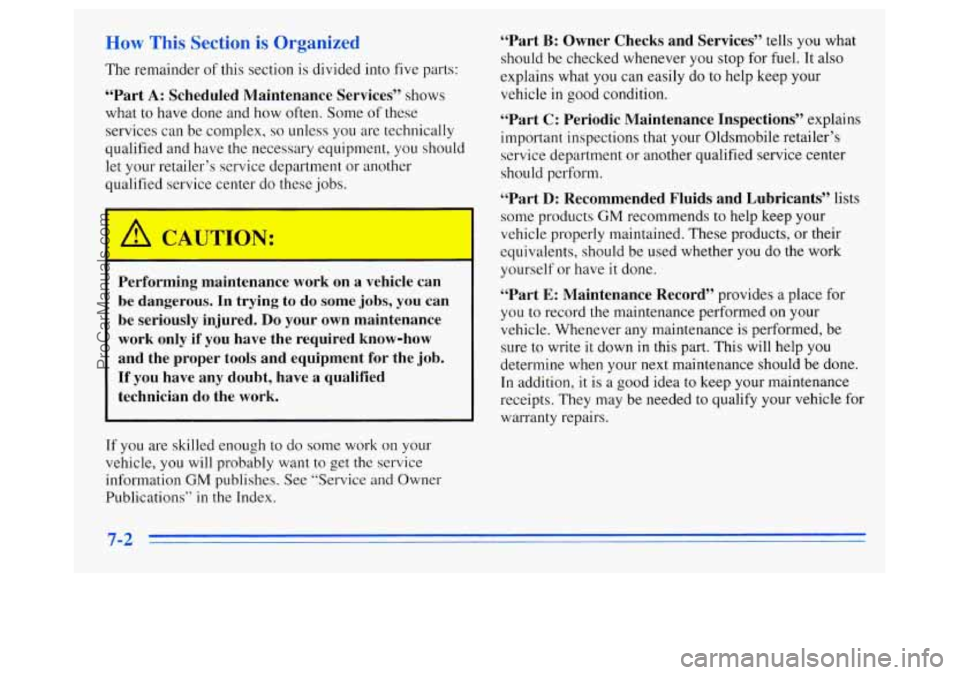
IW This Section is Organized
The remainder of this section is divided into five parts:
“Part A: Scheduled Maintenance Services” shows
what to have done and how often. Some of these
services can be complex,
so unless you are technically
qualified and have
the necessary equipment, you should
let your retailer’s service department or another
qualified service center do these jobs.
r
Performing maintenance work on a vehicle can
be dangerous. In trying
to do some jobs, you can
be seriously injured.
Do your own maintenance
work only if you have the required know-how
and the proper tools and equipment for the job.
If you have any doubt, have a qualified
technician do the work.
If you are skilled enough to do some work on your
vehicle, you will probably want
to get the service
information
GM publishes. See “Service and Owner
Publications”
in the Index.
“Part B: Owner Checks and Services” tells you what
should be checked whenever you stop for
fuel. It also
explains what you can easily do
to help keep your
vehicle
in good condition.
“Part C: Periodic Maintenance Inspections” explains
important inspections that your Oldsmobile retailer’s service department or another qualified service center
should perform.
“Part D: Recommended Fluids and Lubricants” lists
some products
GM recommends to help keep your
vehicle properly maintained, These products, or their
equivalents, should be used whether you
do the work
yourself or have
it done.
“Part E: Maintenance Record” provides a place for
you to record the maintenance performed on your
vehicle. Whenever any maintenance
is performed, be
sure to write
it down in this part. This will help you
determine when your next maintenance should be done.
In addition, it is a good idea to keep your maintenance
receipts. They may be needed to qualify your vehicle for
warranty repairs.
7-2
ProCarManuals.com
Page 309 of 372

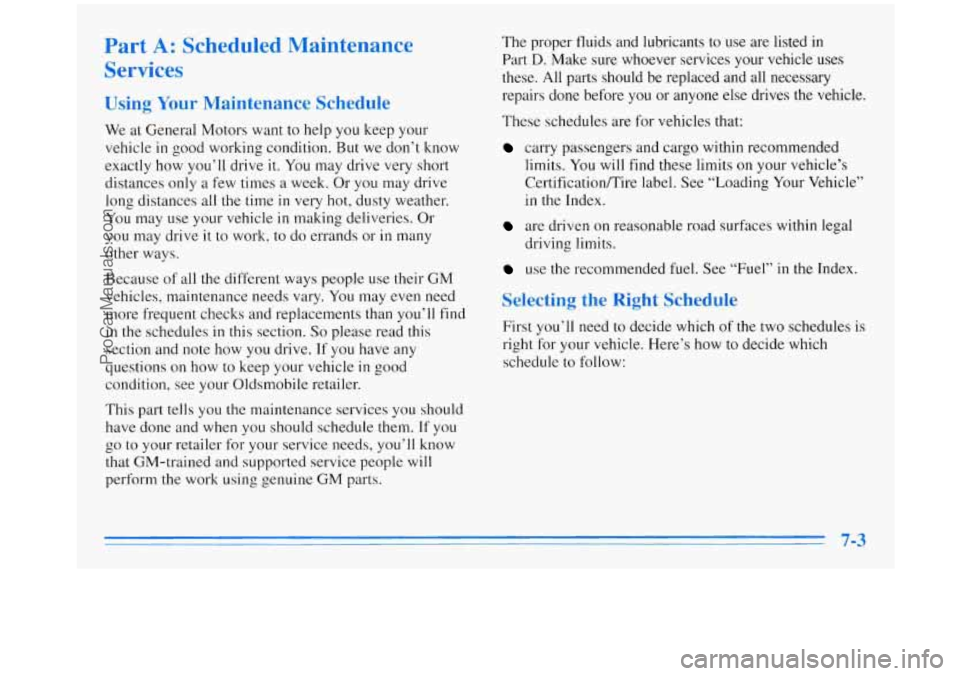
Part A: Scheduled Maintenance
Services
Using Your Maintenance Schedule
We at General Motors want to help you keep your
vehicle
in good working condition. But we don’t know
exactly how you’ll drive
it. You may drive very short
distances only a few times
a week. Or you may drive
long distances all the time
in very hot, dusty weather.
You may use your vehicle in making deliveries. Or
you may drive it to work, to do errands or in many
other ways.
Because of all the different ways people use their
GM
vehicles, maintenance needs vary. You may even need
more frequent checks and replacements than you’ll find
in the schedules in this section. So please read this
section and note how you drive. If you have any
questions
on how to keep your vehicle in good
condition, see your Oldsmobile retailer.
This part tells you
the maintenance services you should
have done and when you should schedule them. If you
go to your retailer for your service needs, you’ll know
that GM-trained and supported service people will
perform the work using genuine
GM parts. The
proper fluids and lubricants to use are listed
in
Part D. Make sure whoever services your vehicle uses
these. All parts should be replaced and all necessary
repairs done before you or anyone else drives the vehicle.
These schedules are for vehicles that:
carry passengers and cargo within recommended
limits. You will find these limits on your vehicle’s
CertificatiodTire label. See “Loading Your Vehicle”
in the Index.
are driven on reasonable road surfaces within legal
use the recommended fuel. See “Fuel” in the Index.
driving limits.
Selecting the Right Schedule
First you’ll
need to decide which of the two schedules is
right for your vehicle. Here’s how to decide which
schedule to follow:
7-3
ProCarManuals.com
Page 310 of 372

Maintenance Schedule
I Short Trip/City Definition I
Follow the Short Trip/City Maintenance Schedule if any
one of these conditions is true for your vehicle:
0 Most trips are less than 5 to 10 miles (8 to 16 km).
This is particularly important when outside
temperatures are below freezing.
driving in stop-and-go traffic).
0 Most trips include extensive idling (such as frequent
0 Most trips are through dusty areas.
You frequently tow a trailer or use a carrier on top of
your vehicle.
0 If the vehicle is used for delivery service, police, taxi
or other commercial application.
One of the reasons you should follow this schedule if
you operate your vehicle under any of these conditions
is that these conditions cause engine oil to break
down sooner:
Short Trip/City Intervals
Every 3,000 Miles (5 000 km): Engine Oil and Filter
Change (or
3 months, whichever occurs first).
Every 6,000 Miles (10 000 km): Chassis Lubrication
(or
6 months, whichever occurs first).
At 6,000 Miles (10 000 km) -- Then Every
12,000 Miles (20 000 km): Tire Rotation.
Every 15,000 Miles (25 000 km): Air Cleaner Filter
Inspection,
if driving in dusty conditions.
Every 30,000 Miles (50 000 km): Air Cleaner
Filter Replacement.
Every 50,000 Miles (83 000 km): Automatic Transaxle
Service (severe conditions only).
Every 60,000 Miles (100 000 km): Engine Accessory
Drive Belt Inspection. Fuel Tank, Cap and Lines
Inspection (or every
60 months, whichever occurs first).
Service (or every
60 months, whichever occurs first).
Spark Plug Wire Inspection. Spark Plug Replacement.
Every 100,000 Miles (166 000 km): Cooling System
These intervals only sunzmnrize maintenmxe services.
Be sure
to follow the complete maintenance schedule
on the following pages.
7-4
ProCarManuals.com