reset OLDSMOBILE SILHOUETTE 2003 Owners Manual
[x] Cancel search | Manufacturer: OLDSMOBILE, Model Year: 2003, Model line: SILHOUETTE, Model: OLDSMOBILE SILHOUETTE 2003Pages: 466, PDF Size: 21.55 MB
Page 106 of 466
Resetting the Power Sliding Door
The power sliding door may operate incorrectly or not
at all because of the following conditions:
e A low voltage or dead battery,
disconnecting the battery, or
if the instrument panel PWR/HEATED SEAT PSD
fuse or the underhood fuse 8,
27 or 29 are
removed or blown.
See
Fuses and Circuit Breakers on page 5-96 for more
information about your fuse panel.
If any of these conditions occur, the power sliding door
will need to be reset.
If your vehicle has the dual
power sliding doors, both doors will have to be reset.
To do this:
1. Check to be sure the power sliding door is unlocked
2. Turn the ignition key to OFF.
3. !f en, t~rrn the pnwer slidin? door override switch off.
and securely closed.
4. Remove fuse 29 from the underhood fuse block.
Leave
it out for 30 seconds.
5. Reinstall the fuse and wait 10 seconds.
6. Turn the power sliding door override switch on.
7. Press either of the power door lock switches to open
the power sliding door.
8. Open the door all of the way.
9. Wait five seconds and close the door by pressing
either power door lock switch.
IO. Wait five seconds and repeat Steps 7 through 9.
If the door does not rest in the fully open position
after repeating Step
7, repeat Steps 7 through 9 again.
If the door still does not operate correctly, see your
dealer for service.
2-2 1
Page 138 of 466
Reprogramming a Single HomeLink@
Button
To program a device to HomeLink@ using a HameLink@
button previously trained, follow these steps:
1. Press and hold the desired HomeLink@ button.
Do not release the button.
2. The indicator light will begin to flash after
20 seconds. While still holding the HomeLink@
button, proceed with Step
2 under “Programming
HomeLink@.”
Resetting Defaults
To reset HomeLink@ to default settings do the following:
1. Hold down the two outside buttons for about
20 seconds until the indicator light begins to flash.
2. Continue to hold both buttons until the HomeLink@
indicator light turns
off.
3. Release both buttons.
For questions or comments, contact HomeLink@ at
1-800-355-351 5, or on the internet at
www.homelink.com.
2-53
Page 169 of 466
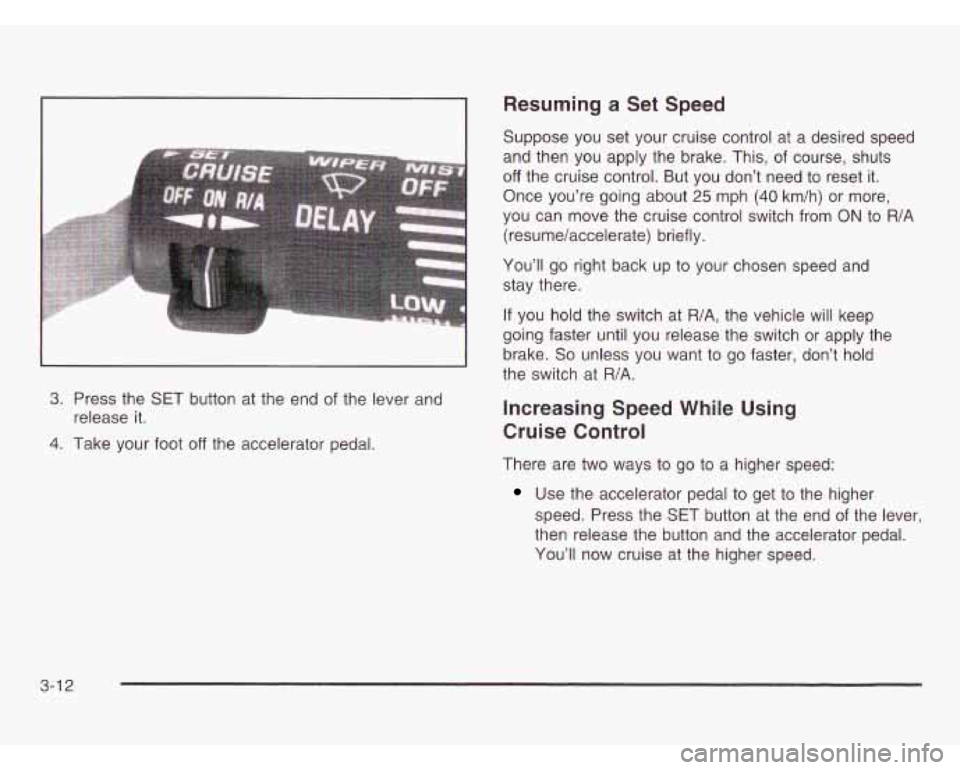
3. Press the SET button at the end of the lever and
4. Take your foot off the accelerator pedal.
release
it.
Resuming a Set Speed
Suppose you set your cruise control at a desired speed
and then you apply the brake. This, of course, shuts
off the cruise control. But you don’t need to reset it.
Once you’re going about
25 mph (40 km/h) or more,
you can move the cruise control switch from
ON to R/A
(resume/accelerate) briefly.
You’ll go right back up to your chosen speed and
stay there.
If you hold the switch at R/A, the vehicle will keep
going faster until you release the switch or apply the
brake.
So unless you want to go faster, don’t hold
the switch at R/A.
Increasing Speed While Using
Cruise Control
There are two ways to go to a higher speed:
Use the accelerator pedal to get to the higher
speed. Press the SET button at the end of the lever,
then release the button and the accelerator pedal.
You’ll now cruise at the higher speed.
3-1 2
Page 199 of 466
The trip odometers will continue to keep track of
miles (kilometers) driven even
if they are not currently
displayed. To reset the odometer to zero
(0), press
and hold the tripheset button for at least
1.5 seconds,
but less than three seconds. Only the trip odometer that
is showing in the display will be reset.
Retro-Active Reset
Each of the two trip odometers has a feature callea
retro-active reset. This feature can be used to set
either (or both) trip odometer(s) to the number of miles
(kilometers) driven since the ignition was last turned
on. This can be used
if you forget to reset your
trip odometer at the beginning of a trip. To use the
retro-active reset feature, press and hold the tripheset
button for at least three seconds. The trip odometer
will then display the number of miles (kilometers) driven
since the ignition was last turned on and you began
driving. (If you use the retro-active reset feature
after you have started the vehicle, but before you begin
moving, the display will show the number of miles
(kilometers) you drove during the last ignition cycle.) Once you
begin driving, the trip odometer will
accumulate mileage. For example,
if you have driven
5.0 miles (8.0 km) since you started your vehicle,
and then activate the retro-active reset feature, the
display will show
5.0 miles (8.0 km). As you drive,
the display will then increase to
5.1 miles (8.2 km),
5.2 miles (8.4 km), etc. Only the trip odometer that is
displayed will be affected by the retro-active reset
so that both trip odometers can be used separately.
Safety Belt Reminder Light
When the key is turned to RUN or START, a chime will
come on for several seconds to remind people to
fasten their safety belts.
The safety belt light will also come on and stay
on for several seconds.
If the driver’s belt is
already buckled, neither
the chime nor the light
will come on.
3-42
Page 202 of 466

If the light is still on, have the vehicle towed for service.
See
Anti-Lock Brake System Warning Light on
F e 3-45 and Towing \’ rr Vehicle on page 4-32.
Your brake system may not be working
properly
if the brake system warning light is
on. Driving with the brake system warning light
on can lead to an accident.
If the light is still
on after you’ve pulled
off the road and stopped
carefully, have the vehicle towed for service.
r
Anti-Lock Brake System
Warning Light
Your vehicle may have
this light. If it does, the
anti-lock brake system
warning light should come
on for
a few seconds
when you turn the ignition
key to RUN.
If the anti-lock brake system warning light stays on
longer than normal after you’ve started your engine, turn
the ignition
off. Or, if the light comes on and stays on
when you’re driving, stop as soon as possible and turn
the ignition
off. Then start the engine again to reset
the system. If the light still stays on, or comes on again
while you’re driving, the anti-lock brake system needs
service and you don’t have anti-lock brakes.
-I -I. I- .I I^ .-,.- -..-I __.^___ :--. l:-.LL -L-..l-l -^-_ I I le dl Ill-IWGK UldKt: byblW i I vval I 111 ly llYl11 31 lwuiu bWl I IC
on briefly when you turn the ignition key to RUN.
If the light doesn’t come on then, have it fixed so it will
be ready to warn you if there
is a problem.
3-45
Page 213 of 466
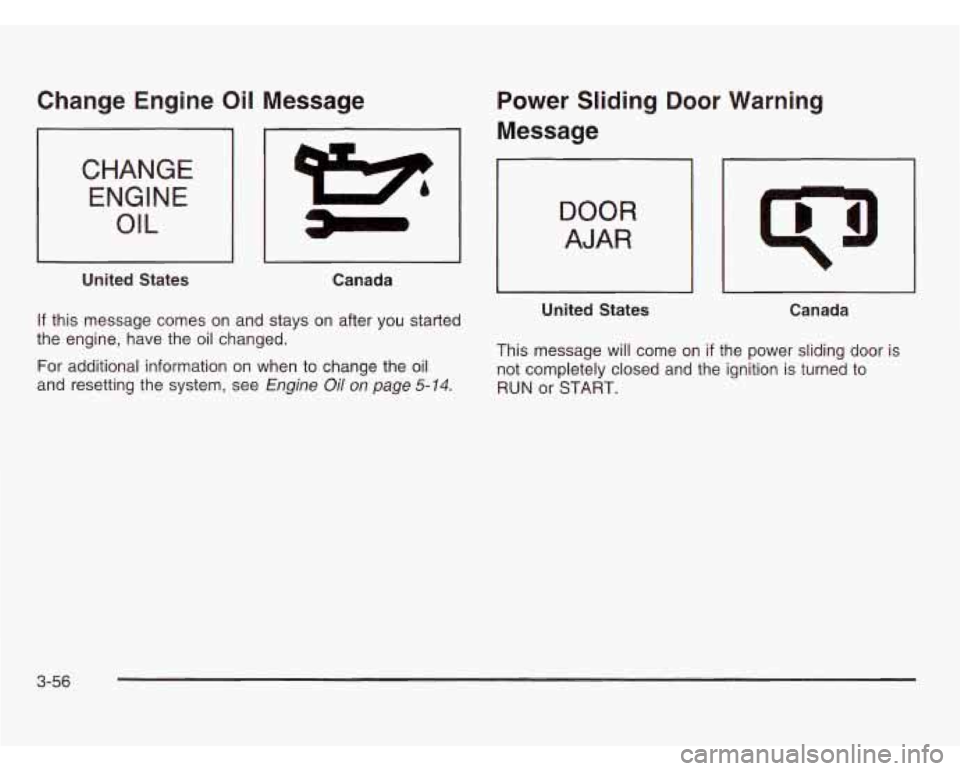
Change Engine Oil Message
I I I
CHANGE ENGINE
OIL c
United States Canada
If this message comes on and stays on after you started
the engine, have the oil changed.
For additional information on when to change the oil
and resetting the system, see
Engine Oil on page 5-14.
Power Sliding Door Warning
Message
DOOR AJAR
L:”
I I I
United States Canada
This message will come on
if the power sliding door is
not completely closed and the ignition is turned to
RUN or START.
3-56
Page 216 of 466
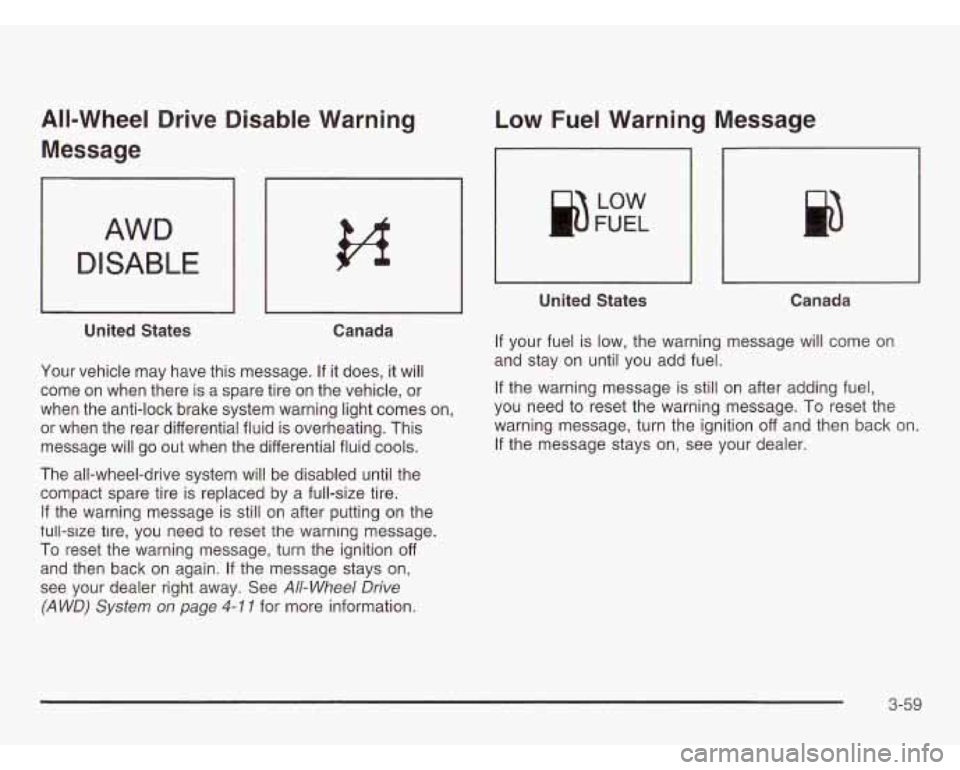
All-Wheel Drive Disable Warning
Message
AWD
DISABLE
I I I I
United States Canada
Your vehicle may have this message. If
it does, it will
come on when there is a spare tire on the vehicle, or
when the anti-lock brake system warning light comes on,
or when the rear differential fluid is overheating. This
message will go out when the differential fluid cools.
The all-wheel-drive system will be disabled until the
compact spare tire is replaced by a full-size tire.
If the warning message is still on after putting on the
tull-slze tire, you need to reset the warning message.
To reset the warning message, turn the ignition
off
and then back on again. If the message stays on,
see your dealer right away. See
All-Wheel Drive
(A WD)
System on page 4-1 I for more information.
Low Fuel Warning Message
I
United States Canada
If your fuel is low, the warning message will come on
and stay on until you add fuel.
If the warning message is still on after adding fuel,
you need to reset the warning message. To reset the
warning message, turn the ignition off and then back on.
If the message stays on, see your dealer.
3-59
Page 219 of 466
Manual Compass Calibration
If the compass appears erratic and the calibration
symbol does not appear, you must manually put the
compass into the calibration mode.
Turn the ignition on and cycle the DIC to the
compass/temperature mode. Press both the
E/M and
MODE buttons simultaneously for at least
10 seconds
until the calibration symbol appears. Release both
buttons and complete three
360" turns in an area free
from large metal objects. The calibration symbol will
turn
off and the compass reading will be displayed.
Error Displays
0 An error of the vehicle's speed sensor or fuel
0 In the absence of vehicle communications, a dash
sender
will cause
-E- to be displayed.
"- -" is displayed.
If one of these error messages appear, see your dealer.
Trip Computer
There are five trip computer displays available by
pushing the MODE button. The information will appear
in the following order:
AVG ECON (Average Fuel Economy): This shows the
average fuel economy since the last reset.
INST ECON (Instant Fuel Economy): This shows fuel
economy for the most recent second of driving.
RANGE (Trip Range): This shows the estimated
distance that can be traveled with the remaining fuel.
The fuel economy used to calculate range is based
on the last few hours of driving.
FUEL USED (Trip Fuel Used): This shows the
accumulated fuel used since the last reset.
AVG SPEED (Average Speed): This shows the
average speed since the last reset.
Resetting the Trip Computer
Press and hold the MODE and E/M buttons for at least
two seconds. The reset is acknowledged with the
display showing all segments briefly. A reset can only
be done in AVG ECON, FUEL USED and AVG SPEED
displays. AVG ECON, FUEL USED and AVG SPEED
can only be reset independently. Only the mode
that is displayed will be reset.
3-62
Page 222 of 466
Finding a Station
BAND: Press this button to switch between AM, FM1,
or FM2. The display will show your selection.
TUNE: Turn this knob to choose radio stations.
4 SEEK b : Press the right or the left arrow to seek
to the next or to the previous station and stay there.
The radio will seek only to stations that are in the
selected band and only to those with a strong signal.
4 PSCAN (Preset Scan) b’ : Press and hold one of
the arrows for more than two seconds and the radio
will produce one beep. The radio will scan to the
first preset station stored on the pushbuttons, play for
a
few seconds and flash the station frequency, then go
on
to the next preset station. SCAN will be displayed.
Press one of the arrows again or one of the pushbuttons
to stop scanning presets.
The radio will scan only to the preset stations that are in
the selected band and only to those with a strong signal.
Setting Preset Stations
The six numbered pushbuttons let you return to your
favorite stations. You can set up to 18 stations (six AM,
six FMl and six FM2) by performing the following steps:
1. Turn the radio on.
2. Press BAND to select AM, FMl or FM2.
3. Tune in the desired station.
4. Press AUTO TONE to choose the bass and treble
equalization that best suits the type of station you
are listening to.
5. Press and hold one of the six numbered
pushbuttons. The radio will produce one beep.
Whenever you press that numbered pushbutton,
the station you set will return and the bass
and treble equalization that you selected will also
be automatically selected for that pushbutton.
6. Repeat the steps for each pushbutton.
3-65
Page 229 of 466
Finding a Station
BAND: Press this button to switch between AM, FM,
or FM2. The display will show your selection.
TUNE: Turn this knob to choose radio stations.
4 SEEK b : Press the right or the left arrow to seek
to the next or to the previous station and stay there.
The radio will seek only to stations that are in the
selected band and only to those with a strong signal.
4 PSCAN (Preset Scan) b : Press and hold one of
the arrows for more than two seconds. The radio will
produce one beep. The radio will scan through each of
the preset stations stored on the pushbuttons, play
for a few seconds, then go on to the next preset station.
SCAN will be displayed. Press one of the arrows
again or one of the pushbuttons to stop scanning
presets.
The radio will scan only to the preset stations that are in
the selected band and only to those with a strong signal.
Setting Preset Stations
The six numbered pushbuttons let you return to your
favorite stations. You can set up to
18 stations (six AM,
six FM1 and six FM2) by performing the following steps:
1.
2.
3.
4.
5.
6.
Turn the radio on.
Press BAND to select AM,
FMI or FM2.
Tune in the desired station.
Press AUTO TONE to choose the bass and treble
equalization that best suits the type of station you
are listening to.
Press and hold one of the six numbered
pushbuttons. The radio will produce one beep.
Whenever
you press that numbered pushbutton,
the station you set will return and the bass
and treble equalization that you selected will also
be automatically selected for that pushbutton.
Repeat the steps for each pushbutton.
3-72