ESP Peugeot 508 2016 Workshop Manual
[x] Cancel search | Manufacturer: PEUGEOT, Model Year: 2016, Model line: 508, Model: Peugeot 508 2016Pages: 371, PDF Size: 12.12 MB
Page 207 of 371
205
508_en_Chap07_info-pratiques_ed01-2016
towing a trailer
Driving with a trailer places greater
demands on the towing vehicle and the
driver must take particular care.
For more advice on driving when
towing, refer to the corresponding
section.
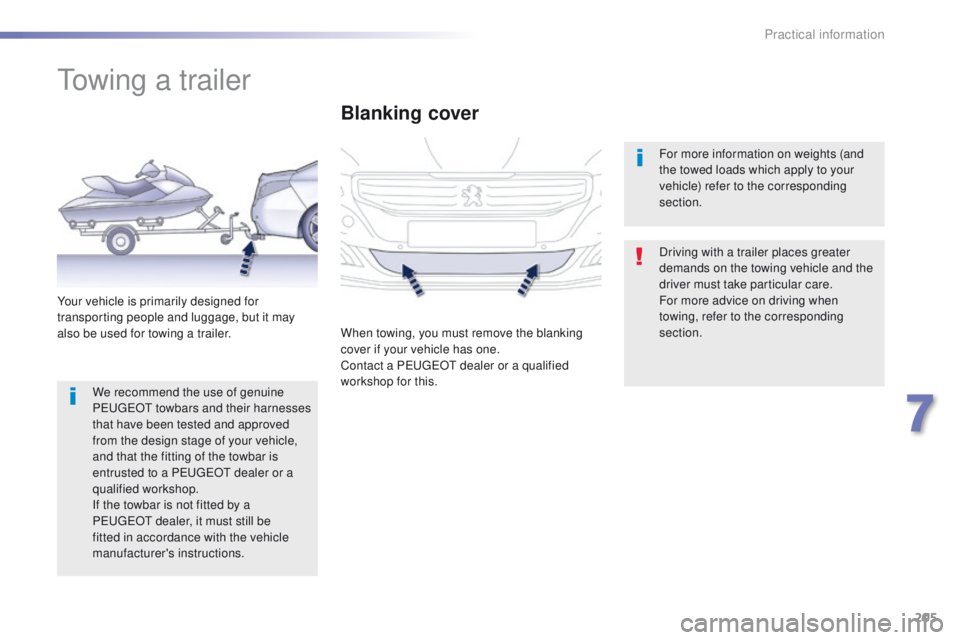
Your vehicle is primarily designed for
transporting people and luggage, but it may
also be used for towing a trailer.
Blanking cover
When towing, you must remove the blanking
cover if your vehicle has one.
Contact a P
e
uge
Ot
dealer or a qualified
workshop for this. For more information on weights (and
the towed loads which apply to your
vehicle) refer to the corresponding
section.
We recommend the use of genuine
P
e
uge
Ot
towbars and their harnesses
that have been tested and approved
from the design stage of your vehicle,
and that the fitting of the towbar is
entrusted to a P
e
uge
Ot
dealer or a
qualified workshop.
If the towbar is not fitted by a
P
e
uge
Ot
dealer, it must still be
fitted in accordance with the vehicle
manufacturer's instructions.
7
Practical information
Page 209 of 371
207
508_en_Chap07_info-pratiques_ed01-2016
Before each use
Check that the towball is correctly fitted by verifying the following points:
- t he towball is correctly locked in place (position A ),
-
t
he security key lock is on and the key removed; the locking wheel can no longer be
operated,
-
t
he towball must no longer move at all in its carrier; try to shake it by hand.
During use
Never unlock the towball when a trailer or load carrier is fitted.
Never exceed the maximum authorised weight for the vehicle plus trailer (gr oss tr ain
Weight -
gt
W
).
Before driving, check the adjustment of the headlamp beam height.
For more information on adjusting the headlamps, refer to the corresponding section.
After use
For journeys made without a trailer or load carrier, the trailer harness socket must be folded
away, the towball removed and the protective blanking plug inserted in the carrier. th is
measure applies particularly if the towball could hinder visibility of the number plate or
lighting.
7
Practical information
Page 213 of 371
211
508_en_Chap07_info-pratiques_ed01-2016
Changing a wiper blade
Before removing a front
wiper blade
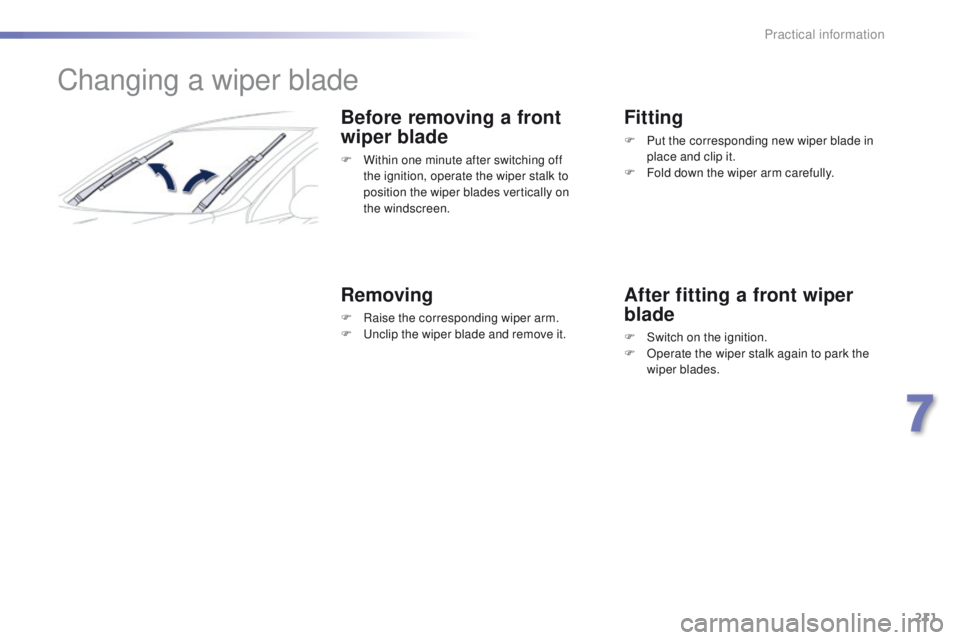
F Within one minute after switching off the ignition, operate the wiper stalk to
position the wiper blades vertically on
the
windscreen.
Removing
F Raise the corresponding wiper arm.
F un clip the wiper blade and remove it.
Fitting
F Put the corresponding new wiper blade in place and clip it.
F
F
old down the wiper arm carefully.
After fitting a front wiper
blade
F Switch on the ignition.
F O perate the wiper stalk again to park the
wiper blades.
7
Practical information
Page 220 of 371
218
508_en_Chap07_info-pratiques_ed01-2016
Checking levels
take care when working under the
bonnet, as certain areas of the engine
may be extremely hot (risk of burns) and
the cooling fan could start at any time
(even with the ignition off).
Engine oil level
the check is carried out either when
the ignition is switched on using the
oil level indicator in the instrument
panel for vehicles so equipped, or
using the dipstick.
to e
nsure that the reading is correct,
your vehicle must be parked on a level
sur face with the engine having been off
for more than 30 minutes.
It is normal to top up the oil level between
two services (or oil changes). P
e
uge
Ot
recommends that you check the level, and top
up if necessary, every 3 000 miles (5 000 kms). Check all of these levels regularly, in line with the manufacturer's service schedule. t
o
p them up if necessary, unless other wise indicated.
If a level drops significantly, have the corresponding system checked by a P
e
uge
Ot
dealer or a qualified workshop.
Checking using the dipstick
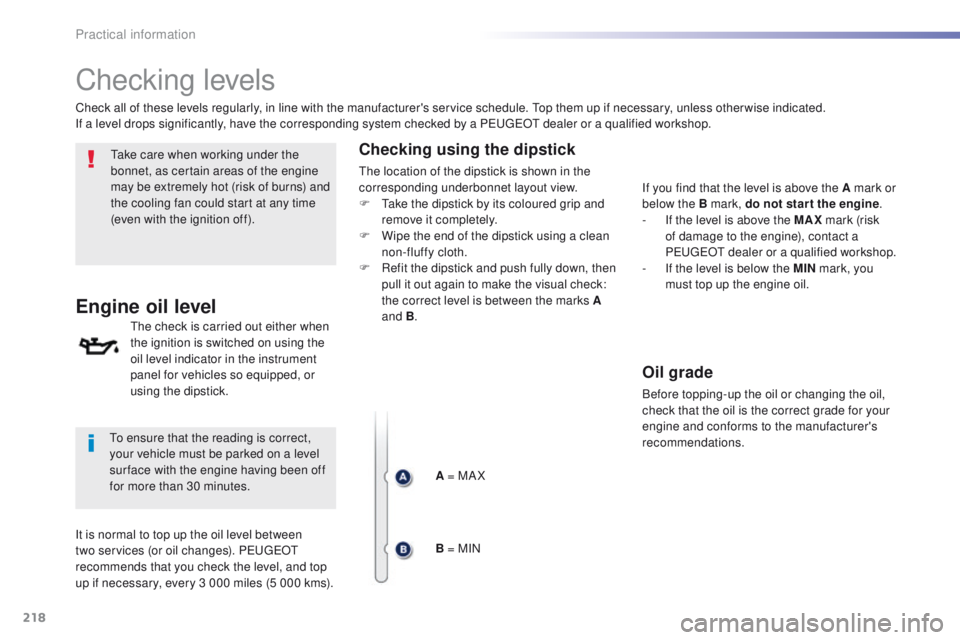
the location of the dipstick is shown in the
corresponding underbonnet layout view.
F
t
a
ke the dipstick by its coloured grip and
remove it completely.
F
W
ipe the end of the dipstick using a clean
non-fluffy cloth.
F
R
efit the dipstick and push fully down, then
pull it out again to make the visual check:
the correct level is between the marks A
and B .
A = MA X
B = MIN If you find that the level is above the A mark or
below the B mark, do not star t the engine
.
-
I
f the level is above the MAX mark (risk
of damage to the engine), contact a
P
e
uge
Ot
dealer or a qualified workshop.
-
I
f the level is below the MIN mark, you
must top up the engine oil.
Oil grade
Before topping-up the oil or changing the oil,
check that the oil is the correct grade for your
engine and conforms to the manufacturer's
recommendations.
Practical information
Page 221 of 371
219
508_en_Chap07_info-pratiques_ed01-2016
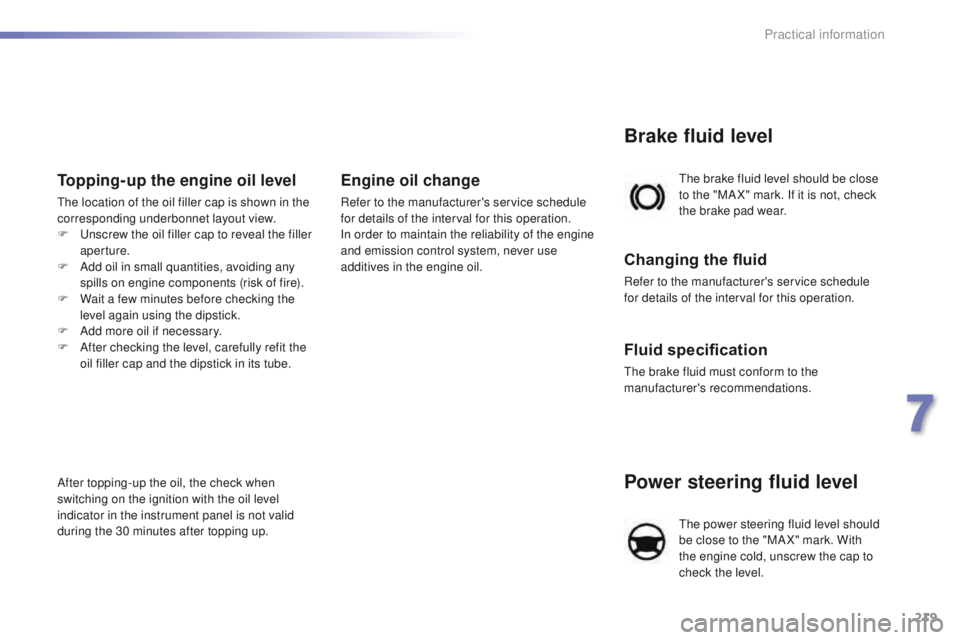
Power steering fluid level
the power steering fluid level should
be close to the "MA X" mark. With
the engine cold, unscrew the cap to
check the level.
th
e brake fluid level should be close
to the "MA X" mark. If it is not, check
the brake pad wear.
Brake fluid level
Changing the fluid
Refer to the manufacturer's service schedule
for details of the interval for this operation.
Fluid specification
the brake fluid must conform to the
manufacturer's recommendations.
Topping-up the engine oil level
the location of the oil filler cap is shown in the
corresponding underbonnet layout view.
F
u
n
screw the oil filler cap to reveal the filler
aperture.
F
A
dd oil in small quantities, avoiding any
spills on engine components (risk of fire).
F
W
ait a few minutes before checking the
level again using the dipstick.
F
A
dd more oil if necessary.
F
A
fter checking the level, carefully refit the
oil filler cap and the dipstick in its tube.
After topping-up the oil, the check when
switching on the ignition with the oil level
indicator in the instrument panel is not valid
during the 30 minutes after topping up.
Engine oil change
Refer to the manufacturer's service schedule
for details of the interval for this operation.
In order to maintain the reliability of the engine
and emission control system, never use
additives in the engine oil.
7
Practical information
Page 223 of 371
221
508_en_Chap07_info-pratiques_ed01-2016
Checks
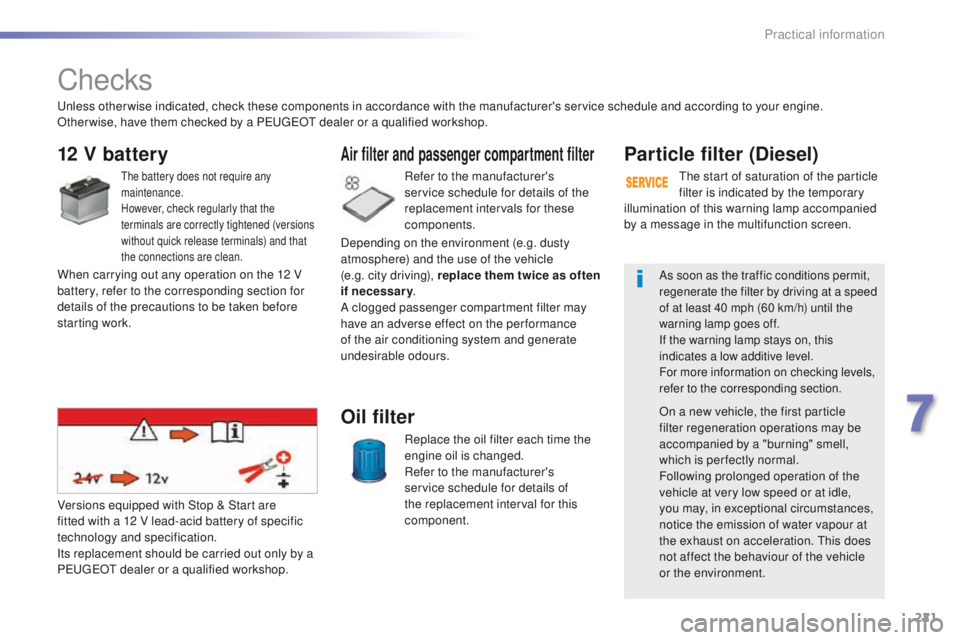
12 V battery
the battery does not require any
maintenance.
However, check regularly that the
terminals are correctly tightened (versions
without quick release terminals) and that
the connections are clean.Refer to the manufacturer's
service schedule for details of the
replacement intervals for these
components.
Air filter and passenger compartment filter
Replace the oil filter each time the
engine oil is changed.
Refer to the manufacturer's
service schedule for details of
the replacement interval for this
component.
Oil filter
Versions equipped with Stop & Start are
fitted with a 12 V lead-acid battery of specific
technology and specification.
Its replacement should be carried out only by a
P
e
uge
Ot
dealer or a qualified workshop.
Particle filter (Diesel)
the start of saturation of the particle
filter is indicated by the temporary
As soon as the traffic conditions permit,
regenerate the filter by driving at a speed
of at least 40 mph (60 km/h) until the
warning lamp goes off.
If the warning lamp stays on, this
indicates a low additive level.
For more information on checking levels,
refer to the corresponding section.
On a new vehicle, the first particle
filter regeneration operations may be
accompanied by a "burning" smell,
which is per fectly normal.
Following prolonged operation of the
vehicle at very low speed or at idle,
you may, in exceptional circumstances,
notice the emission of water vapour at
the exhaust on acceleration.
t
h
is does
not affect the behaviour of the vehicle
or the environment.
un
less otherwise indicated, check these components in accordance with the manufacturer's service schedule and according to your engine.
Other wise, have them checked by a P
e
uge
Ot
dealer or a qualified workshop.
When carrying out any operation on the 12 V
battery, refer to the corresponding section for
details of the precautions to be taken before
starting work. Depending on the environment (e.g. dusty
atmosphere) and the use of the vehicle
(e.g.
city driving), replace them twice as often
if necessary .
A clogged passenger compartment filter may
have an adverse effect on the per formance
of the air conditioning system and generate
undesirable odours. illumination of this warning lamp accompanied
by a message in the multifunction screen.
7
Practical information
Page 224 of 371
222
508_en_Chap07_info-pratiques_ed01-2016
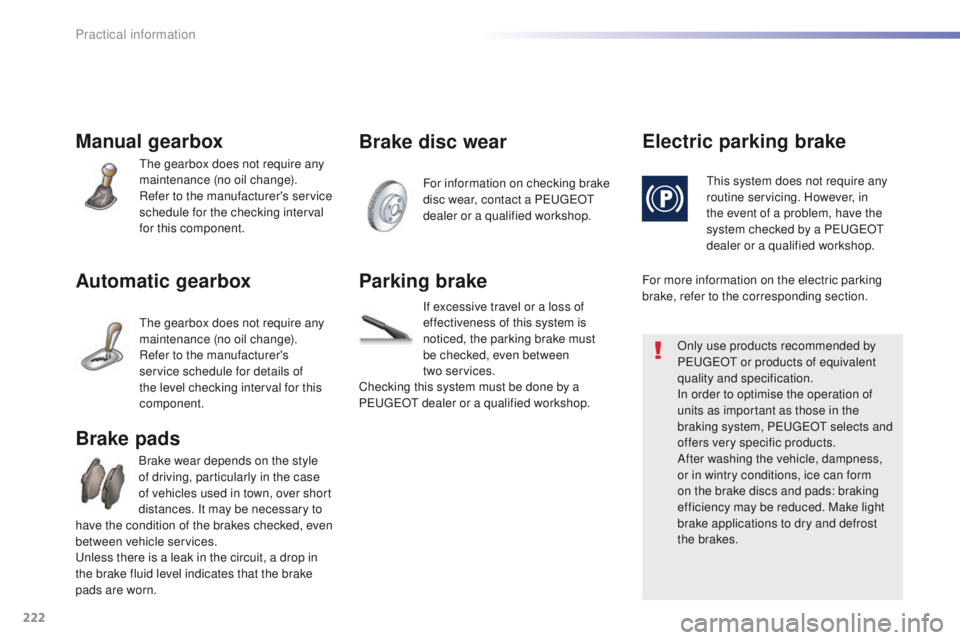
Manual gearbox
the gearbox does not require any
maintenance (no oil change).
Refer to the manufacturer's service
schedule for the checking interval
for this component.
Automatic gearbox
the gearbox does not require any
maintenance (no oil change).
Refer to the manufacturer's
service schedule for details of
the level checking interval for this
component.
Brake wear depends on the style
of driving, particularly in the case
of vehicles used in town, over short
distances. It may be necessary to
have the condition of the brakes checked, even
between vehicle services.
un
less there is a leak in the circuit, a drop in
the brake fluid level indicates that the brake
pads are worn.
Brake pads
For information on checking brake
disc wear, contact a Pe ugeOt
dealer or a qualified workshop.
Brake disc wear Electric parking brake
this system does not require any
routine servicing. However, in
the event of a problem, have the
system checked by a P
e
uge
Ot
dealer or a qualified workshop.
Only use products recommended by
P
e
uge
Ot
or products of equivalent
quality and specification.
In order to optimise the operation of
units as important as those in the
braking system, P
e
uge
Ot
selects and
offers very specific products.
After washing the vehicle, dampness,
or in wintry conditions, ice can form
on the brake discs and pads: braking
efficiency may be reduced. Make light
brake applications to dry and defrost
the brakes.
Parking brake
If excessive travel or a loss of
effectiveness of this system is
noticed, the parking brake must
be checked, even between
two
services.
Checking this system must be done by a
P
e
uge
Ot
dealer or a qualified workshop. For more information on the electric parking
brake, refer to the corresponding section.
Practical information
Page 225 of 371
223
508_en_Chap07_info-pratiques_ed01-2016
AdBlue® additive and SCR system
for BlueHDi Diesel engines
to assure respect for the environment and
conformity with the new
eu ro 6 emissions
standard, without adversely affecting the
per formance or fuel consumption of Diesel
engines, P
e
uge
Ot
has taken the decision to
equip its vehicles with an effective system that
associates SCR (Selective Catalytic Reduction)
with a particle filter (FAP) for the treatment of
exhaust gases.
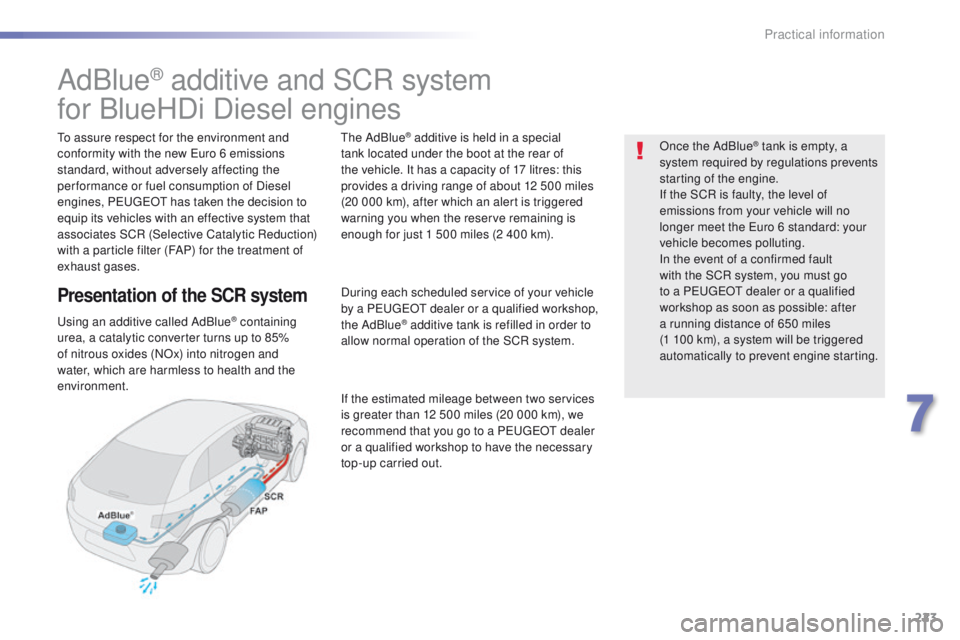
Presentation of the SCR system
using an additive called AdBlue® containing
urea, a catalytic converter turns up to 85%
of nitrous oxides (NOx) into nitrogen and
water, which are harmless to health and the
environment.
th
e AdBlue
® additive is held in a special
tank located under the boot at the rear of
the vehicle. It has a capacity of 17 litres: this
provides a driving range of about 12 500 miles
(20 000 km), after which an alert is triggered
warning you when the reserve remaining is
enough for just 1 500 miles (2 400 km).
During each scheduled service of your vehicle
by a P
e
uge
Ot
dealer or a qualified workshop,
the AdBlue
® additive tank is refilled in order to
allow normal operation of the SCR system.
If the estimated mileage between two services
is greater than 12 500 miles (20 000 km), we
recommend that you go to a P
e
uge
Ot
dealer
or a qualified workshop to have the necessary
top-up carried out. Once the AdBlue
® tank is empty, a
s
ystem required by regulations prevents
starting of the engine.
If the SCR is faulty, the level of
emissions from your vehicle will no
longer meet the
e
u
ro 6 standard: your
vehicle becomes polluting.
In the event of a confirmed fault
with the SCR system, you must go
to a P
e
uge
Ot
dealer or a qualified
workshop as soon as possible: after
a running distance of 650 miles
(1 100 km), a system will be triggered
automatically to prevent engine starting.
7
Practical information
Page 230 of 371
228
508_en_Chap08_en-cas-de-pannes_ed01-2016
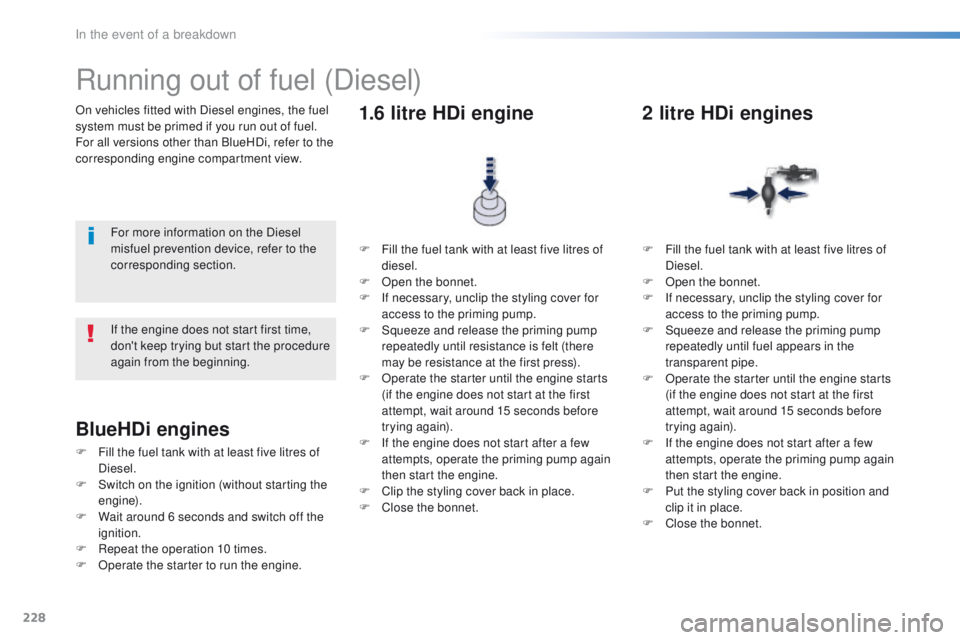
On vehicles fitted with Diesel engines, the fuel
system must be primed if you run out of fuel.
For all versions other than BlueHDi, refer to the
corresponding engine compartment view.
Running out of fuel (Diesel)
For more information on the Diesel
misfuel prevention device, refer to the
corresponding section.F
F
ill the fuel tank with at least five litres of
diesel.
F
O
pen the bonnet.
F
I
f necessary, unclip the styling cover for
access to the priming pump.
F
S
queeze and release the priming pump
repeatedly until resistance is felt (there
may be resistance at the first press).
F
O
perate the starter until the engine starts
(if the engine does not start at the first
attempt, wait around 15 seconds before
trying again).
F
I
f the engine does not start after a few
attempts, operate the priming pump again
then start the engine.
F
C
lip the styling cover back in place.
F
C
lose the bonnet.
1.6 litre HDi engine
F Fill the fuel tank with at least five litres of Diesel.
F
O
pen the bonnet.
F
I
f necessary, unclip the styling cover for
access to the priming pump.
F
S
queeze and release the priming pump
repeatedly until fuel appears in the
transparent pipe.
F
O
perate the starter until the engine starts
(if the engine does not start at the first
attempt, wait around 15 seconds before
trying again).
F
I
f the engine does not start after a few
attempts, operate the priming pump again
then start the engine.
F
P
ut the styling cover back in position and
clip it in place.
F
C
lose the bonnet.
2 litre HDi engines
If the engine does not start first time,
don't keep trying but start the procedure
again from the beginning.
BlueHDi engines
F Fill the fuel tank with at least five litres of Diesel.
F
S
witch on the ignition (without starting the
engine).
F
W
ait around 6 seconds and switch off the
ignition.
F
R
epeat the operation 10 times.
F
O
perate the starter to run the engine.
In the event of a breakdown
Page 231 of 371
229
508_en_Chap08_en-cas-de-pannes_ed01-2016
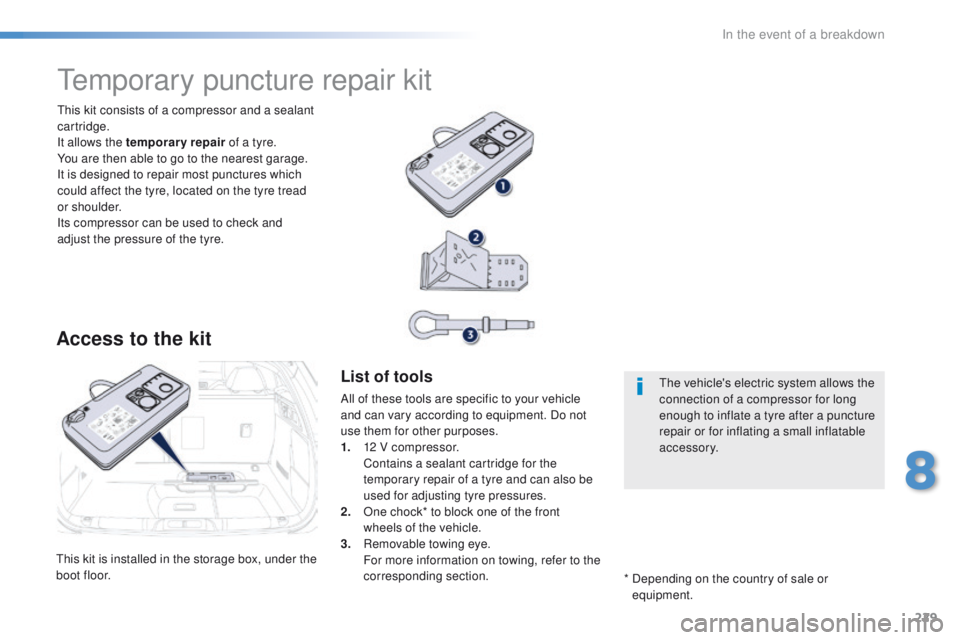
this kit is installed in the storage box, under the
boot floor.
th
is kit consists of a compressor and a sealant
cartridge.
It allows the temporary repair of a tyre.
You are then able to go to the nearest garage.
It is designed to repair most punctures which
could affect the tyre, located on the tyre tread
or shoulder.
Its compressor can be used to check and
adjust the pressure of the tyre.
temporary puncture repair kit
Access to the kit
List of tools
All of these tools are specific to your vehicle
and can vary according to equipment. Do not
use them for other purposes.
1.
1
2 V compressor.
C
ontains a sealant cartridge for the
temporary repair of a tyre and can also be
used for adjusting tyre pressures.
2.
O
ne chock* to block one of the front
wheels of the vehicle.
3.
R
emovable towing eye.
F
or more information on towing, refer to the
corresponding section. *
D
epending on the country of sale or
equipment.th e vehicle's electric system allows the
connection of a compressor for long
enough to inflate a tyre after a puncture
repair or for inflating a small inflatable
accessory.
8
In the event of a breakdown