Over speed Peugeot Boxer 2020 Owner's Manual
[x] Cancel search | Manufacturer: PEUGEOT, Model Year: 2020, Model line: Boxer, Model: Peugeot Boxer 2020Pages: 196, PDF Size: 5.1 MB
Page 4 of 196
2
Contents
■
Overview
■
Eco-driving
1Instruments
Instrument panel 6
Warning and indicator lamps 6
Indicators 10
Vehicle configuration (MODE)
13
Touch screen audio and multimedia system 18
Setting the date and time 18
Trip computer 19
Trip computer 19
2Access
Key 20
Remote control 20
Front doors 23
Sliding side door 23
Rear doors 24
Alarm 24
Electric windows 25
3Ease of use and comfort
Front seats 27
Front bench seat 28
Rear seats 29
Rear bench seat 29
Steering wheel adjustment 30
Mirrors 31
Heating and Ventilation 31
Heating / Manual air conditioning 32
Automatic air conditioning 33
Additional heating systems 34
Rear heating/air conditioning 35
Additional programmable heating 36
Front demist - defrost 38
Rear screen de-icing 38
Cab layout 38
Rear fittings
42
Exterior fittings 45
4Lighting and visibility
Lighting control stalk 46
Direction indicators 46
Automatic headlamp dip 47
Headlamp beam height adjustment 48
Wiper control stalk 49
Changing a wiper blade 50
5Safety
General safety recommendations 51
Hazard warning lamps 51
Horn 51
Electronic stability control (ESC) 52
Seat belts 55
Airbags 57
Child seats 58
Deactivating the front passenger airbag 60
ISOFIX seats 61
Child lock 63
6Driving
Driving recommendations 64
Starting-switching off the engine 67
Battery standby system 67
Parking brake 68
Gearbox 68
Gear shift indicator 69
Stop & Start 69
Hill start assist 70
Tyre under-inflation detection
71
Pneumatic suspension 72
Driving and manoeuvring aids - General
recommendations
73
Speed Limit recognition and recommendation 75
Speed limiter 76
Cruise control - particular recommendations 78
Cruise control 78
Cruise control (3L HDi engine) 79
Lane Departure Warning System 80
Blind Spot Monitoring System with trailer
detection
83
Active Safety Brake with Distance Alert and
Intelligent emergency braking assistance
84
Rear parking sensors 87
Reversing Camera 87
7Practical information
Fuel 90
Compatibility of fuels 91
Snow chains 91
Towing a trailer 92
Page 6 of 196
4
Overview
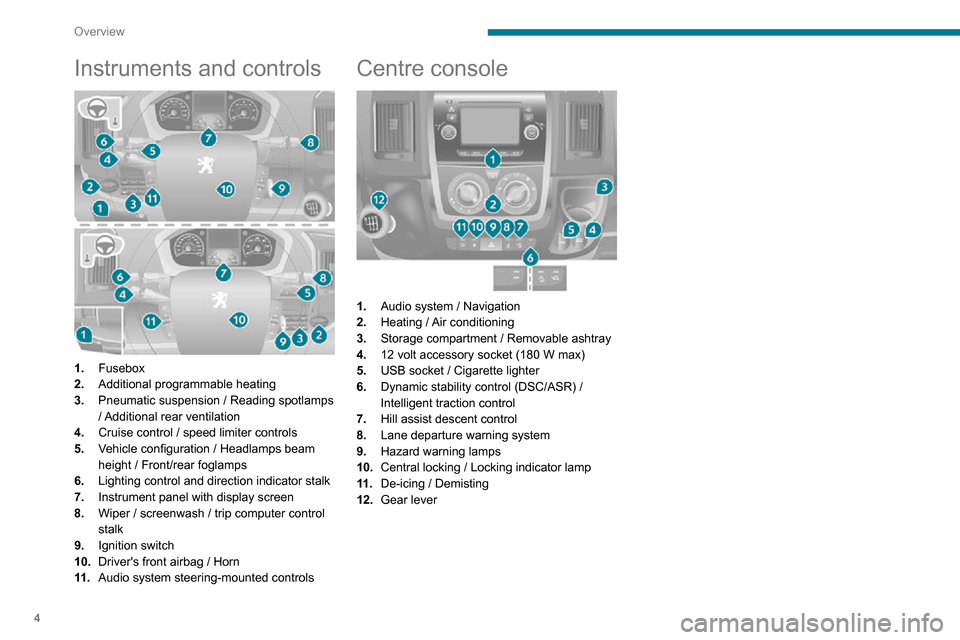
Instruments and controls
1.Fusebox
2. Additional programmable heating
3. Pneumatic suspension / Reading spotlamps
/ Additional rear ventilation
4. Cruise control / speed limiter controls
5. Vehicle configuration / Headlamps beam
height / Front/rear foglamps
6. Lighting control and direction indicator stalk
7. Instrument panel with display screen
8. Wiper / screenwash / trip computer control
stalk
9. Ignition switch
10. Driver's front airbag / Horn
11 . Audio system steering-mounted controls
Centre console
1.Audio system / Navigation
2. Heating / Air conditioning
3. Storage compartment / Removable ashtray
4.
12 volt accessory socket (180 W max)
5. USB socket / Cigarette lighter
6. Dynamic stability control (DSC/ASR) /
Intelligent traction control
7. Hill assist descent control
8. Lane departure warning system
9. Hazard warning lamps
10. Central locking / Locking indicator lamp
11 . De-icing / Demisting
12. Gear lever
Page 7 of 196
5
Eco-driving
Eco-driving
Eco-driving refers to a range of everyday
practices that allow the motorist to optimise their
fuel consumption and CO
2emissions.
Optimise your use of the gearbox
With a manual gearbox, move off gently and
change up promptly. While accelerating, change
up early.
The gear efficiency indicator prompts you to
engage the most suitable gear: whenever this
indication is displayed on the instrument panel,
follow it straight away.
Drive smoothly
Maintain a safe distance between vehicles, use
engine braking rather than the brake pedal and
press the accelerator gradually. These attitudes
help to save fuel, reduce CO
2 emissions and
decrease general traffic noise.
If the vehicle has the steering-mounted
"CRUISE" control, use cruise control at speeds
above 19 mph (30 km/h) when traffic is flowing
smoothly.
Use electrical equipment wisely
Before moving off, if the passenger compartment
is too warm, ventilate it by opening the windows
and air vents before using the air conditioning.
At speeds above 31 mph (50 km/h), close the windows and leave the air vents open. Consider using equipment that can help keep
the temperature in the passenger compartment
down.
Unless automatically regulated, switch off the air
conditioning as soon as the desired temperature
has been reached.
Switch off the demisting and defrosting functions,
if they are not managed automatically.
Switch off the heated seat as soon as possible.
Switch off the headlamps and foglamps when
the visibility conditions do not require their use.
Avoid running the engine before moving off,
particularly in winter; your vehicle will warm up
much faster while driving.
As a passenger, avoid connecting your
multimedia devices (film, music, video game,
etc.) to help reduce consumption of electrical
energy, and hence fuel.
Disconnect all portable devices before leaving
the vehicle.
Limit the causes of excess consumption
Spread loads throughout the vehicle.
Limit the loads carried in the vehicle and
minimise wind resistance (roof bars, roof rack,
bicycle carrier, trailer, etc.). Preferably, use a
roof box.
Remove roof bars and roof racks after use.
At the end of winter, remove snow tyres and refit
summer tyres.
Comply with servicing instructions
Check tyre pressures regularly, with the tyres
cold, referring to the label in the door aperture on
the driver's side.
Carry out this check in particular:
– before a long journey
.– at each change of season.– after a long period out of use.Do not overlook the spare wheel and, where
applicable, the tyres on your trailer or caravan.
Have your vehicle serviced regularly (engine oil,
oil filter, air filter, passenger compartment filter,
etc.) and observe the schedule of operations in
the manufacturer's service schedule.
With a BlueHDi Diesel engine, if the SCR system
is faulty, your vehicle will emit pollution. Visit
a PEUGEOT dealer or a qualified workshop
as soon as possible to restore your vehicle’s
nitrogen oxide emissions to regulatory
compliance.
When filling the fuel tank, do not continue after
the third nozzle cut-out, to avoid overflow.
You will only see the fuel consumption of your
new vehicle settle down to a consistent average
after the first 1,900 miles (3,000 kilometres).
Page 8 of 196
6
Instruments
Instrument panel
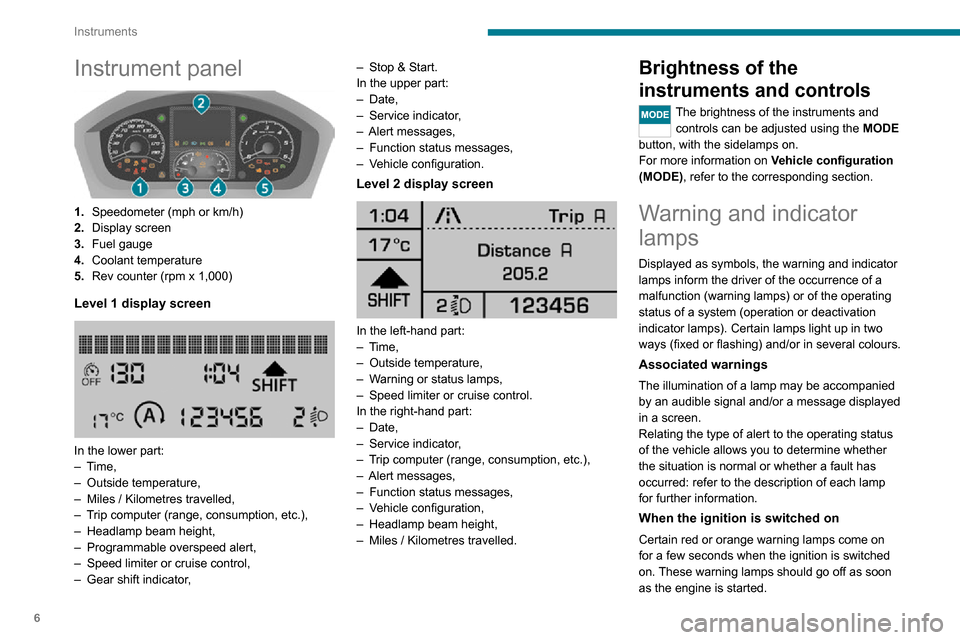
1.Speedometer (mph or km/h)
2. Display screen
3. Fuel gauge
4. Coolant temperature
5. Rev counter (rpm x 1,000)
Level 1 display screen
In the lower part:– Time,– Outside temperature,– Miles / Kilometres travelled,– Trip computer (range, consumption, etc.),– Headlamp beam height,– Programmable overspeed alert,– Speed limiter or cruise control,– Gear shift indicator ,
– Stop & Start.In the upper part:– Date,– Service indicator,– Alert messages,– Function status messages,– Vehicle configuration.
Level 2 display screen
In the left-hand part:– Time,– Outside temperature,– Warning or status lamps,– Speed limiter or cruise control.In the right-hand part:– Date,– Service indicator,– Trip computer (range, consumption, etc.),– Alert messages,– Function status messages,– Vehicle configuration,– Headlamp beam height,– Miles / Kilometres travelled.
Brightness of the
instruments and controls
The brightness of the instruments and controls can be adjusted using the MODE
button, with the sidelamps on.
For more information on Vehicle configuration
(MODE), refer to the corresponding section.
Warning and indicator
lamps
Displayed as symbols, the warning and indicator
lamps inform the driver of the occurrence of a
malfunction (warning lamps) or of the operating
status of a system (operation or deactivation
indicator lamps). Certain lamps light up in two
ways (fixed or flashing) and/or in several colours.
Associated warnings
The illumination of a lamp may be accompanied
by an audible signal and/or a message displayed
in a screen.
Relating the type of alert to the operating status
of the vehicle allows you to determine whether
the situation is normal or whether a fault has
occurred: refer to the description of each lamp
for further information.
When the ignition is switched on
Certain red or orange warning lamps come on
for a few seconds when the ignition is switched
on. These warning lamps should go off as soon
as the engine is started.
Page 21 of 196
19
Instruments
1► Select the "Time setting" menu to set the time and the clock format (24h or 12h) or select the
"Date setting" menu to set the day, month and
year.
For more information on Vehicle configuration
(MODE), refer to the corresponding section.
Using the touch screen audio and
telematics system
From the "Clock and Date" sub-menu:► Select "T ime setting and format" to set the hour, minutes and seconds and choose the
format (24h, 12h with am or pm).
► Select "Date setting" to set the day , month and year.
To set the time manually, "Time Synchro"
must be deactivated (Off).
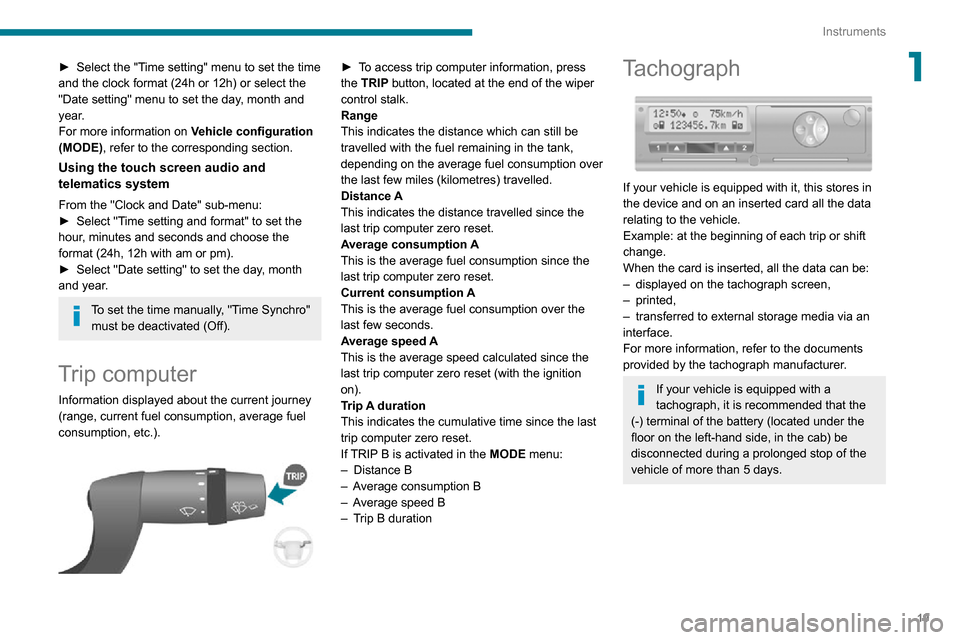
Trip computer
Information displayed about the current journey
(range, current fuel consumption, average fuel
consumption, etc.).
► To access trip computer information, press the TRIP button, located at the end of the wiper
control stalk.
Range
This indicates the distance which can still be
travelled with the fuel remaining in the tank,
depending on the average fuel consumption over
the last few miles (kilometres) travelled.
Distance A
This indicates the distance travelled since the last trip computer zero reset.
Average consumption A
This is the average fuel consumption since the
last trip computer zero reset.
Current consumption A
This is the average fuel consumption over the
last few seconds.
Average speed A
This is the average speed calculated since the
last trip computer zero reset (with the ignition
on).
Trip A duration This indicates the cumulative time since the last
trip computer zero reset.
If TRIP B is activated in the MODE menu:
– Distance B– Average consumption B– Average speed B– Trip B duration
Tachograph
If your vehicle is equipped with it, this stores in
the device and on an inserted card all the data
relating to the vehicle.
Example: at the beginning of each trip or shift
change.
When the card is inserted, all the data can be:
– displayed on the tachograph screen,– printed,– transferred to external storage media via an interface.
For more information, refer to the documents
provided by the tachograph manufacturer.
If your vehicle is equipped with a tachograph, it is recommended that the (-) terminal of the battery (located under the
floor on the left-hand side, in the cab) be
disconnected during a prolonged stop of the vehicle of more than 5 days.
Page 50 of 196
48
Lighting and visibility
Once the function is activated, the system
operates as follows:
If the brightness is sufficient and/or if the traffic
conditions do not allow illumination of the main
beam headlamps:
– The dipped beam headlamps will remain on: this indicator lamp lights up on
the instrument panel.
If the brightness is very low and the traffic conditions allow:– The main beam headla mps come on automatically: these
indicator lamps light up on the instrument panel.
If the situation requires a change of headlamp
beam, the driver can take over at any time.
Flashing the headlamps again pauses the
function and the lighting system changes to
"automatic illumination of headlamps" mode.
At a speed lower than approximately 9 mph (15
km/h), the function deactivates automatically.
If the main beam headlamps are still needed,
flash the headlamps again; the main beam
headlamps then remain on fixed until the vehicle
reaches a speed of approximately 25 mph (40
km/h).
Above 25 mph (40 km/h), the function is
reactivated automatically (provided that you have
not flashed the headlamps again to turn off the
main beam headlamps during this interval).
Deactivation
► Turn the lighting control stalk ring to the "Dipped beam" position.
The system may suffer interference or not work correctly:
– under conditions of poor visibility (falling snow, heavy rain or thick fog, etc.),– if the windscreen in front of the camera is dirty, misted or obscured (by a sticker, etc.),– if the vehicle is facing highly reflective signs.
The system is not able to detect:– road users that do not have their own lighting, such as pedestrians,– vehicles whose lighting is obscured, such as when running behind a safety barrier on a
motorway, for example,
– vehicles at the top or bottom of a steep slope, on twisty roads, on crossroads.
Parking lamps
This system allows you to leave the lamps on
when parked; with the ignition off, and the key in
the STOP position or removed.
► Move the lighting control stalk ring to position O, then to dipped beam headlamps or main
beam headlamps.
This indicator lamp comes on in the
dashboard.
The lamps will stay on for the duration of your
parking.
Extended lighting can significantly reduce
the vehicle's battery charge.
Headlamp beam height
adjustment
To avoid inconvenience to other road users,
the height of the halogen headlamps should be
adjusted according to the load in the vehicle.
This function can be accessed in dipped beam
and main beam headlamp positions.
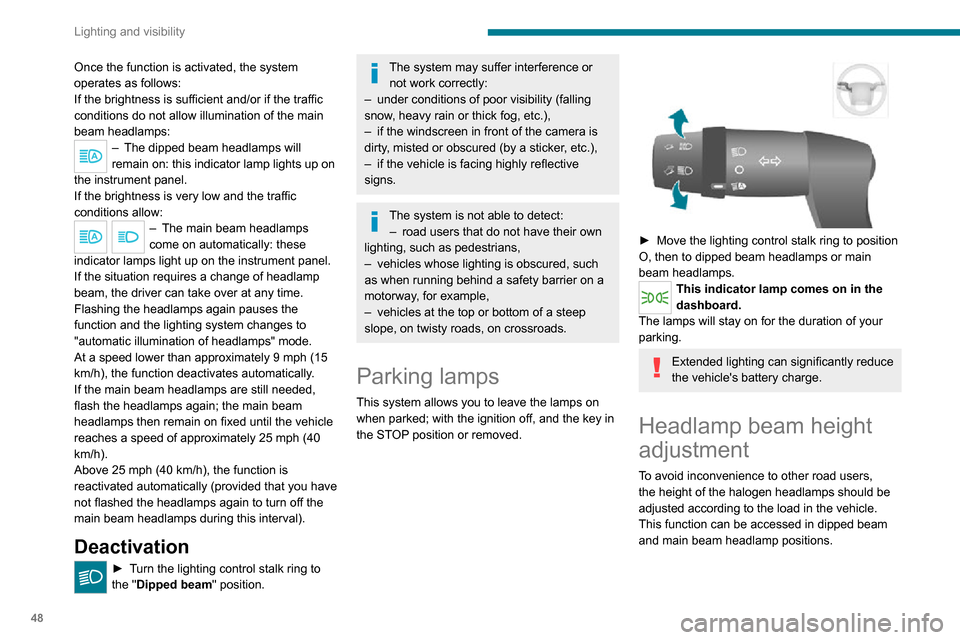
Successive presses on these controls adjust the headlamps.
An indicator lamp on the display indicates the
selected setting position (0, 1, 2, 3).
Wiper control stalk
Windscreen wipers
The wiping is active only when the ignition key is
in the ON position.
The control stalk can have 5 different positions:– Wipers off.– Intermittent wiping: 1 notch down. In this
position, by turning the ring, it is possible to
select 4 frequency levels (very slow, slow,
normal, fast).
Page 51 of 196
49
Lighting and visibility
4
Successive presses on these
controls adjust the headlamps.
An indicator lamp on the display indicates the
selected setting position (0, 1, 2, 3).
Wiper control stalk
Windscreen wipers
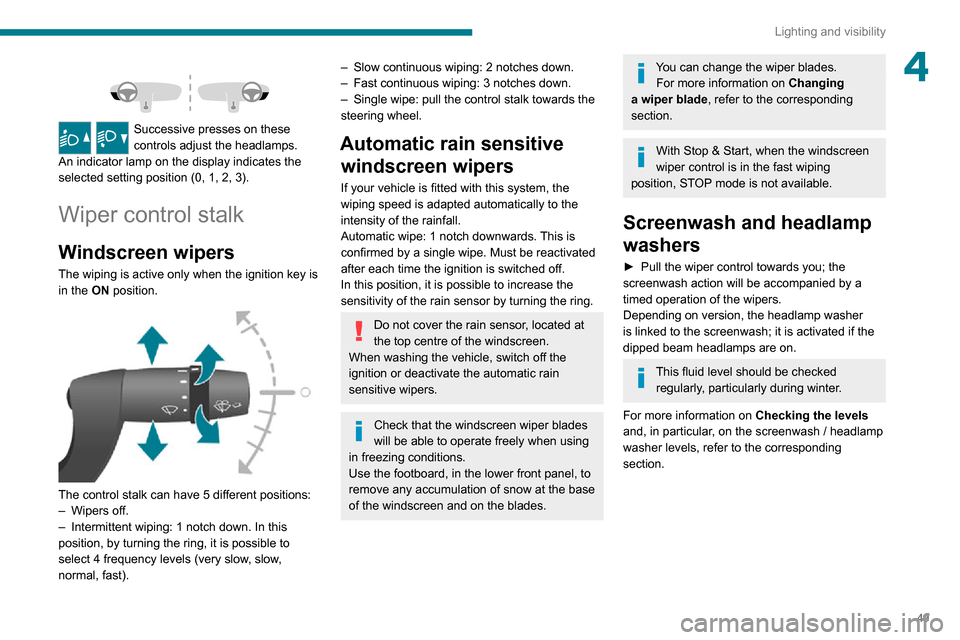
The wiping is active only when the ignition key is
in the ON position.
The control stalk can have 5 different positions:– Wipers off.– Intermittent wiping: 1 notch down. In this
position, by turning the ring, it is possible to
select 4 frequency levels (very slow, slow,
normal, fast).
– Slow continuous wiping: 2 notches down.– Fast continuous wiping: 3 notches down.– Single wipe: pull the control stalk towards the steering wheel.
Automatic rain sensitive windscreen wipers
If your vehicle is fitted with this system, the
wiping speed is adapted automatically to the
intensity of the rainfall.
Automatic wipe: 1 notch downwards. This is
confirmed by a single wipe. Must be reactivated
after each time the ignition is switched off.
In this position, it is possible to increase the
sensitivity of the rain sensor by turning the ring.
Do not cover the rain sensor, located at
the top centre of the windscreen.
When washing the vehicle, switch off the
ignition or deactivate the automatic rain
sensitive wipers.
Check that the windscreen wiper blades
will be able to operate freely when using
in freezing conditions.
Use the footboard, in the lower front panel, to
remove any accumulation of snow at the base of the windscreen and on the blades.
You can change the wiper blades. For more information on Changing
a wiper blade , refer to the corresponding
section.
With Stop & Start, when the windscreen
wiper control is in the fast wiping
position, STOP mode is not available.
Screenwash and headlamp
washers
► Pull the wiper control towards you; the screenwash action will be accompanied by a
timed operation of the wipers.
Depending on version, the headlamp washer
is linked to the screenwash; it is activated if the
dipped beam headlamps are on.
This fluid level should be checked regularly, particularly during winter.
For more information on Checking the levels
and, in particular, on the screenwash / headlamp
washer levels, refer to the corresponding
section.
Page 55 of 196
53
Safety
5Dynamic stability control
(DSC)
Switching on
The DSC system is activated automatically every
time the vehicle is started.
It comes into operation in the event of a grip or
trajectory problem.
This is indicated by the flashing of this warning lamp on the instrument panel.
Deactivation
This system cannot be deactivated by the driver.
Malfunction
The lighting of this warning lamp, accompanied by an audible signal and
confirmed by a message on the instrument panel
display, indicates a malfunction of the DSC
system.
Have the system checked by a PEUGEOT
dealer or a qualified workshop.
Anti-slip regulation (ASR)
Deactivation / Reactivation
The ASR system is activated automatically every
time the vehicle is started.
In exceptional conditions (starting a vehicle
which is bogged down, stuck in snow, on soft
ground, etc.), it may be advisable to deactivate
the ASR system, so that the wheels can turn
freely and regain grip.
Reactivate the system as soon as the level of
grip permits.
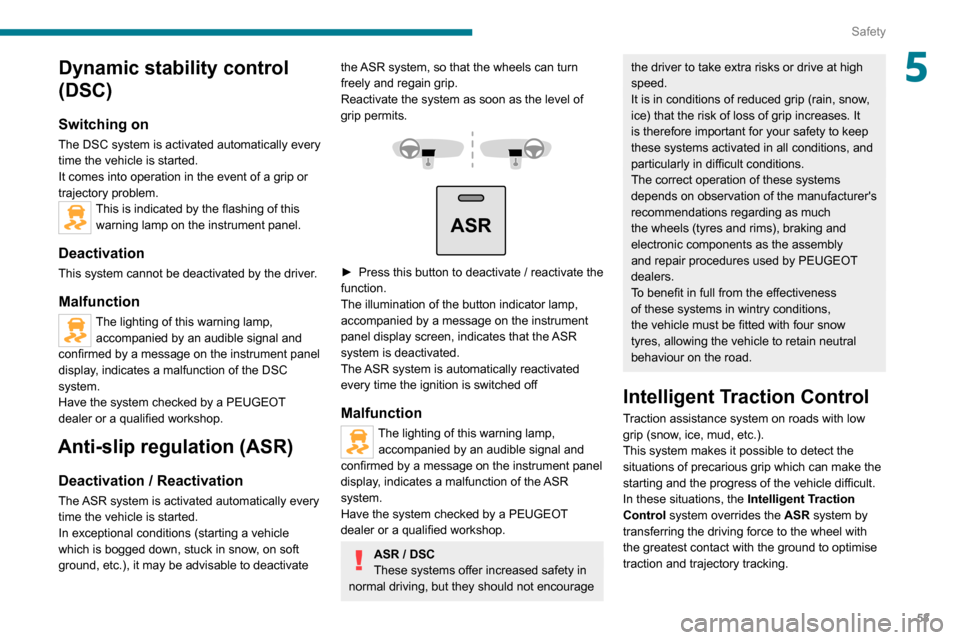
ASR
► Press this button to deactivate / reactivate the function.
The illumination of the button indicator lamp,
accompanied by a message on the instrument
panel display screen, indicates that the ASR
system is deactivated.
The ASR system is automatically reactivated
every time the ignition is switched off
Malfunction
The lighting of this warning lamp, accompanied by an audible signal and
confirmed by a message on the instrument panel
display, indicates a malfunction of the ASR
system.
Have the system checked by a PEUGEOT
dealer or a qualified workshop.
ASR / DSC
These systems offer increased safety in
normal driving, but they should not encourage
the driver to take extra risks or drive at high
speed.
It is in conditions of reduced grip (rain, snow,
ice) that the risk of loss of grip increases. It
is therefore important for your safety to keep
these systems activated in all conditions, and
particularly in difficult conditions.
The correct operation of these systems
depends on observation of the manufacturer's
recommendations regarding as much
the wheels (tyres and rims), braking and
electronic components as the assembly
and repair procedures used by PEUGEOT
dealers.
To benefit in full from the effectiveness
of these systems in wintry conditions,
the vehicle must be fitted with four snow
tyres, allowing the vehicle to retain neutral
behaviour on the road.
Intelligent Traction Control
Traction assistance system on roads with low
grip (snow, ice, mud, etc.).
This system makes it possible to detect the
situations of precarious grip which can make the
starting and the progress of the vehicle difficult.
In these situations, the Intelligent Traction
Control system overrides the ASR system by
transferring the driving force to the wheel with
the greatest contact with the ground to optimise
traction and trajectory tracking.
Page 56 of 196
54
Safety
Engage a gear corresponding to the speed to prevent the engine stalling.
► To manually deactivate the system, press the button; the indicator lamp goes out.
The function may be unavailable if the
brakes overheat. Wait a few minutes for
them to cool down before trying again.
Malfunction
When a malfunction of the Hill Assist Descent Control system occurs, this warning lamp lights up.
Have the system checked by a PEUGEOT
dealer or a qualified workshop.
Seat belts
Inertia reel
The seat belts are equipped with an inertia reel
which allows the strap length to automatically
adjust to your shape. The seat belt returns to its
storage automatically when it is not used.
The inertia reels are fitted with a device which
automatically locks the strap in the event of a
collision, emergency braking or if the vehicle rolls
over. It can be released by pulling the strap firmly
and then releasing it so that it reels in slightly.
Pyrotechnic pretensioning
This system improves safety in the event of a
frontal or side impact.
Activation/Deactivation
When starting the vehicle, this system is
deactivated.
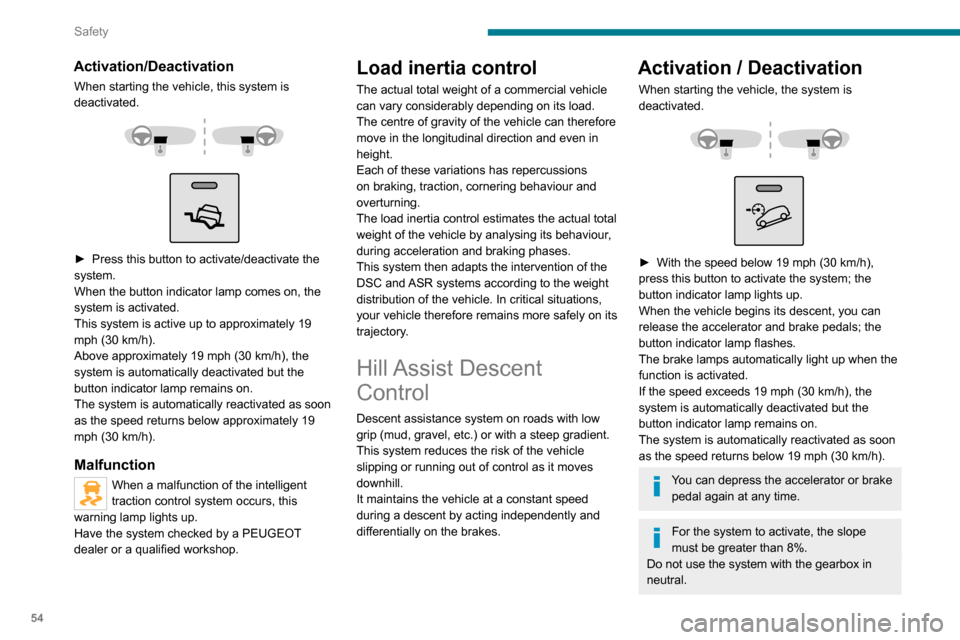
► Press this button to activate/deactivate the system.
When the button indicator lamp comes on, the
system is activated.
This system is active up to approximately 19
mph (30 km/h).
Above approximately 19 mph (30 km/h), the
system is automatically deactivated but the
button indicator lamp remains on.
The system is automatically reactivated as soon
as the speed returns below approximately 19
mph (30 km/h).
Malfunction
When a malfunction of the intelligent
traction control system occurs, this
warning lamp lights up.
Have the system checked by a PEUGEOT
dealer or a qualified workshop.
Load inertia control
The actual total weight of a commercial vehicle
can vary considerably depending on its load.
The centre of gravity of the vehicle can therefore
move in the longitudinal direction and even in
height.
Each of these variations has repercussions
on braking, traction, cornering behaviour and
overturning.
The load inertia control estimates the actual total
weight of the vehicle by analysing its behaviour,
during acceleration and braking phases.
This system then adapts the intervention of the
DSC and ASR systems according to the weight
distribution of the vehicle. In critical situations,
your vehicle therefore remains more safely on its
trajectory.
Hill Assist Descent
Control
Descent assistance system on roads with low
grip (mud, gravel, etc.) or with a steep gradient.
This system reduces the risk of the vehicle
slipping or running out of control as it moves
downhill.
It maintains the vehicle at a constant speed
during a descent by acting independently and
differentially on the brakes.
Activation / Deactivation
When starting the vehicle, the system is
deactivated.
► With the speed below 19 mph (30 km/h), press this button to activate the system; the
button indicator lamp lights up.
When the vehicle begins its descent, you can
release the accelerator and brake pedals; the
button indicator lamp flashes.
The brake lamps automatically light up when the
function is activated.
If the speed exceeds 19 mph (30 km/h), the
system is automatically deactivated but the
button indicator lamp remains on.
The system is automatically reactivated as soon
as the speed returns below 19 mph (30 km/h).
You can depress the accelerator or brake pedal again at any time.
For the system to activate, the slope
must be greater than 8%.
Do not use the system with the gearbox in
neutral.
Page 57 of 196
55
Safety
5Engage a gear corresponding to the speed to
prevent the engine stalling.
► To manually deactivate the system, press the button; the indicator lamp goes out.
The function may be unavailable if the brakes overheat. Wait a few minutes for
them to cool down before trying again.
Malfunction
When a malfunction of the Hill Assist Descent Control system occurs, this warning lamp lights up.
Have the system checked by a PEUGEOT
dealer or a qualified workshop.
Seat belts
Inertia reel
The seat belts are equipped with an inertia reel
which allows the strap length to automatically
adjust to your shape. The seat belt returns to its
storage automatically when it is not used.
The inertia reels are fitted with a device which
automatically locks the strap in the event of a
collision, emergency braking or if the vehicle rolls
over. It can be released by pulling the strap firmly
and then releasing it so that it reels in slightly.
Pyrotechnic pretensioning
This system improves safety in the event of a
frontal or side impact.
Depending on the severity of the impact, the
pyrotechnic pretensioning system instantly
tightens the seat belts against the body of the
occupants.
The pyrotechnic pretensioning seat belts are
enabled when the ignition is on.
Force limiter
This system reduces the pressure of the seat
belt on the chest of the occupant, thus improving
their protection.
In the event of an impact
Depending on the nature and
seriousness of the impacts, the pyrotechnic
device may trigger before and independently
of airbag deployment. Deployment of the
pretensioners is accompanied by a slight
discharge of harmless smoke and a noise,
due to the activation of the pyrotechnic
cartridge incorporated in the system.
In all cases, the airbag warning lamp comes
on.
Following an impact, have the seat belt
system checked, and if necessary replaced,
by a PEUGEOT dealer or a qualified
workshop.
Front seat belts
The driver's seat is fitted with a pyrotechnic
pretensioner and a force limiter.
On versions with a front passenger airbag, the
passenger's seat is also fitted with a pyrotechnic
pretensioner and a force limiter.
The front bench seat is fitted with two seat belts.
If you install a front bench seat as an
accessory, it must be fitted with approved
seat belts.
Seat belts not fastened warning lamp
When the vehicle is started, this warning
lamp comes on, accompanied by an
increasing audible signal, if the driver and/or the
front passenger has not fastened their seat belt.
This alert works equally well for versions with an
individual passenger front seat as for versions
with a two-seat front bench seat.
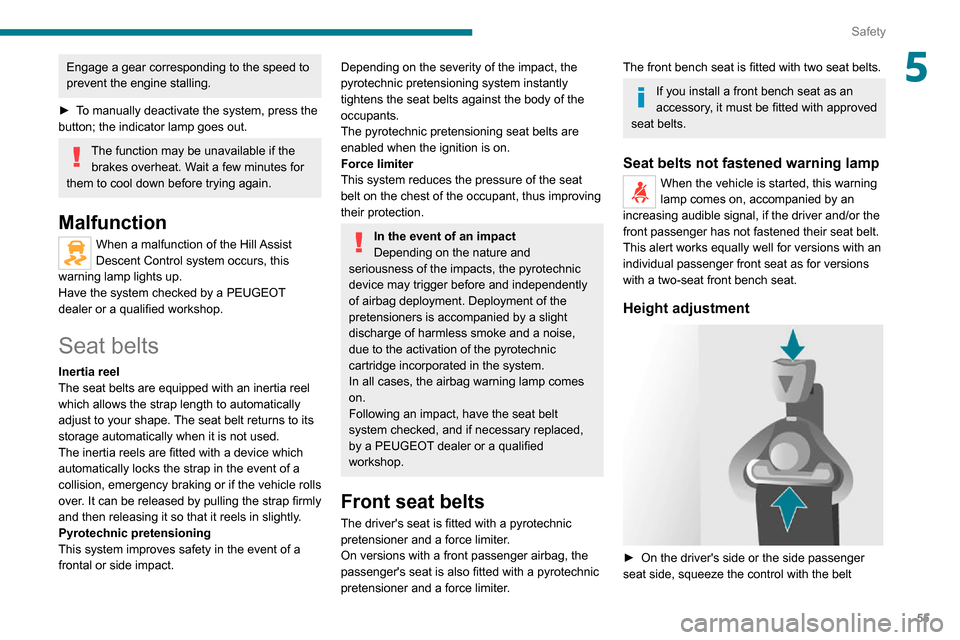
Height adjustment
► On the driver's side or the side passenger seat side, squeeze the control with the belt