PORSCHE PANAMERA 2009 1.G Information Manual
Manufacturer: PORSCHE, Model Year: 2009, Model line: PANAMERA, Model: PORSCHE PANAMERA 2009 1.GPages: 343, PDF Size: 7.96 MB
Page 121 of 343
Instrument Panel and Multi-Function Display
119
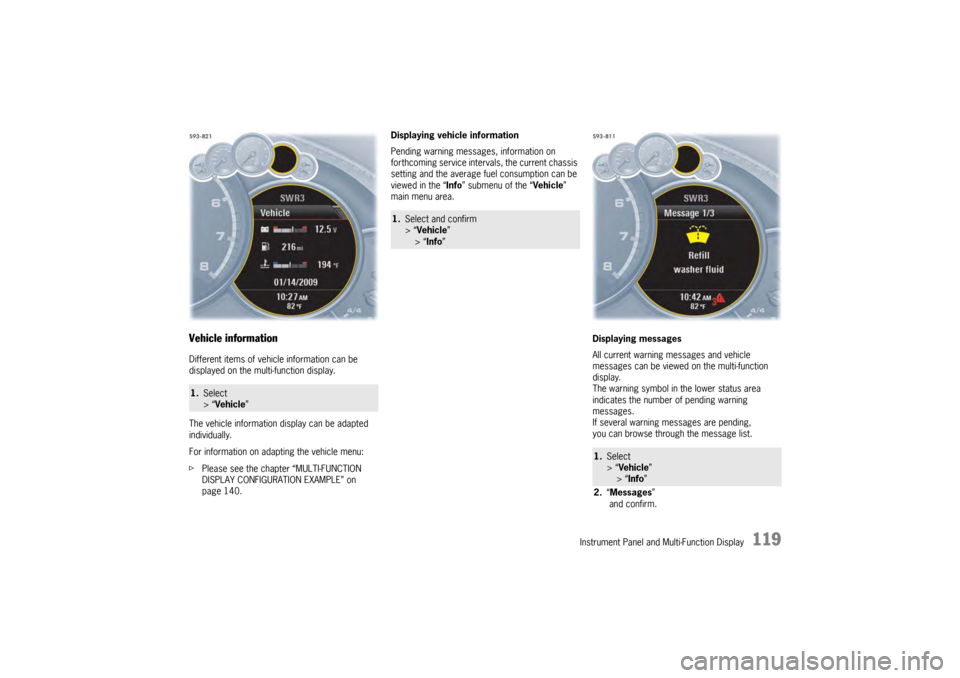
Vehicle informationDifferent items of vehicle information can be
displayed on the multi-function display.
The vehicle information display can be adapted
individually.
For information on adapting the vehicle menu:
fPlease see the chapter “MULTI-FUNCTION
DISPLAY CONFIGURATION EXAMPLE” on
page 140. Displaying vehicle information
Pending warning messages, information on
forthcoming service intervals, the current chassis
setting and the average fu
el consumption can be
viewed in the “ Info” submenu of the “ Vehicle”
main menu area.
Displaying messages
All current warning messages and vehicle
messages can be viewed on the multi-function
display.
The warning symbol in the lower status area
indicates the number of pending warning
messages.
If several warning messages are pending,
you can browse through the message list.1.Select
> “Vehicle ”
1.Select and confirm
> “Vehicle ”
> “Info ”
1.Select
> “Vehicle ”
> “ Info ”
2. “Messages ”
and confirm.
Page 122 of 343
120
Instrument Panel and Multi-Function Display
Displaying service intervals
The internal mileage count
er indicates when the
next vehicle service is due.
Available service interval displays:
–“ Service ”
–“ Intermediate service ”
–“ Oil change ” Displaying the selected chassis setting
You can view information
on the current chassis
setting.
Displaying and resetting average fuel
consumption
You can display and reset the average fuel
consumption if required.
Displaying average fuel consumption Resetting average fuel consumption
Note on operation
Resetting the average fuel consumption also
resets the “
consecutive ” vehicle data display in
the “Tr i p ” menu.
For information on the driving data display:
f Please see the chapter “TRIP INFORMATION”
on page 126.
1.Select
> “Vehicle ”
> “ Info ”
2. “Service intervals”
and confirm.
3. Select the desired service interval
and confirm.
1.Select
> “Vehicle ”
> “ Info ”
2. “Level ”
and confirm.1. Select
> “Vehicle ”
> “ Info ”
> “Ø Consumption ”
and confirm.1. Select
> “Vehicle ”
> “ Info ”
> “Ø Consumption ”
2. “Consumption”
and confirm.
1. Select
> “Vehicle ”
> “Info ”
> “Ø Consumption ”
2. “Reset ”
and confirm.
Page 123 of 343
Instrument Panel and Multi-Function Display
121
Oil level
Display and measurement of the engine oil
level
Caution!
Risk of engine damage.
f Regularly check the oil level each time before
refuelling.
f Do not allow the oil level to fall below the minimum mark.
Prerequisites for the oil-level gauge:
– Ignition is switched on or
Engine is running while the vehicle is stationary
or in motion.
– After opening the hood, the oil level can only be measured after driving for at least 6 miles
(10 km).
Activate the “Oil level” function on the
multi-function display
f Please see the chapter “OVERVIEW OF
WARNING MESSAGES” on page 152. Measured oil level
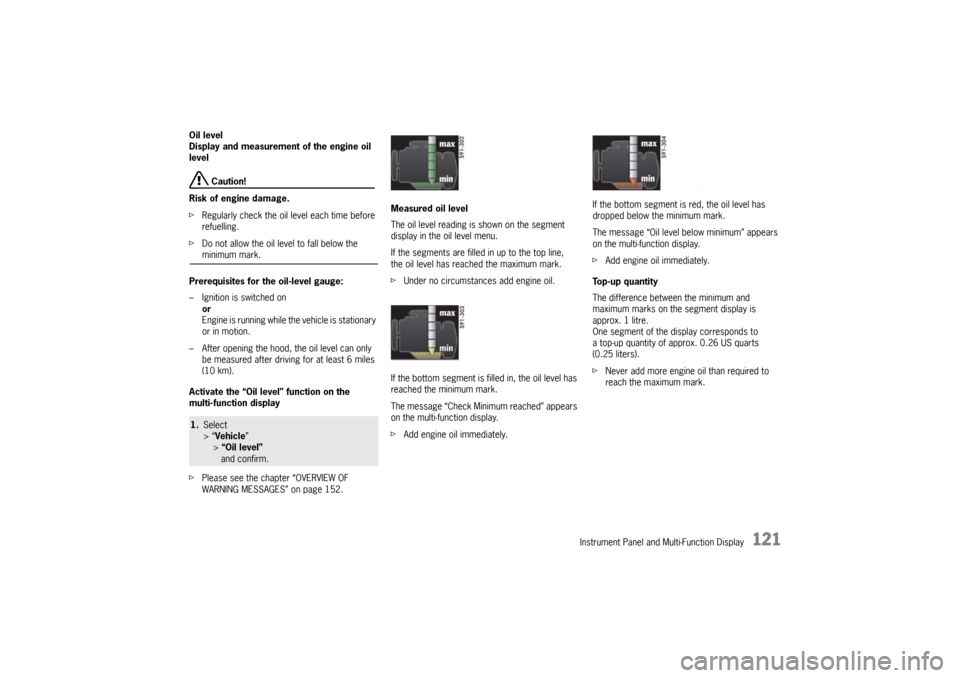
The oil level reading is
shown on the segment
display in the oil level menu.
If the segments are filled in up to the top line,
the oil level has reached the maximum mark.
f Under no circumstances add engine oil.
If the bottom segment is filled in, the oil level has
reached the minimum mark.
The message “Check Minimum reached” appears
on the multi-function display.
f Add engine oil immediately. If the bottom segment is red, the oil level has
dropped below the minimum mark.
The message “Oil level below minimum” appears
on the multi-function display.
f
Add engine oil immediately.
Top-up quantity
The difference between the minimum and
maximum marks on the segment display is
approx. 1 litre.
One segment of the display corresponds to
a top-up quantity of approx. 0.26 US quarts
(0.25 liters).
f Never add more engine oil than required to
reach the maximum mark.
1.Select
> “Vehicle ”
> “Oil level” and confirm.
Page 124 of 343
122
Instrument Panel and Multi-Function Display
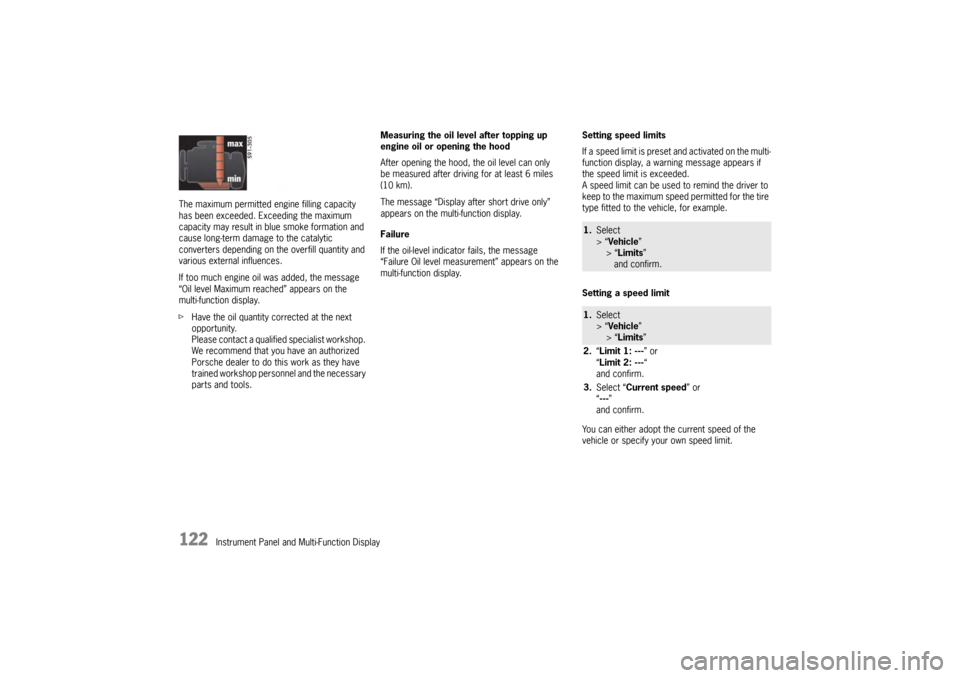
The maximum permitted en
gine filling capacity
has been exceeded. Exceeding the maximum
capacity may result in blue smoke formation and
cause long-term damage to the catalytic
converters depending on the overfill quantity and
various external influences.
If too much engine oil was added, the message
“Oil level Maximum reached” appears on the
multi-function display.
f Have the oil quantity corrected at the next
opportunity.
Please contact a qualif ied specialist workshop.
We recommend that you have an authorized
Porsche dealer to do this work as they have
trained workshop personnel and the necessary
parts and tools. Measuring the oil level after topping up
engine oil or opening the hood
After opening the hood, the oil level can only
be measured after driving for at least 6 miles
(10 km).
The message “Display after short drive only”
appears on the multi-function display.
Failure
If the oil-level indicator fails, the message
“Failure Oil level measurement” appears on the
multi-function display.
Setting speed limits
If a speed limit is preset and activated on the multi-
function display, a warni
ng message appears if
the speed limit is exceeded.
A speed limit can be used to remind the driver to
keep to the maximum speed permitted for the tire
type fitted to the vehicle, for example.
Setting a speed limit
You can either adopt th e current speed of the
vehicle or specify your own speed limit.
1. Select
> “Vehicle ”
> “Limits ”
and confirm.1. Select
> “Vehicle ”
> “Limits ”
2. “Limit 1: --- ” or
“ Limit 2: --- “
and confirm.
3. Select “Current speed ” or
“ --- ”
and confirm.
Page 125 of 343
Instrument Panel and Multi-Function Display
123
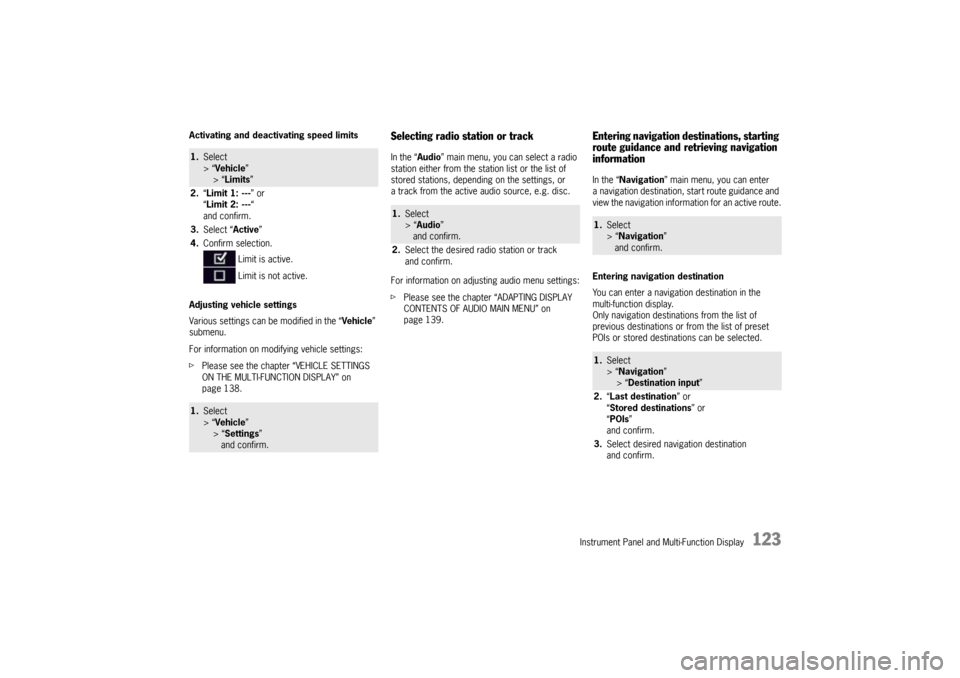
Activating and deactivating speed limits
Adjusting vehicle settings
Various settings can be modified in the “Vehicle”
submenu.
For information on modifying vehicle settings:
f Please see the chapter “VEHICLE SETTINGS
ON THE MULTI-FUNCTION DISPLAY” on
page 138.
Selecting radio station or trackIn the “ Audio” main menu, you can select a radio
station either from the st ation list or the list of
stored stations, depending on the settings, or
a track from the active audio source, e.g. disc.
For information on adjusting audio menu settings:
f Please see the chapter “ADAPTING DISPLAY
CONTENTS OF AUDIO MAIN MENU” on
page 139.
Entering navigation destinations, starting
route guidance and retrieving navigation
informationIn the “ Navigation” main menu, you can enter
a navigation destination, start route guidance and
view the navigation information for an active route.
Entering navigation destination
You can enter a navigatio n destination in the
multi-function display.
Only navigation destinations from the list of
previous destinations or from the list of preset
POIs or stored destinations can be selected.
1. Select
> “Vehicle ”
> “ Limits ”
2. “Limit 1: --- ” or
“ Limit 2: --- “
and confirm.
3. Select “ Active”
4. Confirm selection.
Limit is active.
Limit is not active.1.Select
> “Vehicle ”
> “ Settings ”
and confirm.
1. Select
> “Audio”
and confirm.
2. Select the desired radio station or track
and confirm.
1.Select
> “Navigation”
and confirm.1. Select
> “Navigation”
> “ Destination input ”
2. “Last destination ” or
“ Stored destinations” or
“ POIs ”
and confirm.
3. Select desired navigation destination
and confirm.
Page 126 of 343
124
Instrument Panel and Multi-Function Display
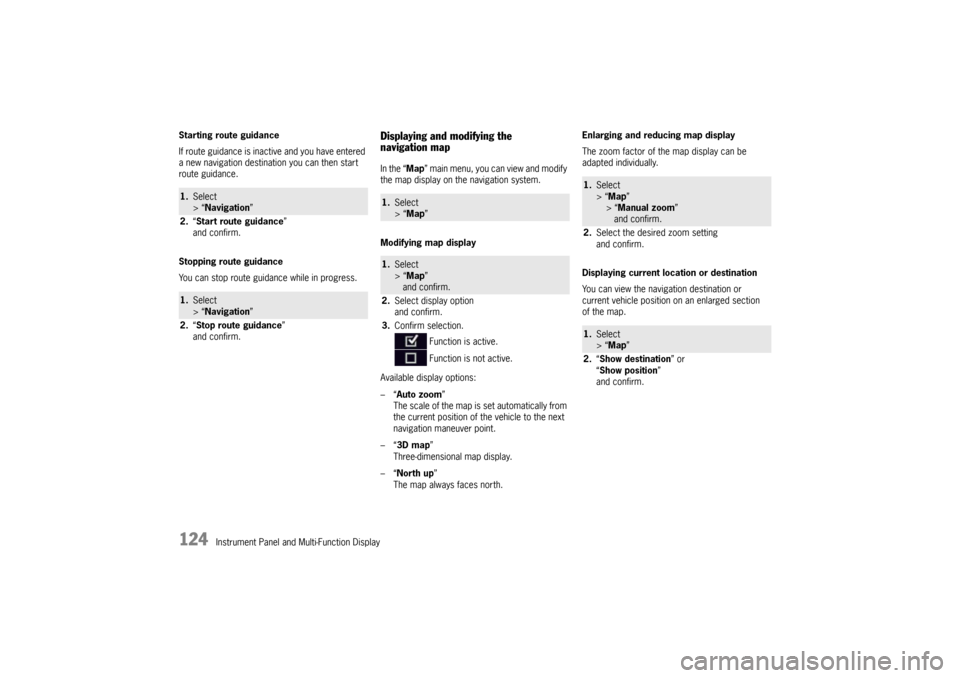
Starting route guidance
If route guidance is inactive and you have entered
a new navigation destination you can then start
route guidance.
Stopping route guidance
You can stop route guidance while in progress.
Displaying and modifying the
navigation mapIn the “
Map” main menu, you can view and modify
the map display on the navigation system.
Modifying map display
Available display options:
–“ Auto zoom ”
The scale of the map is set automatically from
the current position of the vehicle to the next
navigation maneuver point.
–“ 3D map ”
Three-dimensional map display.
–“ North up ”
The map always faces north. Enlarging and reducing map display
The zoom factor of the map display can be
adapted individually.
Displaying current location or destination
You can view the navigation destination or
current vehicle position on an enlarged section
of the map.
1.
Select
> “Navigation”
2. “Start route guidance ”
and confirm.1. Select
> “Navigation”
2. “Stop route guidance ”
and confirm.
1. Select
> “Map ” 1.Select
> “Map ”
and confirm.
2. Select display option
and confirm.
3. Confirm selection.
Function is active.
Function is not active.
1.Select
> “Map ”
> “Manual zoom ”
and confirm.
2. Select the desired zoom setting
and confirm.1.Select
> “Map ”
2. “Show destination ” or
“ Show position ”
and confirm.
Page 127 of 343
Instrument Panel and Multi-Function Display
125
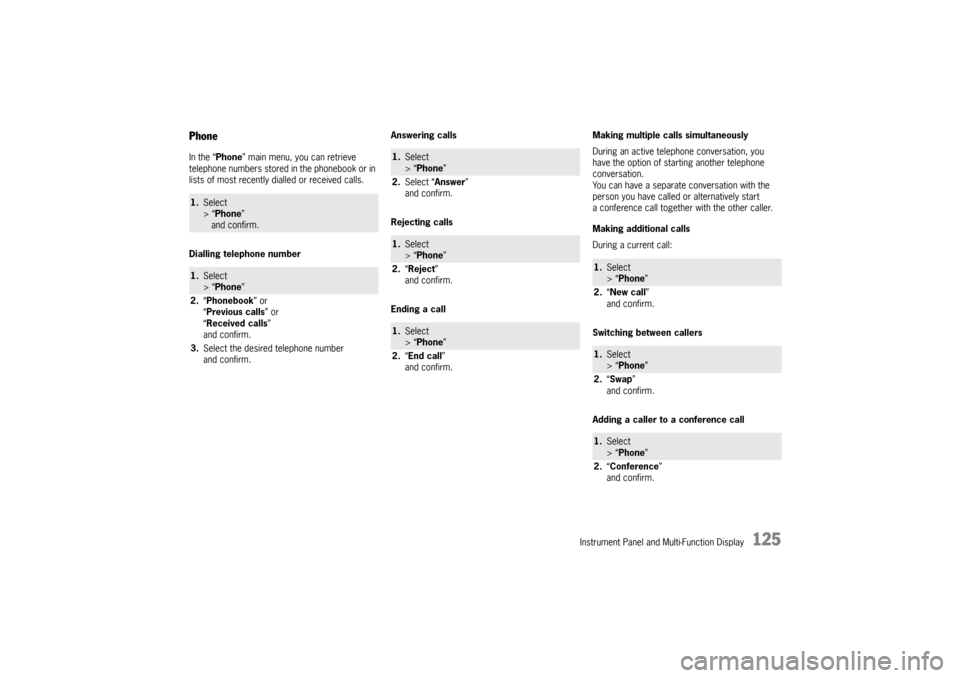
PhoneIn the “Phone” main menu, you can retrieve
telephone numbers stored in the phonebook or in
lists of most recently dialled or received calls.
Dialling telephone number Answering calls
Rejecting calls
Ending a callMaking multiple calls simultaneously
During an active telephone conversation, you
have the option of starting another telephone
conversation.
You can have a separate conversation with the
person you have called or alternatively start
a conference call together
with the other caller.
Making additional calls
During a current call:
Switching between callers
Adding a caller to a conference call1. Select
> “Phone ”
and confirm.1. Select
> “Phone ”
2. “Phonebook ” or
“ Previous calls” or
“ Received calls ”
and confirm.
3. Select the desired telephone number
and confirm.
1.Select
> “Phone ”
2. Select “Answer ”
and confirm.1. Select
> “Phone ”
2. “Reject ”
and confirm.1. Select
> “Phone ”
2. “End call ”
and confirm.
1. Select
> “Phone ”
2. “New call ”
and confirm.1. Select
> “Phone ”
2. “Swap ”
and confirm.1. Select
> “Phone ”
2. “Conference ”
and confirm.
Page 128 of 343
126
Instrument Panel and Multi-Function Display
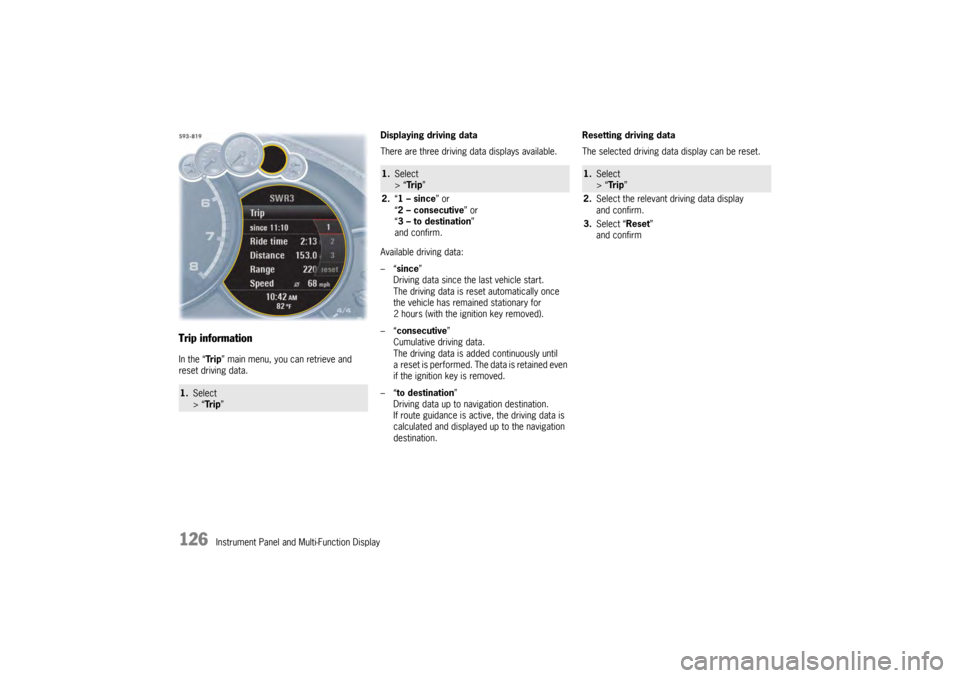
Trip informationIn the “Tr i p” main menu, you can retrieve and
reset driving data. Displaying driving data
There are three driving data displays available.
Available driving data:
–“
since ”
Driving data since the last vehicle start.
The driving data is reset automatically once
the vehicle has remained stationary for
2 hours (with the ignition key removed).
–“ consecutive ”
Cumulative driving data.
The driving data is added continuously until
a reset is performed. The data is retained even
if the ignition key is removed.
–“ to destination ”
Driving data up to navigation destination.
If route guidance is active, the driving data is
calculated and displayed up to the navigation
destination. Resetting driving data
The selected driving data display can be reset.1.
Select
> “Tr i p ”
1.Select
> “Tr i p ”
2. “1 – since ” or
“ 2 – consecutive ” or
“ 3 – to destination ”
and confirm.
1. Select
> “Tr i p ”
2. Select the relevant driving data display
and confirm.
3. Select “Reset ”
and confirm
Page 129 of 343

Instrument Panel and Multi-Function Display
127
Tire Pressure Monitoring (TPM)Each tire should be checked monthly when cold
and inflated to the inflation pressure
recommended by Porsche on the tire inflation
pressure label.
For information on the tire inflation pressure label:
fPlease see the chapter “TIRES AND WHEELS”
on page 280.
As an added safety feature, your vehicle has been
equipped with a tire pressure monitoring system
(TPM) that illuminates a low tire pressure telltale
(warning light) when one or more of your tires is
significantly under-inflated.
Accordingly, when the low tire pressure telltale
illuminates, you should stop and check your tires
as soon as possible, an d inflate them to the
proper pressure. Driving on a significantly under-
inflated tire causes the tire to overheat and can
lead to tire failure. Under-inflation also reduces
fuel efficiency and tire tread life, and may affect
the vehicle’s handling and stopping ability.
However, the tire pressure must still be set
manually on the wheel.
f Please see the chapter “TIRE PRESSURE FOR
COLD TIRES (68 °F/20 °C)” on page 326.
Danger!
Risk of serious personal injury or death.
Driving the vehicle with low tire pressure
increases the risk of a tire failure and
resulting loss of control. Furthermore, low
tire pressure increases rate of wear of the
affected tires.
Please note that the Tire Pressure Monitoring
is not a substitute for proper tire
maintenance, and it is the driver's
responsibility to maintain correct tire
pressure, even if under-inflation has not
reached the level to trigger illumination of
Tire Pressure Monitoring low tire pressure
telltale. Low tire pressure reduces the road
safety of the vehicle and destroys the tire and
wheel.
Tire Pressure Monitoring gives a warning
about tire damage caused by a natural loss
in pressure as well as about a gradual loss of
pressure caused by foreign objects.
Tire Pressure Monitoring cannot warn you
about tire damage that occurs suddenly (e.g.
flat tire due to abrupt external effects).
f When a red tire pressure warning appears,
stop immediately in a suitable place and check
the tires for damage. If necessary, remedy the
damage with a tire sealant.
f Do not by any means continue to drive with
defective tires. f
Sealing the tire with tire sealant is only an
emergency repair so you can drive to the
nearest specialist workshop.
The permitted top speed is 50 mph
(80 km/h) .
f Do not drive with tires in which the tire
pressure drops again very quickly. In case of
doubt, have tires checked by a specialist
workshop.
f Defective tires must be replaced immediately
at an authorized Porsche dealer.
Tires must never be repaired under any
circumstances.
f If Tire Pressure Monitoring is defective
(e.g. defective wheel transmitter), contact an
authorized Porsche dealer immediately and
have the damage repaired.
The tire pressure will not be monitored at all
or will be monitored only partially when Tire
Pressure Monitoring is defective.
For information on warning messages on the multi-
function display:
f Please see the chapter “OVERVIEW OF
WARNING MESSAGES” on page 152.
f Incomplete entries or selection of the wrong
tires on the multi-function display affect the
accuracy of warnings and messages.
The settings in the tire pressure menu must be
updated following a wheel change or changes
in vehicle loading.
Page 130 of 343

128
Instrument Panel and Multi-Function Display
f
Use only the pressure differences shown in the
“Fill info” display in the tire pressure menu or
from the corresponding tire pressure warning
when correcting the tire pressure.
f Tires can lose air over time without a tire
defect being present. A tire pressure warning
will then appear on the multi-function display.
Check the tire pressure at the next opportunity.
Warning!
Your vehicle has also been equipped with a TPM
malfunction indicator to in dicate when the system
is not operating properly.
The TPM malfunction indicator is combined with
the low tire pressure telltale.
When the system detects a malfunction, the
telltale will flash for approximately one minute and
then remain continuously illuminated. This
sequence will continue upon subsequent vehicle
start-ups as long as the malfunction exists.
When the malfunction indicator is illuminated, the
system may not be able to detect or signal low tire
pressure as intended.
TPM malfunctions may occur for a variety of
reasons, including the installation of replacement
or alternate tires or wheels on the vehicle that
prevent the TPM from functioning properly.
f Always check the TPM malfunction telltale after
replacing one or more tires or wheels on your
vehicle to ensure that the replacement or
alternate tires and wheels allow the TPM to continue to function properly. The warning light in the instrument panel lights up:
– When a loss in pressure has been detected.
– In the event of a defect in Tire Pressure
Monitoring or a temporary fault.
– When learning new fitted wheels/wheel transmitters, as long as the vehicle’s own
wheels have not ye t been recognized.
The tire pressure warning light on the instrument
panel goes out only when the cause of the fault
has been rectified.Warning light