ignition RENAULT KANGOO 1997 KC / 1.G Foult Finding - Injection Owner's Manual
[x] Cancel search | Manufacturer: RENAULT, Model Year: 1997, Model line: KANGOO, Model: RENAULT KANGOO 1997 KC / 1.GPages: 363
Page 27 of 363
DPCF01 1.0
LUCAS DIESEL INJECTION
Fault finding - Interpretation of XR25 bargraphs13
AFTER REPAIRErase the computer memory (G0**), switch the ignition off, then carry out a road
test.
Finish the operation by checking using the XR25.
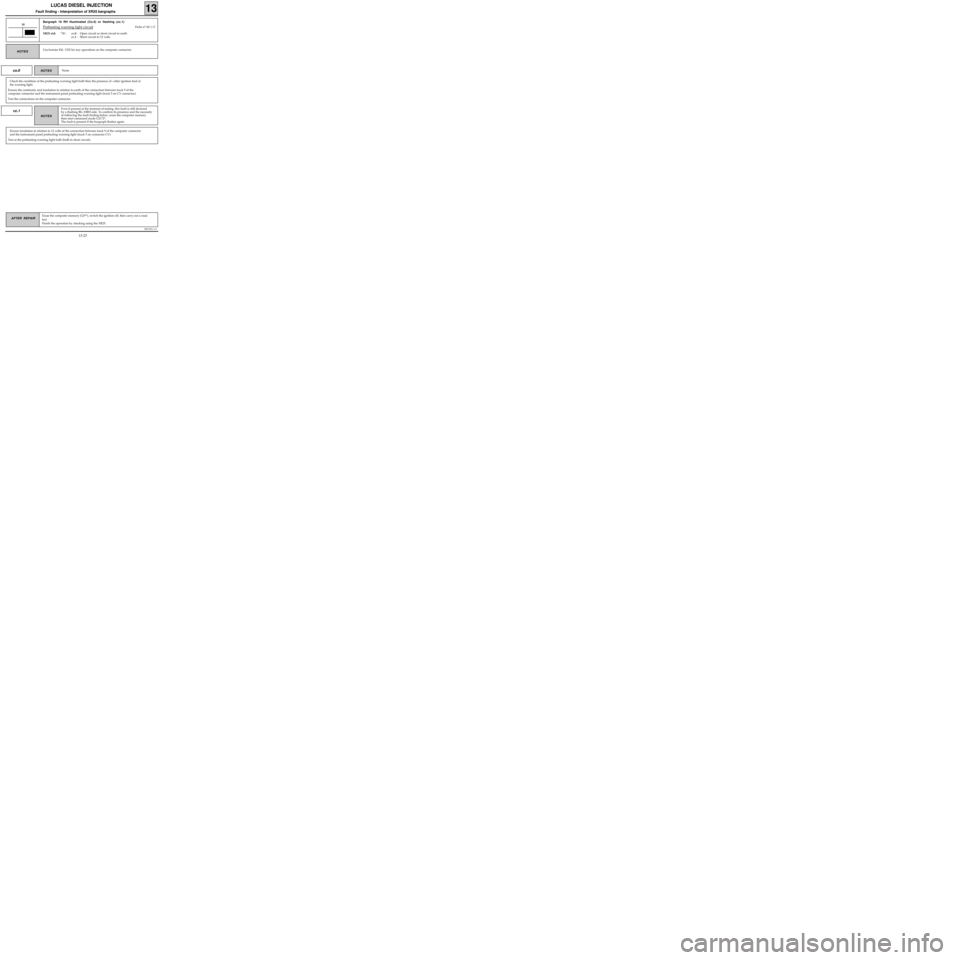
Bargraph 10 RH illuminated (Co.0) or flashing (cc.1)
Preheating warning light circuit
XR25 aid:*30 :cc.0 : Open circuit or short circuit to earth
cc.1 : Short circuit to 12 volts
10Fiche n° 60 1/2
co.0
Check the condition of the preheating warning light bulb then the presence of +after ignition feed at
the warning light.
Ensure the continuity and insulation in relation to earth of the connection between track 9 of the
computer connector and the instrument panel preheating warning light (track 5 on CY connector).
Test the connections on the computer connector.
None NOTES
cc.1
Ensure insulation in relation to 12 volts of the connection between track 9 of the computer connector
and the instrument panel preheating warning light (track 5 on connector CY).
Test at the preheating warning light bulb (bulb in short circuit).
Use bornier Elé. 1332 for any operations on the computer connector.NOTES
Even if present at the moment of testing, this fault is still declared
by a flashing BG 10RH side. To confirm its presence and the necessity
of following the fault finding below, erase the computer memory
then start command mode G21*2*.
The fault is present if the bargraph flashes again.
NOTES
13-23
Page 28 of 363
DPCF01 1.0
LUCAS DIESEL INJECTION
Fault finding - Interpretation of XR25 bargraphs13
AFTER REPAIRErase the computer memory (G0**), switch the ignition off, then carry out a road
test.
Finish the operation by checking using the XR25.
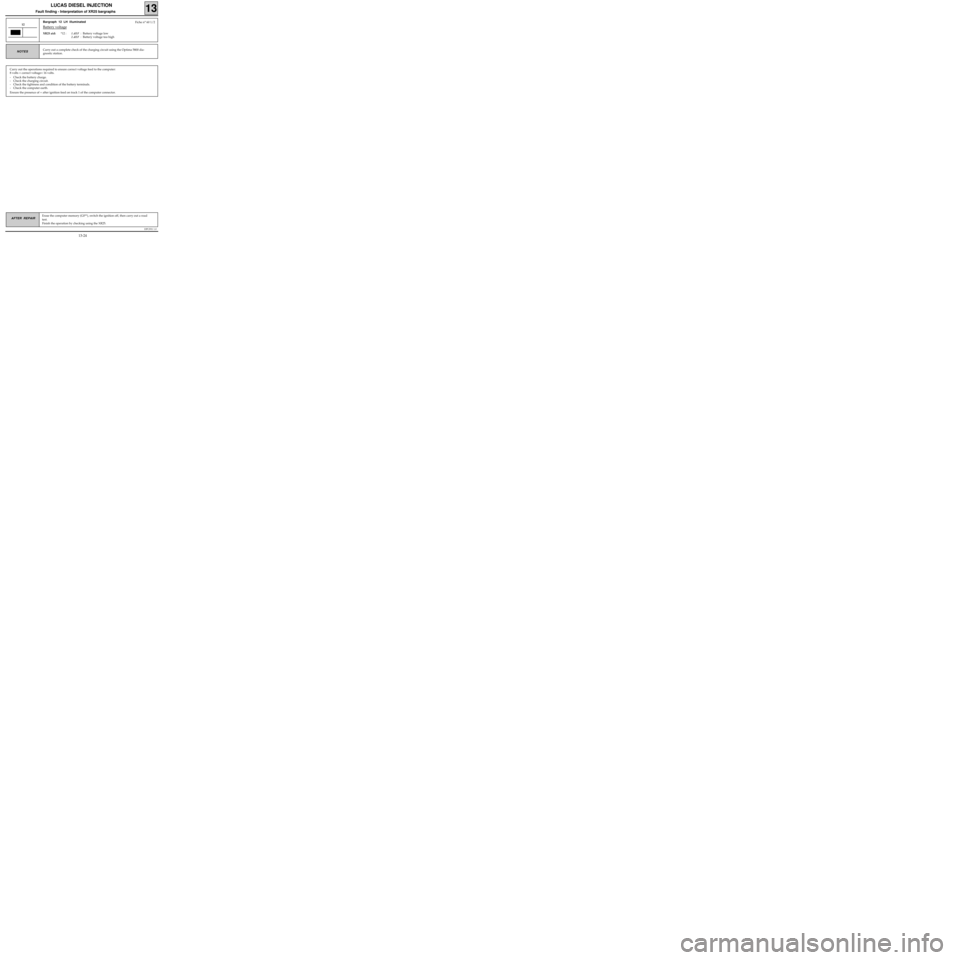
Bargraph 12 LH illuminated
Battery voltage
XR25 aid:*12 :1.dEF : Battery voltage low
2.dEF : Battery voltage too high
12
Carry out a complete check of the charging circuit using the Optima 5800 dia-
gnostic station.NOTES
Carry out the operations required to ensure correct voltage feed to the computer:
8 volts < correct voltage< 16 volts.
- Check the battery charge.
- Check the charging circuit.
- Check the tightness and condition of the battery terminals.
- Check the computer earth.
Ensure the presence of + after ignition feed on track 1 of the computer connector.
Fiche n° 60 1/2
13-24
Page 29 of 363
DPCF01 1.0
LUCAS DIESEL INJECTION
Fault finding - Interpretation of XR25 bargraphs13
AFTER REPAIRErase the computer memory (G0**), switch the ignition off, then carry out a road
test.
Finish the operation by checking using the XR25.
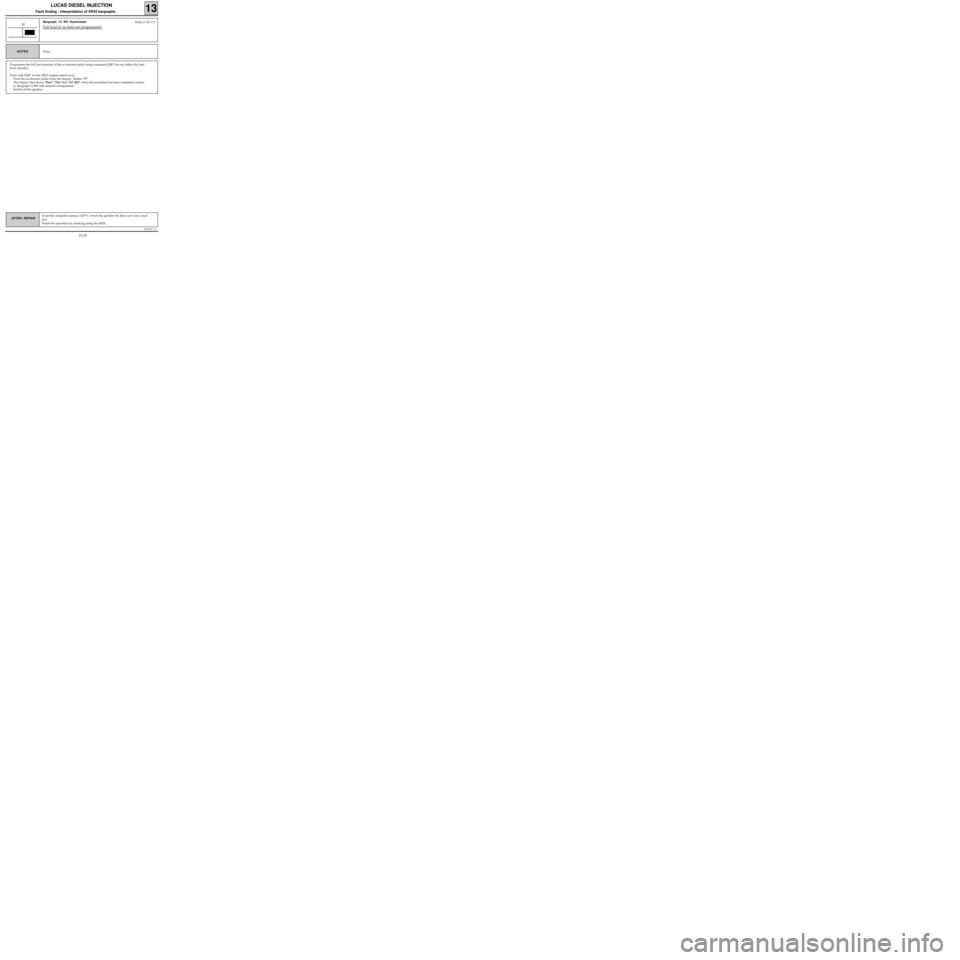
Bargraph 12 RH illuminated
Full load or no load not programmed12
None NOTES
Programme the full load position of the accelerator pedal using command G31* (do not adjust the load
lever directly).
Enter code G31* on the XR25 (engine speed zero).
- Press the accelerator pedal when the display flashes "PF".
The display then shows "bon", "Fin" then "6/7.dIE" when the procedure has been completed correct-
ly. Bargraph 12 RH side must be extinguished.
- Switch off the ignition.
Fiche n° 60 1/2
13-25
Page 30 of 363
DPCF01 1.0
LUCAS DIESEL INJECTION
Fault finding - Interpretation of XR25 bargraphs13
AFTER REPAIRErase the computer memory (G0**), switch the ignition off, then carry out a road
test.
Finish the operation by checking using the XR25.
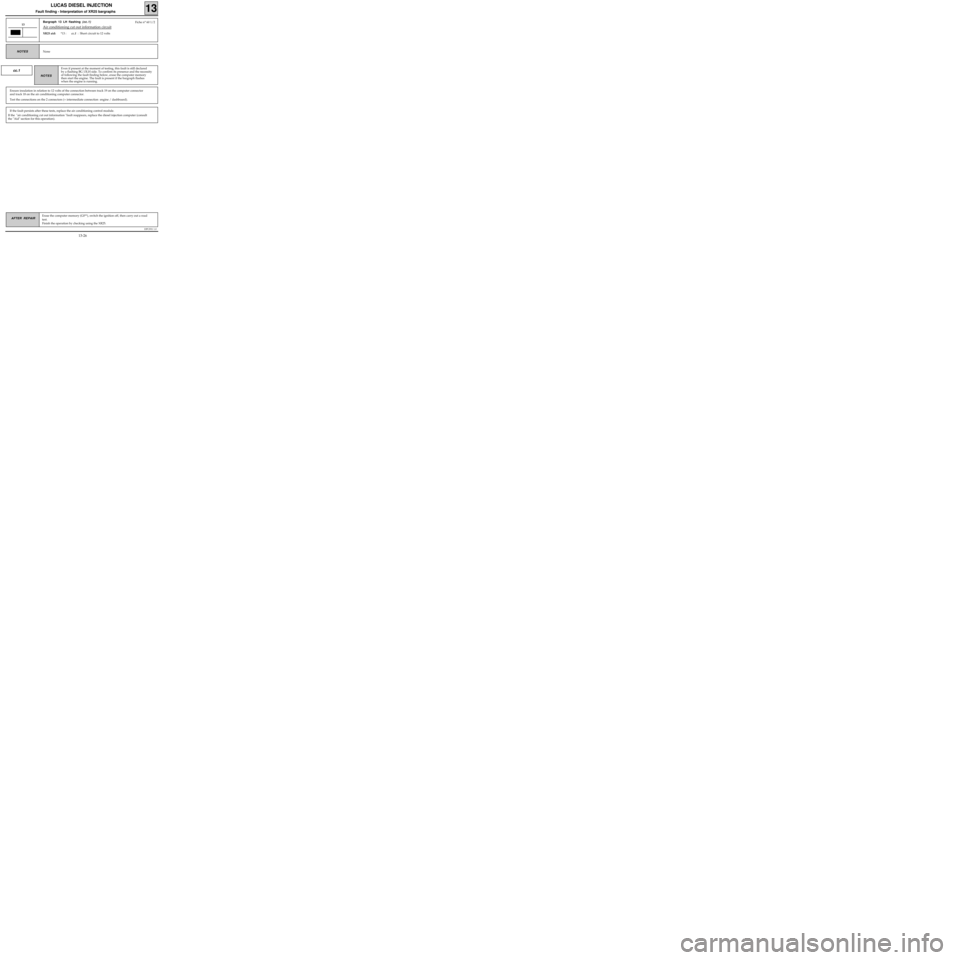
Bargraph 13 LH flashing (cc.1)
Air conditioning cut out information circuit
XR25 aid:*13 :cc.1 : Short circuit to 12 volts
13
None NOTES
Fiche n° 60 1/2
cc.1
Ensure insulation in relation to 12 volts of the connection between track 19 on the computer connector
and track 18 on the air conditioning computer connector.
Test the connections on the 2 connectors (+ intermediate connection engine / dashboard).
Even if present at the moment of testing, this fault is still declared
by a flashing BG 13LH side. To confirm its presence and the necessity
of following the fault finding below, erase the computer memory
then start the engine. The fault is present if the bargraph flashes
when the engine is running.
NOTES
If the fault persists after these tests, replace the air conditioning control module.
If the "air conditioning cut out information "fault reappears, replace the diesel injection computer (consult
the "Aid" section for this operation).
13-26
Page 34 of 363
DPCF01 1.0
LUCAS DIESEL INJECTION
Fault finding - Interpretation of XR25 bargraphs13
AFTER REPAIR
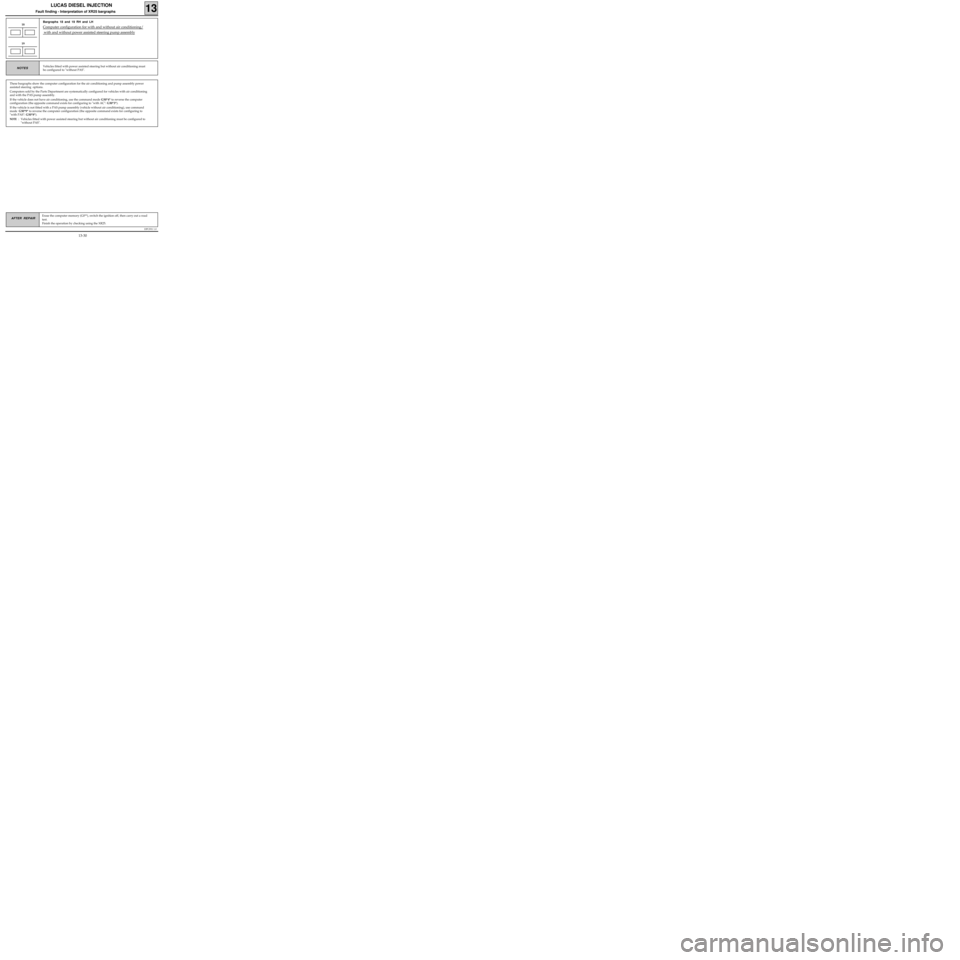
Bargraphs 18 and 19 RH and LH
Computer configuration for with and without air conditioning/
with and without power assisted steering pump assembly
18
Vehicles fitted with power assisted steering but without air conditioning must
be configured to "without PAS".NOTES
These bargraphs show the computer configuration for the air conditioning and pump assembly power
assisted steering options.
Computers sold by the Parts Department are systematically configured for vehicles with air conditioning
and with the PAS pump assembly.
If the vehicle does not have air conditioning, use the command mode G50*4* to reverse the computer
configuration (the opposite command exists for configuring to "with AC": G50*3*).
If the vehicle is not fitted with a PAS pump assembly (vehicle without air conditioning), use command
mode G50*9* to reverse the computer configuration (the opposite command exists for configuring to
"with PAS": G50*8*).
NOTE : Vehicles fitted with power assisted steering but without air conditioning must be configured to
"without PAS".
19
Erase the computer memory (G0**), switch the ignition off, then carry out a road
test.
Finish the operation by checking using the XR25.
13-30
Page 35 of 363
DPCF01 1.0
LUCAS DIESEL INJECTION
Fault finding - Aid
13
REPLACING THE COMPUTER
A)On these computers it is necessary to programme the load lever full load position (this value is required to
replace and adjust the load lever position potentiometer).
Programming procedure:
• Enter code G31* on the XR25 (engine speed zero)
• Press the accelerator pedal until the display flashes
"PF".
The display then shows "bon", "Fin" then "6/7.dlE" when the procedure has been carried out correctly.
Bargraph 12 RH side must be extinguished.
• Switch off the ignition.
B)Lucas digital DPC injection computers are sold pre-configured to "with air conditioning".
If the vehicle does not have air conditioning, use command G50*4* on the XR25 to programme "without
air conditioning".
Lucas digital DPC injection computers are sold pre-configured to "with power assisted steering" (with po-
wer assisted steering pump assembly).
If the vehicle does not have a power assisted steering pump assembly (vehicle without air conditioning),
use command G50*9* on the XR25 to programme "without power assisted steering".
Vehicles fitted with power assisted steering but without air conditioning must be configured to "without
power assisted steering".
REPLACING THE LOAD LEVER POSITION POTENTIOMETER
The load lever position potentiometer may only be replaced in After Sales if the full load position has been
programmed into the computer before the fault with the potentiometer.
Procedure for replacing and adjusting the load lever position potentiometer:
• Fit the new potentiometer into position without locking the mounting bolts.
• Connect the potentiometer and set up the XR25 (S8 code D34).
• Start command G32* on the XR25, keep the accelerator pedal fully depressed (do not touch the load lever
directly) and turn the potentiometer until the display on the XR25 shows a value other than H.L (outside li-
mits). Adjust the setting by turning the potentiometer to obtain 0 on the display.
• Tighten the mounting bolts with the potentiometer in this position then press * to complete the adjus-
tment procedure.
13-31
Page 36 of 363
DPCF01 1.0
LUCAS DIESEL INJECTION
Fault finding - Checking conformity
13
Engine cold, ignition onNOTES
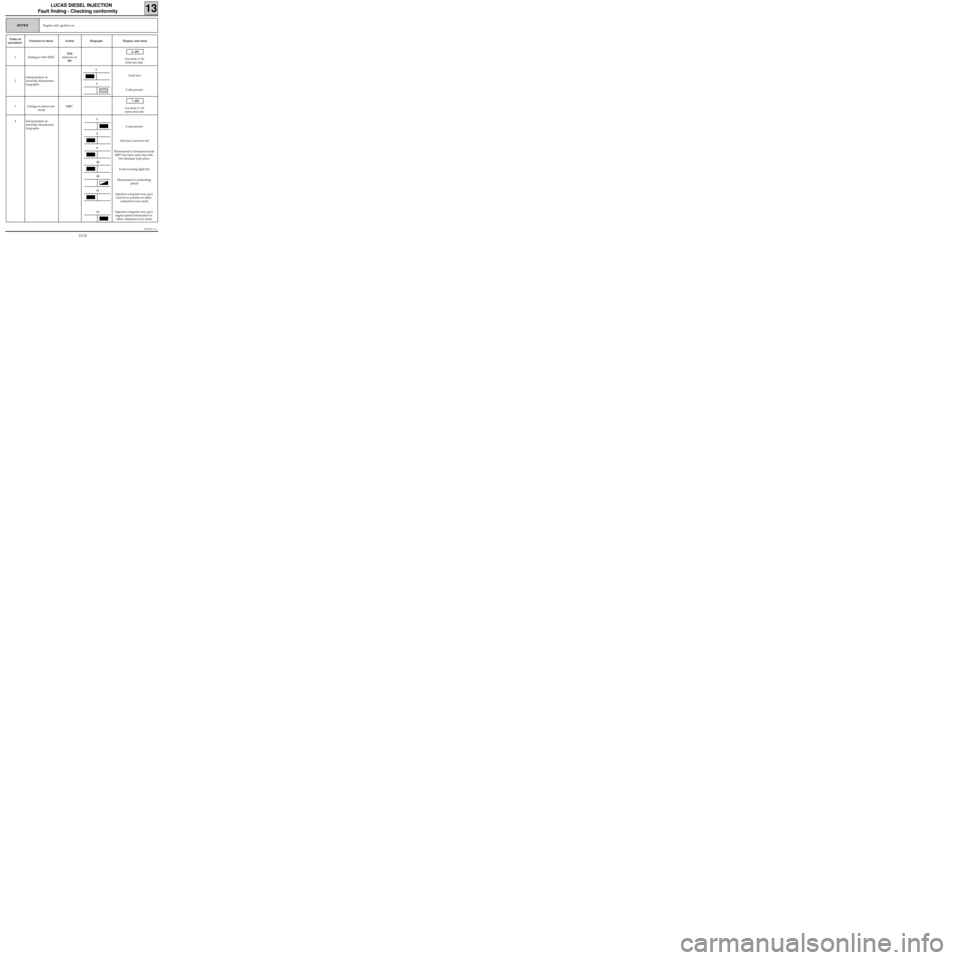
Order of
operationsFunction to check Action Bargraph Display and notes
1 Dialogue with XR25D34
(selector on
S8) 6. dlE
Use fiche n° 60
fault test side
2Interpretation of
normally illuminated
bargraphs Fault test
Code present
3 Change to status test
modeG01* 7. dlE
Use fiche n° 60
status test side
4 Interpretation of
normally illuminated
bargraphs
Code present
Advance corrector fed
Illuminated if command mode
G0** has been used since the
last dialogue took place
Fault warning light fed
Illuminated in preheating
phase
Injection computer may give
load lever position to other
computers (not used)
Injection computer may give
engine speed information to
other computers (not used)
1
1
1
2
11
4
11
10
10
13-32
Page 37 of 363
DPCF01 1.0
LUCAS DIESEL INJECTION
Fault finding - Checking conformity
13
Engine cold, ignition onNOTES
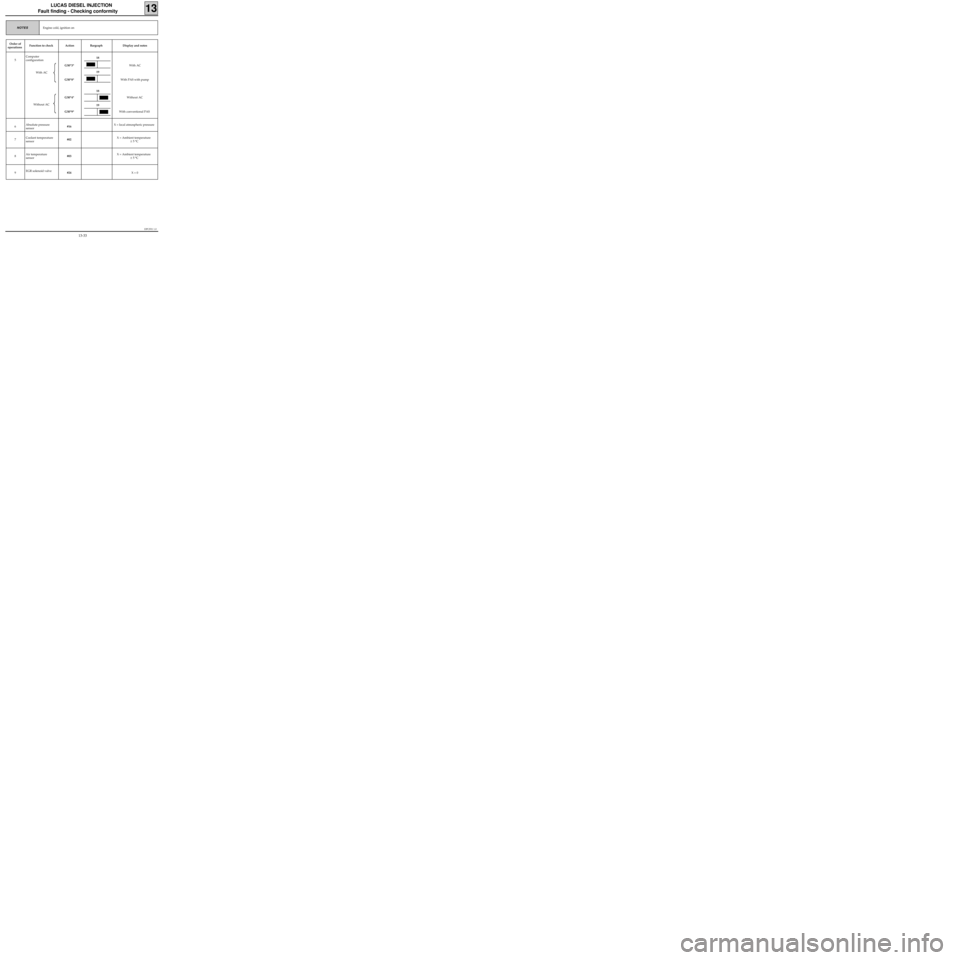
Order of
operationsFunction to check Action Bargraph Display and notes
5Computer
configuration
With AC
Without ACG50*3*
G50*8*
G50*4*
G50*9*With AC
With PAS with pump
Without AC
With conventional PAS
6Absolute pressure
sensor#16 X = local atmospheric pressure
7Coolant temperature
sensor#02 X = Ambient temperature
± 5 °C
8Air temperature
sensor#03 X = Ambient temperature
± 5 °C
9EGR solenoid valve
#24 X = 0
18
18
19
19
13-33
Page 42 of 363
DPCF01 1.0
LUCAS DIESEL INJECTION
Fault finding - Fault charts
13
AFTER REPAIR
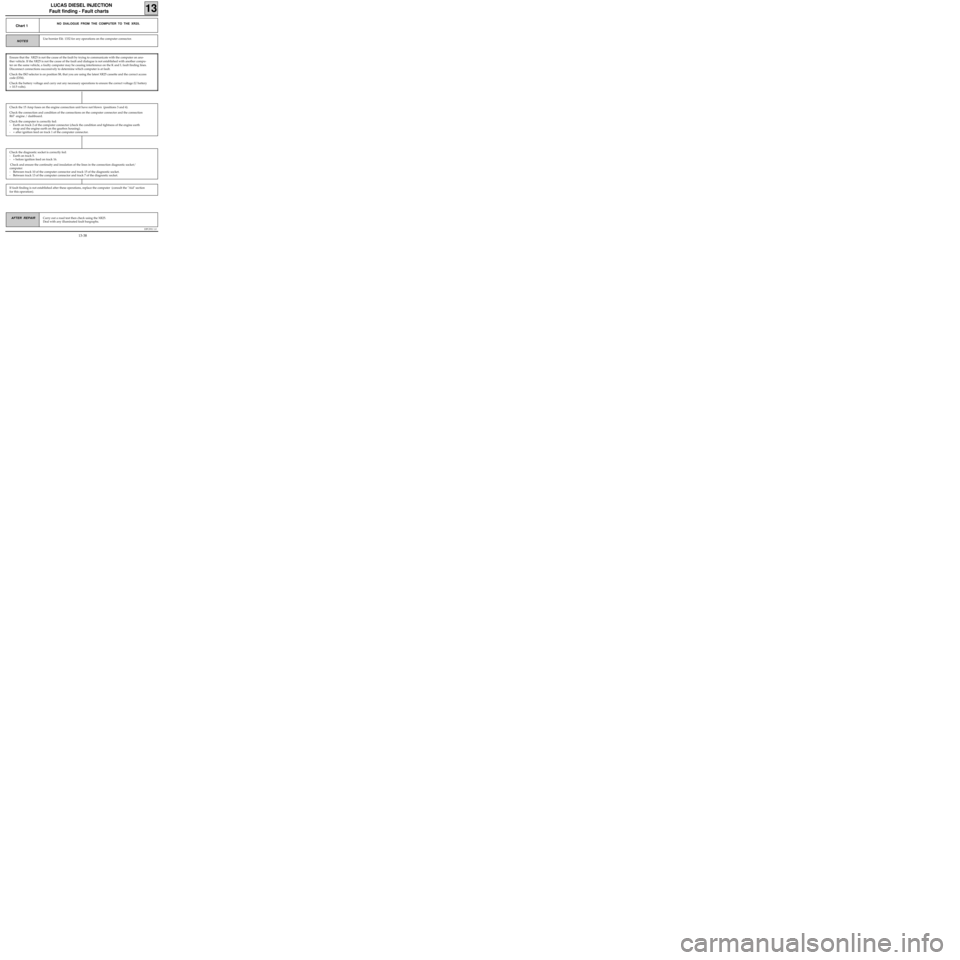
Use bornier Elé. 1332 for any operations on the computer connector.NOTES
Chart 1NO DIALOGUE FROM THE COMPUTER TO THE XR25.
Ensure that the XR25 is not the cause of the fault by trying to communicate with the computer on ano-
ther vehicle. If the XR25 is not the cause of the fault and dialogue is not established with another compu-
ter on the same vehicle, a faulty computer may be causing interference on the K and L fault finding lines.
Disconnect connections successively to determine which computer is at fault.
Check the ISO selector is on position S8, that you are using the latest XR25 cassette and the correct access
code (D34).
Check the battery voltage and carry out any necessary operations to ensure the correct voltage (U battery
> 10.5 volts).
Carry out a road test then check using the XR25.
Deal with any illuminated fault bargraphs.
Check the 15 Amp fuses on the engine connection unit have not blown (positions 3 and 4).
Check the connection and condition of the connections on the computer connector and the connection
R67 engine / dashboard.
Check the computer is correctly fed:
- Earth on track 2 of the computer connector (check the condition and tightness of the engine earth
strap and the engine earth on the gearbox housing).
- + after ignition feed on track 1 of the computer connector.
Check the diagnostic socket is correctly fed:
- Earth on track 5.
- + before ignition feed on track 16.
Check and ensure the continuity and insulation of the lines in the connection diagnostic socket/
computer:
- Between track 10 of the computer connector and track 15 of the diagnostic socket.
- Between track 13 of the computer connector and track 7 of the diagnostic socket.
If fault finding is not established after these operations, replace the computer (consult the "Aid" section
for this operation).
13-38
Page 49 of 363
JF5111.0
INJECTION
Fault finding- Introduction
17
E7J 780
engine
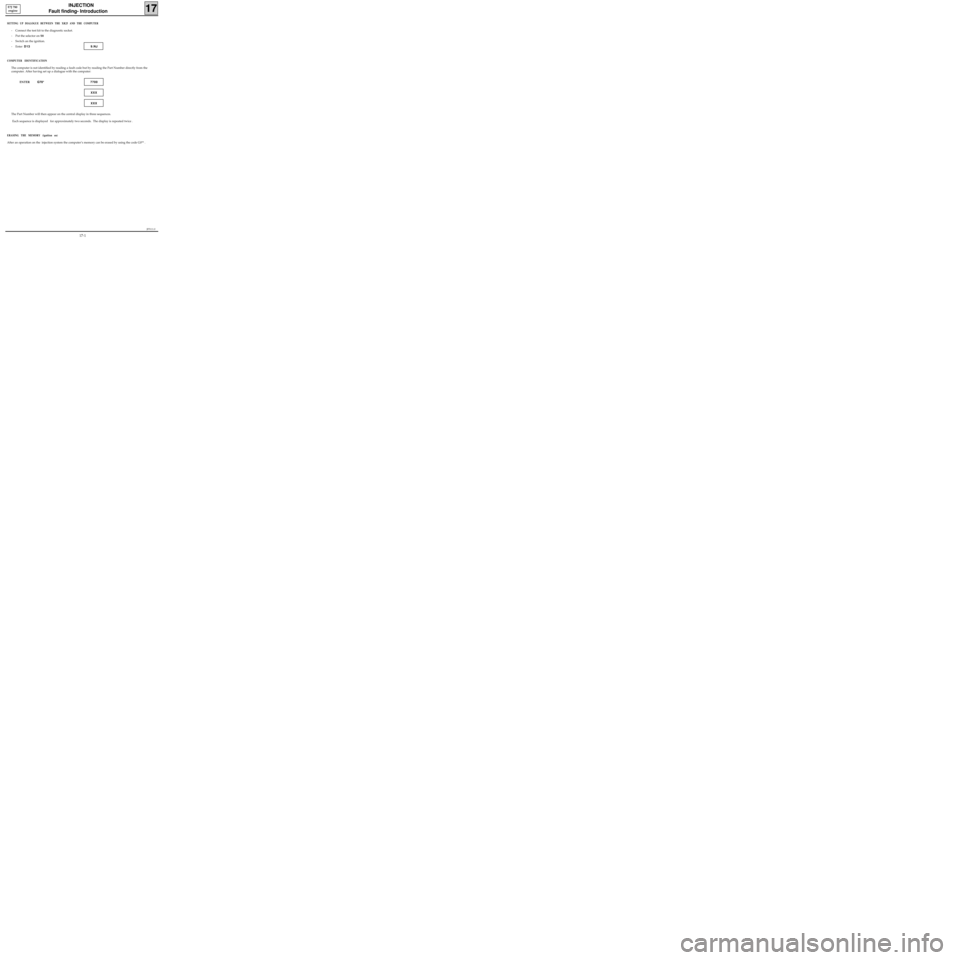
SETTING UP DIALOGUE BETWEEN THE XR25 AND THE COMPUTER
- Connect the test kit to the diagnostic socket.
- Put the selector on S8
- Switch on the ignition.
- Enter D13 9.NJ
COMPUTER IDENTIFICATION
The computer is not identified by reading a fault code but by reading the Part Number directly from the
computer. After having set up a dialogue with the computer:
ENTER G70*7700
XXX
XXX
The Part Number will then appear on the central display in three sequences.
Each sequence is displayed for approximately two seconds. The display is repeated twice .
ERASING THE MEMORY (ignition on)
After an operation on the injection system the computer’s memory can be erased by using the code G0** .
17-1