air RENAULT TWINGO 2009 2.G Chasiss User Guide
[x] Cancel search | Manufacturer: RENAULT, Model Year: 2009, Model line: TWINGO, Model: RENAULT TWINGO 2009 2.GPages: 281
Page 21 of 281
30A-17
GENERAL INFORMATION
Rigid brake pipe: Repair
30A
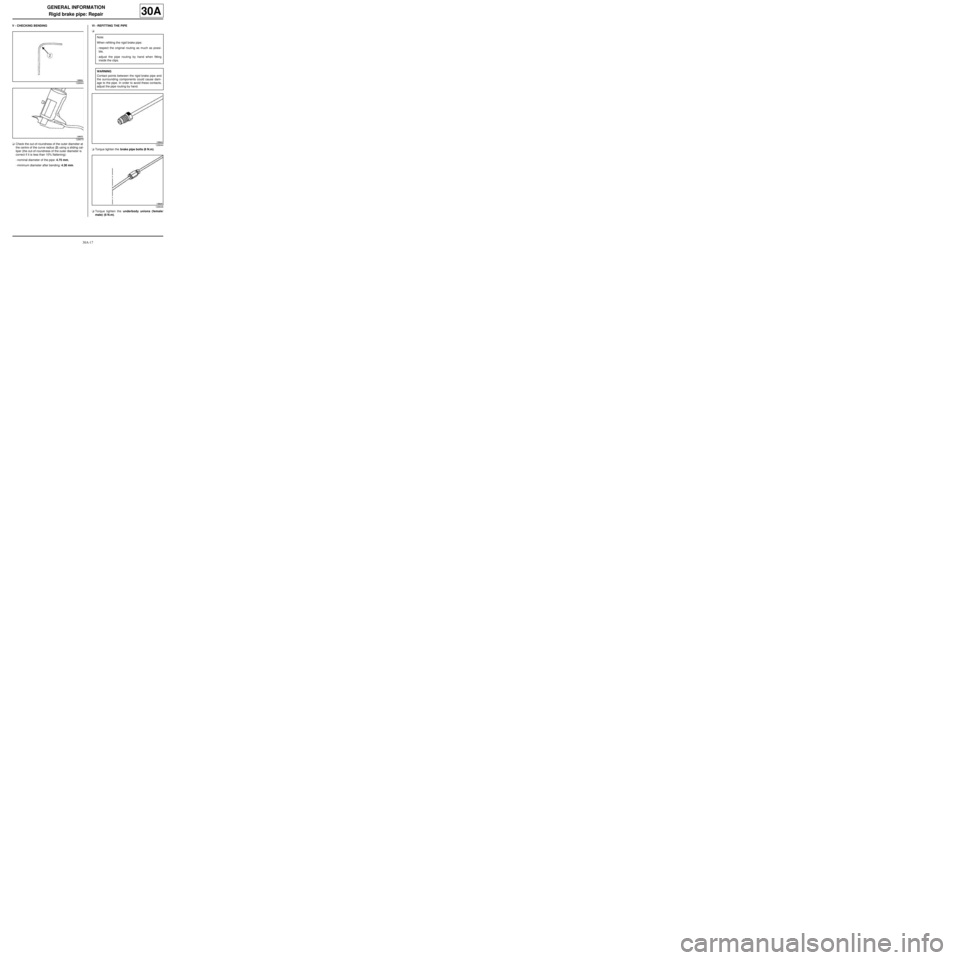
V - CHECKING BENDING
aCheck the out-of-roundness of the outer diameter at
the centre of the curve radius (2) using a sliding cal-
liper (the out-of-roundness of the outer diameter is
correct if it is less than 10% flattening):
-nominal diameter of the pipe: 4.75 mm,
-minimum diameter after bending: 4.30 mm.VI - REFITTING THE PIPE
a
aTorque tighten the brake pipe bolts (8 N.m).
aTorque tighten the underbody unions (female/
male) (6 N.m).
128664
128670
Note:
When refitting the rigid brake pipe:
-respect the original routing as much as possi-
ble,
-adjust the pipe routing by hand when fitting
inside the clips.
WARNING
Contact points between the rigid brake pipe and
the surrounding components could cause dam-
age to the pipe. In order to avoid these contacts,
adjust the pipe routing by hand.
128644
128646
Page 22 of 281
30A-18
GENERAL INFORMATION
Brake fluid: Specifications
30A
BRAKE FLUID REPLACEMENT INTERVAL
Our braking technology, and in particular the disc
brakes (hollow pistons which conduct little heat, have a
low volume of fluid in the cylinder, sliding callipers
avoiding the need for a fluid reserve in the least cooled
area of the wheel), has allowed us to prevent the risk of
« vapour lock » as far as possible, even with heavy
braking (mountainous area). However, current brake
fluids are subject to minor deterioration during the first
months of use due to slight humidity intake. This is why
it is recommended that you change the brake fluid: see
maintenance booklet for the vehicle.
1 - Topping up the level
Wear of the brake pads will result in a gradual drop in
the fluid level in the reservoir.
Do not top up the fluid, as the level will rise again when
the pads are next changed. The brake fluid level must
not fall below the minimum mark.
2 - Approved brake fluid
Mixing two incompatible brake fluids in the brake circuit
may lead to:
-serious risk of leakage due mainly to deterioration of
the cups,
-deterioration in the operation of the ESP system.
To prevent such risks, it is essential to use only brake
fluids that comply with the RENAULT standard (see
Vehicle: Parts and consumables for the repair) .
Page 23 of 281
30A-19
GENERAL INFORMATION
Brake: Specifications
30A
(1) the brake discs cannot be repaired. The brake discs
must be replaced if they are excessively scratched or
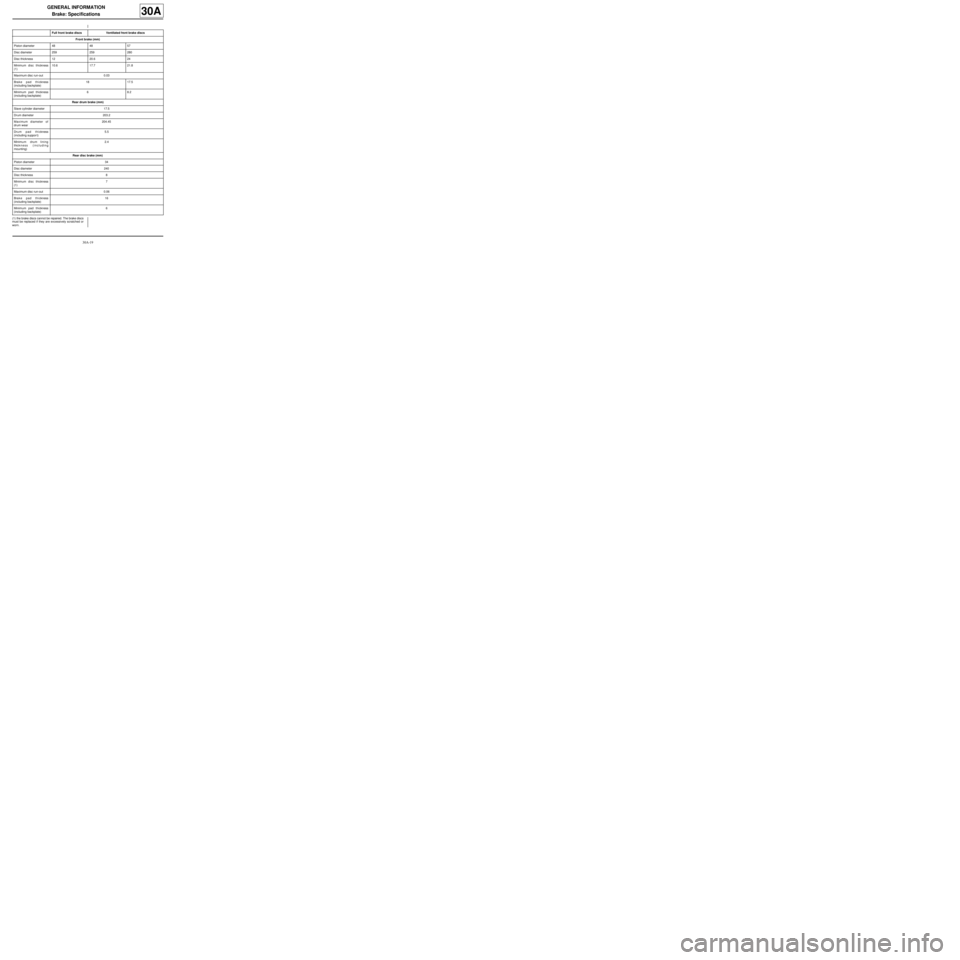
worn.Full front brake discs Ventilated front brake discs
Front brake (mm)
Piston diameter 48 48 57
Disc diameter 259 259 280
Disc thickness 12 20.6 24
Minimum disc thickness
(1)10.6 17.7 21.8
Maximum disc run-out 0.03
Brake pad thickness
(including backplate)18 17.5
Minimum pad thickness
(including backplate)68.2
Rear drum brake (mm)
Slave cylinder diameter 17.5
Drum diameter 203.2
Maximum diameter of
drum wear204.45
Drum pad thickness
(including suppor t)5.5
Minimu m d ru m lining
thickness (including
mounting)2.4
Rear disc brake (mm)
Piston diameter 34
Disc diameter 240
Disc thickness 8
Minimum disc thickness
(1)7
Maximum disc run-out 0.06
Brake pad thickness
(including backplate)16
Minimum pad thickness
(including backplate)6
Page 46 of 281
31A-3
FRONT AXLE COMPONENTS
Front brake pads: Removal - Refitting
EQ UIPMENT LEVEL SPORT
31A
REMOVAL
I - REMOVAL PREPARATION OPERATION
aPosition the vehicle on a two-post lift (see Vehicle:
Towing and lifting) (02A, Lifting equipment).
aSet the wheels straight ahead.
aRemove the front wheels (see 35A, Wheels and ty-
res, Wheel: Removal - Refitting, page 35A-1) .II - REMOVAL OPERATION
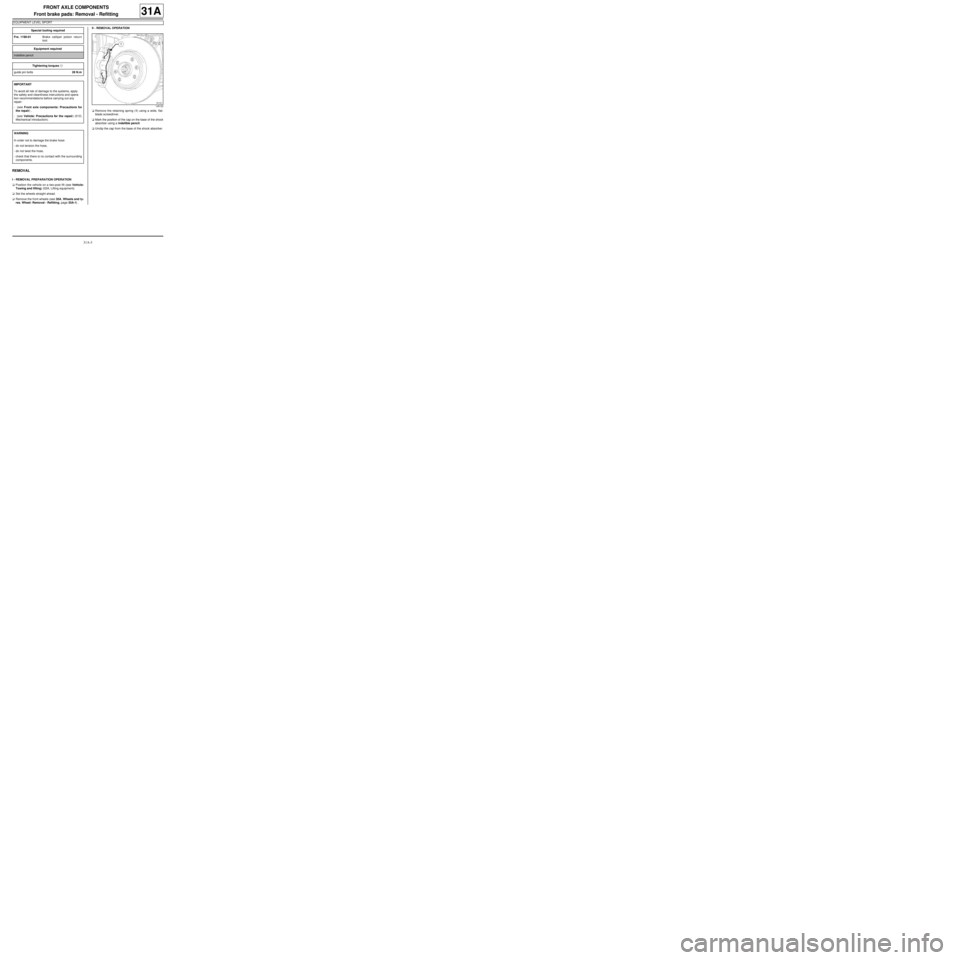
aRemove the retaining spring (1) using a wide, flat-
blade screwdriver.
aMark the position of the cap on the base of the shock
absorber using a indelible pencil.
aUnclip the cap from the base of the shock absorber. Special tooling required
Fre. 1190-01Brake calliper piston return
tool.
Equipment required
indelible pencil
Tightening torquesm
guide pin bolts28 N.m
IMPORTANT
To avoid all risk of damage to the systems, apply
the safety and cleanliness instructions and opera-
tion recommendations before carrying out any
repair:
- (see Front axle components: Precautions for
the repair) ,
- (see Vehicle: Precautions for the repair) (01D,
Mechanical introduction).
WARNING
In order not to damage the brake hose:
-do not tension the hose,
-do not twist the hose,
-check that there is no contact with the surrounding
components.
145122
Page 47 of 281
31A-4
FRONT AXLE COMPONENTS
Front brake pads: Removal - Refitting
EQ UIPMENT LEVEL SPORT
31A
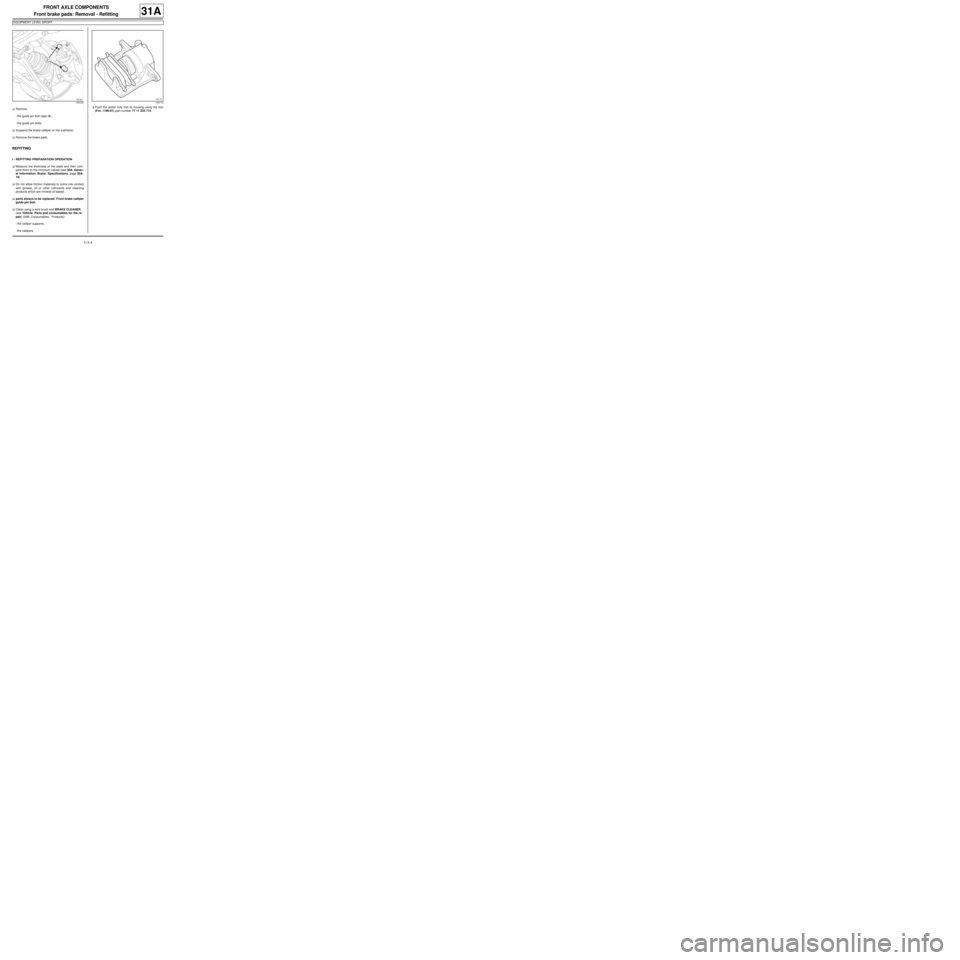
aRemove:
-the guide pin bolt caps (2) ,
-the guide pin bolts.
aSuspend the brake calliper on the subframe.
aRemove the brake pads.
REFITTING
I - REFITTING PREPARATION OPERATION
aMeasure the thickness of the pads and then com-
pare them to the minimum values (see 30A, Gener-
al information, Brake: Specifications, page 30A-
19) .
aDo not allow friction materials to come into contact
with grease, oil or other lubricants and cleaning
products which are mineral oil based.
aparts always to be replaced: Front brake calliper
guide pin bolt.
aClean using a wire brush and BRAKE CLEANER
(see Vehicle: Parts and consumables for the re-
pair) (04B, Consumables - Products):
-the calliper supports,
-the callipers.aPush the piston fully into its housing using the tool
(Fre. 1190-01) part number 77 11 223 715.
145120103115
Page 49 of 281
31A-6
FRONT AXLE COMPONENTS
Front brake hose: Removal - Refitting
31A
REMOVAL
I - REMOVAL PREPARATION OPERATION
aPosition the vehicle on a two-post lift (see Vehicle:
Towing and lifting) .
aSet the wheels straight ahead.
aPosition a pedal press on the brake pedal to limit
the outflow of brake fluid.
aRemove the front wheel (see 35A, Wheels and ty-
res, Wheel: Removal - Refitting, page 35A-1) .II - OPERATION FOR REMOVAL OF PART
CONCERNED
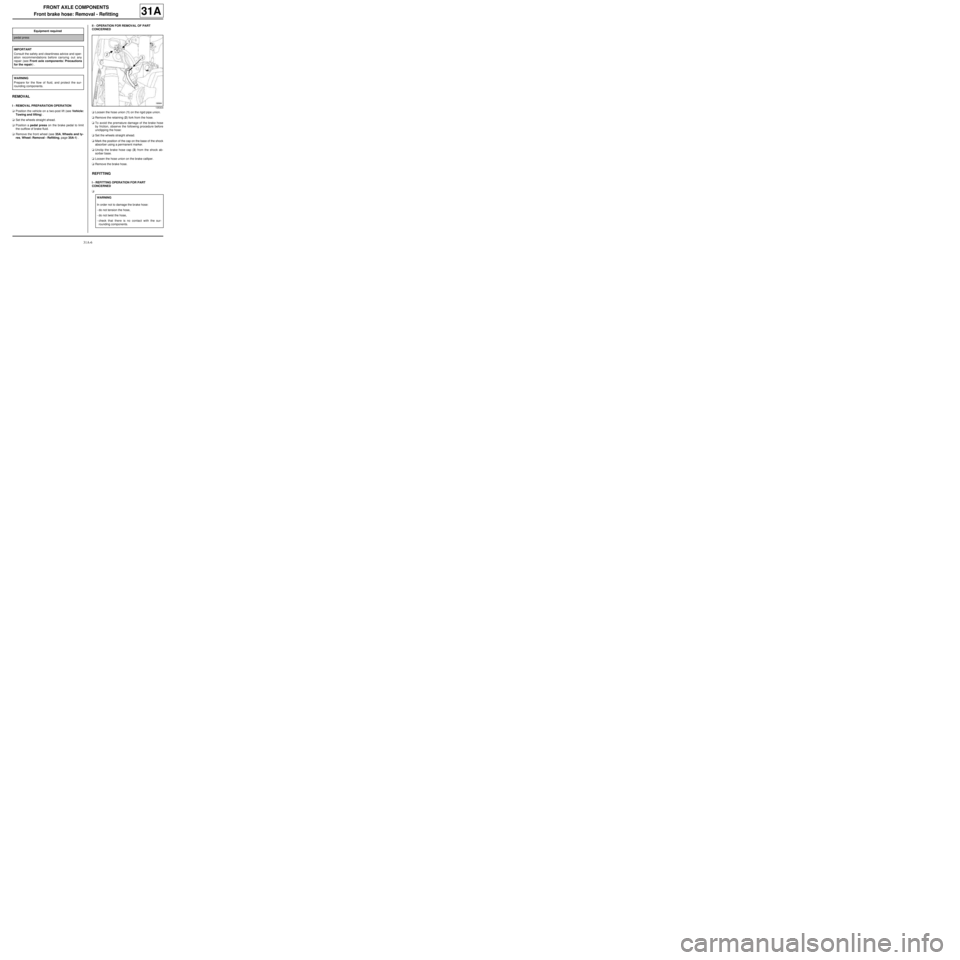
aLoosen the hose union (1) on the rigid pipe union.
aRemove the retaining (2) fork from the hose.
aTo avoid the premature damage of the brake hose
by friction, observe the following procedure before
unclipping the hose:
aSet the wheels straight ahead.
aMark the position of the cap on the base of the shock
absorber using a permanent marker.
aUnclip the brake hose cap (3) from the shock ab-
sorber base.
aLoosen the hose union on the brake calliper.
aRemove the brake hose.
REFITTING
I - REFITTING OPERATION FOR PART
CONCERNED
a Equipment required
pedal press
IMPORTANT
Consult the safety and cleanliness advice and oper-
ation recommendations before carrying out any
repair (see Front axle components: Precautions
for the repair) .
WARNING
Prepare for the flow of fluid, and protect the sur-
rounding components.
135304
WARNING
In order not to damage the brake hose:
-do not tension the hose,
-do not twist the hose,
-check that there is no contact with the sur-
rounding components.
Page 53 of 281
31A-10
FRONT AXLE COMPONENTS
Front brake calliper: Removal - Refitting
EQ UIPMENT LEVEL SPORT
31A
REMOVAL
I - REMOVAL PREPARATION OPERATION
aPosition the vehicle on a two-post lift (see Vehicle:
Towing and lifting) (02A, Lifting equipment).
aRemove the front wheel (see 35A, Wheels and ty-
res, Wheel: Removal - Refitting, page 35A-1) .
aFit a pedal press on the brake pedal to limit the out-
flow of brake fluid.II - REMOVAL OPERATION
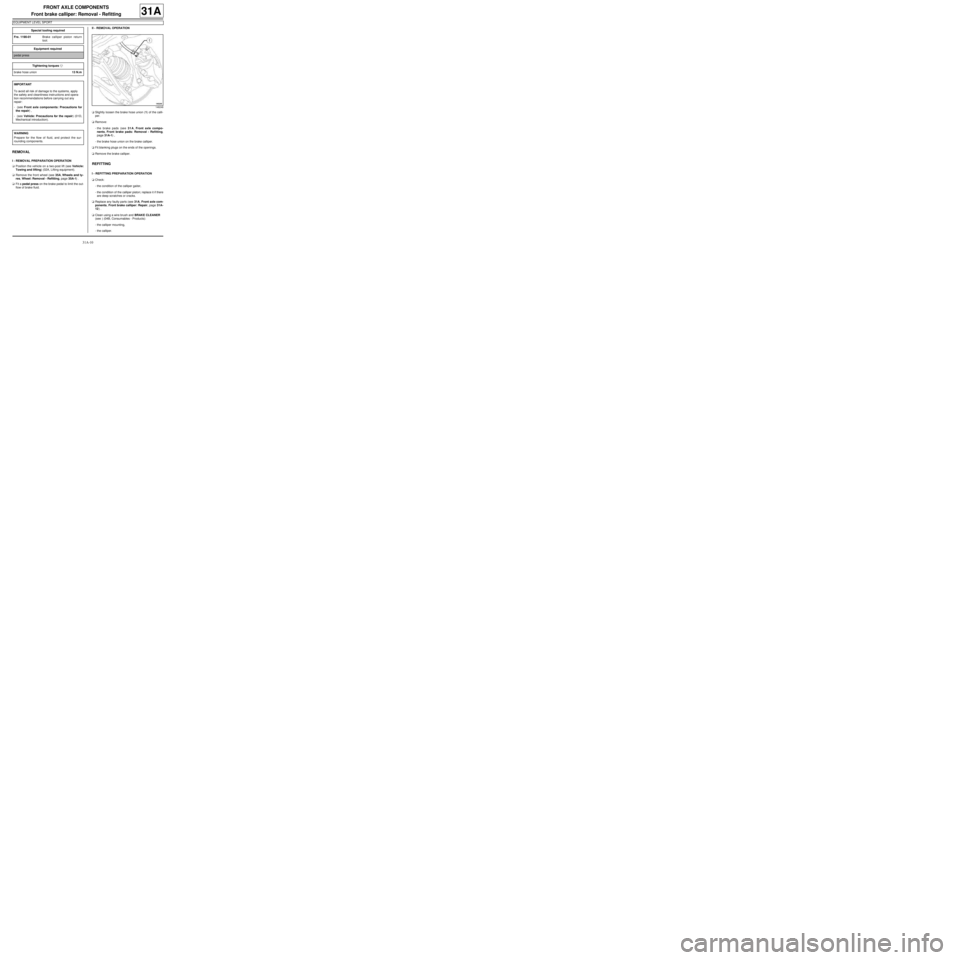
aSlightly loosen the brake hose union (1) of the calli-
per.
aRemove:
-the brake pads (see 31A, Front axle compo-
nents, Front brake pads: Removal - Refitting,
page 31A-1) ,
-the brake hose union on the brake calliper.
aFit blanking plugs on the ends of the openings.
aRemove the brake calliper.
REFITTING
I - REFITTING PREPARATION OPERATION
aCheck:
-the condition of the calliper gaiter,
-the condition of the calliper piston; replace it if there
are deep scratches or cracks.
aReplace any faulty parts (see 31A, Front axle com-
ponents, Front brake calliper: Repair, page 31A-
12) .
aClean using a wire brush and BRAKE CLEANER
(see ) (04B, Consumables - Products):
-the calliper mounting,
-the calliper. Special tooling required
Fre. 1190-01Brake calliper piston return
tool.
Equipment required
pedal press
Tightening torquesm
brake hose union13 N.m
IMPORTANT
To avoid all risk of damage to the systems, apply
the safety and cleanliness instructions and opera-
tion recommendations before carrying out any
repair:
- (see Front axle components: Precautions for
the repair) ,
- (see Vehicle: Precautions for the repair) (01D,
Mechanical introduction).
WARNING
Prepare for the flow of fluid, and protect the sur-
rounding components.
146248
Page 55 of 281
31A-12
FRONT AXLE COMPONENTS
Front brake calliper: Repair
31A
REPAIR
I - REPAIR PREPARATION OPERATION
aPosition the vehicle on a two-post lift (see Vehicle:
Towing and lifting) (02A, Lifting equipment).
aPosition the pedal press on the brake pedal to limit
the outflow of brake fluid.
aRemove:
-the front wheel (see 35A, Wheels and tyres,
Wheel: Removal - Refitting, page 35A-1) ,
-the front brake calliper (see 31A, Front axle com-
ponents, Front brake calliper: Removal - Refit-
ting, page 31A-8) .II - REPAIR OPERATION FOR PART CONCERNED
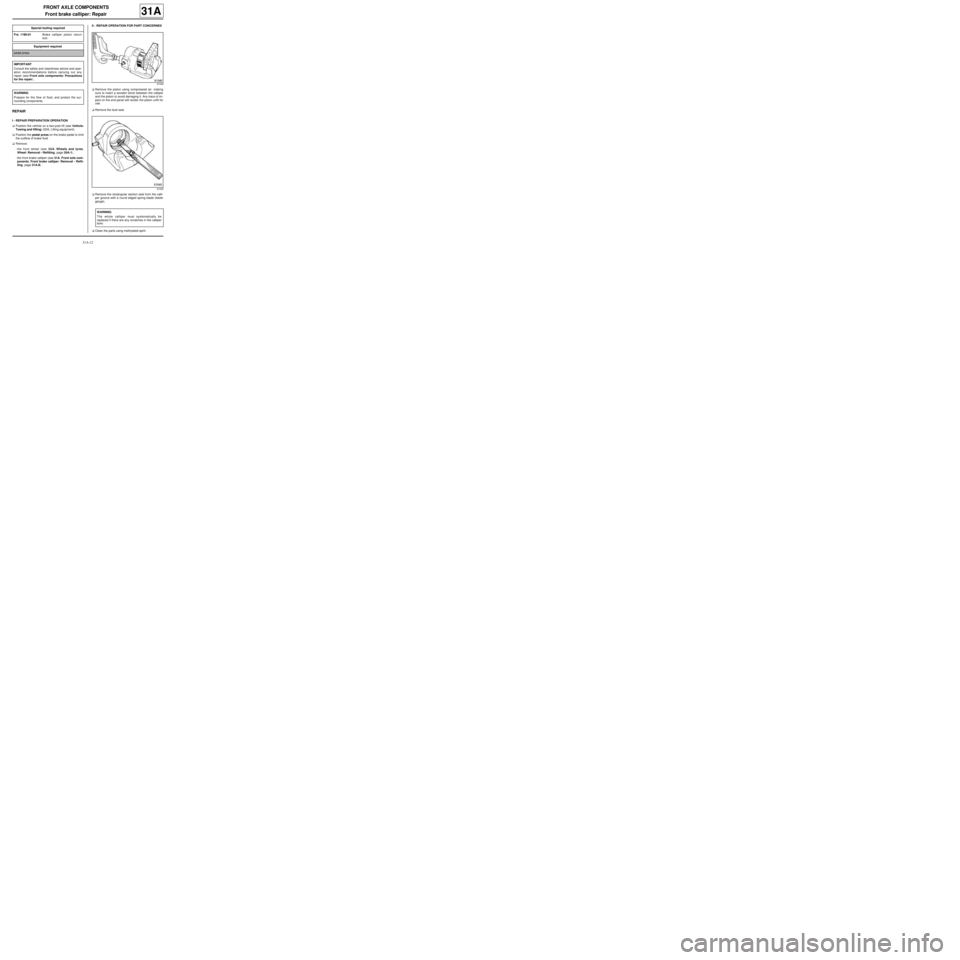
aRemove the piston using compressed air, making
sure to insert a wooden block between the calliper
and the piston to avoid damaging it. Any trace of im-
pact on the end panel will render the piston unfit for
use.
aRemove the dust seal.
aRemove the rectangular section seal from the calli-
per groove with a round edged spring blade (feeler
gauge).
aClean the parts using methylated spirit. Special tooling required
Fre. 1190-01Brake calliper piston return
tool.
Equipment required
pedal press
IMPORTANT
Consult the safety and cleanliness advice and oper-
ation recommendations before carrying out any
repair (see Front axle components: Precautions
for the repair) .
WARNING
Prepare for the flow of fluid, and protect the sur-
rounding components.
81546
81545
WARNING
The whole calliper must systematically be
replaced if there are any scratches in the calliper
bore.
Page 56 of 281
31A-13
FRONT AXLE COMPONENTS
Front brake calliper: Repair
31A
REFITTING
I - REFITTING OPERATION FOR PART
CONCERNED
aRefit:
-the new rectangular section seal in the calliper
groove,
-the piston (after having smeared it with the grease
supplied in the repair kit) using the (Fre. 1190-01),
-the dust seal.
II - FINAL OPERATION.
aRefit:
-the brake calliper (see 31A, Front axle compo-
nents, Front brake calliper: Removal - Refitting,
page 31A-8) ,
-the front wheel (see 35A, Wheels and tyres,
Wheel: Removal - Refitting, page 35A-1) .
aRemove the pedal press.
aBleed the brake circuit (see 30A, General informa-
tion, Braking circuit: Bleed, page 30A-4) . IMPORTANT
To avoid any accident, bring the pistons, brake
pads and brake discs into contact by depressing
the brake pad several times.
Page 58 of 281
31A-15
FRONT AXLE COMPONENTS
Front brake calliper mounting: Removal - Refitting
EQ UIPMENT LEVEL EA0 or EQUIPMENT LEVEL EA1 or EQUIPMENT LEVEL EA3 or EQUIPMENT LEVEL EA5
or EQUIPMENT LEVEL EAG or EQUIPMENT LEVEL EZ2 or EQUIPMENT LEVEL EZ4
31A
II - REMOVAL OPERATION
aRemove:
-the brake calliper mounting bolts (3) ,
-the brake calliper mounting.
REFITTING
I - REFITTING PREPARATION OPERATION
aAlways replace the guide pin upper bolt.
aUsing the cleaning station, clean:
-the brake calliper mounting,
-the brake calliper.
aCoat the brake calliper mounting bolts with HIGH
STRENGTH THREAD LOCK (see Vehicle: Parts
and consumables for the repair) (04B, Consum-
ables - Products) before refitting them.
II - REFITTING OPERATION
aRefit:
-the brake calliper mounting,
-the brake calliper mounting bolts.
aTorque tighten the brake calliper mounting bolts
(100 N.m).
III - FINAL OPERATION
aFit the front brake calliper.aRefit the upper bolt on the guide pin while holding
the nut.
aTorque tighten the guide pin upper bolt (29 N.m)
while holding the nut.
aRefit:
-the front brake pads (see 31A, Front axle compo-
nents, Front brake pads: Removal - Refitting,
page 31A-1) ,
-the front wheel (see 35A, Wheels and tyres,
Wheel: Removal - Refitting, page 35A-1) .
119219