Valve RENAULT TWINGO 2009 2.G Engine And Peripherals Owner's Manual
[x] Cancel search | Manufacturer: RENAULT, Model Year: 2009, Model line: TWINGO, Model: RENAULT TWINGO 2009 2.GPages: 652
Page 193 of 652
11A-76
TOP AND FRONT OF ENGINE
Rocker cover: Removal - Refitting
K4M
11A
REMOVAL
I - REMOVAL PREPARATION OPERATION
aPosition the vehicle on a two-post lift (see Vehicle:
Towing and lifting) (02A, Lifting equipment).
aDisconnect the battery (see Battery: Removal - Re-
fitting) (80A, Battery).
aRemove:
-the windscreen wiper arms (see Windscreen wip-
er arm: Removal - Refitting) (85A, Wiping -
Washing),
-the scuttle panel grille (see Scuttle panel grille:
Removal - Refitting) (56A, Exterior equipment),
-the scoop under the scuttle panel grille (see Scoop
under the scuttle panel grille: Removal - Refit-
ting) (56A, Exterior equipment),
-the coils (see 17A, Ignition, Coils: Removal - Re-
fitting, page 17A-1) ,
-the throttle valve (see 12A, Fuel mixture, Throttle
valve: Removal - Refitting, page 12A-20) ,
-the inlet distributor (see 12A, Fuel mixture, Inlet
distributor: Removal - Refitting, page 12A-29) ,
-the oil decanter (see 11A, Top and front of en-
gine, Oil decanter: Removal - Refitting, page
11A-147) ,
-the engine undertray,
-the front right-hand wheel (see Wheel: Removal -
Refitting) (35A, Wheels and tyres),
-the front right-hand wheel arch liner (see Front
wheel arch liner: Removal - Refitting) (55A, Ex-
terior protection),-the front bumper (see Front bumper: Removal -
Refitting) (55A, Exterior protection),
-the headlights (see Halogen headlight: Removal
- Refitting) (80B, Headlights),
-the bonnet catch (see Bonnet lock: Removal -
Refitting) (52A, Non-side opening element mecha-
nisms),
-the front upper cross member (see Front upper
cross member: Removal - Refitting) (42A, Upper
front structure),
-the accessories belt (see 11A, Top and front of
engine, Accessories belt: Removal - Refitting,
page 11A-3) ,
-the air filter unit (see 12A, Fuel mixture, Air filter
unit: Removal - Refitting, page 12A-13) ,
-the right-hand suspended engine mounting (see
19D, Engine mounting, Right-hand suspended
engine mounting: Removal - Refitting, page
19D-13) ,
-the crankshaft accessories pulley (see 11A, Top
and front of engine, Crankshaft accessories
pulley: Removal - Refitting, page 11A-20) ,
-the timing belt (see 11A, Top and front of engine,
Timing belt: Removal - Refitting, page 11A-27) ,
-the camshaft dephaser (see 11A, Top and front of
engine, Camshaft dephaser: Removal - Refit-
ting, page 11A-135) ,
-the camshaft seals on the timing end (see 11A,
Top and front of engine, Camshaft seal, timing
end: Removal - Refitting, page 11A-138) . Tightening torquesm
rocker cover bolts 22,
23, 20 and 13 (initial
torque)8 N.m
rocker cover bolts 1 to
12, 14 to 19 and 21 to
2413 N.m
rocker cover bolts 22,
23, 20 and 1313 N.m
camshaft sensor bolt8 N.m
camshaft dephaser
solenoid valve bolt10 N.m
Page 194 of 652
11A-77
TOP AND FRONT OF ENGINE
Rocker cover: Removal - Refitting
K4M
11A
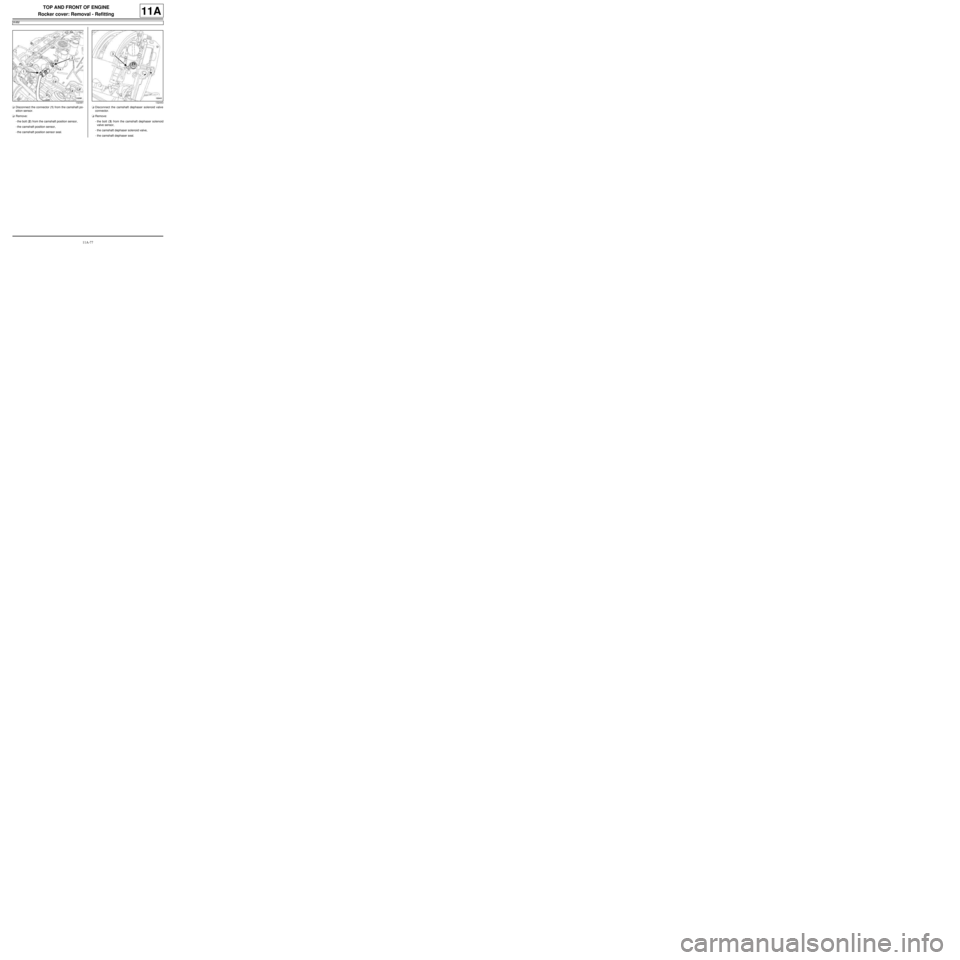
aDisconnect the connector (1) from the camshaft po-
sition sensor.
aRemove:
-the bolt (2) from the camshaft position sensor,
-the camshaft position sensor,
-the camshaft position sensor seal.aDisconnect the camshaft dephaser solenoid valve
connector.
aRemove:
-the bolt (3) from the camshaft dephaser solenoid
valve sensor,
-the camshaft dephaser solenoid valve,
-the camshaft dephaser seal.
132391132443
Page 195 of 652
11A-78
TOP AND FRONT OF ENGINE
Rocker cover: Removal - Refitting
K4M
11A
II - REMOVAL OPERATION
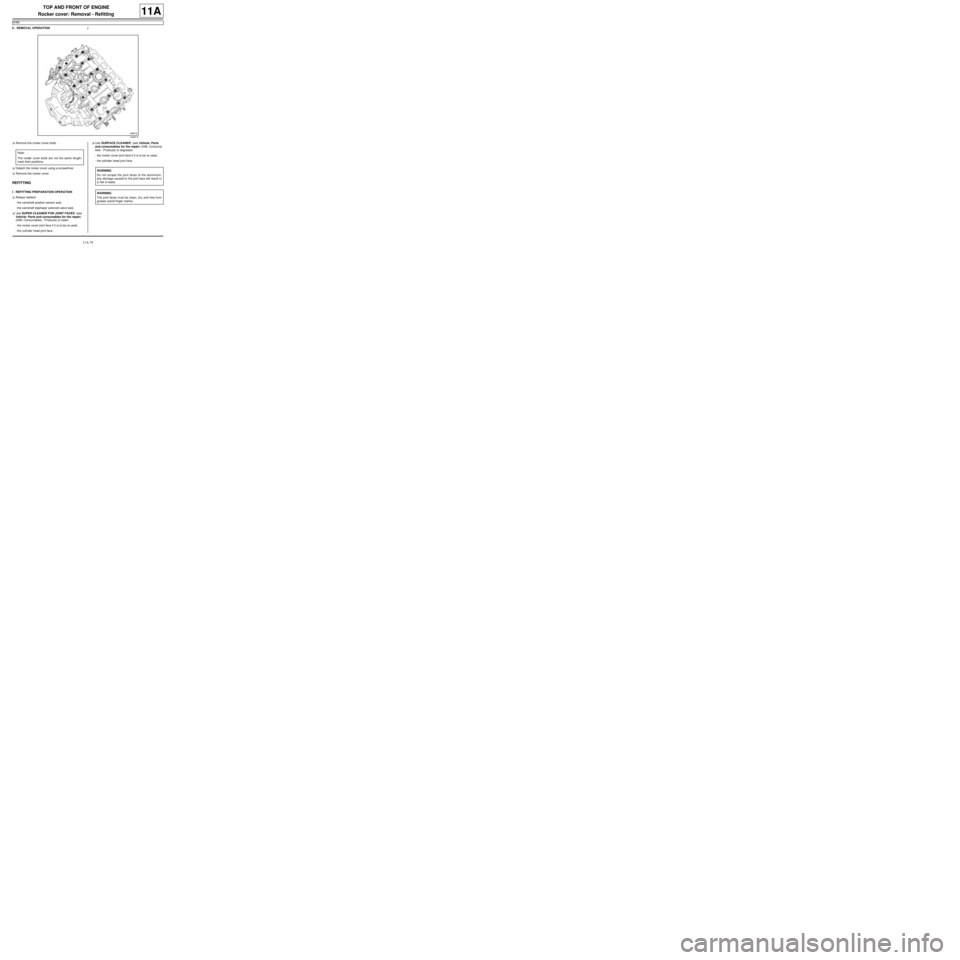
aRemove the rocker cover bolts.
aDetach the rocker cover using a screwdriver.
aRemove the rocker cover.
REFITTING
I - REFITTING PREPARATION OPERATION
aAlways replace:
-the camshaft position sensor seal,
-the camshaft dephaser solenoid valve seal.
aUse SUPER CLEANER FOR JOINT FACES (see
Vehicle: Parts and consumables for the repair)
(04B, Consumables - Products) to clean:
-the rocker cover joint face if it is to be re-used,
-the cylinder head joint face.aUse SURFACE CLEANER (see Vehicle: Parts
and consumables for the repair) (04B, Consuma-
bles - Products) to degrease:
-the rocker cover joint face if it is to be re-used,
-the cylinder head joint face.
14497-5
Note:
The rocker cover bolts are not the same length;
mark their positions.
WARNING
Do not scrape the joint faces of the aluminium,
any damage caused to the joint face will result in
a risk of leaks.
WARNING
The joint faces must be clean, dr y and free from
grease (avoid finger marks).
Page 197 of 652
11A-80
TOP AND FRONT OF ENGINE
Rocker cover: Removal - Refitting
K4M
11A
II - REFITTING OPERATION
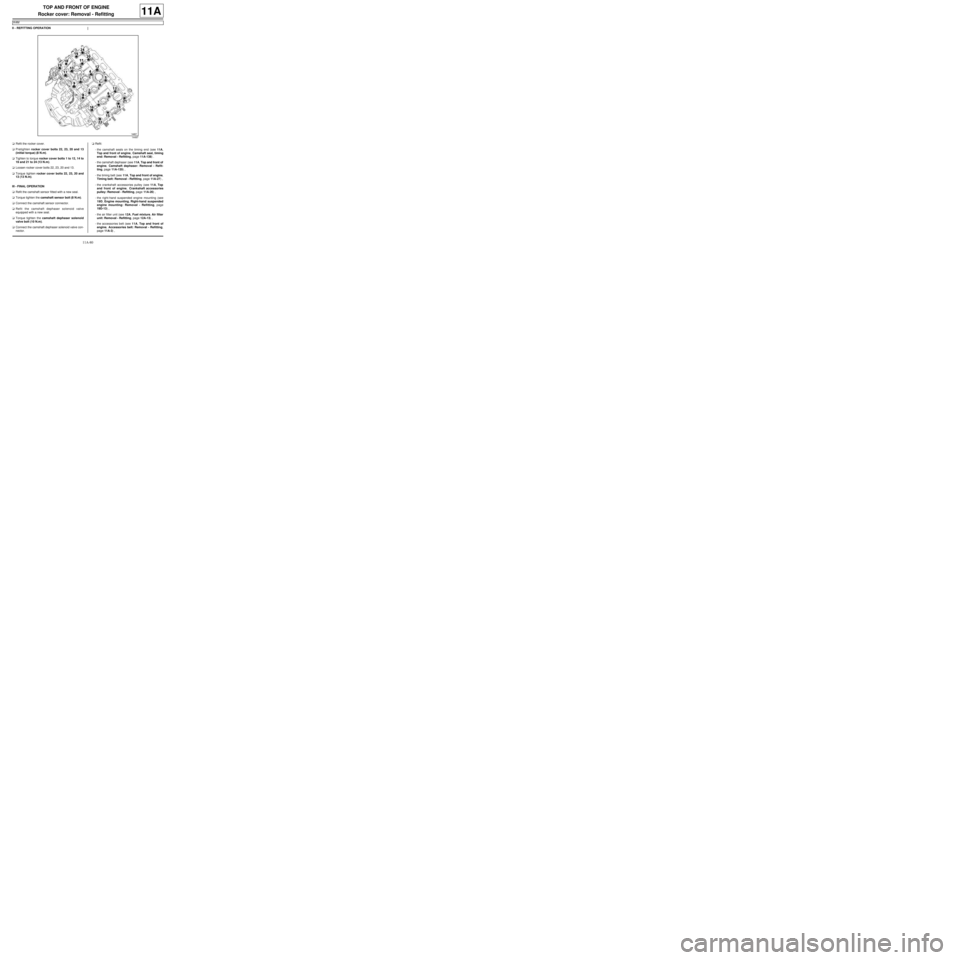
aRefit the rocker cover.
aPretighten rocker cover bolts 22, 23, 20 and 13
(initial torque) (8 N.m).
aTighten to torque rocker cover bolts 1 to 12, 14 to
19 and 21 to 24 (13 N.m).
aLoosen rocker cover bolts 22, 23, 20 and 13.
aTorque tighten rocker cover bolts 22, 23, 20 and
13 (13 N.m).
III - FINAL OPERATION
aRefit the camshaft sensor fitted with a new seal.
aTorque tighten the camshaft sensor bolt (8 N.m).
aConnect the camshaft sensor connector.
aRefit the camshaft dephaser solenoid valve
equipped with a new seal.
aTorque tighten the camshaft dephaser solenoid
valve bolt (10 N.m).
aConnect the camshaft dephaser solenoid valve con-
nector.aRefit:
-the camshaft seals on the timing end (see 11A,
Top and front of engine, Camshaft seal, timing
end: Removal - Refitting, page 11A-138) .
-the camshaft dephaser (see 11A, Top and front of
engine, Camshaft dephaser: Removal - Refit-
ting, page 11A-135) ,
-the timing belt (see 11A, Top and front of engine,
Timing belt: Removal - Refitting, page 11A-27) ,
-the crankshaft accessories pulley (see 11A, Top
and front of engine, Crankshaft accessories
pulley: Removal - Refitting, page 11A-20) ,
-the right-hand suspended engine mounting (see
19D, Engine mounting, Right-hand suspended
engine mounting: Removal - Refitting, page
19D-13) ,
-the air filter unit (see 12A, Fuel mixture, Air filter
unit: Removal - Refitting, page 12A-13) ,
-the accessories belt (see 11A, Top and front of
engine, Accessories belt: Removal - Refitting,
page 11A-3) ,
14497
Page 198 of 652
11A-81
TOP AND FRONT OF ENGINE
Rocker cover: Removal - Refitting
K4M
11A
-the front upper cross member (see Front upper
cross member: Removal - Refitting) (42A, Upper
front structure),
-the bonnet catch (see Bonnet lock: Removal -
Refitting) (52A, Non-side opening element mecha-
nisms),
-the headlights (see Halogen headlight: Removal
- Refitting) (80B, Headlights),
-the front bumper (see Front bumper: Removal -
Refitting) (55A, Exterior protection),
-the front right-hand wheel arch liner (see Front
wheel arch liner: Removal - Refitting) (55A, Ex-
terior protection),
-the front right-hand wheel (see Wheel: Removal -
Refitting) (35A, Wheels and tyres),
-the engine undertray,
-the oil decanter (see 11A, Top and front of en-
gine, Oil decanter: Removal - Refitting, page
11A-147) ,
-the inlet distributor (see 12A, Fuel mixture, Inlet
distributor: Removal - Refitting, page 12A-29) ,
-the throttle valve (see 12A, Fuel mixture, Throttle
valve: Removal - Refitting, page 12A-20) ,
-the coils (see 17A, Ignition, Coils: Removal - Re-
fitting, page 17A-1) ,
-the scoop under the scuttle panel grille (see Scoop
under the scuttle panel grille: Removal - Refit-
ting) (56A, Exterior equipment),
-the scuttle panel grille (see Scuttle panel grille:
Removal - Refitting) (56A, Exterior equipment),
-the windscreen wiper arms (see Windscreen wip-
er arm: Removal - Refitting) (85A, Wiping -
Washing).
aConnect the battery (see Battery: Removal - Refit-
ting) (80A, Battery).
Page 202 of 652
11A-85
TOP AND FRONT OF ENGINE
Camshaft: Removal - Refitting
D4F, and 772
11A
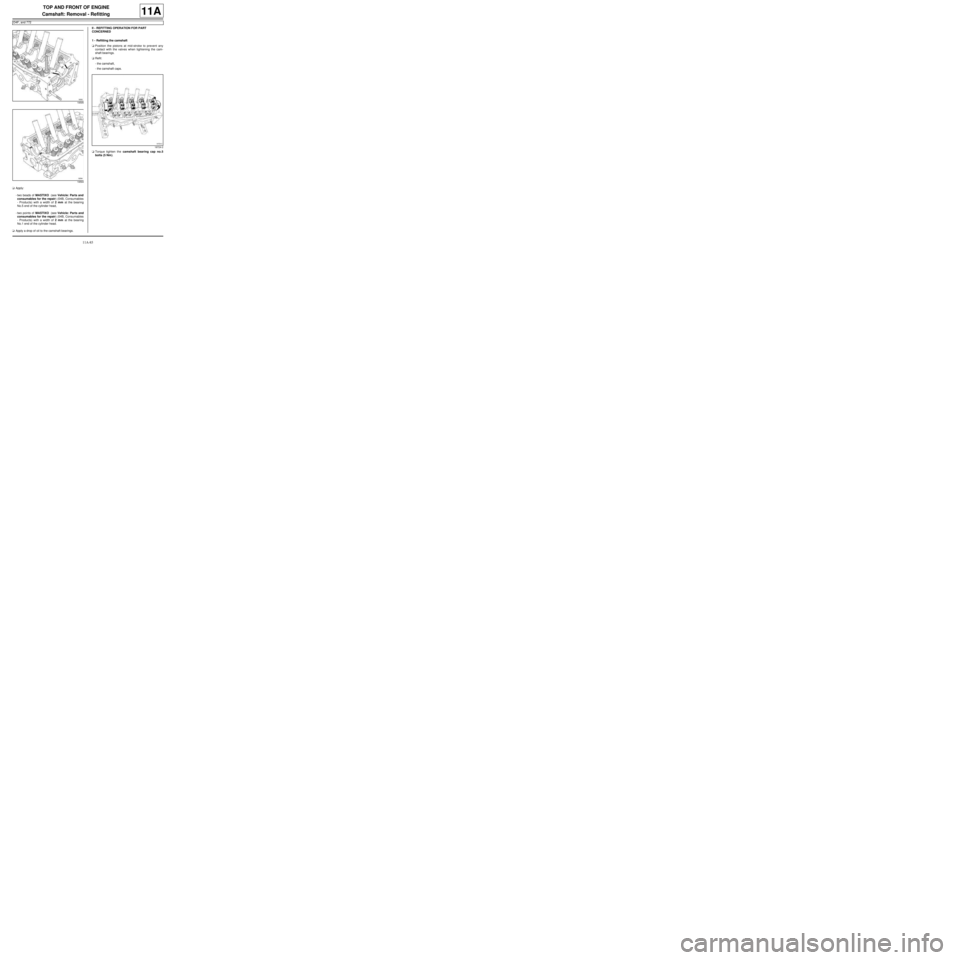
aApply:
-two beads of MASTIXO (see Vehicle: Parts and
consumables for the repair) (04B, Consumables
- Products) with a width of 2 mm at the bearing
No.5 end of the cylinder head,
-two points of MASTIXO (see Vehicle: Parts and
consumables for the repair) (04B, Consumables
- Products) with a width of 2 mm at the bearing
No.1 end of the cylinder head.
aApply a drop of oil to the camshaft bearings.II - REFITTING OPERATION FOR PART
CONCERNED
1 - Refitting the camshaft
aPosition the pistons at mid-stroke to prevent any
contact with the valves when tightening the cam-
shaft bearings.
aRefit:
-the camshaft,
-the camshaft caps.
aTorque tighten the camshaft bearing cap no.5
bolts (5 Nm ).
19595
19594
18724-2
Page 227 of 652
11A-110
TOP AND FRONT OF ENGINE
Camshaft: Removal - Refitting
K4M
11A
REMOVAL
I - REMOVAL PREPARATION OPERATION
aPosition the vehicle on a two-post lift (see Vehicle:
Towing and lifting) (02A, Lifting equipment).
aDisconnect the battery (see Battery: Removal - Re-
fitting) (80A, Battery).
aRemove:
-the windscreen wiper arms (see Windscreen wip-
er arm: Removal - Refitting) (85A, Wiping -
Washing),
-the scuttle panel grille (see Scuttle panel grille:
Removal - Refitting) (56A, Exterior equipment),
-the scoop under the scuttle panel grille (see Scoop
under the scuttle panel grille: Removal - Refit-
ting) (56A, Exterior equipment),
-the coils (see 17A, Ignition, Coils: Removal - Re-
fitting, page 17A-1) ,
-the throttle valve (see 12A, Fuel mixture, Throttle
valve: Removal - Refitting, page 12A-20) ,
-the inlet distributor (see 12A, Fuel mixture, Inlet
distributor: Removal - Refitting, page 12A-29) ,
-the oil decanter (see 11A, Top and front of en-
gine, Oil decanter: Removal - Refitting, page
11A-147) ,
-the engine undertray,
-the front right-hand wheel (see Wheel: Removal -
Refitting) (35A, Wheels and tyres),
-the front right-hand wheel arch liner (see Front
wheel arch liner: Removal - Refitting) (55A, Ex-
terior protection),
-the front bumper (see Front bumper: Removal -
Refitting) (55A, Exterior protection),
-the headlights (see Halogen headlight: Removal
- Refitting) (80B, Headlights),
-the bonnet catch (see Bonnet lock: Removal -
Refitting) (52A, Non-side opening element mecha-
nisms),-the front upper cross member (see Front upper
cross member: Removal - Refitting) (42A, Upper
front structure),
-the accessories belt (see 11A, Top and front of
engine, Accessories belt: Removal - Refitting,
page 11A-3) ,
-the air filter unit (see 12A, Fuel mixture, Air filter
unit: Removal - Refitting, page 12A-13) ,
-the right-hand suspended engine mounting (see
19D, Engine mounting, Right-hand suspended
engine mounting: Removal - Refitting, page
19D-13) ,
-the crankshaft accessories pulley (see 11A, Top
and front of engine, Crankshaft accessories
pulley: Removal - Refitting, page 11A-20) ,
-the timing belt (see 11A, Top and front of engine,
Timing belt: Removal - Refitting, page 11A-27) ,
-the camshaft dephaser (see 11A, Top and front of
engine, Camshaft dephaser: Removal - Refit-
ting, page 11A-135) ,
-the camshaft seals on the timing end (see 11A,
Top and front of engine, Camshaft seal, timing
end: Removal - Refitting, page 11A-138) ,
-the rocker cover (see 11A, Top and front of en-
gine, Rocker cover: Removal - Refitting, page
11A-66) .
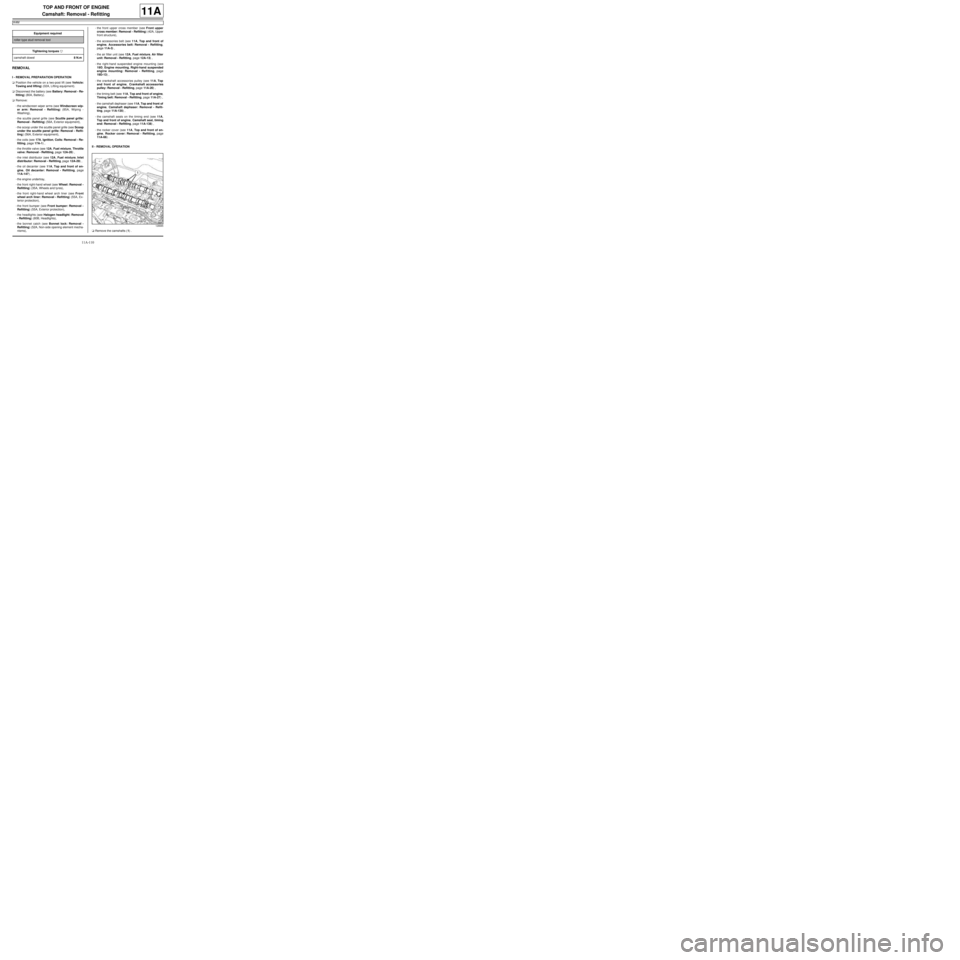
II - REMOVAL OPERATION
aRemove the camshafts (1) . Equipment required
roller-type stud removal tool
Tightening torquesm
camshaft dowel8 N.m
128685
Page 228 of 652
11A-111
TOP AND FRONT OF ENGINE
Camshaft: Removal - Refitting
K4M
11A
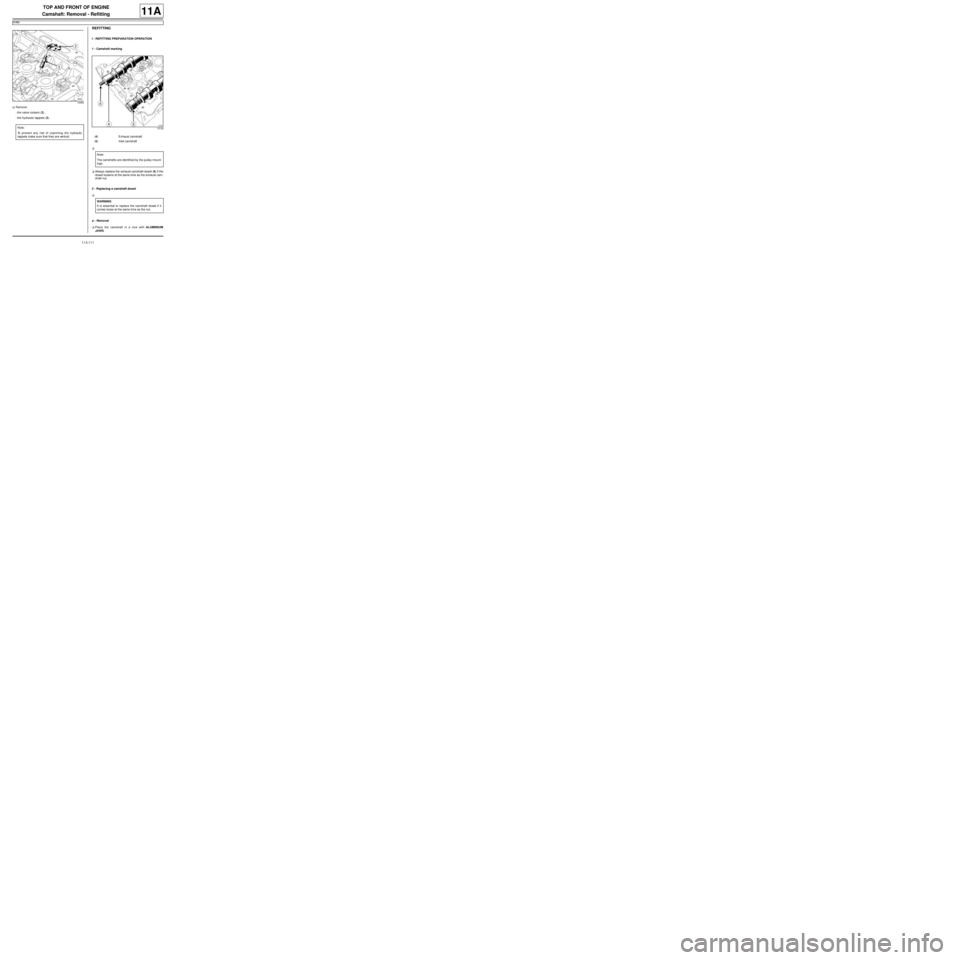
aRemove:
-the valve rockers (2) ,
-the hydraulic tappets (3) .
REFITTING
I - REFITTING PREPARATION OPERATION
1 - Camshaft marking
a
aAlways replace the exhaust camshaft dowel (6) if the
dowel loosens at the same time as the exhaust cam-
shaft nut.
2 - Replacing a camshaft dowel
a
a - Removal
aPlace the camshaft in a vice with ALUMINIUM
JAWS.
14499
Note:
To prevent any risk of unpriming the hydraulic
tappets make sure that they are vertical.15152
(4) Exhaust camshaft
(5) Inlet camshaft
Note:
The camshafts are identifi ed by the pulley mount-
ings .
WARNING
It is essential to replace the camshaft dowel if it
comes loose at the same time as the nut.
Page 229 of 652
11A-112
TOP AND FRONT OF ENGINE
Camshaft: Removal - Refitting
K4M
11A
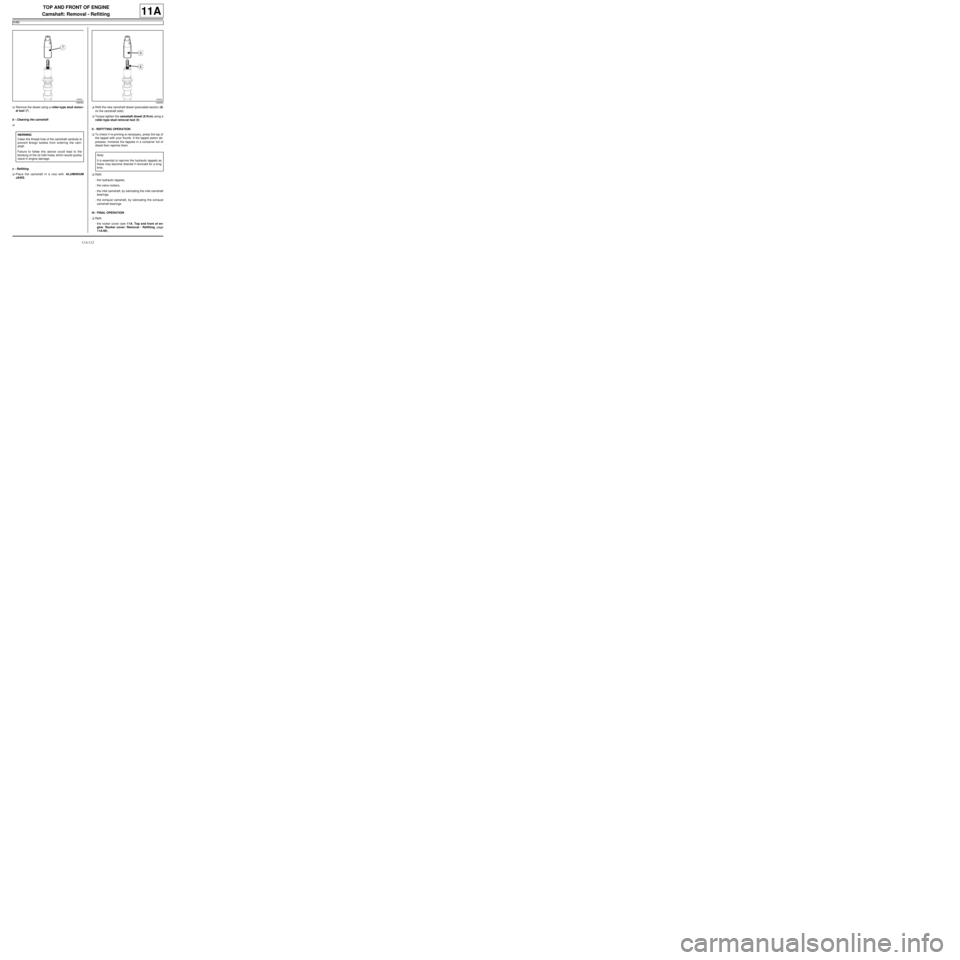
aRemove the dowel using a roller-type stud remov-
al tool (7) .
b - Cleaning the camshaft
a
c - Refitting
aPlace the camshaft in a vice with ALUMINIUM
JAWS.aRefit the new camshaft dowel (precoated section (8)
on the camshaft side).
aTorque tighten the camshaft dowel (8 N.m) using a
roller-type stud removal tool (9) .
II - REFITTING OPERATION
aTo check if re-priming is necessary, press the top of
the tappet with your thumb. If the tappet piston de-
presses, immerse the tappets in a container full of
diesel then reprime them.
aRefit:
-the hydraulic tappets,
-the valve rockers,
-the inlet camshaft, by lubricating the inlet camshaft
bearings,
-the exhaust camshaft, by lubricating the exhaust
camshaft bearings.
III - FINAL OPERATION
aRefit:
-the rocker cover (see 11A, Top and front of en-
gine, Rocker cover: Removal - Refitting, page
11A-66) ,
109050
WARNING
Clean the thread hole of the camshaft carefully to
prevent foreign bodies from entering the cam-
shaft.
Failure to follow this advice could lead to the
blocking of the oil inlet holes, which would quickly
result in engine damage.
109050
Note:
It is essential to repr ime the hydraulic tappets as
these may become drained if removed for a long
time.
Page 230 of 652
11A-113
TOP AND FRONT OF ENGINE
Camshaft: Removal - Refitting
K4M
11A
-the camshaft seals on the timing end (see 11A,
Top and front of engine, Camshaft seal, timing
end: Removal - Refitting, page 11A-138) ,
-the camshaft dephaser (see 11A, Top and front of
engine, Camshaft dephaser: Removal - Refit-
ting, page 11A-135) ,
-the timing belt (see 11A, Top and front of engine,
Timing belt: Removal - Refitting, page 11A-27) ,
-the crankshaft accessories pulley (see 11A, Top
and front of engine, Crankshaft accessories
pulley: Removal - Refitting, page 11A-20) ,
-the right-hand suspended engine mounting (see
19D, Engine mounting, Right-hand suspended
engine mounting: Removal - Refitting, page
19D-13) ,
-the air filter unit (see 12A, Fuel mixture, Air filter
unit: Removal - Refitting, page 12A-13) ,
-the accessories belt (see 11A, Top and front of
engine, Accessories belt: Removal - Refitting,
page 11A-3) ,
-the front upper cross member (see Front upper
cross member: Removal - Refitting) (42A, Upper
front structure),
-the bonnet catch (see Bonnet lock: Removal -
Refitting) (52A, Non-side opening element mecha-
nisms),
-the headlights (see Halogen headlight: Removal
- Refitting) (80B, Headlights),
-the front bumper (see Front bumper: Removal -
Refitting) (55A, Exterior protection),
-the front right-hand wheel arch liner (see Front
wheel arch liner: Removal - Refitting) (55A, Ex-
terior protection),
-the front right-hand wheel (see Wheel: Removal -
Refitting) (35A, Wheels and tyres),
-the engine undertray,
-the oil decanter (see 11A, Top and front of en-
gine, Oil decanter: Removal - Refitting, page
11A-147) ,
-the inlet distributor (see 12A, Fuel mixture, Inlet
distributor: Removal - Refitting, page 12A-29) ,
-the throttle valve (see 12A, Fuel mixture, Throttle
valve: Removal - Refitting, page 12A-20) ,
-the coils (see 17A, Ignition, Coils: Removal - Re-
fitting, page 17A-1) ,
-the scoop under the scuttle panel grille (see Scoop
under the scuttle panel grille: Removal - Refit-
ting) (56A, Exterior equipment),-the scuttle panel grille (see Scuttle panel grille:
Removal - Refitting) (56A, Exterior equipment),
-the windscreen wiper arms (see Windscreen wip-
er arm: Removal - Refitting) (85A, Wiping -
Washing).
aConnect the battery (see Battery: Removal - Refit-
ting) (80A, Battery).