wheel bolts RENAULT TWINGO RS 2009 2.G Chasiss Repair Manual
[x] Cancel search | Manufacturer: RENAULT, Model Year: 2009, Model line: TWINGO RS, Model: RENAULT TWINGO RS 2009 2.GPages: 281
Page 172 of 281
36A-21
STEERING ASSEMBLY
Steering column adjustment handle: Removal - Refitting36A
REMOVAL
I - REMOVAL PREPARATION OPERATION
aDisconnect the battery (see ) (80A, Battery).
aUnclip the dashboard lower trim.
aDisconnect the various connectors.
aPut the handle in the low position (to prevent the mo-
bile part of the column dropping during dismantling).
aRemove:
-the bolts on the steering wheel lower cover,
-the steering wheel lower cover.II - OPERATION FOR REMOVAL OF PART
CONCERNED
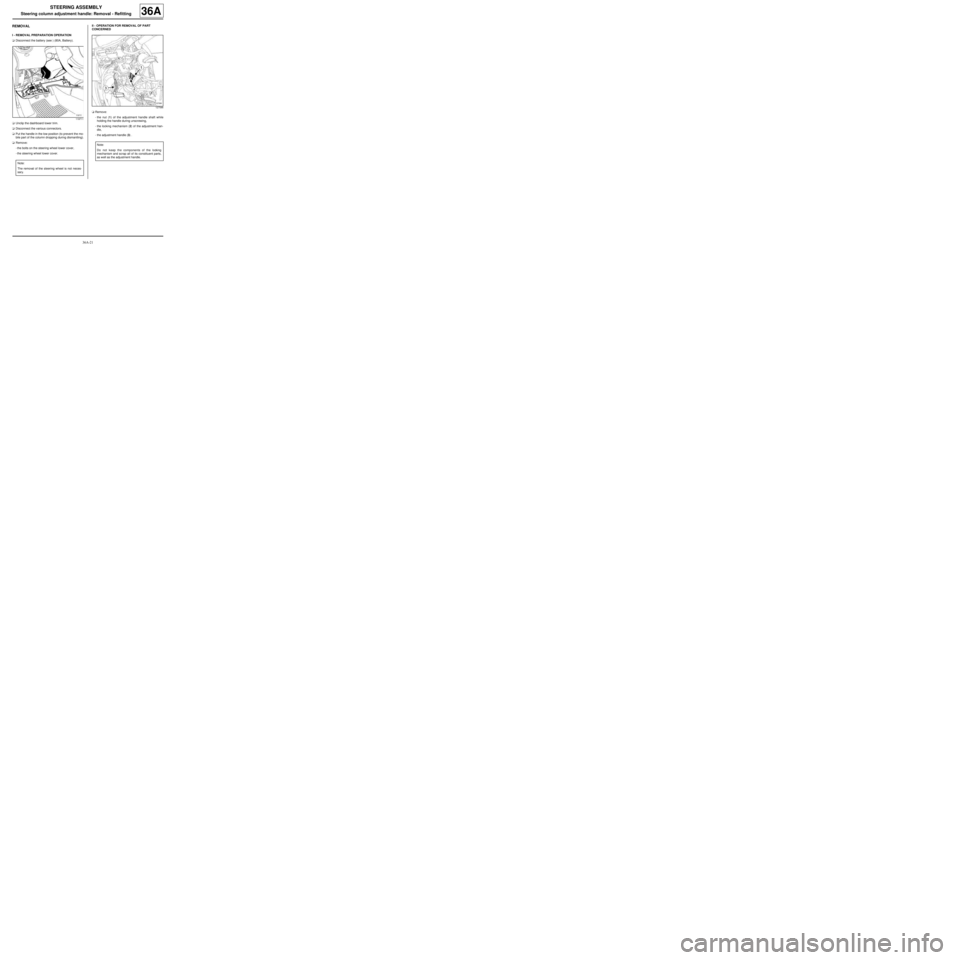
aRemove:
-the nut (1) of the adjustment handle shaft while
holding the handle during unscrewing,
-the locking mechanism (2) of the adjustment han-
dle,
-the adjustment handle (3) .
119711
Note:
The removal of the steering wheel is not neces-
sary.
127586
Note:
Do not keep the components of the locking
mechanism and scrap all of its constituent parts,
as well as the adjustment handle.
Page 177 of 281
36B-2
POWER ASSISTED STEERING
Power-assisted steering computer: Removal - Refitting
LEFT-HAND DRIVE
36B
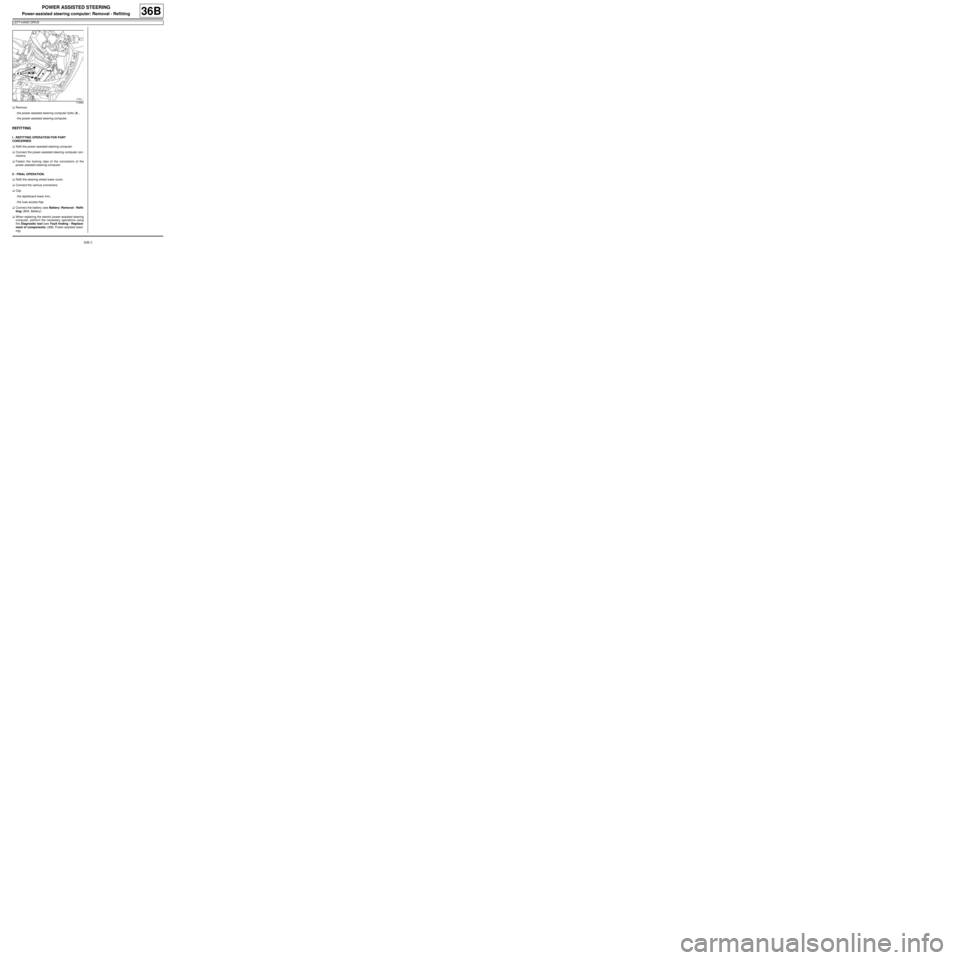
aRemove:
-the power-assisted steering computer bolts (4) ,
-the power-assisted steering computer,
REFITTING
I - REFITTING OPERATION FOR PART
CONCERNED
aRefit the power-assisted steering computer.
aConnect the power-assisted steering computer con-
nectors.
aFasten the locking clips of the connectors of the
power-assisted steering computer.
II - FINAL OPERATION.
aRefit the steering wheel lower cover.
aConnect the various connectors.
aClip:
-the dashboard lower trim,
-the fuse access flap.
aConnect the battery (see Battery: Removal - Refit-
ting) (80A, Battery).
aWhen replacing the electric power-assisted steering
computer, perform the necessary operations using
the Diagnostic tool (see Fault finding - Replace-
ment of components) (36B, Power-assisted steer-
ing).
119882
Page 190 of 281
37A-11
MECHANICAL COMPONENT CONTROLS
Brake servo non-return valve: Removal - Refitting
RIGHT-HAND DRIVE
37A
REMOVAL
I - REMOVAL PREPARATION OPERATION
aPosition the vehicle on a two-post lift (see Vehicle:
Towing and lifting) (MR 411, 02A, Lifting equip-
ment).
aRemove:
-the front right-hand wheel (see 35A, Wheels and
tyres, Wheel: Removal - Refitting, page 35A-1) ,
-the front right-hand wheel arch liner (see Front
wheel arch liner: Removal - Refitting) (MR 412,
55A, Exterior protection),
-the scuttle panel grille (see Scuttle panel grille:
Removal - Refitting) (MR 412, 56A, Exterior
equipment),
-the scoop under the scuttle panel grille (see Scoop
under the scuttle panel grille: Removal - Refit-
ting) (MR 412, 56A, Exterior equipment).
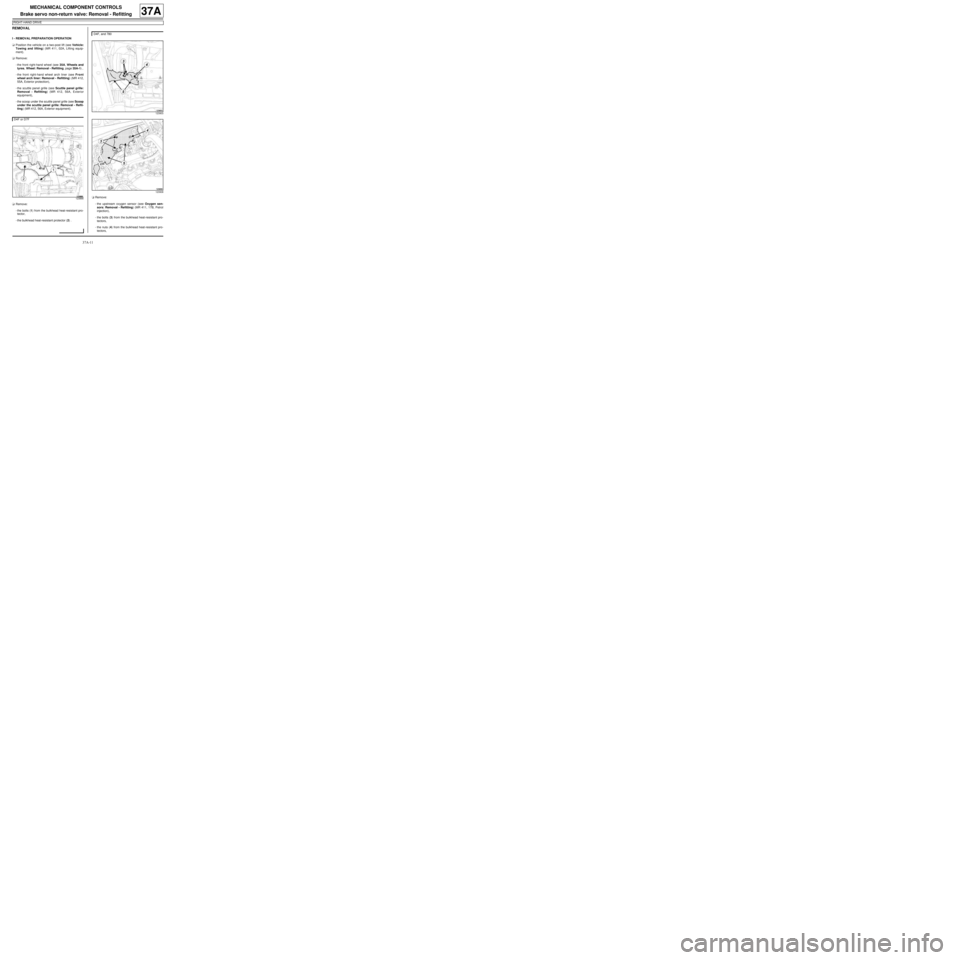
aRemove:
-the bolts (1) from the bulkhead heat-resistant pro-
tector,
-the bulkhead heat-resistant protector (2) .aRemove:
-the upstream oxygen sensor (see Oxygen sen-
sors: Removal - Refitting) (MR 411, 17B, Petrol
injection),
-the bolts (3) from the bulkhead heat-resistant pro-
tectors,
-the nuts (4) from the bulkhead heat-resistant pro-
tectors, D4F or D7F
123866
D4F, and 780
123903
123908
Page 192 of 281
37A-13
MECHANICAL COMPONENT CONTROLS
Brake servo non-return valve: Removal - Refitting
RIGHT-HAND DRIVE
37A
REFITTING
I - REFITTING OPERATION FOR PART
CONCERNED
aRefit the non-return valve.
aClip on the non-return valve.
aConnect the non-return valve pipe:
-to the brake servo,
-to the intake distributor.
II - FINAL OPERATION.
aRefit:
-the bulkhead heat-resistant protectors,
-the bulkhead heat-resistant protector nuts,
-the bulkhead heat-resistant protector bolts,
-the upstream oxygen sensor (see Oxygen sen-
sors: Removal - Refitting) .
aRefit:
-the bulkhead heat-resistant protector,
-the bulkhead heat-resistant protector bolts.
aRefit:
-the scoop under the scuttle panel grille (see Scoop
under the scuttle panel grille: Removal - Refit-
ting) (MR 412, 56A, Exterior equipment),
-the scuttle panel grille (see Scuttle panel grille:
Removal - Refitting) (MR 412, 56A, Exterior
equipment),
-the front right-hand wheel arch liner (see Front
wheel arch liner: Removal - Refitting) (MR 412,
55A, Exterior protection),
-the front right-hand wheel (see 35A, Wheels and
tyres, Wheel: Removal - Refitting, page 35A-1) . D4F, and 780
D4F or D7F
Page 221 of 281
37A-42
MECHANICAL COMPONENT CONTROLS
Brake pedal switch: Removal - Refitting
37A
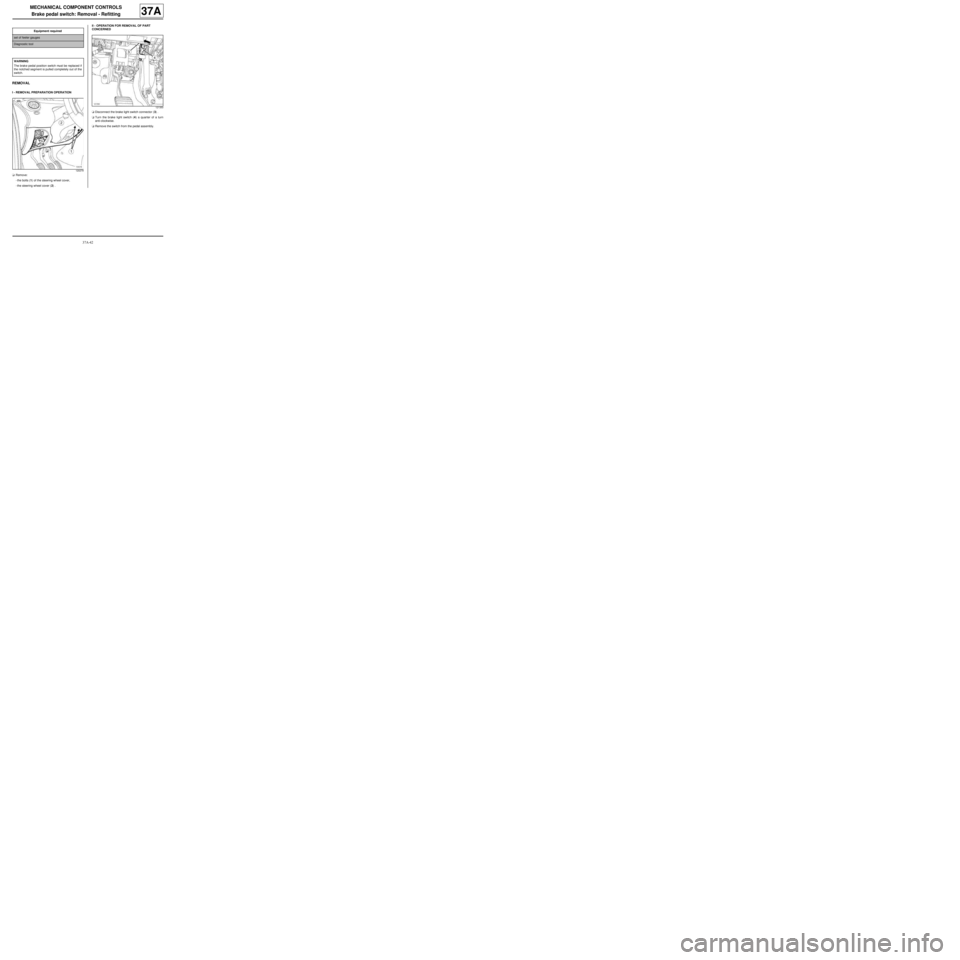
REMOVAL
I - REMOVAL PREPARATION OPERATION
aRemove:
-the bolts (1) of the steering wheel cover,
-the steering wheel cover (2) .II - OPERATION FOR REMOVAL OF PART
CONCERNED
aDisconnect the brake light switch connector (3) .
aTurn the brake light switch (4) a quarter of a turn
anti-clockwise.
aRemove the switch from the pedal assembly. Equipment required
set of feeler gauges
Diagnostic tool
WARNING
The brake pedal position switch must be replaced if
the notched segment is pulled completely out of the
switch.
120279
121350
Page 224 of 281
37A-45
MECHANICAL COMPONENT CONTROLS
Brake pedal switch: Removal - Refitting
37A
III - CHECKING THE ELECTRICAL OPERATION OF
THE PART
aCheck that the brake light switch is operating cor-
rectly:
-depress the brake pedal to switch on the lights,
-release the brake pedal to switch off the lights.
aConnect the Diagnostic tool
aDepress the brake pedal by 10 mm.
aCheck that the first signal of the switch has not
switched (the first signal does not illuminate the
bulbs).
IV - FINAL OPERATION
aRefit:
-the steering wheel cover,
-the bolts on the steering wheel cover.
Page 261 of 281
38C-2
ANTI-LOCK BRAKING SYSTEM
Hydraulic brake unit: Removal - Refitting
K9K, and LEFT-HAND DRIVE
38C
REMOVAL
I - REMOVAL PREPARATION OPERATION
aPosition the vehicle on a two-post lift (see Vehicle:
Towing and lifting) (MR 411, 02A, Lifting equip-
ment).
aDisconnect the battery (see Battery: Removal - Re-
fitting) (MR 411, 80A, Battery).
aPosition the pedal press on the brake pedal to limit
the outflow of brake fluid.
aRemove:
-the front wheel on the passenger side (see 35A,
Wheels and tyres, Wheel: Removal - Refitting,
page 35A-1) ,
-the front wheel arch liner, on the passenger side
(see Front wheel arch liner: Removal - Refitting)
(MR 412, 55A, Exterior protection),
-the scuttle panel grille (see Scuttle panel grille:
Removal - Refitting) (MR 412, 56A, Exterior
equipment),
-the scoop under the scuttle panel grille (see Scoop
under the scuttle panel grille: Removal - Refit-
ting) (MR 412, 56A, Exterior equipment),
-the air filter box (see Air filter unit: Removal - Re-
fitting) (MR 411, 12A, Fuel mixture).aRemove:
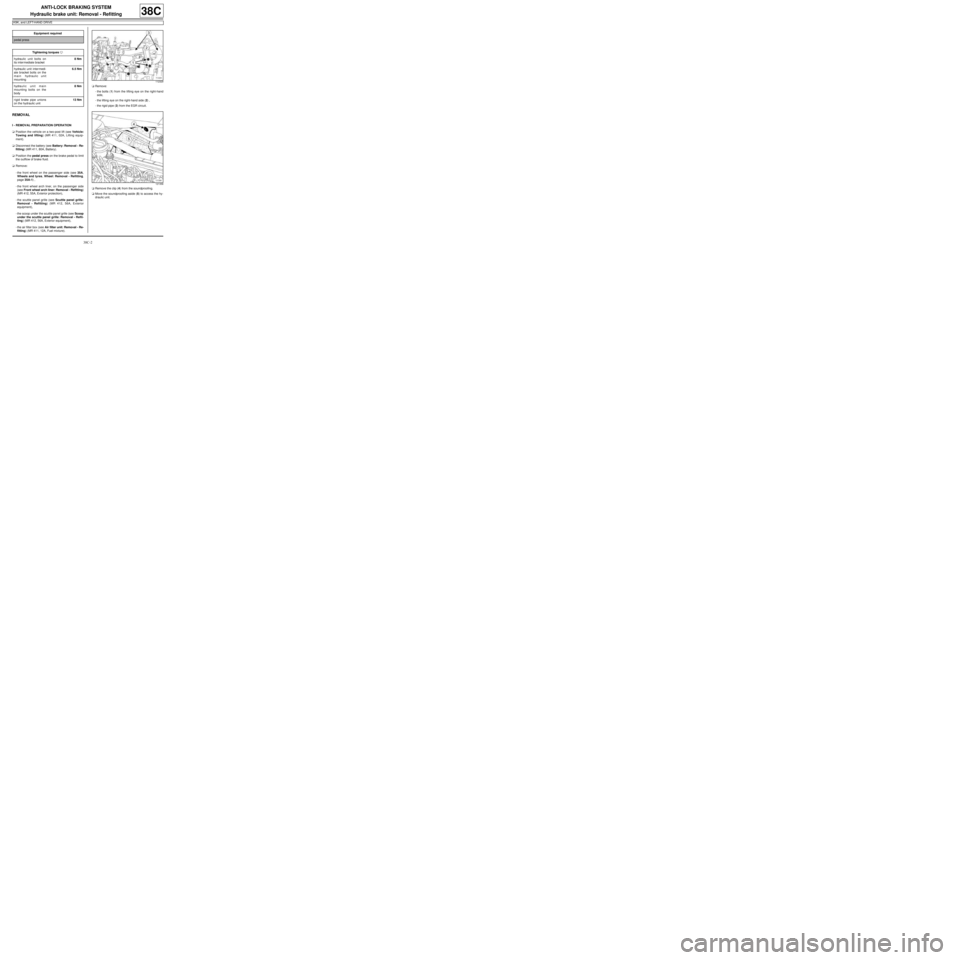
-the bolts (1) from the lifting eye on the right-hand
side,
-the lifting eye on the right-hand side (2) ,
-the rigid pipe (3) from the EGR circuit.
aRemove the clip (4) from the soundproofing.
aMove the soundproofing aside (5) to access the hy-
draulic unit. Equipment required
pedal press
Tightening torquesm
hydraulic unit bolts on
its inter mediate bracket8 Nm
hydraulic unit inter medi-
ate bracket bolts on the
main hydraulic unit
mounting6.5 Nm
hydraulic unit main
mounting bolts on the
body8 Nm
rigid brake pipe unions
on the hydraulic unit13 Nm
112329
121358
Page 263 of 281
38C-4
ANTI-LOCK BRAKING SYSTEM
Hydraulic brake unit: Removal - Refitting
K9K, and LEFT-HAND DRIVE
38C
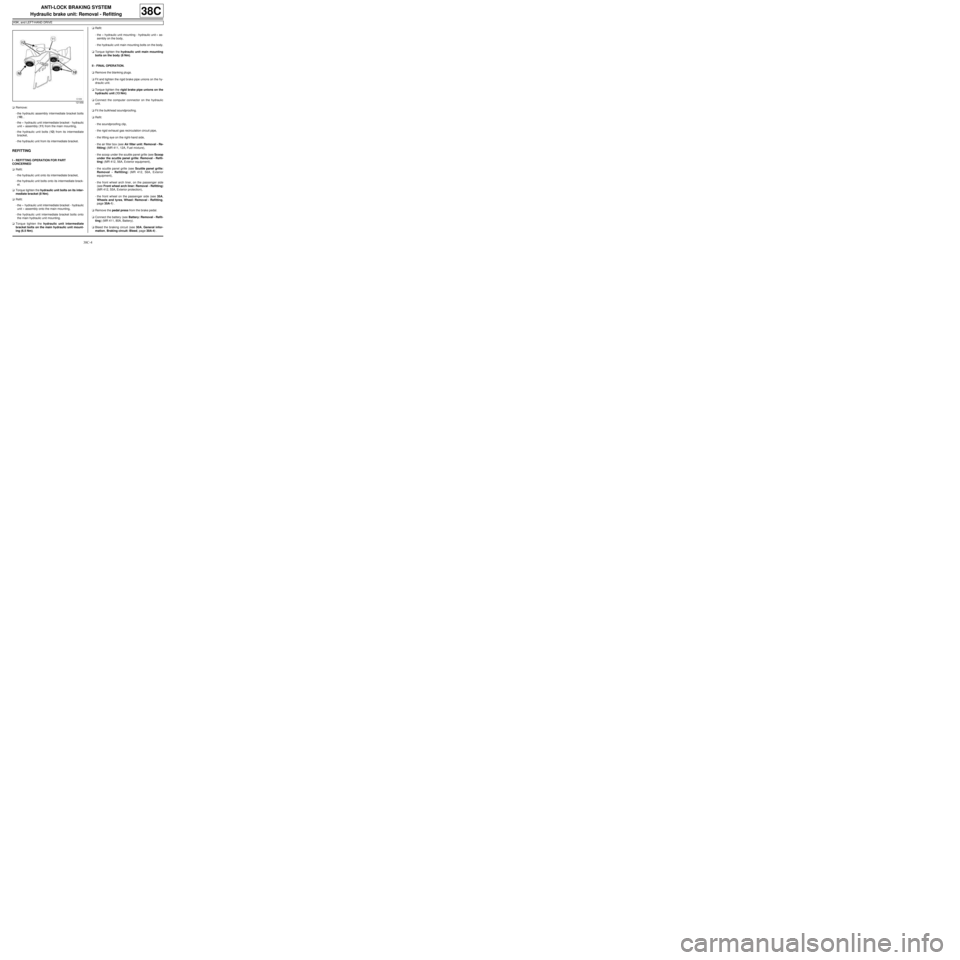
aRemove:
-the hydraulic assembly intermediate bracket bolts
(10) ,
-the « hydraulic unit intermediate bracket - hydraulic
unit » assembly (11) from the main mounting,
-the hydraulic unit bolts (12) from its intermediate
bracket,
-the hydraulic unit from its intermediate bracket.
REFITTING
I - REFITTING OPERATION FOR PART
CONCERNED
aRefit:
-the hydraulic unit onto its intermediate bracket,
-the hydraulic unit bolts onto its intermediate brack-
et.
aTorque tighten the hydraulic unit bolts on its inter-
mediate bracket (8 Nm).
aRefit:
-the « hydraulic unit intermediate bracket - hydraulic
unit » assembly onto the main mounting,
-the hydraulic unit intermediate bracket bolts onto
the main hydraulic unit mounting.
aTorque tighten the hydraulic unit intermediate
bracket bolts on the main hydraulic unit mount-
ing (6.5 Nm).aRefit:
-the « hydraulic unit mounting - hydraulic unit » as-
sembly on the body,
-the hydraulic unit main mounting bolts on the body.
aTorque tighten the hydraulic unit main mounting
bolts on the body (8 Nm).
II - FINAL OPERATION.
aRemove the blanking plugs.
aFit and tighten the rigid brake pipe unions on the hy-
draulic unit.
aTorque tighten the rigid brake pipe unions on the
hydraulic unit (13 Nm).
aConnect the computer connector on the hydraulic
unit.
aFit the bulkhead soundproofing.
aRefit:
-the soundproofing clip,
-the rigid exhaust gas recirculation circuit pipe,
-the lifting eye on the right-hand side,
-the air filter box (see Air filter unit: Removal - Re-
fitting) (MR 411, 12A, Fuel mixture),
-the scoop under the scuttle panel grille (see Scoop
under the scuttle panel grille: Removal - Refit-
ting) (MR 412, 56A, Exterior equipment),
-the scuttle panel grille (see Scuttle panel grille:
Removal - Refitting) (MR 412, 56A, Exterior
equipment),
-the front wheel arch liner, on the passenger side
(see Front wheel arch liner: Removal - Refitting)
(MR 412, 55A, Exterior protection),
-the front wheel on the passenger side (see 35A,
Wheels and tyres, Wheel: Removal - Refitting,
page 35A-1) .
aRemove the pedal press from the brake pedal.
aConnect the battery (see Battery: Removal - Refit-
ting) (MR 411, 80A, Battery).
aBleed the braking circuit (see 30A, General infor-
mation, Braking circuit: Bleed, page 30A-4) .
121456
Page 264 of 281
38C-5
ANTI-LOCK BRAKING SYSTEM
Hydraulic brake unit: Removal - Refitting
D4F or D7F, and LEFT-HAND DRIVE
38C
REMOVAL
I - REMOVAL PREPARATION OPERATION
aPosition the vehicle on a two-post lift (see Vehicle:
Towing and lifting) (MR 411, 02A, Lifting equip-
ment).
aDisconnect the battery (see Battery: Removal - Re-
fitting) (MR 411, 80A, Battery).
aPosition the pedal press on the brake pedal to limit
the outflow of brake fluid.
aRemove:
-the front wheel on the passenger side (see 35A,
Wheels and tyres, Wheel: Removal - Refitting,
page 35A-1) ,
-the front wheel arch liner, on the passenger side
(see Front wheel arch liner: Removal - Refitting)
(MR 412, 55A, Exterior protection),
-the ignition coil (see Coils: Removal - Refitting)
(MR 411, 17A, Ignition),
-the fuel vapour recirculation circuit solenoid valve
(see Fuel vapour absorber: Removal - Refitting)
(MR 411, 14A, Emission control),
-the air filter box (see Air filter unit: Removal - Re-
fitting) (MR 411, 12A, Fuel mixture).aDisconnect the hydraulic unit computer connector
(1) .
aUndo the rigid brake pipe unions (2) on the hydraulic
unit.
aInsert the blanking plugs. Equipment required
pedal press
Tightening torquesm
hydraulic unit bolts on
its inter mediate bracket8 Nm
hydraulic unit inter medi-
ate bracket bolts on the
main hydraulic unit
mounting6.5 Nm
hydraulic unit main
mounting bolts on the
body8 Nm
rigid brake pipe unions
on the hydraulic unit13 Nm
121359
121360
WARNING
Prepare for the flow of fluid, and protect the sur-
rounding components.
Page 266 of 281
38C-7
ANTI-LOCK BRAKING SYSTEM
Hydraulic brake unit: Removal - Refitting
D4F or D7F, and LEFT-HAND DRIVE
38C
-the hydraulic unit main mounting bolts on the body.
aTorque tighten the hydraulic unit main mounting
bolts on the body (8 Nm).
II - FINAL OPERATION.
aRemove the blanking plugs.
aFit and tighten the rigid brake pipe unions on the hy-
draulic unit.
aTorque tighten the rigid brake pipe unions on the
hydraulic unit (13 Nm).
aConnect the computer connector on the hydraulic
unit.
aRefit:
-the air filter box (see Air filter unit: Removal - Re-
fitting) (MR 411, 12A, Fuel mixture),
-the fuel vapour recirculation circuit solenoid valve
(see Fuel vapour absorber: Removal - Refitting)
(MR 411, 14A, Emission control),
-the ignition coil (see Coils: Removal - Refitting)
(MR 411, 17A, Ignition),
-the front wheel arch liner, on the passenger side
(see Front wheel arch liner: Removal - Refitting)
(MR 412, 55A, Exterior protection),
-the front wheel on the passenger side (see 35A,
Wheels and tyres, Wheel: Removal - Refitting,
page 35A-1) .
aRemove the pedal press from the brake pedal.
aConnect the battery (see Battery: Removal - Refit-
ting) (MR 411, 80A, Battery).
aBleed the braking circuit (see 30A, General infor-
mation, Braking circuit: Bleed, page 30A-4) .