wheel bolts RENAULT TWINGO RS 2009 2.G Chasiss Workshop Manual
[x] Cancel search | Manufacturer: RENAULT, Model Year: 2009, Model line: TWINGO RS, Model: RENAULT TWINGO RS 2009 2.GPages: 281
Page 25 of 281
30A-21
GENERAL INFORMATION
Steering: Tightening torque
30A
119405
121365119649
121364
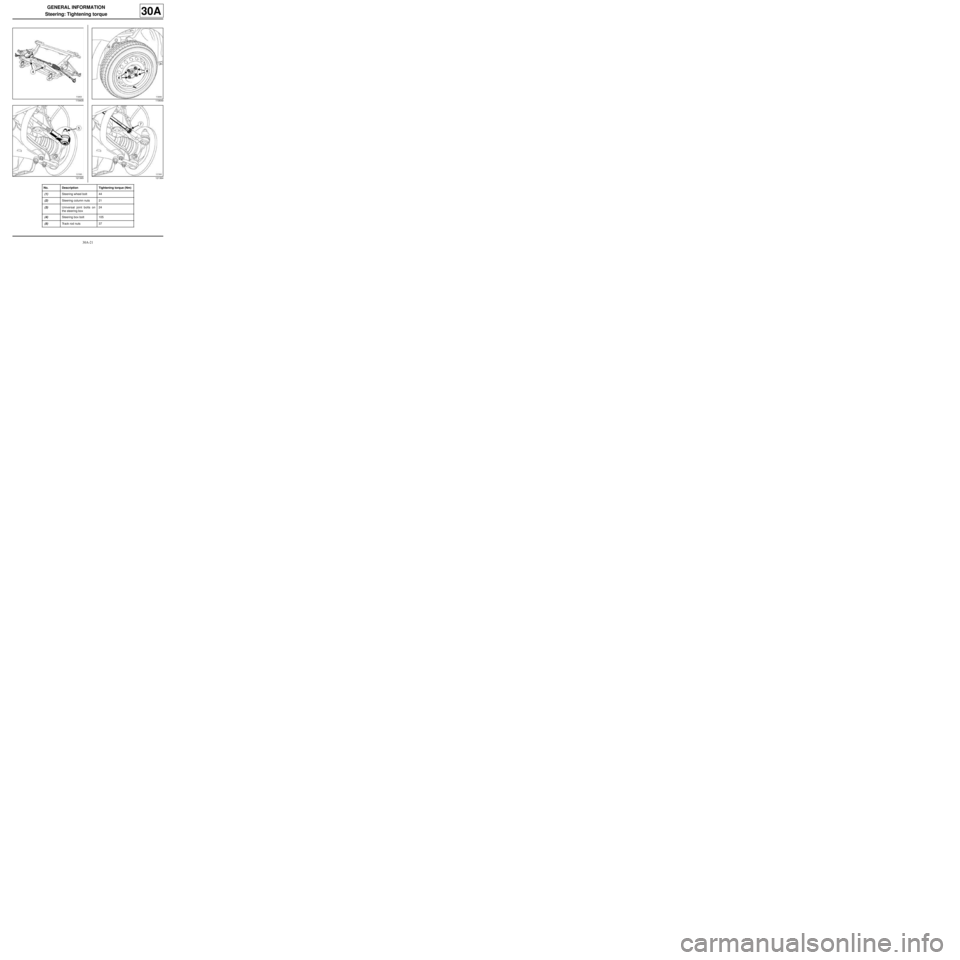
No. Description Tightening torque (Nm)
(1) Steering wheel bolt 44
(2) Steering column nuts 21
(3) Universal joint bolts on
the steering box24
(4) Steering box bolt 105
(5) Track rod nuts 37
Page 34 of 281
30A-30
GENERAL INFORMATION
Front axle system: Tightening torque
30A
119649
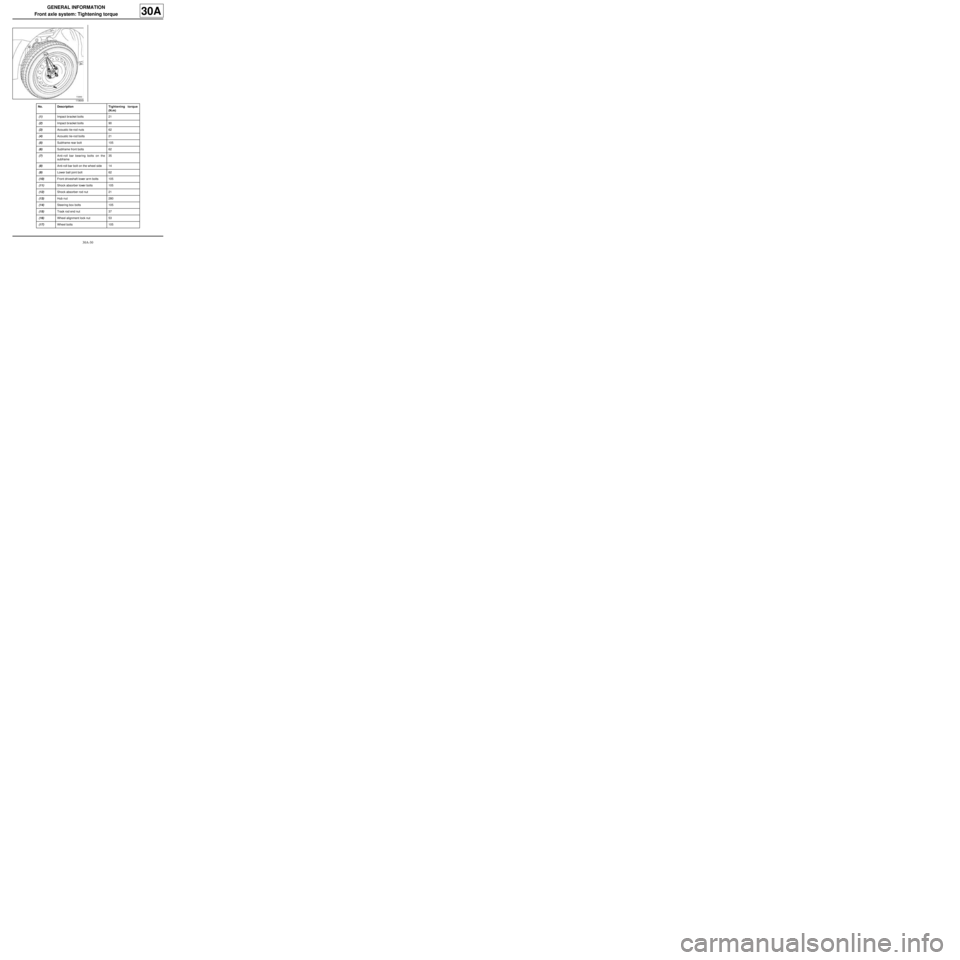
No. DescriptionTightening torque
(N.m)
(1) Impact bracket bolts 21
(2) Impact bracket bolts 90
(3) Acoustic tie-rod nuts 62
(4) Acoustic tie-rod bolts 21
(5) Subframe rear bolt 105
(6) Subframe front bolts 62
(7) Anti-roll bar bearing bolts on the
subframe35
(8) Anti-roll bar bolt on the wheel side 14
(9) Lower ball joint bolt 62
(10) Front driveshaft lower arm bolts 105
(11) Shock absorber lower bolts 105
(12) Shock absorber rod nut 21
(13) Hub nut 280
(14) Steering box bolts 105
(15) Track rod end nut 37
(16) Wheel alignment lock nut 53
(17) Wheel bolts 105
Page 46 of 281
31A-3
FRONT AXLE COMPONENTS
Front brake pads: Removal - Refitting
EQ UIPMENT LEVEL SPORT
31A
REMOVAL
I - REMOVAL PREPARATION OPERATION
aPosition the vehicle on a two-post lift (see Vehicle:
Towing and lifting) (02A, Lifting equipment).
aSet the wheels straight ahead.
aRemove the front wheels (see 35A, Wheels and ty-
res, Wheel: Removal - Refitting, page 35A-1) .II - REMOVAL OPERATION
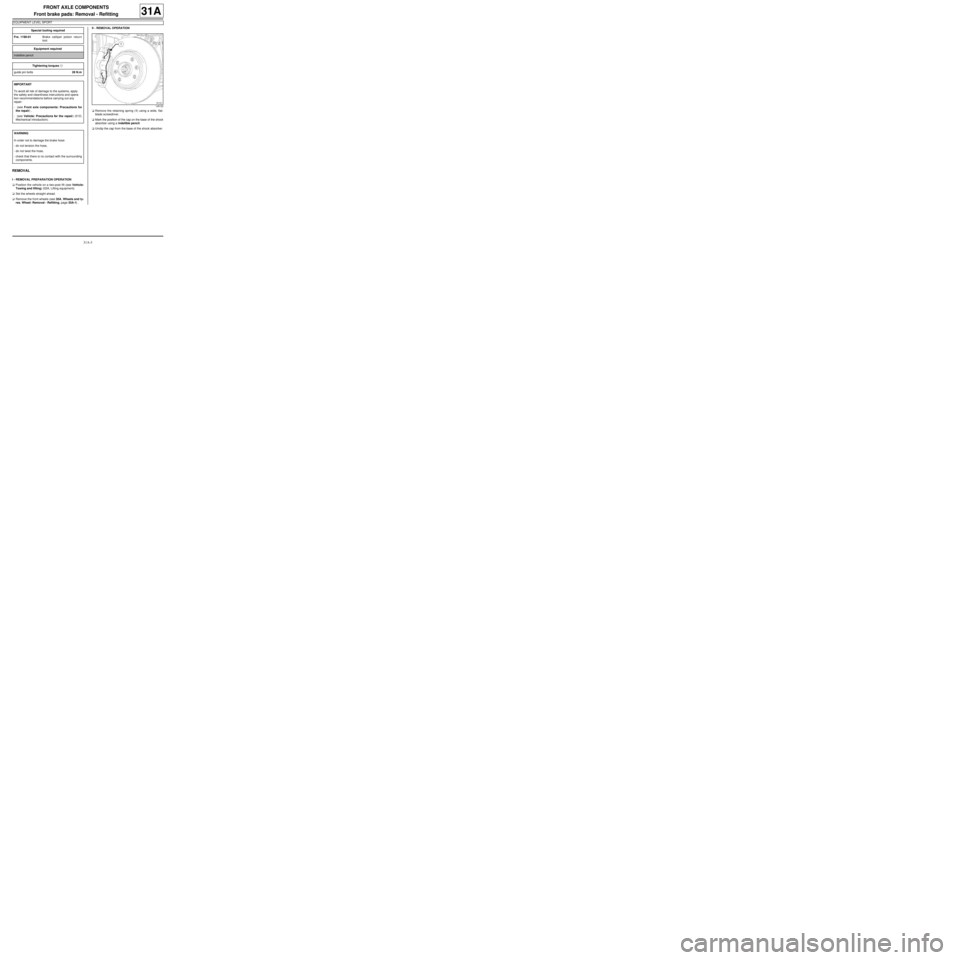
aRemove the retaining spring (1) using a wide, flat-
blade screwdriver.
aMark the position of the cap on the base of the shock
absorber using a indelible pencil.
aUnclip the cap from the base of the shock absorber. Special tooling required
Fre. 1190-01Brake calliper piston return
tool.
Equipment required
indelible pencil
Tightening torquesm
guide pin bolts28 N.m
IMPORTANT
To avoid all risk of damage to the systems, apply
the safety and cleanliness instructions and opera-
tion recommendations before carrying out any
repair:
- (see Front axle components: Precautions for
the repair) ,
- (see Vehicle: Precautions for the repair) (01D,
Mechanical introduction).
WARNING
In order not to damage the brake hose:
-do not tension the hose,
-do not twist the hose,
-check that there is no contact with the surrounding
components.
145122
Page 48 of 281
31A-5
FRONT AXLE COMPONENTS
Front brake pads: Removal - Refitting
EQ UIPMENT LEVEL SPORT
31A
II - REFITTING OPERATION
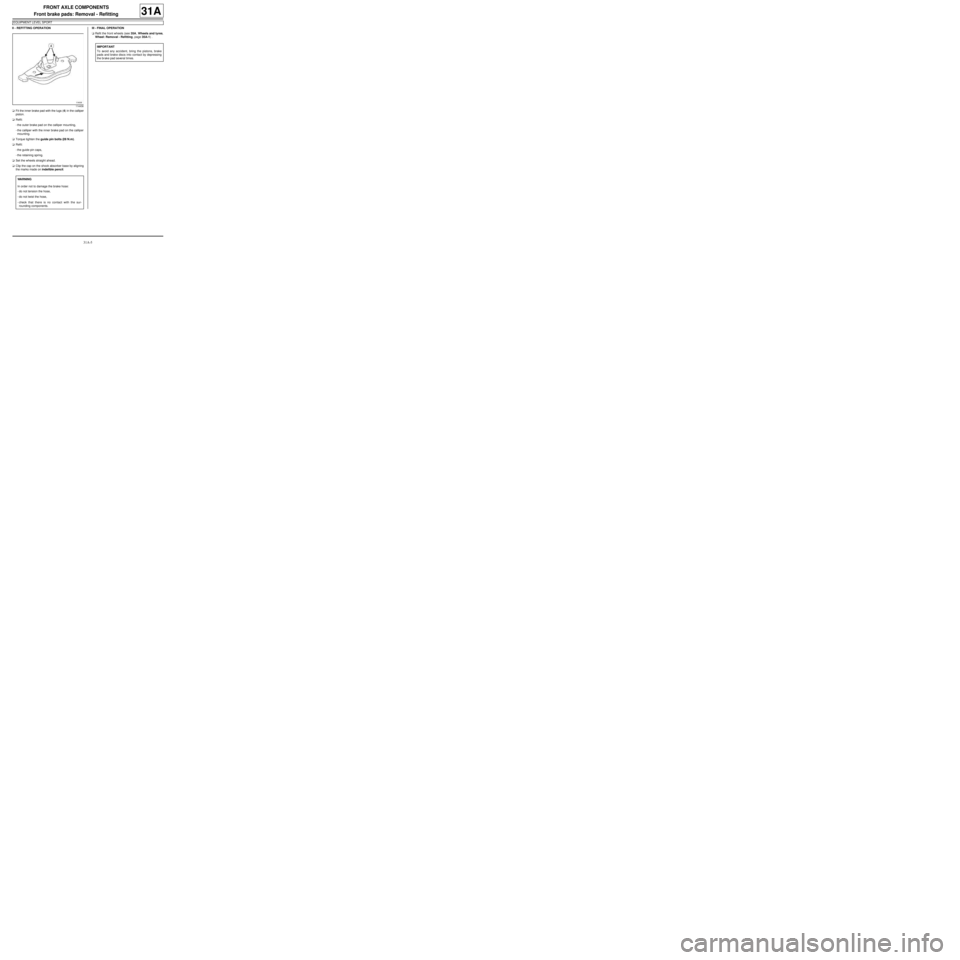
aFit the inner brake pad with the lugs (4) in the calliper
piston.
aRefit:
-the outer brake pad on the calliper mounting,
-the calliper with the inner brake pad on the calliper
mounting.
aTorque tighten the guide pin bolts (28 N.m).
aRefit:
-the guide pin caps,
-the retaining spring.
aSet the wheels straight ahead.
aClip the cap on the shock absorber base by aligning
the marks made on indelible pencil.III - FINAL OPERATION
aRefit the front wheels (see 35A, Wheels and tyres,
Wheel: Removal - Refitting, page 35A-1) .
114436
WARNING
In order not to damage the brake hose:
-do not tension the hose,
-do not twist the hose,
-check that there is no contact with the sur-
rounding components.
IMPORTANT
To avoid any accident, bring the pistons, brake
pads and brake discs into contact by depressing
the brake pad several times.
Page 51 of 281
31A-8
FRONT AXLE COMPONENTS
Front brake calliper: Removal - Refitting
EQ UIPMENT LEVEL EA0 or EQUIPMENT LEVEL EA1 or EQUIPMENT LEVEL EA3 or EQUIPMENT LEVEL EA5
or EQUIPMENT LEVEL EAG or EQUIPMENT LEVEL EZ2 or EQUIPMENT LEVEL EZ4
31A
REMOVAL
I - REMOVAL PREPARATION OPERATION
aPosition the vehicle on a two-post lift (see Vehicle:
Towing and lifting) .
aFit the pedal press to the brake pedal to limit the
outflow of brake fluid.
aUnlock the steering column.
aRemove the front wheel on the side concerned (see
35A, Wheels and tyres, Wheel: Removal - Refit-
ting, page 35A-1) .II - OPERATION FOR REMOVAL OF PART
CONCERNED
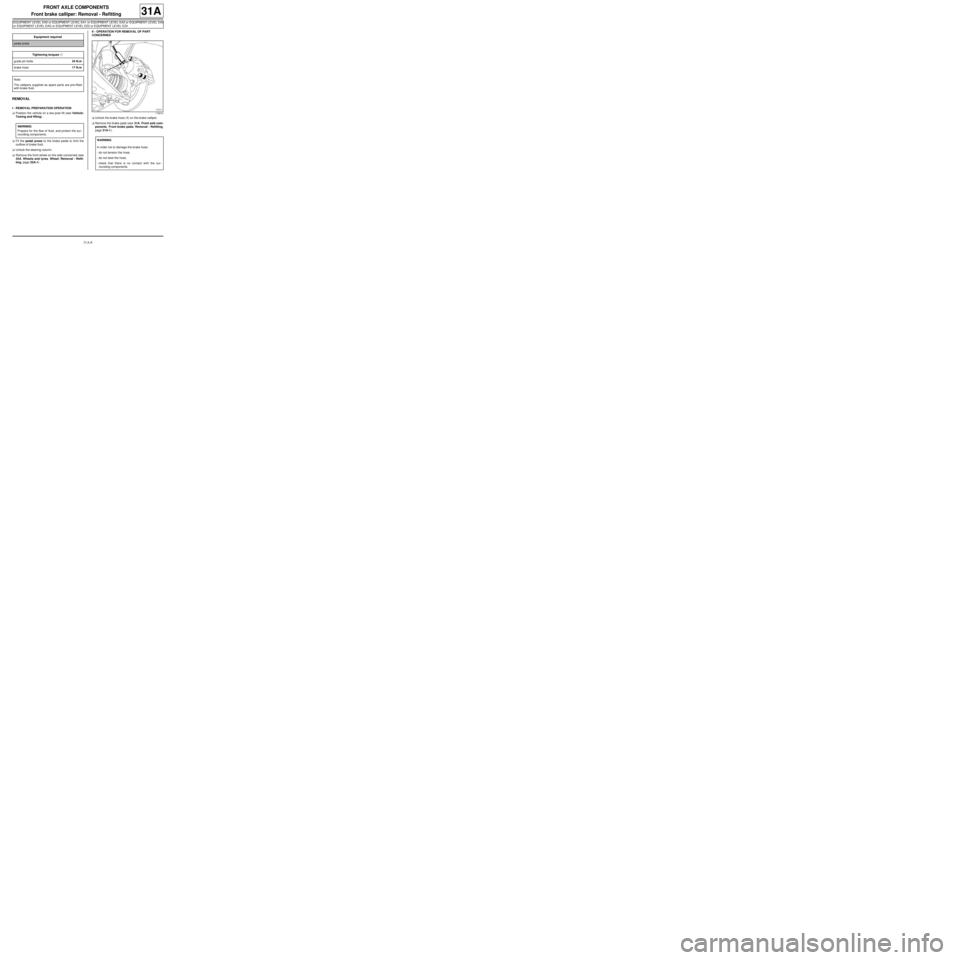
aUnlock the brake hose (1) on the brake calliper.
aRemove the brake pads (see 31A, Front axle com-
ponents, Front brake pads: Removal - Refitting,
page 31A-1) . Equipment required
pedal press
Tightening torquesm
guide pin bolts34 N.m
brake hose17 N.m
Note:
The callipers supplied as spare par ts are pre-filled
with br ake fluid.
WARNING
Prepare for the flow of fluid, and protect the sur-
rounding components.
119214
WARNING
In order not to damage the brake hose:
-do not tension the hose,
-do not twist the hose,
-check that there is no contact with the sur-
rounding components.
Page 52 of 281
31A-9
FRONT AXLE COMPONENTS
Front brake calliper: Removal - Refitting
EQ UIPMENT LEVEL EA0 or EQUIPMENT LEVEL EA1 or EQUIPMENT LEVEL EA3 or EQUIPMENT LEVEL EA5
or EQUIPMENT LEVEL EAG or EQUIPMENT LEVEL EZ2 or EQUIPMENT LEVEL EZ4
31A
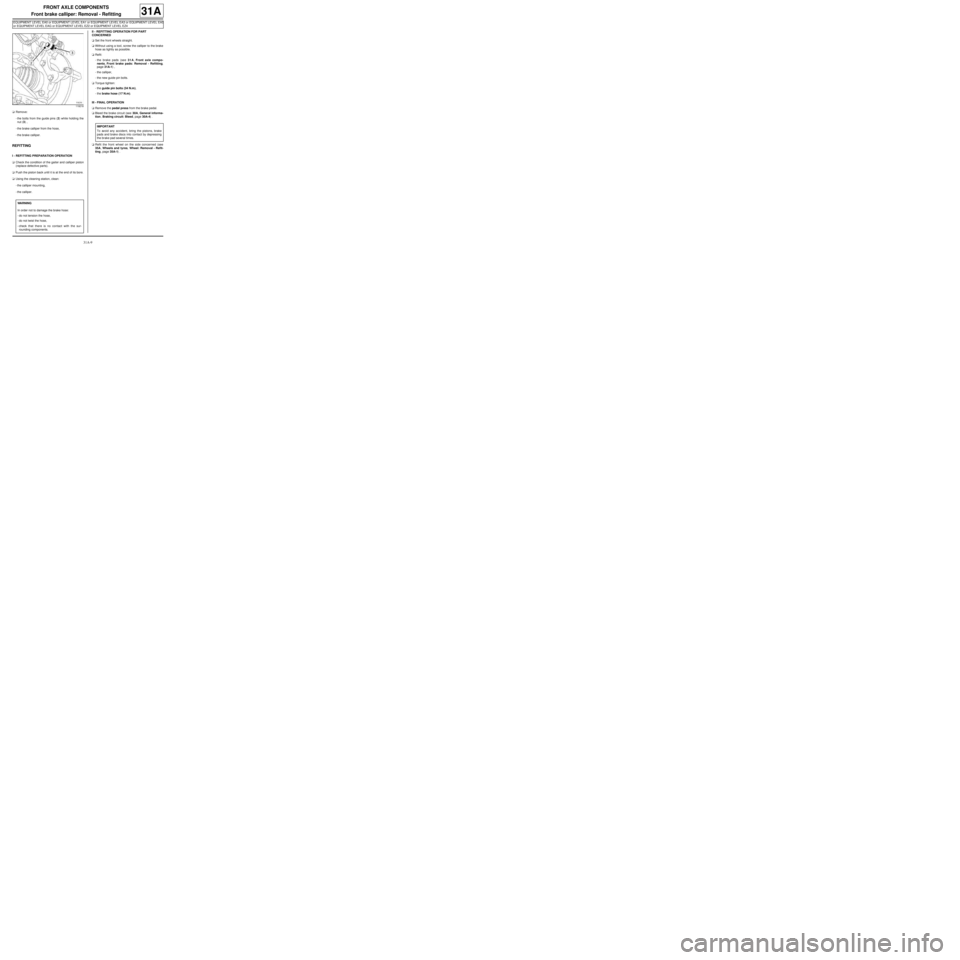
aRemove:
-the bolts from the guide pins (2) while holding the
nut (3) ,
-the brake calliper from the hose,
-the brake calliper.
REFITTING
I - REFITTING PREPARATION OPERATION
aCheck the condition of the gaiter and calliper piston
(replace defective parts).
aPush the piston back until it is at the end of its bore.
aUsing the cleaning station, clean:
-the calliper mounting,
-the calliper.II - REFITTING OPERATION FOR PART
CONCERNED
aSet the front wheels straight.
aWithout using a tool, screw the calliper to the brake
hose as tightly as possible.
aRefit:
-the brake pads (see 31A, Front axle compo-
nents, Front brake pads: Removal - Refitting,
page 31A-1) ,
-the calliper,
-the new guide pin bolts.
aTorque tighten:
-the guide pin bolts (34 N.m),
-the brake hose (17 N.m).
III - FINAL OPERATION
aRemove the pedal press from the brake pedal.
aBleed the brake circuit (see 30A, General informa-
tion, Braking circuit: Bleed, page 30A-4) .
aRefit the front wheel on the side concerned (see
35A, Wheels and tyres, Wheel: Removal - Refit-
ting, page 35A-1) .
119218
WARNING
In order not to damage the brake hose:
-do not tension the hose,
-do not twist the hose,
-check that there is no contact with the sur-
rounding components.
IMPORTANT
To avoid any accident, bring the pistons, brake
pads and brake discs into contact by depressing
the brake pad several times.
Page 57 of 281
31A-14
FRONT AXLE COMPONENTS
Front brake calliper mounting: Removal - Refitting
EQ UIPMENT LEVEL EA0 or EQUIPMENT LEVEL EA1 or EQUIPMENT LEVEL EA3 or EQUIPMENT LEVEL EA5
or EQUIPMENT LEVEL EAG or EQUIPMENT LEVEL EZ2 or EQUIPMENT LEVEL EZ4
31A
REMOVAL
I - REMOVAL PREPARATION OPERATION
aPosition the vehicle on a two-post lift (see Vehicle:
Towing and lifting) (02A, Lifting equipment).
aRemove:
-the front wheel (see 35A, Wheels and tyres,
Wheel: Removal - Refitting, page 35A-1) ,
-the front brake pads (see 31A, Front axle compo-
nents, Front brake pads: Removal - Refitting,
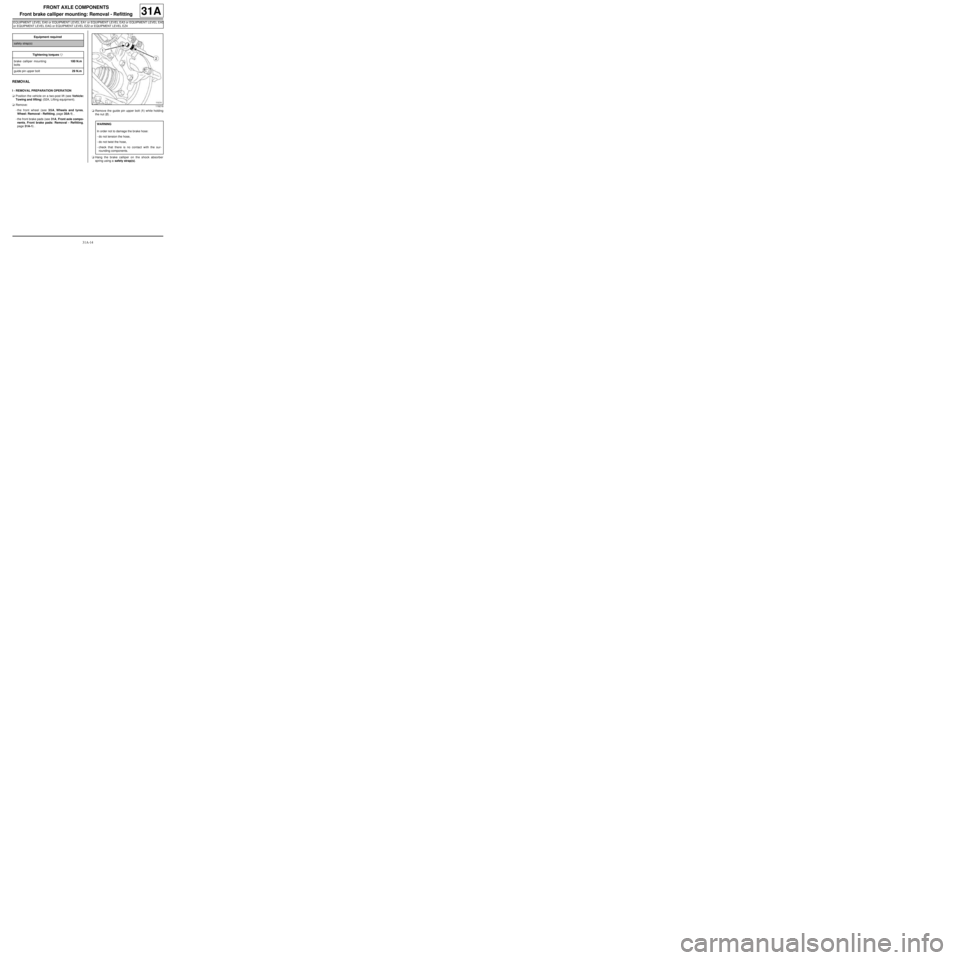
page 31A-1) .aRemove the guide pin upper bolt (1) while holding
the nut (2) .
aHang the brake calliper on the shock absorber
spring using a safety strap(s). Equipment required
safety strap(s)
Tightening torquesm
brake calliper mounting
bolts100 N.m
guide pin upper bolt29 N.m
119218
WARNING
In order not to damage the brake hose:
-do not tension the hose,
-do not twist the hose,
-check that there is no contact with the sur-
rounding components.
Page 58 of 281
31A-15
FRONT AXLE COMPONENTS
Front brake calliper mounting: Removal - Refitting
EQ UIPMENT LEVEL EA0 or EQUIPMENT LEVEL EA1 or EQUIPMENT LEVEL EA3 or EQUIPMENT LEVEL EA5
or EQUIPMENT LEVEL EAG or EQUIPMENT LEVEL EZ2 or EQUIPMENT LEVEL EZ4
31A
II - REMOVAL OPERATION
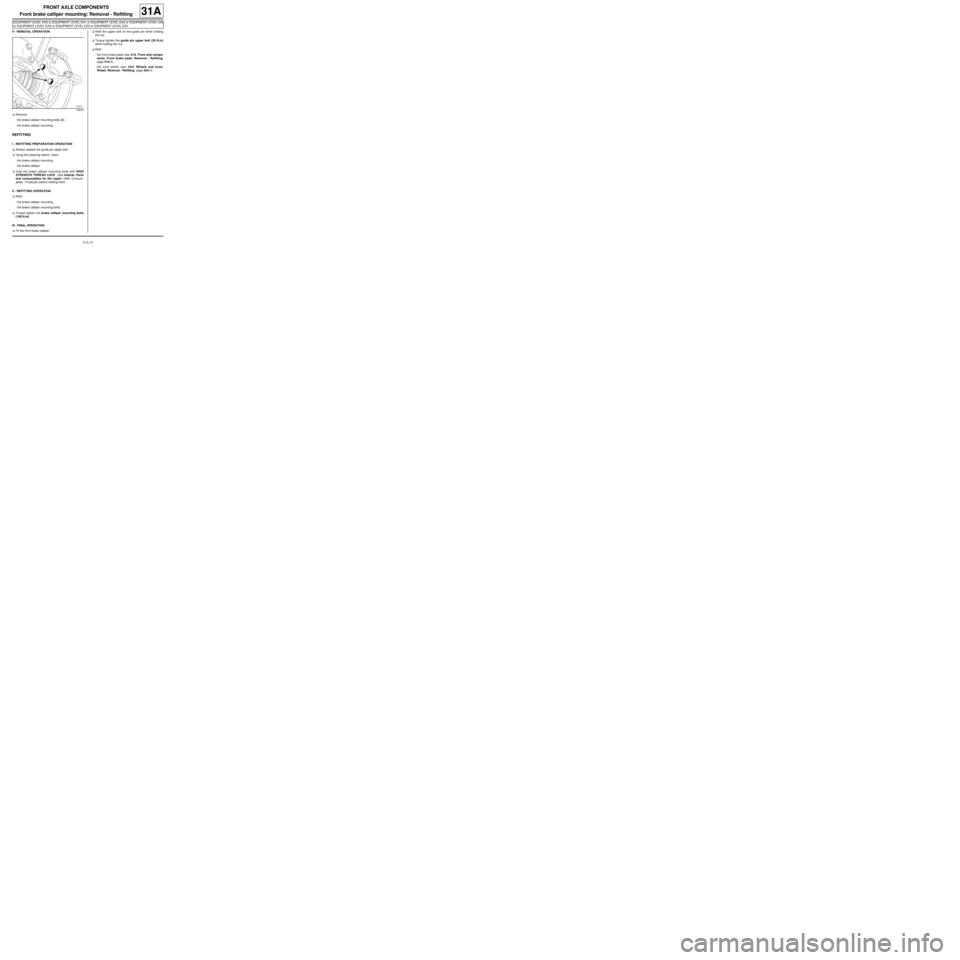
aRemove:
-the brake calliper mounting bolts (3) ,
-the brake calliper mounting.
REFITTING
I - REFITTING PREPARATION OPERATION
aAlways replace the guide pin upper bolt.
aUsing the cleaning station, clean:
-the brake calliper mounting,
-the brake calliper.
aCoat the brake calliper mounting bolts with HIGH
STRENGTH THREAD LOCK (see Vehicle: Parts
and consumables for the repair) (04B, Consum-
ables - Products) before refitting them.
II - REFITTING OPERATION
aRefit:
-the brake calliper mounting,
-the brake calliper mounting bolts.
aTorque tighten the brake calliper mounting bolts
(100 N.m).
III - FINAL OPERATION
aFit the front brake calliper.aRefit the upper bolt on the guide pin while holding
the nut.
aTorque tighten the guide pin upper bolt (29 N.m)
while holding the nut.
aRefit:
-the front brake pads (see 31A, Front axle compo-
nents, Front brake pads: Removal - Refitting,
page 31A-1) ,
-the front wheel (see 35A, Wheels and tyres,
Wheel: Removal - Refitting, page 35A-1) .
119219
Page 59 of 281
31A-16
FRONT AXLE COMPONENTS
Front brake calliper mounting: Removal - Refitting
EQ UIPMENT LEVEL SPORT
31A
REMOVAL
I - REMOVAL PREPARATION OPERATION
aPosition the vehicle on a two-post lift (see Vehicle:
Towing and lifting) (02A, Lifting equipment).
aRemove:
-the front wheel (see 35A, Wheels and tyres,
Wheel: Removal - Refitting, page 35A-1) ,
-the front brake pads (see 31A, Front axle compo-
nents, Front brake pads: Removal - Refitting,
page 31A-1) .II - REMOVAL OPERATION
aRemove:
-the calliper mounting bolts (1) ,
-the calliper mounting.
REFITTING
I - REFITTING PREPARATION OPERATION
aClean using a wire brush and BRAKE CLEANER
(see Vehicle: Parts and consumables for the re-
pair) (04B, Consumables - Products):
-the calliper mounting,
-the calliper,
-the hub carrier.
aparts always to be replaced: Front brake calliper
mounting bolt.
II - REFITTING OPERATION
aRefit the calliper mounting.
aTorque tighten the calliper mounting bolts (100
N.m).
III - FINAL OPERATION
aRefit:
-the front brake pads (see 31A, Front axle compo-
nents, Front brake pads: Removal - Refitting,
page 31A-1) , Tightening torquesm
calliper mounting bolts100 N.m
IMPORTANT
To avoid all risk of damage to the systems, apply
the safety and cleanliness instructions and opera-
tion recommendations before carrying out any
repair:
- (see Front axle components: Precautions for
the repair) ,
- (see Vehicle: Precautions for the repair) (01D,
Mechanical introduction).
145125
Page 61 of 281
31A-18
FRONT AXLE COMPONENTS
Front brake disc protector: Removal - Refitting
31A
REMOVAL
I - REMOVAL PREPARATION OPERATION
aPosition the vehicle on a two-post lift (see Vehicle:
Towing and lifting) (MR 411, 02A, Lifting equip-
ment).
aRemove:
-the front wheel (see 35A, Wheels and tyres,
Wheel: Removal - Refitting, page 35A-1) ,
-the front brake pads (see 31A, Front axle compo-
nents, Front brake pads: Removal - Refitting,
page 31A-1) ,
-the calliper mounting (see 31A, Front axle com-
ponents, Front brake calliper mounting: Re-
moval - Refitting, page 31A-14) ,
-the front brake disc (see 31A, Front axle compo-
nents, Front brake disc: Removal - Refitting,
page 31A-19) ,
-the hub carrier (see 31A, Front axle components,
Front driveshaft hub carrier: Removal - Refit-
ting, page 31A-23) ,
-the hub carrier bearing (see 31A, Front axle com-
ponents, Front hub carrier bearing: Removal -
Refitting, page 31A-26) .
II - OPERATION FOR REMOVAL OF PART
CONCERNED
aRemove:
-the brake disc protector bolts (1) ,-the brake disc protector (2) .
REFITTING
I - REFITTING PREPARATIONS OPERATION
aAlways replace the hub carrier bearing when a hub
is removed (see 31A, Front axle components,
Front hub carrier bearing: Removal - Refitting,
page 31A-26) .
II - REFITTING OPERATION FOR PART
CONCERNED
aRefit:
-the brake disc protector,
-the brake disc protector bolts.
aTorque tighten the brake disc protector bolts (8
Nm ).
III - FINAL OPERATION.
aRefit:
-the hub carrier bearing (see 31A, Front axle com-
ponents, Front hub carrier bearing: Removal -
Refitting, page 31A-26) ,
-the hub carrier (see 31A, Front axle components,
Front driveshaft hub carrier: Removal - Refit-
ting, page 31A-23) ,
-the front brake disc (see 31A, Front axle compo-
nents, Front brake disc: Removal - Refitting,
page 31A-19) ,
-the calliper mounting (see 31A, Front axle com-
ponents, Front brake calliper mounting: Re-
moval - Refitting, page 31A-14) ,
-the front brake pads (see 31A, Front axle compo-
nents, Front brake pads: Removal - Refitting,
page 31A-1) ,
-the front wheel (see 35A, Wheels and tyres,
Wheel: Removal - Refitting, page 35A-1) . Tightening torquesm
brake disc protector
bolts8 Nm
121610