K4M RENAULT TWINGO RS 2009 2.G Engine And Peripherals Workshop Manual
[x] Cancel search | Manufacturer: RENAULT, Model Year: 2009, Model line: TWINGO RS, Model: RENAULT TWINGO RS 2009 2.GPages: 652
Page 560 of 652
19A-50
COOLING
Water chamber: Removal - Refitting
K4M
19A
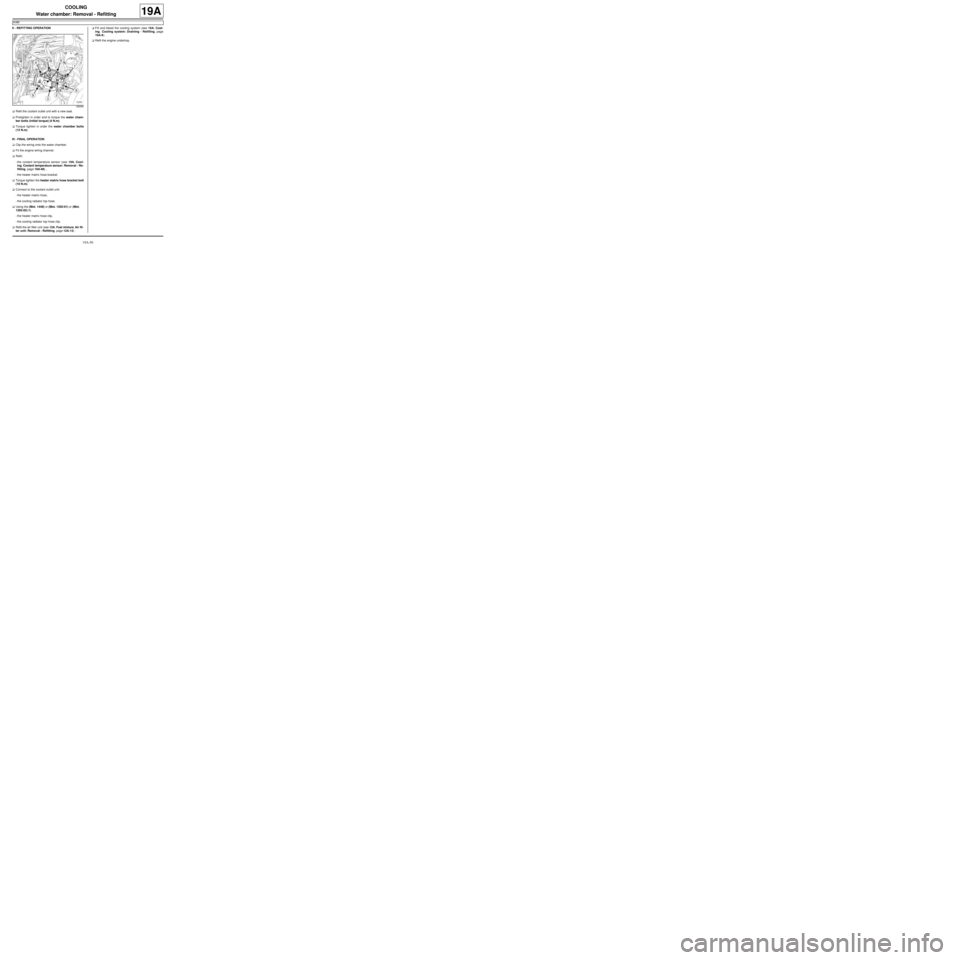
II - REFITTING OPERATION
aRefit the coolant outlet unit with a new seal.
aPretighten in order and to torque the water cham-
ber bolts (initial torque) (4 N.m).
aTorque tighten in order the water chamber bolts
(12 N.m).
III - FINAL OPERATION
aClip the wiring onto the water chamber.
aFit the engine wiring channel.
aRefit:
-the coolant temperature sensor (see 19A, Cool-
ing, Coolant temperature sensor: Removal - Re-
fitting, page 19A-66) ,
-the heater matrix hose bracket.
aTorque tighten the heater matrix hose bracket bolt
(10 N.m).
aConnect to the coolant outlet unit:
-the heater matrix hose,
-the cooling radiator top hose.
aUsing the (Mot. 1448) or (Mot. 1202-01) or (Mot.
1202-02) fit:
-the heater matrix hose clip,
-the cooling radiator top hose clip.
aRefit the air filter unit (see 12A, Fuel mixture, Air fil-
ter unit: Removal - Refitting, page 12A-13) .aFill and bleed the cooling system (see 19A, Cool-
ing, Cooling system: Draining - Refilling, page
19A-9) .
aRefit the engine undertray.
128456
Page 566 of 652

19A-56
COOLING
Engine cooling fan assembly: Removal - Refitting
K4M
19A
REMOVAL
I - REMOVAL PREPARATION OPERATION
aPosition the vehicle on a two-post lift (see Vehicle:
Towing and lifting) (02A, Lifting equipment).
aDisconnect the battery (see Battery: Removal - Re-
fitting) (80A, Battery).
aRemove:
-the engine undertray,
-the front wheels (see Wheel: Removal - Refitting)
(35A, Wheels and tyres),
-the front wheel arch liners (see Front wheel arch
liner: Removal - Refitting) (55A, Exterior protec-
tion),
-the front bumper (see Front bumper: Removal -
Refitting) (55A, Exterior protection),
-the headlights (see Halogen headlight: Removal
- Refitting) (80B, Headlights),
-the bonnet catch (see Bonnet lock: Removal -
Refitting) (52A, Non-side opening element mecha-
nisms),
-the front upper cross member (see Front upper
cross member: Removal - Refitting) (42A, Upper
front structure).
aRemove the air inlet pipe scoop (1) .II - REMOVAL OPERATION
aDisconnect:
-the engine cooling fan assembly resistor connector
(2) ,
-the engine cooling fan assembly connector (3) .
aUnclip:
-the engine cooling fan assembly wiring at (4) ,
-the cooling radiator top and bottom hose from the
engine cooling fan assembly.
aUnclip the engine cooling fan assembly from the ra-
diator at (5) by pushing it upwards to detach the
brackets holding it.
aRemove the engine cooling fan assembly upwards.
REFITTING
I - REFITTING OPERATION
aFit the engine cooling fan assembly:
aClip the engine cooling fan assembly to the cooling
radiator.
aClip:
-the cooling radiator top and bottom hose on the en-
gine cooling fan assembly,
-the engine cooling fan assembly wiring.
aConnect:
-the engine cooling fan assembly connector,
145934
132336
Page 567 of 652

19A-57
COOLING
Engine cooling fan assembly: Removal - Refitting
K4M
19A
-the engine cooling fan assembly resistor connec-
tor.
II - FINAL OPERATION
aRefit:
-the air inlet pipe scoop,
-the front upper cross member (see Front upper
cross member: Removal - Refitting) (42A, Upper
front structure),
-the bonnet catch (see Bonnet lock: Removal -
Refitting) (52A, Non-side opening element mecha-
nisms),
-the headlights (see Halogen headlight: Removal
- Refitting) (80B, Headlights),
-the front bumper (see Front bumper: Removal -
Refitting) (55A, Exterior protection),
-the front wheel arch liners (see Front wheel arch
liner: Removal - Refitting) (55A, Exterior protec-
tion),
-the front wheels (see Wheel: Removal - Refitting)
(35A, Wheels and tyres),
-the engine undertray.
aConnect the battery (see Battery: Removal - Refit-
ting) (80A, Battery).
Page 572 of 652
19A-62
COOLING
Coolant pump inlet pipe: Removal - Refitting
K4M
19A
REMOVAL
I - REMOVAL PREPARATION OPERATION
aPosition the vehicle on a two-post lift (see Vehicle:
Towing and lifting) (02A, Lifting equipment).
aDisconnect the battery (see ) (80A, Battery).
aRemove the engine undertray.
aDrain the cooling system (see 19A, Cooling, Cool-
ing system: Draining - Refilling, page 19A-9) .
aRemove:
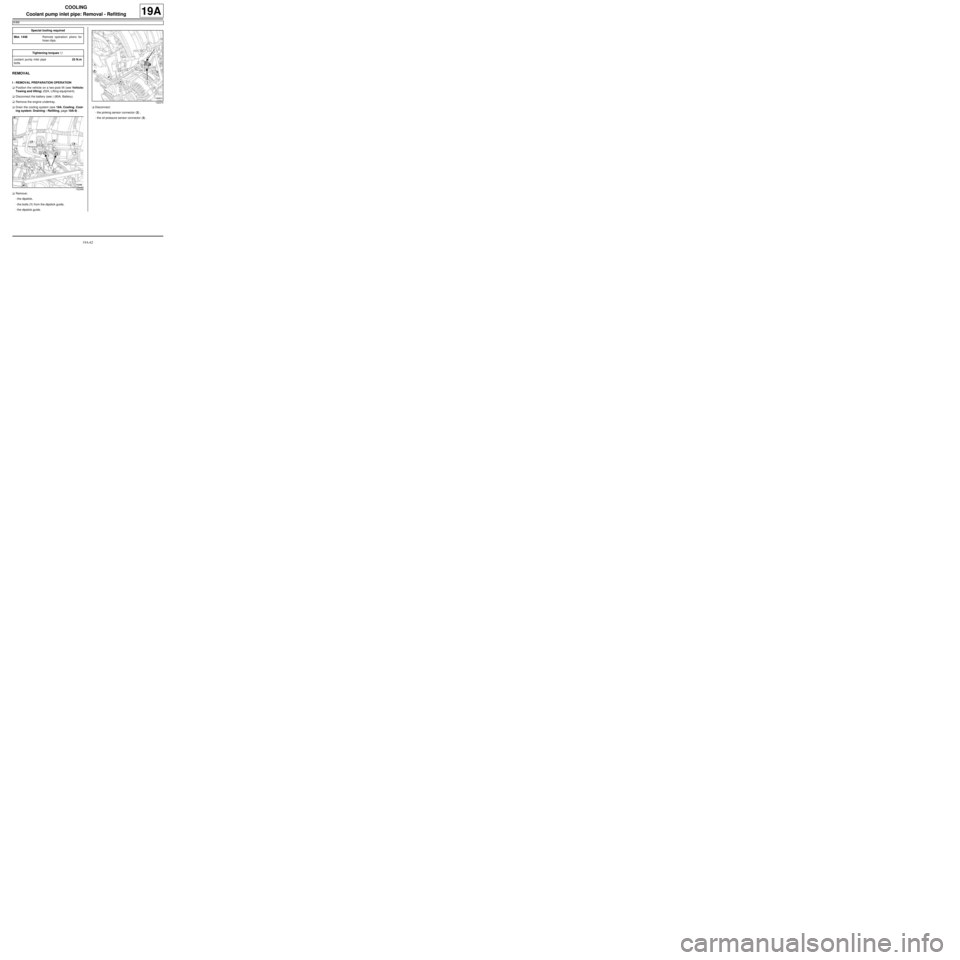
-the dipstick,
-the bolts (1) from the dipstick guide,
-the dipstick guide.aDisconnect:
-the pinking sensor connector (2) ,
-the oil pressure sensor connector (3) . Special tooling required
Mot. 1448Remote operation pliers for
hose clips .
Tightening torquesm
coolant pump inlet pipe
bolts25 N.m
132368
132374
Page 573 of 652
19A-63
COOLING
Coolant pump inlet pipe: Removal - Refitting
K4M
19A
II - REMOVAL OPERATION
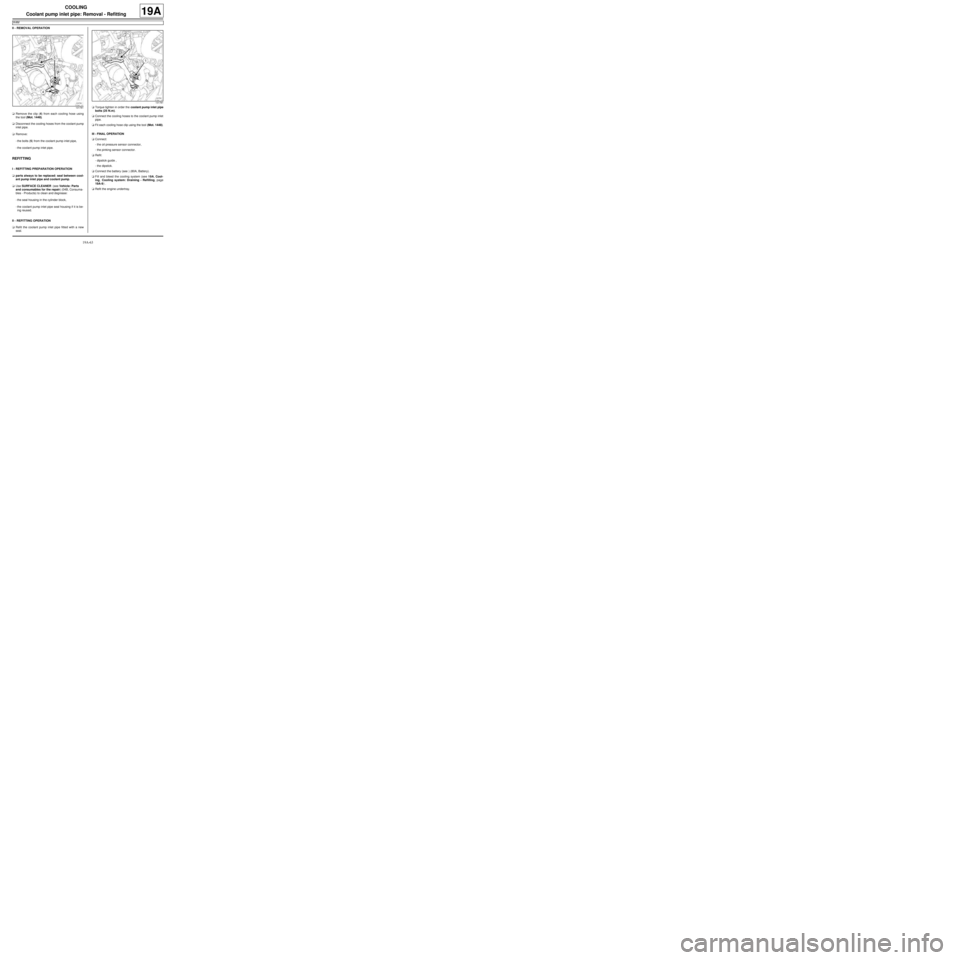
aRemove the clip (4) from each cooling hose using
the tool (Mot. 1448).
aDisconnect the cooling hoses from the coolant pump
inlet pipe.
aRemove:
-the bolts (5) from the coolant pump inlet pipe,
-the coolant pump inlet pipe.
REFITTING
I - REFITTING PREPARATION OPERATION
aparts always to be replaced: seal between cool-
ant pump inlet pipe and coolant pump.
aUse SURFACE CLEANER (see Vehicle: Parts
and consumables for the repair) (04B, Consuma-
bles - Products) to clean and degrease:
-the seal housing in the cylinder block,
-the coolant pump inlet pipe seal housing if it is be-
ing reused.
II - REFITTING OPERATION
aRefit the coolant pump inlet pipe fitted with a new
seal.aTorque tighten in order the coolant pump inlet pipe
bolts (25 N.m).
aConnect the cooling hoses to the coolant pump inlet
pipe.
aFit each cooling hose clip using the tool (Mot. 1448).
III - FINAL OPERATION
aConnect:
-the oil pressure sensor connector,
-the pinking sensor connector.
aRefit:
-dipstick guide ,
-the dipstick.
aConnect the battery (see ) (80A, Battery).
aFill and bleed the cooling system (see 19A, Cool-
ing, Cooling system: Draining - Refilling, page
19A-9) .
aRefit the engine undertray.
131781
131781
Page 574 of 652
19A-64
COOLING
Expansion bottle: Removal - Refitting
D4F or D7F or K4M or K9K
19A
REMOVAL
I - REMOVAL PREPARATION OPERATION
aPosition the vehicle on a two-post lift (see Vehicle:
Towing and lifting) (02A, Lifting equipment).
aRemove:
-the front wheels (see Wheel: Removal - Refitting)
(35A, Wheels and tyres),
-the front wheel arch liners (see Front wheel arch
liner: Removal - Refitting) (55A, Exterior protec-
tion),
-the front bumper (see Front bumper: Removal -
Refitting) (55A, Exterior protection).
aRemove the front engine cover.
aRemove the oil filler neck.II - OPERATION FOR REMOVAL OF PART
CONCERNED
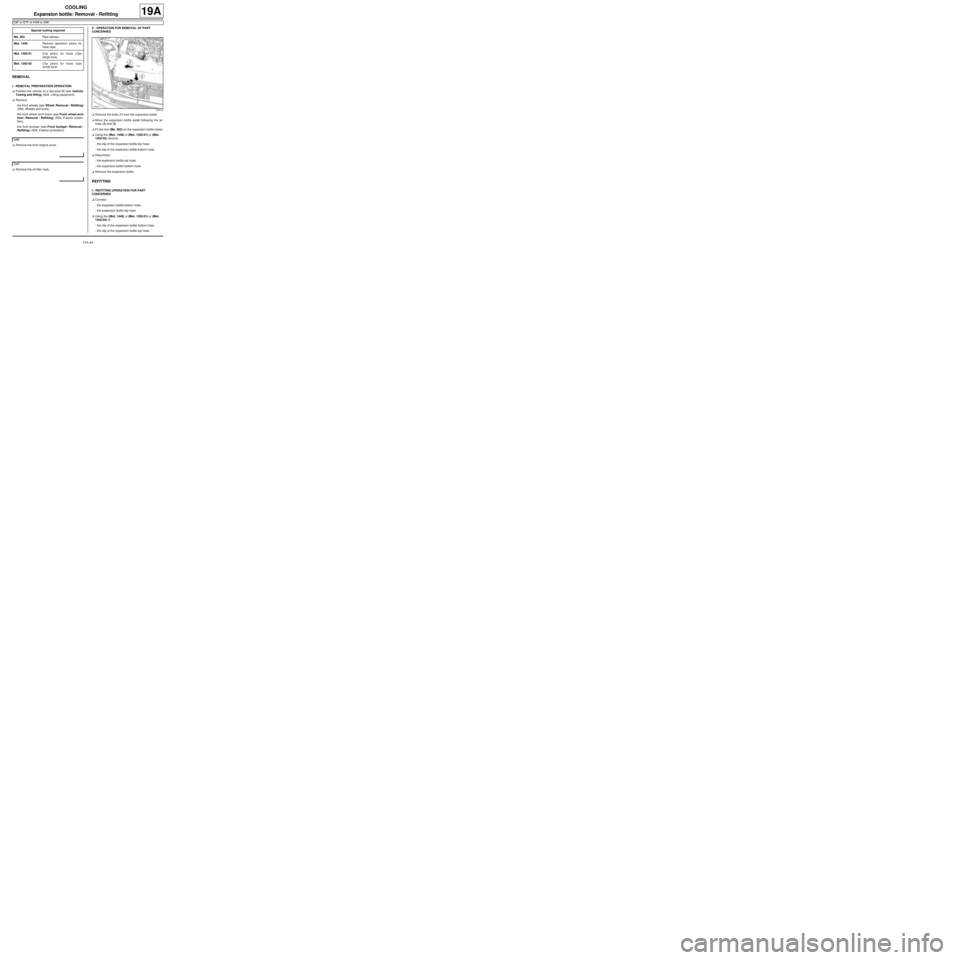
aRemove the bolts (1) from the expansion bottle.
aMove the expansion bottle aside following the ar-
rows (2) and (3) .
aFit the tool (Ms. 583) on the expansion bottle hoses.
aUsing the (Mot. 1448) or (Mot. 1202-01) or (Mot.
1202-02) remove:
-the clip of the expansion bottle top hose,
-the clip of the expansion bottle bottom hose.
aDisconnect:
-the expansion bottle top hose,
-the expansion bottle bottom hose.
aRemove the expansion bottle.
REFITTING
I - REFITTING OPERATION FOR PART
CONCERNED
aConnect:
-the expansion bottle bottom hose,
-the expansion bottle top hose.
aUsing the (Mot. 1448) or (Mot. 1202-01) or (Mot.
1202-02) fit:
-the clip of the expansion bottle bottom hose,
-the clip of the expansion bottle top hose. Special tooling required
Ms. 583Pipe clamps .
Mot. 1448Remote operation pliers for
hose clips .
Mot. 1202-01Clip pliers for hose clips
(large size).
Mot. 1202-02Clip pliers for hose clips
(small size)
K9K
D4F
120514
Page 575 of 652
19A-65
COOLING
Expansion bottle: Removal - Refitting
D4F or D7F or K4M or K9K
19A
aRemove the tool (Ms. 583) from the expansion bottle
hoses.
aRefit the expansion bottle.
II - FINAL OPERATION
aTop up the coolant level in the expansion bottle.
aRefit:
-the front bumper (see Front bumper: Removal -
Refitting) (55A, Exterior protection),
-the front wheel arch liners (see Front wheel arch
liner: Removal - Refitting) (55A, Exterior protec-
tion),
-the front wheels (see Wheel: Removal - Refitting)
(35A, Wheels and tyres).
aRefit the engine cover.
aRefit the oil filler neck. K9K
D4F
Page 581 of 652
19A-71
COOLING
Coolant temperature sensor: Removal - Refitting
K4M
19A
REMOVAL
I - REMOVAL PREPARATION OPERATION
aRemove the air filter unit (see 12A, Fuel mixture,
Air filter unit: Removal - Refitting, page 12A-13) .II - REMOVAL OPERATION
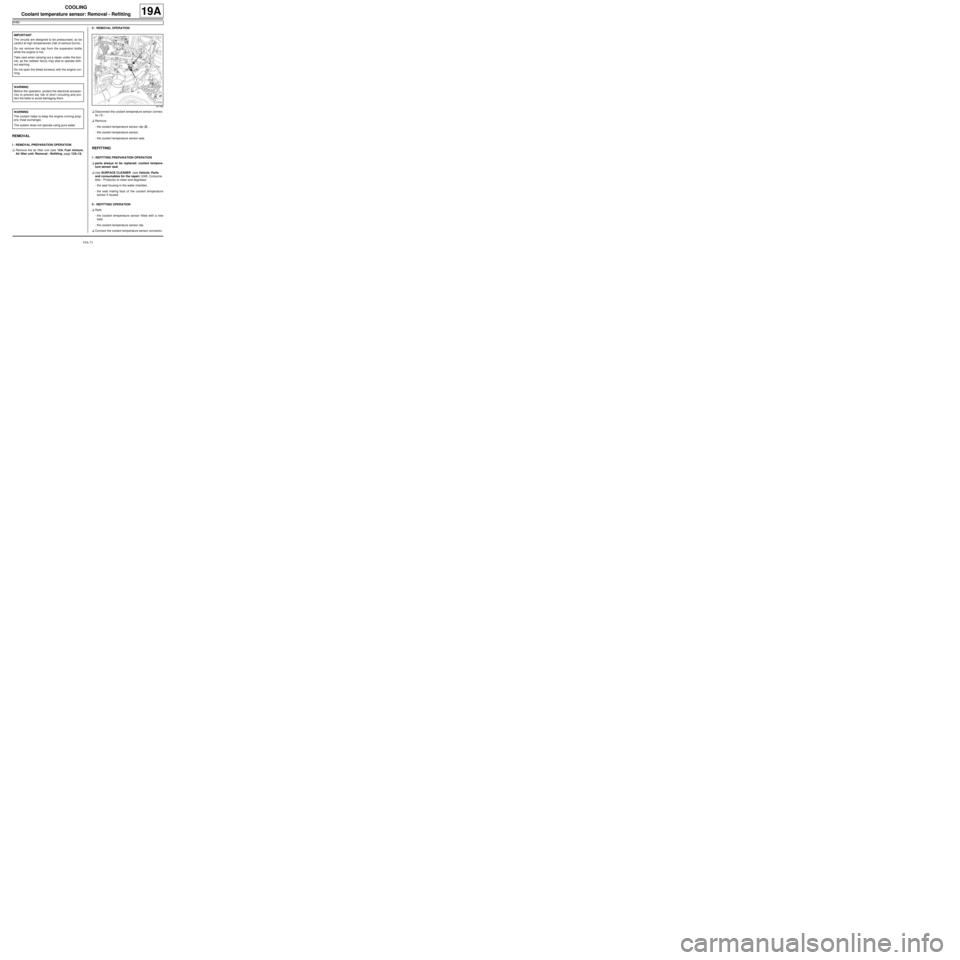
aDisconnect the coolant temperature sensor connec-
tor (1) .
aRemove:
-the coolant temperature sensor clip (2) ,
-the coolant temperature sensor,
-the coolant temperature sensor seal.
REFITTING
I - REFITTING PREPARATION OPERATION
aparts always to be replaced: coolant tempera-
ture sensor seal.
aUse SURFACE CLEANER (see Vehicle: Parts
and consumables for the repair) (04B, Consuma-
bles - Products) to clean and degrease:
-the seal housing in the water chamber,
-the seal mating face of the coolant temperature
sensor if reused.
II - REFITTING OPERATION
aRefit:
-the coolant temperature sensor fitted with a new
seal,
-the coolant temperature sensor clip.
aConnect the coolant temperature sensor connector. IMPORTANT
The circuits are designed to be pressurised, so be
careful at high temperatures (risk of serious burns).
Do not remove the cap from the expansion bottle
while the engine is hot.
Take care when carrying out a repair under the bon-
net, as the radiator fan(s) may start to operate with-
out warning.
Do not open the bleed screw(s) with the engine run-
ning.
WARNING
Before the operation, protect the electrical accesso-
ries to prevent any risk of shor t circuiting and pro-
tect the belts to avoid damaging them.
WARNING
The coolant helps to keep the engine running prop-
erly (heat exchange).
The system does not operate using pure water.
131762
Page 582 of 652
19A-72
COOLING
Coolant temperature sensor: Removal - Refitting
K4M
19A
III - FINAL OPERATION
aRefit the air filter unit (see 12A, Fuel mixture, Air fil-
ter unit: Removal - Refitting, page 12A-13) .
aPerform the following operations:
-top up the coolant level,
-bleed the cooling system (see 19A, Cooling, Cool-
ing system: Draining - Refilling, page 19A-9) .
Page 588 of 652
19B-6
EXHAUST
Exhaust: List and location of components
19B
K4M
132480