54A-8
WINDOWS
Sunroof fixed window: Removal - Refitting
54A
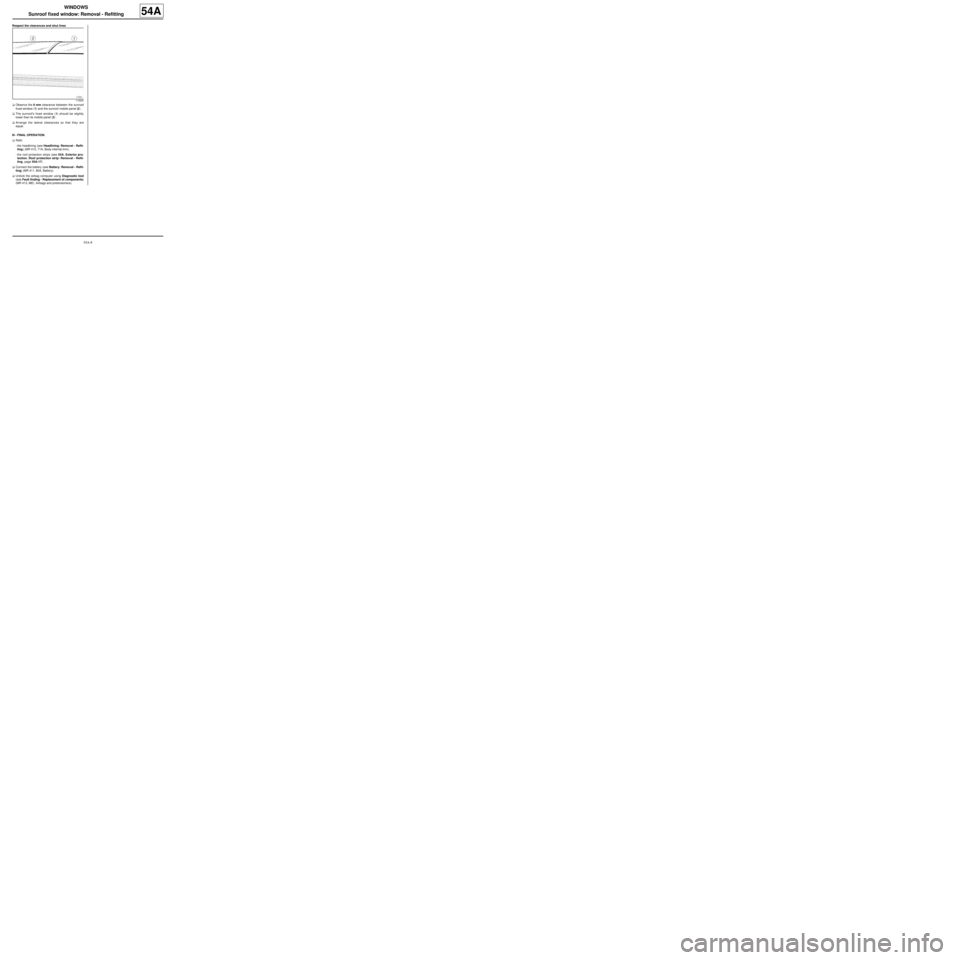
Respect the clearances and shut lines
aObserve the 6 mm clearance between the sunroof
fixed window (1) and the sunroof mobile panel (2) .
aThe sunroof's fixed window (1) should be slightly
lower than its mobile panel (2) .
aArrange the lateral clearances so that they are
equal.
III - FINAL OPERATION.
aRefit:
-the headlining (see Headlining: Removal - Refit-
ting) (MR 412, 71A, Body internal trim),
-the roof protection strips (see 55A, Exterior pro-
tection, Roof protection strip: Removal - Refit-
ting, page 55A-17) .
aConnect the battery (see Battery: Removal - Refit-
ting) (MR 411, 80A, Battery).
aUnlock the airbag computer using Diagnostic tool
(see Fault finding - Replacement of components)
(MR 413, 88C, Airbags and pretensioners).
113525
56A-11
EXTERIOR EQUIPMENT
Side decorative strips: Removal - Refitting
56A
a
REMOVAL
I - REMOVAL PREPARATION OPERATION
aRemove:
-the front door exterior weatherstrip (see Front side
door exterior weatherstrip: Removal - Refitting)
,
-the front door glass run channel (see Front side
door window run channel: Removal - Refitting) .
II - REMOVAL OPERATION FOR PART
CONCERNED
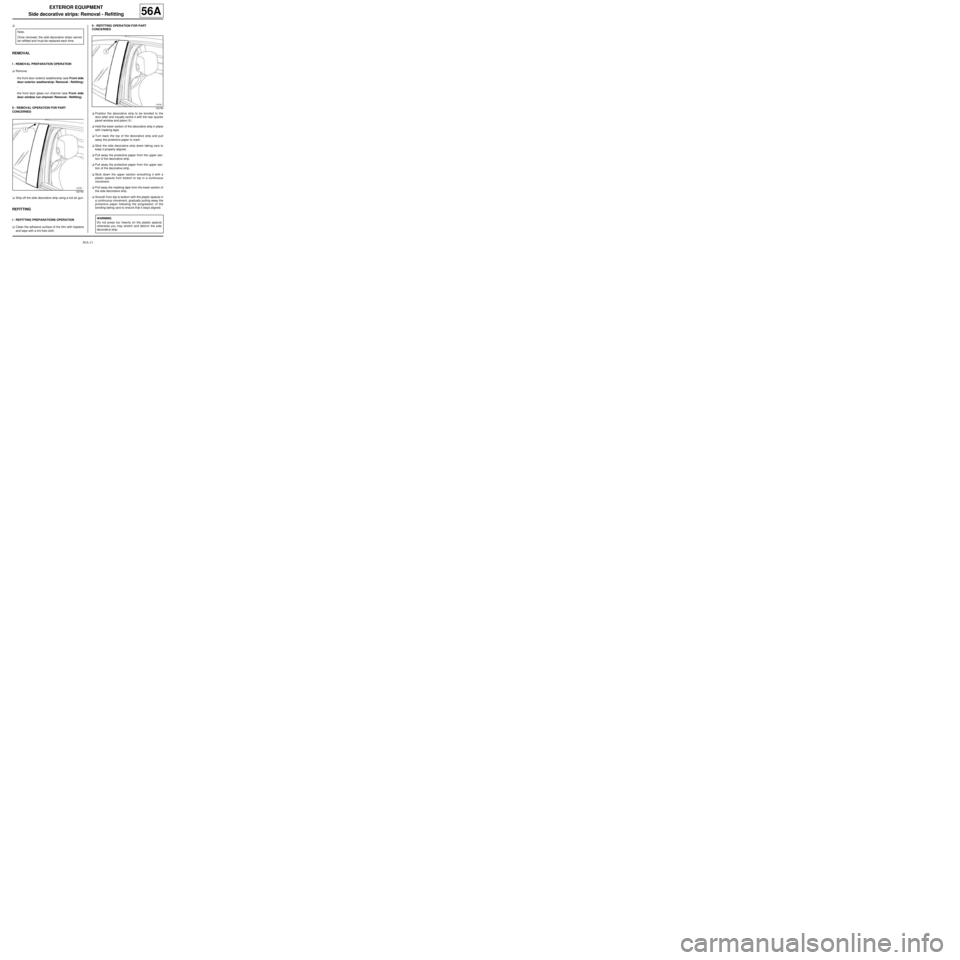
aStrip off the side decorative strip using a hot air gun.
REFITTING
I - REFITTING PREPARATIONS OPERATION
aClean the adhesive surface of the film with heptane
and wipe with a lint-free cloth.II - REFITTING OPERATION FOR PART
CONCERNED
aPosition the decorative strip to be bonded to the
door pillar and visually centre it with the rear quarter
panel window end piece (1) .
aHold the lower section of the decorative strip in place
with masking tape.
aTurn back the top of the decorative strip and pull
away the protective paper to mark.
aStick the side decorative strip down taking care to
keep it properly aligned.
aPull away the protective paper from the upper sec-
tion of the decorative strip.
aPull away the protective paper from the upper sec-
tion of the decorative strip.
aStick down the upper section smoothing it with a
plastic spatula from bottom to top in a continuous
movement.
aPull away the masking tape from the lower section of
the side decorative strip.
aSmooth from top to bottom with the plastic spatula in
a continuous movement, gradually pulling away the
protective paper following the progression of the
bonding taking care to ensure that it stays aligned. Note:
Once removed, the side decorative strips cannot
be refitted and must be replaced each time.
120790
120790
WARNING
Do not press too heavily on the plastic spatula
otherwise you may stretch and deform the side
decorative strip.

