technical specifications Seat Alhambra 2013 Owners Manual
[x] Cancel search | Manufacturer: SEAT, Model Year: 2013, Model line: Alhambra, Model: Seat Alhambra 2013Pages: 387, PDF Size: 6.13 MB
Page 185 of 387
183
Driving
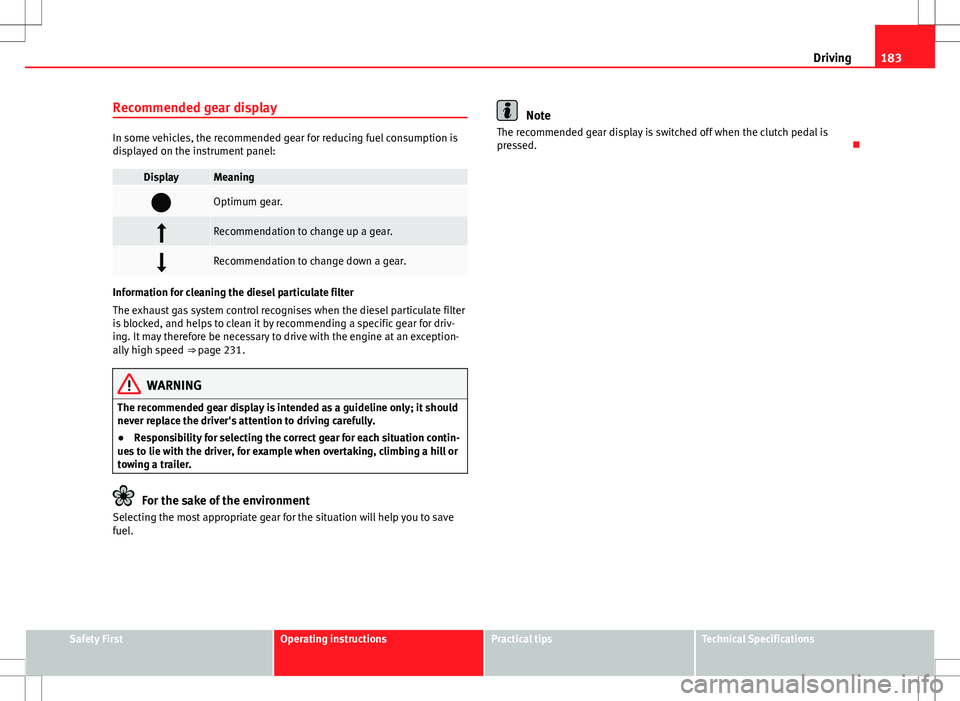
Recommended gear display
In some vehicles, the recommended gear for reducing fuel consumption is
displayed on the instrument panel:
DisplayMeaning
Optimum gear.
Recommendation to change up a gear.
Recommendation to change down a gear.
Information for cleaning the diesel particulate filter
The exhaust gas system control recognises when the diesel particulate filter
is blocked, and helps to clean it by recommending a specific gear for driv-
ing. It may therefore be necessary to drive with the engine at an exception-
ally high speed ⇒ page 231.
WARNING
The recommended gear display is intended as a guideline only; it should
never replace the driver's attention to driving carefully.
● Responsibility for selecting the correct gear for each situation contin-
ues to lie with the driver, for example when overtaking, climbing a hill or
towing a trailer.
For the sake of the environment
Selecting the most appropriate gear for the situation will help you to save
fuel.
Note
The recommended gear display is switched off when the clutch pedal is
pressed.
Safety FirstOperating instructionsPractical tipsTechnical Specifications
Page 187 of 387
185
Driving
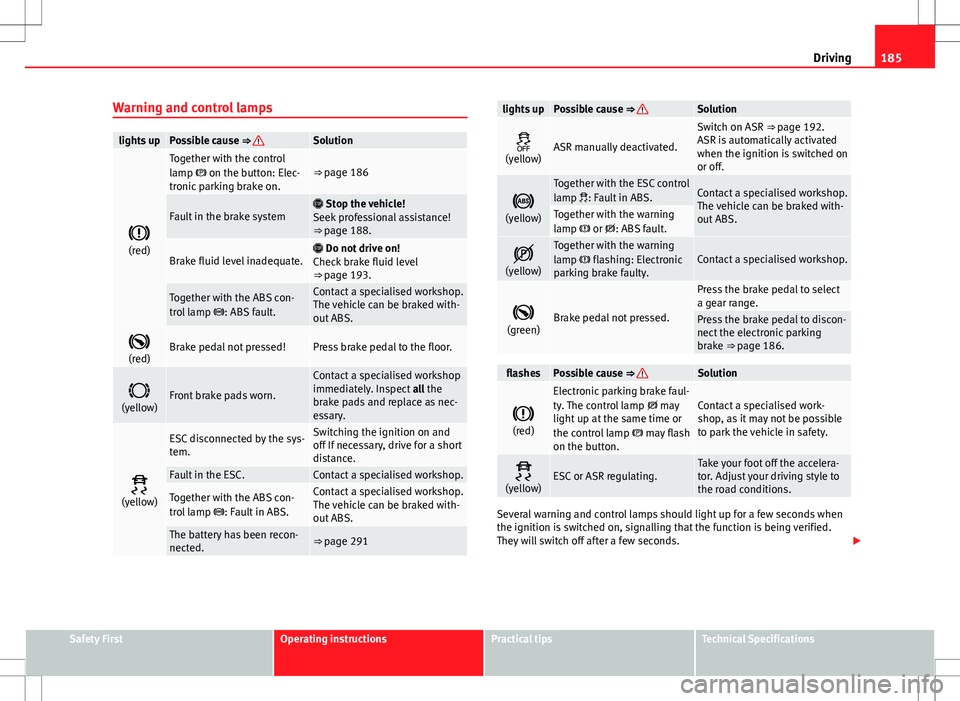
Warning and control lamps
lights upPossible cause ⇒ Solution
(red)
Together with the control
lamp on the button: Elec-
tronic parking brake on.⇒ page 186
Fault in the brake system Stop the vehicle!
Seek professional assistance!
⇒ page 188.
Brake fluid level inadequate. Do not drive on!
Check brake fluid level
⇒ page 193.
Together with the ABS con-
trol lamp : ABS fault.Contact a specialised workshop.
The vehicle can be braked with-
out ABS.
(red)Brake pedal not pressed!Press brake pedal to the floor.
(yellow)Front brake pads worn.
Contact a specialised workshop
immediately. Inspect all the
brake pads and replace as nec-
essary.
(yellow)
ESC disconnected by the sys-
tem.Switching the ignition on and
off If necessary, drive for a short
distance.
Fault in the ESC.Contact a specialised workshop.
Together with the ABS con-
trol lamp : Fault in ABS.Contact a specialised workshop.
The vehicle can be braked with-
out ABS.
The battery has been recon-
nected.⇒ page 291
lights upPossible cause ⇒ Solution
(yellow)ASR manually deactivated.
Switch on ASR ⇒ page 192.
ASR is automatically activated
when the ignition is switched on
or off.
(yellow)
Together with the ESC control
lamp : Fault in ABS.Contact a specialised workshop.
The vehicle can be braked with-
out ABS.
Together with the warning
lamp or : ABS fault.
(yellow)Together with the warning
lamp flashing: Electronic
parking brake faulty.Contact a specialised workshop.
(green)Brake pedal not pressed.
Press the brake pedal to select
a gear range.
Press the brake pedal to discon-
nect the electronic parking
brake ⇒ page 186.
flashesPossible cause ⇒ Solution
(red)
Electronic parking brake faul-
ty. The control lamp may
light up at the same time or
the control lamp may flash
on the button.Contact a specialised work-
shop, as it may not be possible
to park the vehicle in safety.
(yellow)ESC or ASR regulating.Take your foot off the accelera-
tor. Adjust your driving style to
the road conditions.
Several warning and control lamps should light up for a few seconds when
the ignition is switched on, signalling that the function is being verified.
They will switch off after a few seconds.
Safety FirstOperating instructionsPractical tipsTechnical Specifications
Page 189 of 387
187
Driving
seat belt. In vehicles with a manual gearbox the clutch pedal should also be
pressed to the floor before starting the engine so that the system recogni-
ses that the parking brake should be released.
Emergency braking function
Only use the emergency braking function if the vehicle cannot be stopped
with the brake pedal ⇒
!
● Pull button
hard to stop the vehicle. The warning display will be ac-
companied by the corresponding audible warning.
● To stop the braking process, release the button or press the accelerator.
WARNING
The incorrect use of the electronic parking brake may result in serious ac-
cident.
● Never use the electronic parking brake to brake the vehicle except in
an emergency. The braking distance is considerably longer, because
braking is only applied to the rear wheels. Always use the foot brake.
● Never accelerate from the engine compartment with the engine run-
ning and a gear or a gear range engaged. The vehicle could move, even if
the parking brake is applied.
Note
● In vehicles with a manual gearbox: When the clutch pedal is released
and the accelerator pressed at the same time, the electronic parking brake
is automatically released.
● If the vehicle battery is flat, it will not be possible to disconnect the elec-
tronic parking brake. Use the jump-start ⇒ page 340.
● When the electronic parking brake is applied or released, noises may be
heard.
● If the electronic parking brake has not been used for a long while, the
system sometimes performs automatic and audible checks while the vehi-
cle is at a standstill. Parking
When parking your vehicle, all legal requirements should be observed.
To park the vehicle
Complete operations only in the sequence given.
●
Park the vehicle on a suitable surface ⇒
.
● Press and hold the brake pedal until the vehicle comes to a standstill.
● Connect the electronic parking brake ⇒ page 186.
● For an automatic gearbox, move the selector lever to position P.
● Switch off the engine and release the brake pedal.
● Remove the key from the ignition.
● If necessary, turn the steering wheel slightly to lock the steering.
● With a manual gearbox, engage the 1st gear on flat ground and slopes,
or even the reverse gear on hills, and release the clutch pedal.
● Ensure that all passengers leave the vehicle, especially children.
● When leaving the vehicle, take all keys with you.
● Lock the vehicle.
Additional information for steep slopes and hills
Before switching off the engine, rotate the steering wheel so that if the vehi-
cle should move then it will be held by the kerb.
● On slopes, turn the front wheels so that they are against the edge of the
kerb.
● Uphill, turn the wheels towards the centre of the road.
Safety FirstOperating instructionsPractical tipsTechnical Specifications
Page 191 of 387
189
Driving
WARNING
New brake pads do not brake to full efficiency.
● For the first 320 km (200 miles), new brake pads have not yet reached
their maximum braking capacity, and need to be run in first. For this, to
compensate for reduced braking efficiency the brake pedal will have to
be pressed with more force.
● To avoid losing control of the vehicle and causing serious accidents,
always take great care when driving with new brake pads.
● When running in new brake pads, always respect the safety distances
between you and other vehicles and do not cause situations requiring ex-
treme braking performance.
WARNING
When brakes overheat, braking is less efficient and braking distances in-
crease.
● When driving on slopes, brakes can be overloaded and overheat
quickly.
● Reduce speed, move down a gear or select a shorter range of gears
before long steep slopes. This allows you to use the engine braking ef-
fect and to reduce the strain on the brake system.
● Non-standard or damaged front spoilers could restrict the airflow to
the brakes and cause them to overheat.
WARNING
Wet, frozen or salt-covered brakes take time to brake and this increases
braking distances.
● Test the brakes carefully.
● Dry the brakes, free them of ice and salt by braking gently several
times, when weather, road and traffic conditions permit.
WARNING
Driving without the brake servo may significantly increase the braking
distance and result in a severe accident.
● Never allow the vehicle to move forwards when the engine is switched
off.
● If the brake servo does not operate or the vehicle must be towed,
then the brake pedal will have to be pressed with more force given that
the braking distance will be increased when the brake servo does not op-
erate.
CAUTION
● Never make the brakes slip by pressing the pedal gently, if it is not really
necessary to brake. Continuously pressing on the brake pedal will heat the
brakes. This could significantly reduce braking power, increase braking dis-
tance or even result in the total failure of the brake system.
● Reduce speed, move down a gear or select a shorter range of gears be-
fore long steep slopes. This allows you to use the engine braking effect and
to reduce the strain on the brake system. Otherwise, the brakes may over-
heat and fail. Only use the brakes to reduce speed or to stop.
Note
When checking the front brake pads, take the time to also check the rear
brake pads. The thickness of the brake pads should be checked visually and
regularly, by looking through the openings in the wheel rims or from under-
neath the vehicle. If necessary, remove the wheels to check them thorough-
ly. SEAT recommends visiting a Technical Service.
Safety FirstOperating instructionsPractical tipsTechnical Specifications
Page 193 of 387
191
Driving
¡Do not lift your foot off the brake pedal! When the brake pedal is released
or when the brake force is reduced, braking assist automatically turns off
the brake servo.
Traction control when accelerating (ASR)
In the event of wheelspin, the traction control system reduces the engine
torque to match the amount of grip available. The ASR makes some situa-
tions easier, for example, when starting, accelerating or going uphill, even
in unfavourable road conditions.
The ASR can be switched on or off manually ⇒ page 192.
Electronic differential lock system (EDL and XDS)
EDL is available when driving in straight lines under normal conditions.
When the EDL detects wheelspin, it brakes the spinning wheel and directs
the power to the other drive wheels. To prevent the disc brake of the braked
wheel from overheating, the EDL cuts out automatically if subjected to ex-
cessive loads. The EDL will switch on again automatically when the brake
has cooled down.
The XDS function is an extension of the electronic differential lock. The XDS
does not react to the traction of the driving wheels, but to the adherence of
the front wheel on the inside of the curve whilst gripping rapidly in corners.
The XDS gives pressure to the brakes of the wheel on the interior of the cor-
ner to prevent skidding. This improves traction, which assists the vehicle in
continuing the required line.
WARNING
Driving at high speed on icy, slippery wet ground can result in loss of ve-
hicle control and serious injury to the driver and passengers.
● Adjust your speed and driving style to visibility, road, traffic and
weather conditions. Even though the brake assist systems, ABS, BAS,
EDL, ASR and ESC, provide more security, do not take unnecessary risks
while driving.
WARNING (Continued)
● Brake assist systems can not overcome the laws of physics. Even with
ESC and other systems, slippery and wet roads will always be dangerous.
● Driving to quickly on wet ground can result in the wheels losing con-
tact with the ground in an effect known as aquaplaning. Without adher-
ence, it is impossible to brake, steer or control the vehicle.
● Brake assist systems cannot avoid accidents if, for example, the driv-
er does not respect safety distances or drives to quickly in difficult condi-
tions.
● Even though brake assist systems are extremely effective and help
control the vehicle in difficult situations, remember that the vehicle sta-
bility depends on tyre grip.
● When accelerating on a slippery surface, for example on ice and
snow, press the accelerator carefully. The wheels can still slip even with
brake assist systems resulting in loss of vehicle control.
WARNING
The effectiveness of the ESC can be considerably reduced if other compo-
nents and systems affecting driving dynamics are not maintained or are
not functioning correctly. This includes, among others, brakes, tyres and
other systems already mentioned.
● Remember that changing and fitting other components to the vehicle
can affect operation of the ABS, BAS, ASL EDL and ESC.
● Changes to the vehicle suspension or using unapproved wheel/tyre
combinations can affect operation of the ABS, BAS, ASL EDL and ESC and
their effectiveness.
● Likewise, the effectiveness of ESC depends on the use of suitable
tyres ⇒ page 296.
Safety FirstOperating instructionsPractical tipsTechnical Specifications
Page 195 of 387
193
Driving
Brake fluid specifications
SEAT have developed a special brake fluid optimised for the brake systems
of their vehicles. To ensure the optimum working of the brake system, SEAT
recommends the use of brake fluid in accordance with the VW 501 14
standard. If this brake fluid is not available or another brake fluid is used for
different reasons, use a brake fluid that complies with the United States
standard FMVSS 116 DOT 4 or the German standard DIN ISO 4925 CLASS 4
⇒
.
Brake fluids conforming to the standard VW 501 14, fulfil the American re-
quirements of the FMVSS 116 DOT 4 standard and the German
DIN ISO 4925 CLASS 4 standard. However, fluids that comply with the Amer-
ican FMVSS 116 DOT 4 standard or the German DIN ISO 4925 CLASS 4
standard do not necessarily comply with the VW 501 14 standard. Always
check the information on the brake fluid container and ensure that you are
using suitable brake fluid.
A suitable brake fluid can be obtained from Technical Services.
Brake fluid level
The level of the brake fluid should always be between the MIN and MAX
marks, or above the MIN mark ⇒
.
It is not always possible to check the level of the brake fluid, as in some
models the engine components make it difficult to see the brake fluid reser-
voir. If you cannot read the exact brake fluid level, consult a specialist.
The brake fluid level drops slightly when the vehicle is being used due to
wear of the brake pads and the automatic readjustment of the brake.
Changing the brake fluid
The brake fluid should be changed in accordance with the instructions giv-
en in the Maintenance Programme. Have the brake fluid changed by a spe-
cialised workshop. SEAT recommends visiting a Technical Service. This
means that only brake fluid complying with the required specifications will
be used.
WARNING
If the brake fluid level is low or unsuitable/old brake fluid is used, the
brake system may fail or braking power will be reduced.
● Check the brake system and the brake fluid level regularly!
● The brake fluid should be changed regularly in accordance with the
instructions given in the Maintenance Programme.
● When the brake fluid is used and brakes are subjected to extreme
braking forces, bubbles of vapour form in the brake system. These bub-
bles of water vapour can significantly reduce braking power, notably in-
creasing braking distance, and could even result in the total failure of the
brake system.
● Only used brake fluid that conforms to the VW 501 14 standard,
FMVSS 116 DOT 4 standard or even the DIN ISO 4925 CLASS 4 standard.
Other types of brake fluid could affect brake operation and reduce brak-
ing power. Do not use a brake fluid if the container does not specify com-
pliance with the VW 501 14, FMVSS 116 DOT 4 or DIN ISO 4925 CLASS 4
standards.
● The replacement brake fluid must be new.
● Always ensure that you use suitable brake fluid. Do not use a brake
fluid if the container does not specify compliance with the VW 501 14,
FMVSS 116 DOT 4 or DIN ISO 4925 CLASS 4 standards.
WARNING
Brake fluid is poisonous.
● To reduce the risk of poisoning, do not keep brake fluid in drinks bot-
tles/containers or similar. Other people could drink from these recipients
even if the contents are clearly marked.
● Always keep brake fluid in the original container; keep it correctly
sealed and out of reach of children.
Safety FirstOperating instructionsPractical tipsTechnical Specifications
Page 197 of 387
195
Driving
Start assist systems Introduction
Additional information and warnings:
● SEAT information system ⇒ page 62
● Braking, stopping and parking ⇒ page 184
● Vehicle battery ⇒ page 291
● Wheels and tyres ⇒ page 296
● Accessories, parts replacement, repairs and modifications ⇒ page 260
● Jump starting ⇒ page 340
WARNING
The intelligent technology in the start assist systems cannot change the
laws of physics. The improved comfort provided by start assist systems
should not prompt you to take risks.
● Unintentional movements of the vehicle could cause serious injury.
● The start assist systems are not a replacement for driver awareness.
● Always try to adapt the speed of the vehicle and your style of driving
to the condition of the ground or the road and to weather and traffic con-
ditions.
● The start assist system cannot keep the vehicle stationary in all con-
ditions on a gradient or cause it to brake on steep downhill gradients,
e.g. if the road is slippery or icy.
Auto Hold function*
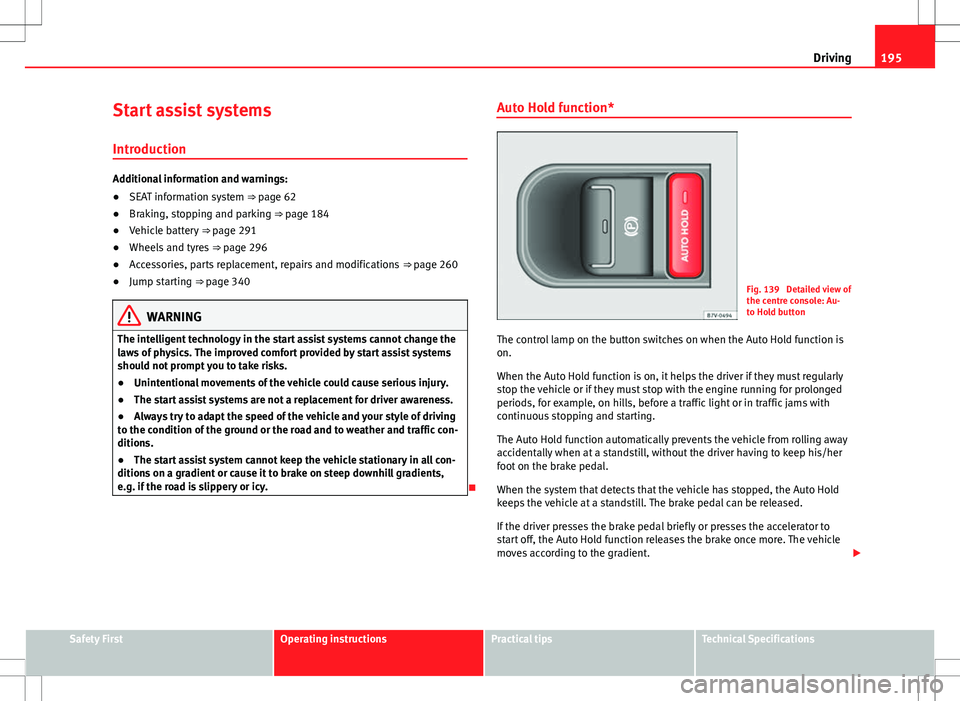
Fig. 139 Detailed view of
the centre console: Au-
to Hold button
The control lamp on the button switches on when the Auto Hold function is
on.
When the Auto Hold function is on, it helps the driver if they must regularly
stop the vehicle or if they must stop with the engine running for prolonged
periods, for example, on hills, before a traffic light or in traffic jams with
continuous stopping and starting.
The Auto Hold function automatically prevents the vehicle from rolling away
accidentally when at a standstill, without the driver having to keep his/her
foot on the brake pedal.
When the system that detects that the vehicle has stopped, the Auto Hold
keeps the vehicle at a standstill. The brake pedal can be released.
If the driver presses the brake pedal briefly or presses the accelerator to
start off, the Auto Hold function releases the brake once more. The vehicle
moves according to the gradient.
Safety FirstOperating instructionsPractical tipsTechnical Specifications
Page 199 of 387
197
Driving
Start-Stop Function*
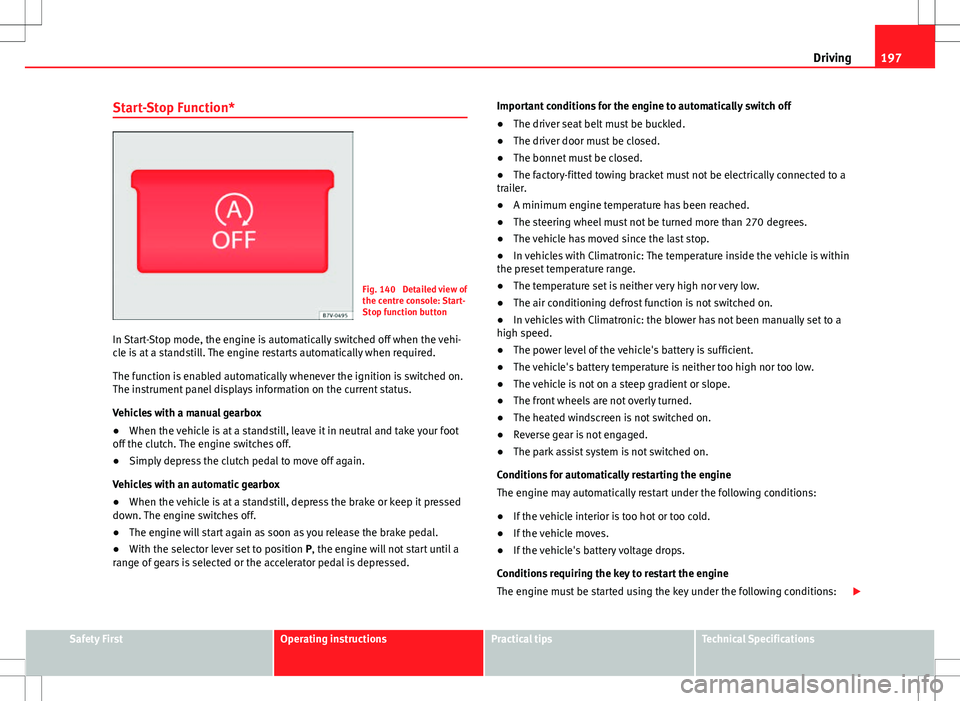
Fig. 140 Detailed view of
the centre console: Start-
Stop function button
In Start-Stop mode, the engine is automatically switched off when the vehi-
cle is at a standstill. The engine restarts automatically when required.
The function is enabled automatically whenever the ignition is switched on.
The instrument panel displays information on the current status.
Vehicles with a manual gearbox
● When the vehicle is at a standstill, leave it in neutral and take your foot
off the clutch. The engine switches off.
● Simply depress the clutch pedal to move off again.
Vehicles with an automatic gearbox
● When the vehicle is at a standstill, depress the brake or keep it pressed
down. The engine switches off.
● The engine will start again as soon as you release the brake pedal.
● With the selector lever set to position P, the engine will not start until a
range of gears is selected or the accelerator pedal is depressed. Important conditions for the engine to automatically switch off
●
The driver seat belt must be buckled.
● The driver door must be closed.
● The bonnet must be closed.
● The factory-fitted towing bracket must not be electrically connected to a
trailer.
● A minimum engine temperature has been reached.
● The steering wheel must not be turned more than 270 degrees.
● The vehicle has moved since the last stop.
● In vehicles with Climatronic: The temperature inside the vehicle is within
the preset temperature range.
● The temperature set is neither very high nor very low.
● The air conditioning defrost function is not switched on.
● In vehicles with Climatronic: the blower has not been manually set to a
high speed.
● The power level of the vehicle's battery is sufficient.
● The vehicle's battery temperature is neither too high nor too low.
● The vehicle is not on a steep gradient or slope.
● The front wheels are not overly turned.
● The heated windscreen is not switched on.
● Reverse gear is not engaged.
● The park assist system is not switched on.
Conditions for automatically restarting the engine
The engine may automatically restart under the following conditions:
● If the vehicle interior is too hot or too cold.
● If the vehicle moves.
● If the vehicle's battery voltage drops.
Conditions requiring the key to restart the engine
The engine must be started using the key under the following conditions:
Safety FirstOperating instructionsPractical tipsTechnical Specifications
Page 201 of 387
199
Driving
Parking sensor system*
Introduction
The parking sensor system assists the driver when parking. When the vehi-
cle approaches an obstacle, forwards or backwards, an intermittent audible
warning will be heard, higher or lower depending on the distance. The
shorter the distance, the shorter the intervals between tones. If the vehicle
is too close to the obstacle, the audible warning becomes constant.
If you continue to approach an obstacle when the sound is continuous, this
means the system can no longer measure the distance.
The sensor system on the bumpers transmit and receive ultrasound. Using
the ultrasound signal (transmission, reflection from the obstacle and recep-
tion), this system continuously calculates the distance between the bumper
and the obstacle.
Additional information and warnings:
● Park Assist system ⇒ page 203
● Accessories, parts replacement, repairs and modifications ⇒ page 260
WARNING
The parking sensor system and the optical parking system cannot re-
place driver awareness.
● The sensors have blind spots in which obstacles and people are not
registered.
● Always observe the area around the vehicle, as the sensors do not al-
ways detect small children, animals or objects.
WARNING (Continued)
● The surface of certain objects and some clothing do not reflect the ul-
trasound signals from the parking distance system. The system cannot
detect or incorrectly detects these objects and people wearing these
types of clothes.
● External sound sources can affect the parking distance aid signals. In
this case, under certain circumstances, people and objects will not be de-
tected.
CAUTION
● The sensors may not always be able to detect objects such as trailer
draw bars, thin rails, fences, posts, trees and open luggage compartments,
etc. This could result in damage to your car.
● Although the parking sensor system detects and warns of the presence
of an obstacle, the obstacle could disappear from the angle of measure-
ment of the sensors if it is too high or low and the system would no longer
indicate it. Therefore, it will not warn you of these objects. Ignoring the
warnings of the parking sensor system could cause considerable damage to
the vehicle.
● The bumper sensors may become damaged or misaligned, for example,
when parking.
● To ensure that the system works properly, the bumper sensors must be
kept clean, free of ice and snow and uncovered.
● When cleaning the sensors with high-pressure or steam cleaning equip-
ment, spray the sensors briefly at a distance of no less than 10 cm (4 in-
ches).
Note
Acoustic sources may lead to erroneous warnings on the parking sensor
system, e.g. rough tarmac, cobbles or the noise of other vehicles.
Safety FirstOperating instructionsPractical tipsTechnical Specifications
Page 203 of 387
201
Driving
Optical parking system* (OPS)
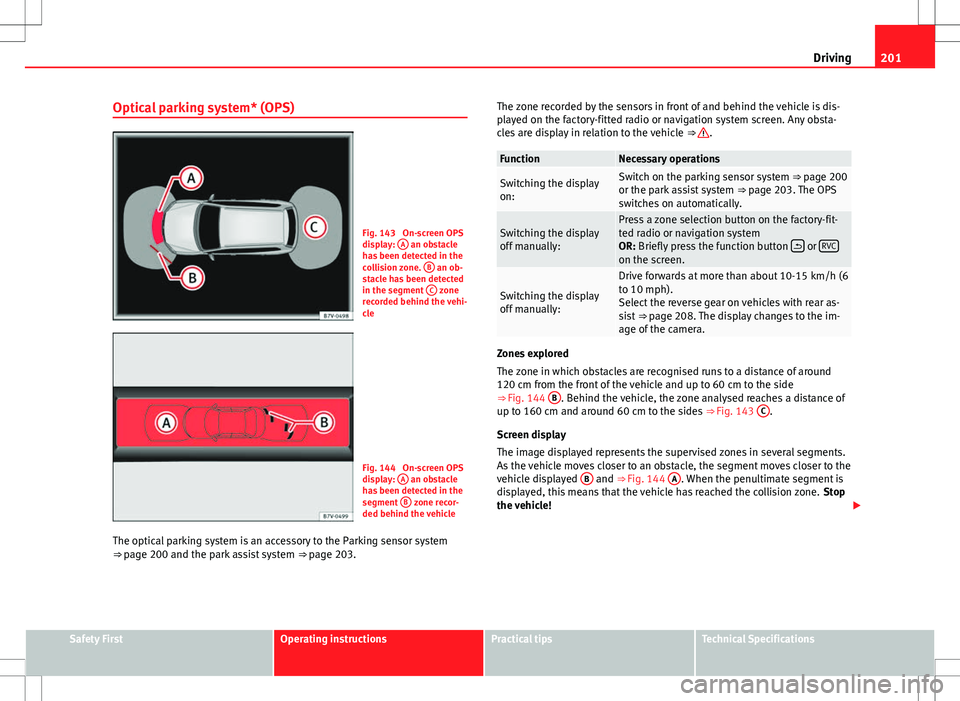
Fig. 143 On-screen OPS
display: A an obstacle
has been detected in the
collision zone. B
an ob-
stacle has been detected
in the segment C
zone
recorded behind the vehi-
cle
Fig. 144 On-screen OPS
display: A an obstacle
has been detected in the
segment B
zone recor-
ded behind the vehicle
The optical parking system is an accessory to the Parking sensor system
⇒ page 200 and the park assist system ⇒ page 203. The zone recorded by the sensors in front of and behind the vehicle is dis-
played on the factory-fitted radio or navigation system screen. Any obsta-
cles are display in relation to the vehicle
⇒
.
FunctionNecessary operations
Switching the display
on:Switch on the parking sensor system ⇒ page 200
or the park assist system ⇒ page 203. The OPS
switches on automatically.
Switching the display
off manually:Press a zone selection button on the factory-fit-
ted radio or navigation system
OR: Briefly press the function button
or RVCon the screen.
Switching the display
off manually:
Drive forwards at more than about 10-15 km/h (6
to 10 mph).
Select the reverse gear on vehicles with rear as-
sist
⇒ page 208. The display changes to the im-
age of the camera.
Zones explored
The zone in which obstacles are recognised runs to a distance of around
120 cm from the front of the vehicle and up to 60 cm to the side
⇒ Fig. 144 B
. Behind the vehicle, the zone analysed reaches a distance of
up to 160 cm and around 60 cm to the sides ⇒ Fig. 143 C.
Screen display
The image displayed represents the supervised zones in several segments.
As the vehicle moves closer to an obstacle, the segment moves closer to the
vehicle displayed B
and ⇒ Fig. 144 A. When the penultimate segment is
displayed, this means that the vehicle has reached the collision zone. Stop
the vehicle!
Safety FirstOperating instructionsPractical tipsTechnical Specifications