ECO Seat Exeo ST 2013 MEDIA SYSTEM E
[x] Cancel search | Manufacturer: SEAT, Model Year: 2013, Model line: Exeo ST, Model: Seat Exeo ST 2013Pages: 167, PDF Size: 5.48 MB
Page 32 of 167
Drives31
Operating
RADIO, MEDIA (audiovisual
systems)
NAME, TEL
NAV, INFO
CAR, SETUP
•The track numbers are counted up sequentially in the navigation system
display when you play tracks in shuffle mode (MIX).•99 tracks are permanently shown on the navigation system display. This
is even valid when the list contains a smaller number of tracks.•When selecting a track, we recommend you not to jump forward or back
more than 49 tracks at a time. If you jump further than this, the iPod interface
may not select the track you intended.USB interface*Introduction
You can connect a memory stick or an MP3 player to the
vehicle's on-board navigation system via the USB port.The USB port is located in your vehicle's glove box. It is compatible with all
memory sticks and MP3 players approved by SEAT. Problems can occur if you
use a memory stick or MP3 player not listed in the table. Your memory device
must be USB-certified as a minimum requirement.
Caution
Very high or very low temperatures (a common occurrence in a vehicle's inte-
rior) can cause damage to the memory stick or MP3 player and/or impair its
performance.•Never leave your memory stick or MP3 player in the vehicle in case of
extreme temperatures.Note
Please refer to the manufacturer's operating instructions for important infor-
mation on how to use your memory stick or MP3 player.
Connecting a memory stick / MP3 player
For problem-free operation, use only approved memory sticks
and MP3 players.– Switch on your vehicle's sound system.
– Enable radio mode.
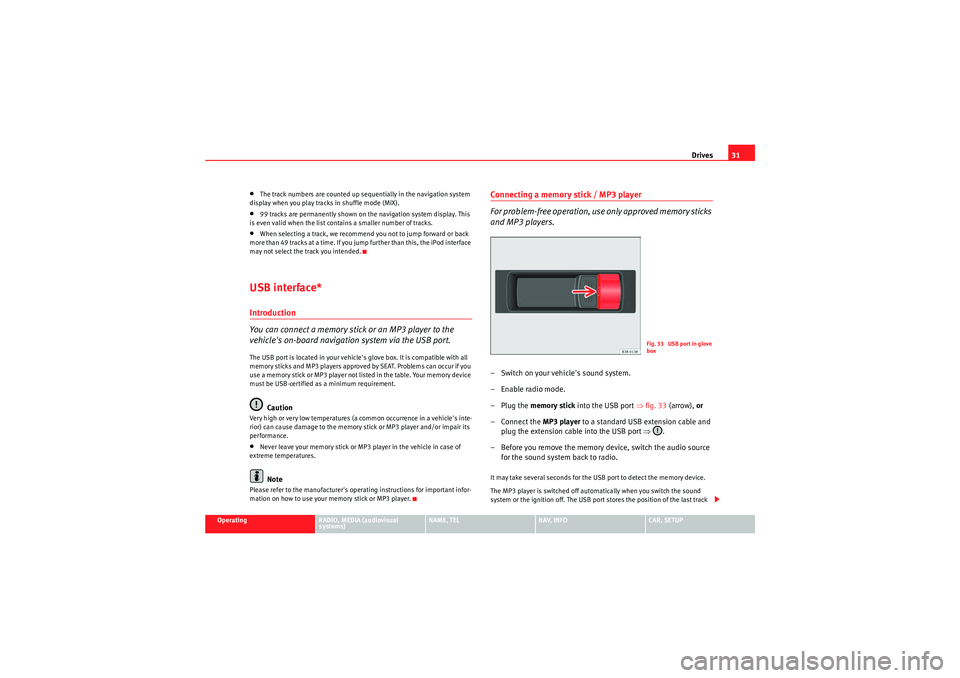
–Plug the memory stick into the USB port ⇒fig. 33 (arrow), or
– Connect the MP3 player to a standard USB extension cable and plug the extension cable into the USB port ⇒.
– Before you remove the memory device, switch the audio source for the sound system back to radio.It may take several seconds for the USB port to detect the memory device.
The MP3 player is switched off automatically when you switch the sound
system or the ignition off. The USB port stores the position of the last track
Fig. 33 USB port in glove
box
media_systemE_EN.book Seite 31 Montag, 21. September 2009 1:48 13
Page 33 of 167
Drives
32you were playing. If you do not alter the contents of your memory device, the
music will be continued at the point where you stopped playing.
MP3 players and USB sticks which are not explicitly approved must have
“CERTIFIED USB
TM” or “CERTIFIED HIGH SPEED USB
TM” status.
Caution
•Do not connect a device other than a memory stick or MP3 player to the
USB port. It is not possible to operate hard discs or USB hubs, etc. via the USB
port.•Do not connect the MP3 player directly to the USB port. This could
damage the device.•Never remove a memory device when the USB port is selected as source
(CD). This could damage your memory device.Note
For up-to-date information on compatible MP3 players and USB sticks, please
ask a SEAT dealer or visit www.seat.es.Functions
Music files are played just like on a CD changer using the
controls on your car's sound system.To start the memory stick or MP3 player, select the “CD changer” function on
the sound system.
The following functions are available:•Play all tracks stored on the memory device (if no folders are stored on the
memory device)
•Select and play up to six main folders with music files (just like selecting
CD 1 to 6 on a CD changer)•Change between main folders with music files (just like changing the CD
on a CD changer)•Change tracks within a main folder•Fast forward and rewind within a track•SCAN function•Play tracks in random or shuffle mode
For more information on how to operate the system, please refer to the “CD”
chapter in the operating manual for your sound system.TipsHere are some tips and points to remember when playing music files in the
car:•We recommend that, instead of storing music files in the main directory of
the memory stick or MP3 player, you create separate folders e.g. for tracks
belonging to the same genre or artist. Your sound system can display and
play a maximum of six folders, however. The folders are allocated first in
numerical order and then in alphabetical order as CD 1 to CD 6. Folders that
do not contain music files are automatically ignored. You can create any
number of subfolders.•If there are no folders on your memory device, the sound system will allo-
cate all the music files it finds to CD 1.•Track numbers appear with a maximum of two digits in the sound system
display. The first digit is suppressed if you select a track with a three-digit
number, i.e. track 125 and track 25 are both displayed as track “25”. We
therefore do not recommend allocating more than 99 tracks to each folder.•We recommend you not to use the “Name CD” function on vehicles with
the BNS 5.0 navigation system, as the folders may not be named correctly.
media_systemE_EN.book Seite 32 Montag, 21. September 2009 1:48 13
Page 35 of 167
Drives
34
WARNING
Today's driving conditions require your full attention. As the driver, you
bear the responsibility for road safety. Never operate a portable player
while driving, as this could result in an accident.
Note
•We recommend setting the output level of the portable player to about
70 percent of maximum. Before adjusting the volume using the sound system
in your vehicle, you should first use the volume adjuster of the portable
player.•Using a portable player with the engine switched off will drain the
battery.
media_systemE_EN.book Seite 34 Montag, 21. September 2009 1:48 13
Page 38 of 167
RADIO37
Operating
RADIO, MEDIA (audiovisual
systems)
NAME, TEL
NAV, INFO
CAR, SETUP
FM station list
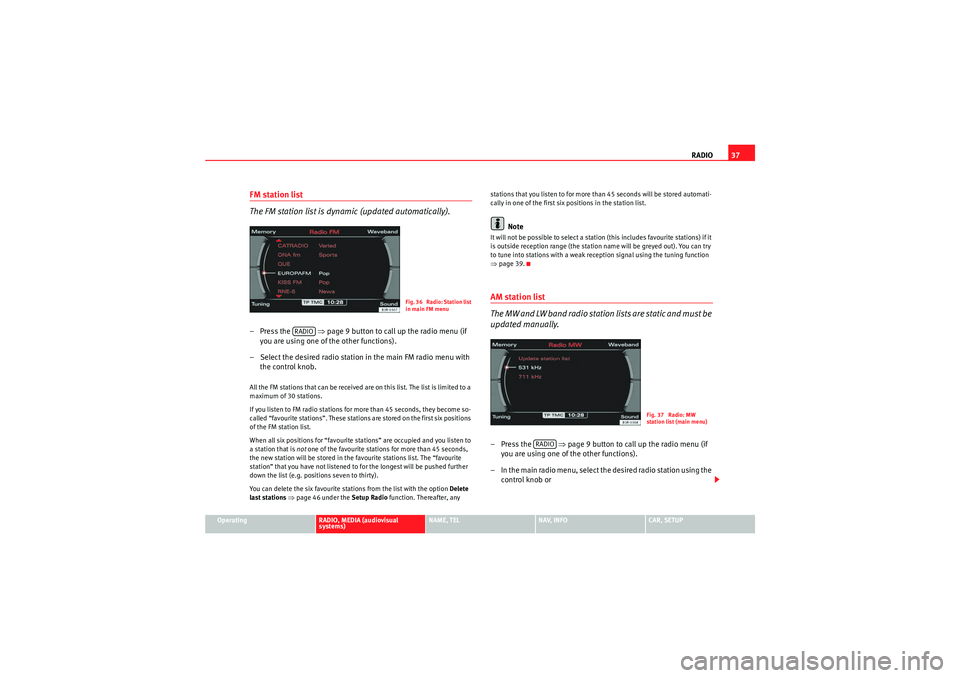
The FM station list is dynamic (updated automatically).– Press the ⇒page 9 button to call up the radio menu (if
you are using one of the other functions).
– Select the desired radio station in the main FM radio menu with the control knob.All the FM stations that can be received are on this list. The list is limited to a
maximum of 30 stations.
If you listen to FM radio stations for more than 45 seconds, they become so-
called “favourite stations”. These stations are stored on the first six positions
of the FM station list.
When all six positions for “favourite stations” are occupied and you listen to
a station that is not one of the favourite stations for more than 45 seconds,
the new station will be stored in the favourite stations list. The “favourite
station” that you have not listened to for the longest will be pushed further
down the list (e.g. positions seven to thirty).
You can delete the six favourite stations from the list with the option Delete
last stations ⇒ page 46 under the Setup Radio function. Thereafter, any stations that you listen to for more than 45 seconds will be stored automati-
cally in one of the first six positions in the station list.
Note
It will not be possible to select a station (this includes favourite stations) if it
is outside reception range (the station name will be greyed out). You can try
to tune into stations with a weak reception signal using the tuning function
⇒
page 39.AM station list
The MW and LW band radio station lists are static and must be
updated manually.–Press the ⇒page 9 button to call up the radio menu (if
you are using one of the other functions).
– In the main radio menu, select the desired radio station using the control knob or
Fig. 36 Radio: Station list
in main FM menu
RADIO
Fig. 37 Radio: MW
station list (main menu)
RADIO
media_systemE_EN.book Seite 37 Montag, 21. September 2009 1:48 13
Page 42 of 167
RADIO41
Operating
RADIO, MEDIA (audiovisual
systems)
NAME, TEL
NAV, INFO
CAR, SETUP
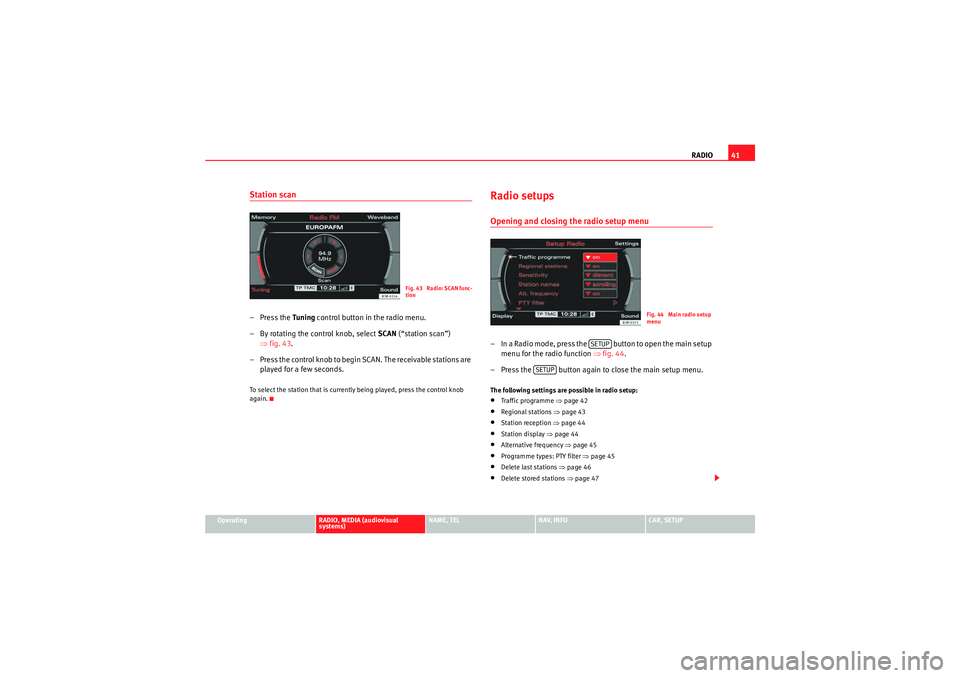
Station scan– Press the Tuning control button in the radio menu.
– By rotating the control knob, select SCAN (“station scan”)
⇒ fig. 43 .
– Press the control knob to begin SCAN. The receivable stations are played for a few seconds.To select the station that is currently being played, press the control knob
again.
Radio setupsOpening and closing the radio setup menu– In a Radio mode, press the button to open the main setup menu for the radio function ⇒fig. 44 .
– Press the button again to close the main setup menu.The following settings are possible in radio setup:•Traffic programme ⇒ page 42•Regional stations ⇒page 43•Station reception ⇒page 44•Station display ⇒page 44•Alternative frequency ⇒page 45•Programme types: PTY filter ⇒page 45•Delete last stations ⇒page 46•Delete stored stations ⇒page 47
Fig. 43 Radio: SCAN func-
tion
Fig. 44 Main radio setup
menu
SETUP
SETUP
media_systemE_EN.book Seite 41 Montag, 21. September 2009 1:48 13
Page 43 of 167

RADIO
42The sound and tuning settings and the brightness of the display can be
altered using the control buttons ⇒page 153.
Note
We recommend that you enter these settings when the vehicle is stationary.
Please note ⇒ page 6, “Notes on road safety”.Traffic programme
Use the traffic programme option to switch the function on
and off as desired.
– Starting from any one of the radio menus, press the
⇒page 9 button.
– Select the Traffic programme (on ⇒ fig. 45) function to switch
this function on.If the traffic programme function is switched on ( on), the traffic announce-
ments will also cut in when you are listening to a CD or using the navigation
system*. In addition, if the TP memo timer function ⇒page 148 is activated,
traffic reports are automatically recorded up to 2 hours after the navigation
system has been switched off. These recorded reports can be called up via the
TP memo function ⇒page 146.
Radio stations on MW and LW frequency bands ⇒page 36 do not transmit
traffic news.
If you have selected a station that does not broadcast a traffic programme,
the system will tune into another traffic programme station in the back-
ground. When a traffic report is then broadcast, the system will automatically
switch to that station for the duration of the announcement and the volume
will be adjusted to the value preset for traffic reports ⇒page 61.
The traffic news station is selected on the basis of the following criteria:
Fig. 45 Radio settings:
Traffic information
Fig. 46 Display: TP
symbol highlighted
SETUP
media_systemE_EN.book Seite 42 Montag, 21. September 2009 1:48 13
Page 45 of 167

RADIO
44tion quality. This avoids switching back and forth between different regional
programmes, whenever the reception quality changes. The current regional
programme remains set. This can, however, lead to reception problems.
You can select any other regional programme broadcast by the regional
station you are tuned to from the station list ⇒ page 36.
We recommend you have the “Regional stations” function switched on (on ) at
all times.
Regional stations switched off
If the Regional stations function is off, only the strongest regional programme
of a specific broadcasting station will be received. In some cases, the radio
will then switch between stations with differing programme contents.Station reception
The sensitivity level of the automatic seek function can be
adjusted.– Starting from any one of the radio menus, press the ⇒page 9 button. – Select
Sensitivity ⇒ fig. 48.
Station reception: local
The automatic seek function ⇒page 39 will only stop at stations with a
strong reception signal.
Station reception: distant
The automatic seek function ⇒page 39 will also stop at stations that have a
weaker reception signal.Station display
Ticker texts broadcast by certain radio stations can be
stopped.– Starting from any one of the radio menus, press the ⇒page 9 button.
– Under the Station names , select fixed ⇒ fig. 49 to stop the ticker
texts broadcast. The current text in the display will then freeze.
Fig. 48 Radio settings
(RADIO SETUP): Station
recep tion
SETUP
Fig. 49 Radio settings
(RADIO SETUP): Station
display
SETUP
media_systemE_EN.book Seite 44 Montag, 21. September 2009 1:48 13
Page 47 of 167
RADIO
46
Switching off all filter functions
– Starting from any one of the radio menus, press the ⇒page 9 button.
– First select the All filters option and press the control knob so
that the tick box appears after it
. The tick box
will also
appear after all the options.
– Then press the control knob again and the tick boxes
will
disappear from all the options.
All filters with a tick box
after then are enabled. All remaining filters are
disabled.
A total of more than 20 filters can be enabled. The selection made will limit
the number of stations. This will be seen in the station list. For example: if you
select the "Classical" option, the station list will show those stations broad-
casting classical music.
Note
If you want all receivable stations to be displayed, regardless of whether they
support the PTY filter option, you must turn off all filter options.
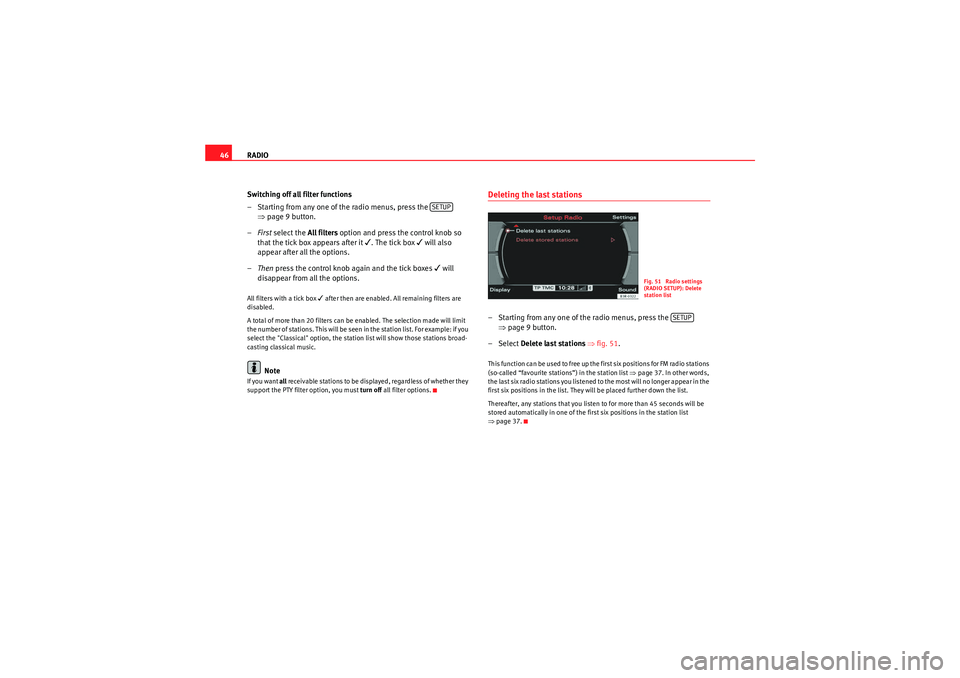
Deleting the last stations– Starting from any one of the radio menus, press the
⇒page 9 button.
– Select Delete last stations ⇒ fig. 51.This function can be used to free up the first six positions for FM radio stations
(so-called “favourite stations”) in the station list ⇒page 37. In other words,
the last six radio stations you listened to the most will no longer appear in the
first six positions in the list. They will be placed further down the list.
Thereafter, any stations that you listen to for more than 45 seconds will be
stored automatically in one of the first six positions in the station list
⇒ page 37.
SETUP
Fig. 51 Radio settings
(RADIO SETUP): Delete
station list
SETUP
media_systemE_EN.book Seite 46 Montag, 21. September 2009 1:48 13
Page 49 of 167
MEDIA
48MEDIAIntroductionIntroduction
CD and MP3 modes are selected by using the function
button.Depending on the equipment in your vehicle, you can use the func-
tion to play audio CDs (in the navigation DVD drive) or the MP3 player
⇒ page 54 integrated into the navigation system.
You can switch between the CD and MP3 function by using the control button
with the Source ⇒ page 50 function.Traffic programme
Audio/video* playback can be interrupted for traffic news
announcements.Switching traffic programme on and off
– In the Radio Setup menu, switch the option Traffic programme on
or off as desired ⇒page 42. The TP symbol is lit in the status line
when the traffic programme is activated and a suitable radio
station has been selected.
Cancelling a traffic announcement
– Select Cancel in the display to cancel a running traffic announce-
ment. The audio/video* playback will then be continued.
If the traffic programme function is activated, the audio/video playback will
be interrupted for traffic news announcements.
All following traffic announcements will cut in even after cancelling a running
announcement.
Note
A traffic announcement will not be recorded if you use the Cancel function
while it is playing. This means you will not be able to access the announce-
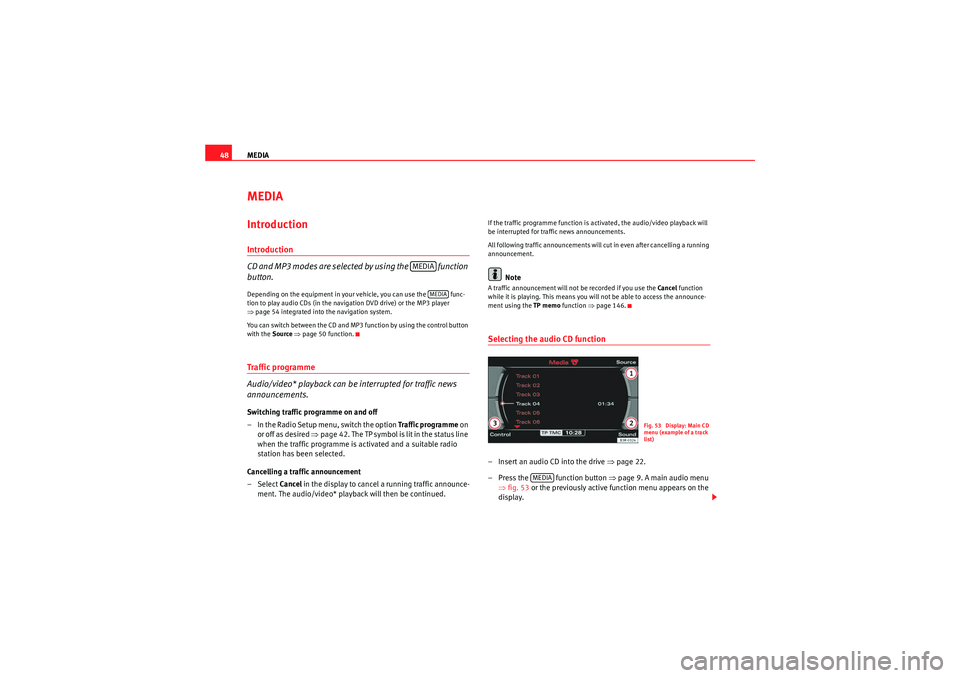
ment using the TP memo function ⇒page 146.Selecting the audio CD function– Insert an audio CD into the drive ⇒ page 22.
– Press the function button ⇒page 9. A main audio menu
⇒ fig. 53 or the previously active function menu appears on the
display.
MEDIA
MEDIA
Fig. 53 Display: Main CD
menu (example of a track
list)
MEDIA
media_systemE_EN.book Seite 48 Montag, 21. September 2009 1:48 13
Page 54 of 167
MEDIA53
Operating
RADIO, MEDIA (audiovisual
systems)
NAME, TEL
NAV, INFO
CAR, SETUP
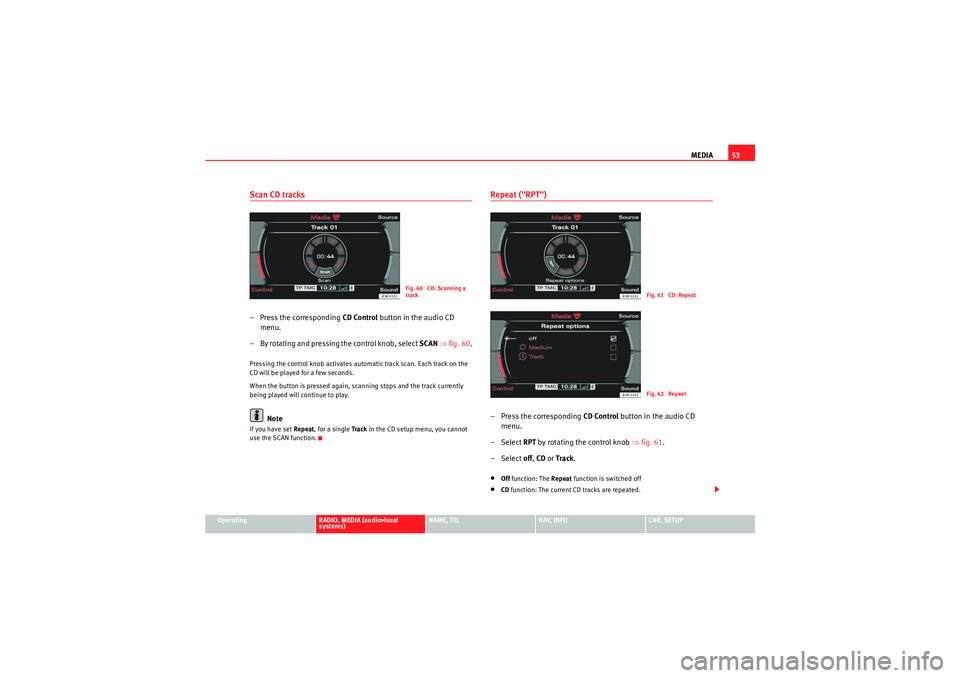
Scan CD tracks– Press the corresponding CD Control button in the audio CD
menu.
– By rotating and pressing the control knob, select SCAN ⇒ fig. 60 .Pressing the control knob activates automatic track scan. Each track on the
CD will be played for a few seconds.
When the button is pressed again, scanning stops and the track currently
being played will continue to play.
Note
If you have set Repeat , for a single Tra ck in the CD setup menu, you cannot
use the SCAN function.
Repeat ("RPT")– Press the corresponding CD Control button in the audio CD
menu.
– Select RPT by rotating the control knob ⇒ fig. 61.
– Select off , CD or Track .•Off function: The Repeat function is switched off•CD function: The current CD tracks are repeated.
Fig. 60 CD: Scanning a
track
Fig. 61 CD: RepeatFig. 62 Repeat
media_systemE_EN.book Seite 53 Montag, 21. September 2009 1:48 13