remove seats TOYOTA RAV4 1996 Service User Guide
[x] Cancel search | Manufacturer: TOYOTA, Model Year: 1996, Model line: RAV4, Model: TOYOTA RAV4 1996Pages: 1632, PDF Size: 41.64 MB
Page 1134 of 1632
shaft with tape. Push control valve assembly into housing. Coat NEW "O" ring with power steering fluid
and install into bearing guide nut. Install and tighten nut. See TORQUE SPECIFICATIONS
. Stake
guide nut.
7. Coat NEW control valve "O" ring with power steering fluid. Install into control valve housing. Align
reference marks for housings. Position control valve housing. Install and tighten mounting bolts. See
TORQUE SPECIFICATIONS
. Install dust cover.
8. Install rack guide, spring and rack guide spring cap. Apply thread lock sealant to cap threads.
Temporarily install cap.
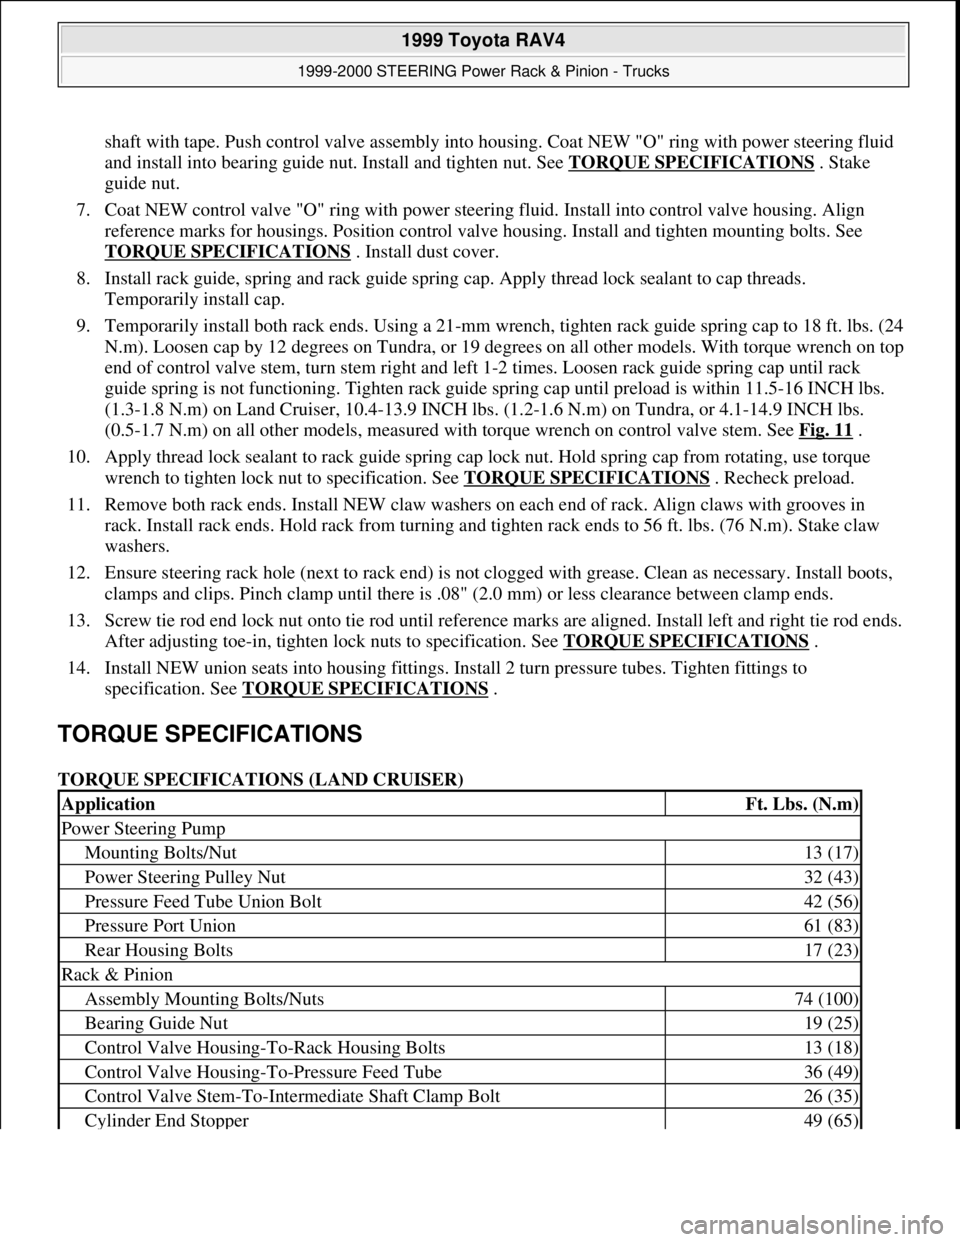
9. Temporarily install both rack ends. Using a 21-mm wrench, tighten rack guide spring cap to 18 ft. lbs. (24
N.m). Loosen cap by 12 degrees on Tundra, or 19 degrees on all other models. With torque wrench on top
end of control valve stem, turn stem right and left 1-2 times. Loosen rack guide spring cap until rack
guide spring is not functioning. Tighten rack guide spring cap until preload is within 11.5-16 INCH lbs.
(1.3-1.8 N.m) on Land Cruiser, 10.4-13.9 INCH lbs. (1.2-1.6 N.m) on Tundra, or 4.1-14.9 INCH lbs.
(0.5-1.7 N.m) on all other models, measured with torque wrench on control valve stem. See Fig. 11
.
10. Apply thread lock sealant to rack guide spring cap lock nut. Hold spring cap from rotating, use torque
wrench to tighten lock nut to specification. See TORQUE SPECIFICATIONS
. Recheck preload.
11. Remove both rack ends. Install NEW claw washers on each end of rack. Align claws with grooves in
rack. Install rack ends. Hold rack from turning and tighten rack ends to 56 ft. lbs. (76 N.m). Stake claw
washers.
12. Ensure steering rack hole (next to rack end) is not clogged with grease. Clean as necessary. Install boots,
clamps and clips. Pinch clamp until there is .08" (2.0 mm) or less clearance between clamp ends.
13. Screw tie rod end lock nut onto tie rod until reference marks are aligned. Install left and right tie rod ends.
After adjusting toe-in, tighten lock nuts to specification. See TORQUE SPECIFICATIONS
.
14. Install NEW union seats into housing fittings. Install 2 turn pressure tubes. Tighten fittings to
specification. See TORQUE SPECIFICATIONS
.
TORQUE SPECIFICATIONS
TORQUE SPECIFICATIONS (LAND CRUISER)
ApplicationFt. Lbs. (N.m)
Power Steering Pump
Mounting Bolts/Nut13 (17)
Power Steering Pulley Nut32 (43)
Pressure Feed Tube Union Bolt42 (56)
Pressure Port Union61 (83)
Rear Housing Bolts17 (23)
Rack & Pinion
Assembly Mounting Bolts/Nuts74 (100)
Bearing Guide Nut19 (25)
Control Valve Housing-To-Rack Housing Bolts13 (18)
Control Valve Housing-To-Pressure Feed Tube36 (49)
Control Valve Stem-To-Intermediate Shaft Clamp Bolt26 (35)
Cylinder End Stopper49 (65)
1999 Toyota RAV4
1999-2000 STEERING Power Rack & Pinion - Trucks
Microsoft
Sunday, November 22, 2009 10:35:47 AMPage 41 © 2005 Mitchell Repair Information Company, LLC.
Page 1349 of 1632
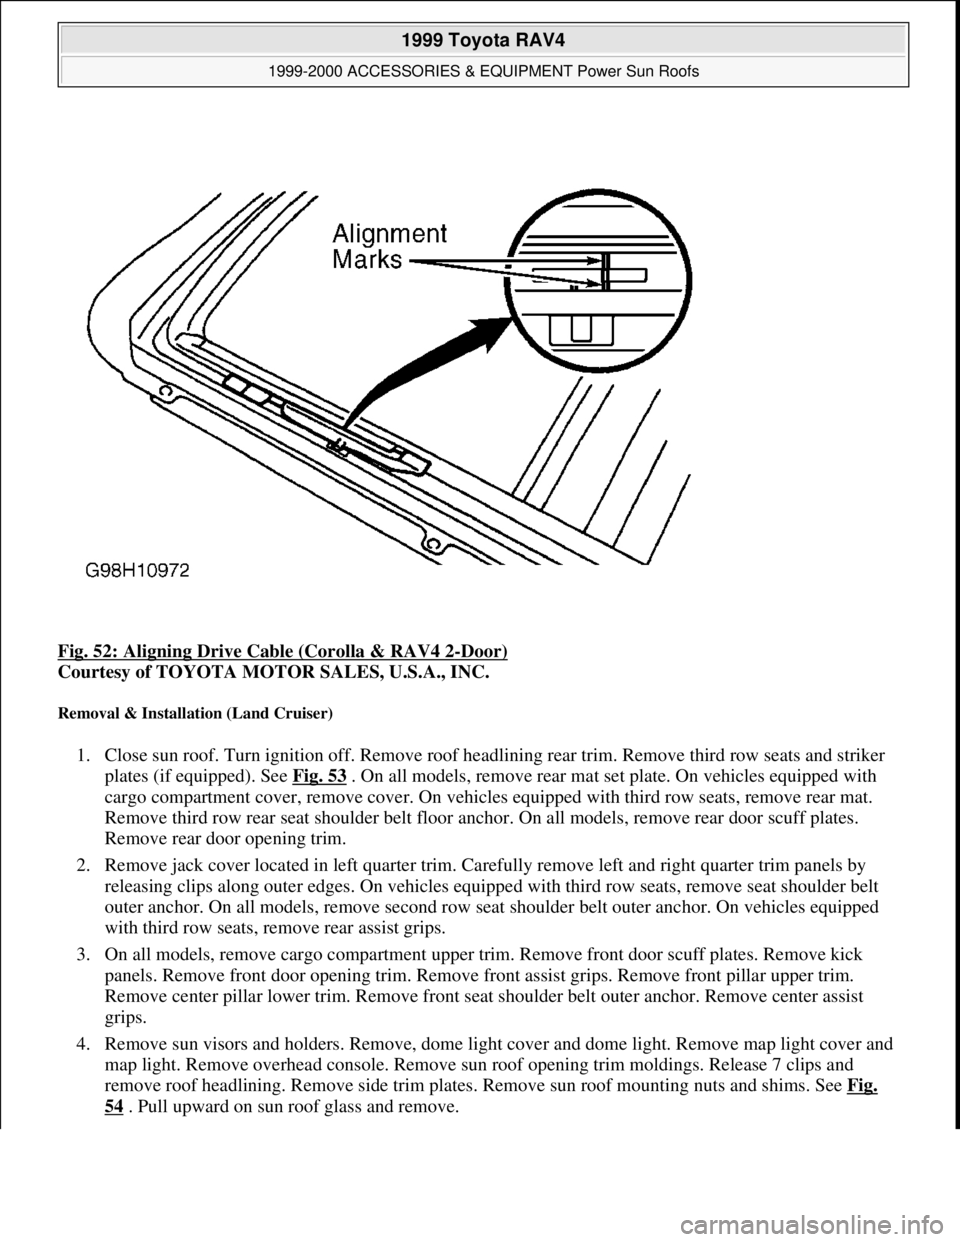
Fig. 52: Aligning Drive Cable (Corolla & RAV4 2-Door)
Courtesy of TOYOTA MOTOR SALES, U.S.A., INC.
Removal & Installation (Land Cruiser)
1. Close sun roof. Turn ignition off. Remove roof headlining rear trim. Remove third row seats and striker
plates (if equipped). See Fig. 53
. On all models, remove rear mat set plate. On vehicles equipped with
cargo compartment cover, remove cover. On vehicles equipped with third row seats, remove rear mat.
Remove third row rear seat shoulder belt floor anchor. On all models, remove rear door scuff plates.
Remove rear door opening trim.
2. Remove jack cover located in left quarter trim. Carefully remove left and right quarter trim panels by
releasing clips along outer edges. On vehicles equipped with third row seats, remove seat shoulder belt
outer anchor. On all models, remove second row seat shoulder belt outer anchor. On vehicles equipped
with third row seats, remove rear assist grips.
3. On all models, remove cargo compartment upper trim. Remove front door scuff plates. Remove kick
panels. Remove front door opening trim. Remove front assist grips. Remove front pillar upper trim.
Remove center pillar lower trim. Remove front seat shoulder belt outer anchor. Remove center assist
grips.
4. Remove sun visors and holders. Remove, dome light cover and dome light. Remove map light cover and
map light. Remove overhead console. Remove sun roof opening trim moldings. Release 7 clips and
remove roof headlining. Remove side trim plates. Remove sun roof mounting nuts and shims. See Fig.
54 . Pull upward on sun roof glass and remove.
1999 Toyota RAV4
1999-2000 ACCESSORIES & EQUIPMENT Power Sun Roofs
Microsoft
Sunday, November 22, 2009 10:58:30 AMPage 69 © 2005 Mitchell Repair Information Company, LLC.
Page 1360 of 1632
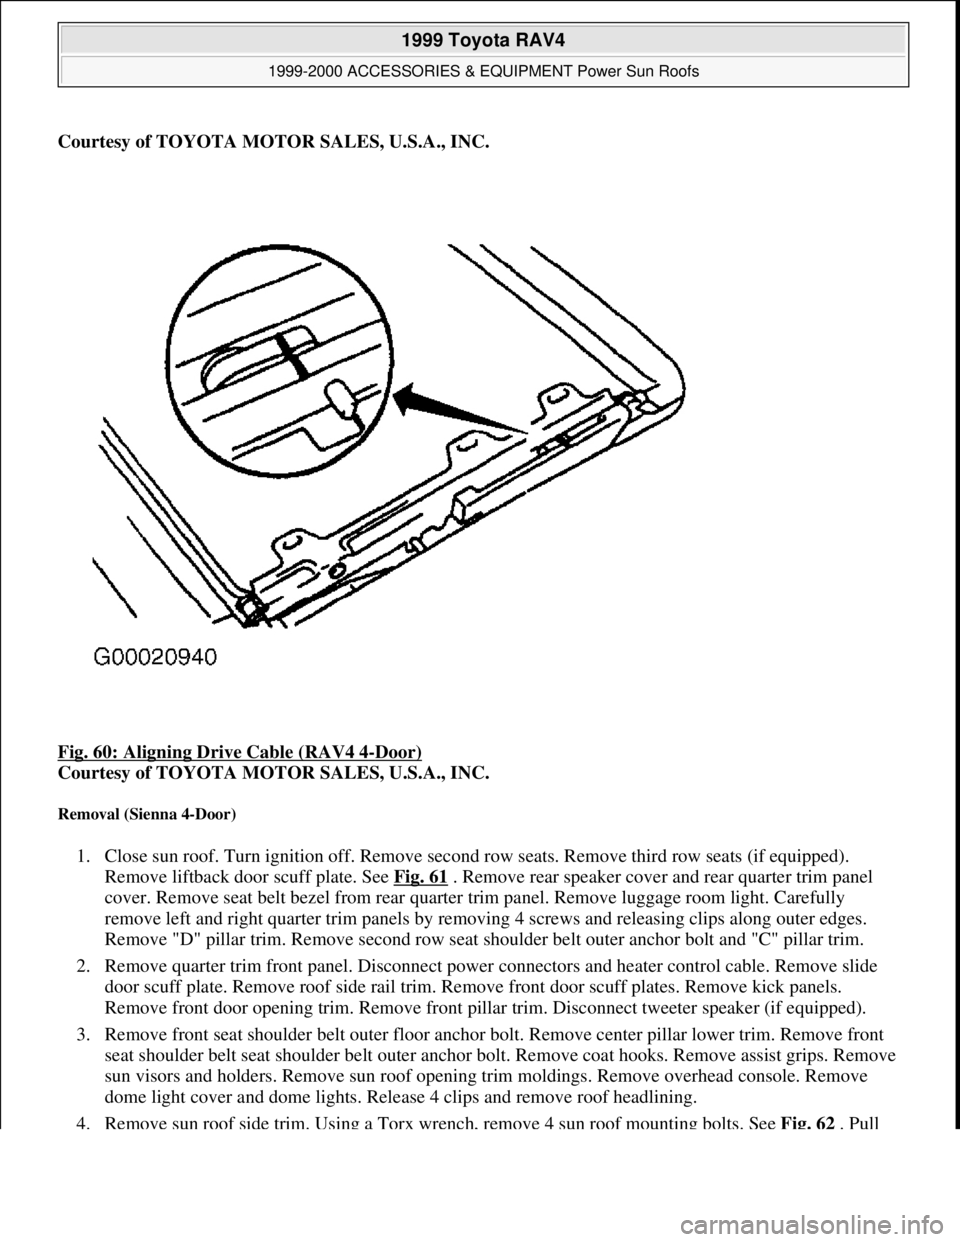
Courtesy of TOYOTA MOTOR SALES, U.S.A., INC.
Fig. 60: Aligning Drive Cable (RAV4 4
-Door)
Courtesy of TOYOTA MOTOR SALES, U.S.A., INC.
Removal (Sienna 4-Door)
1. Close sun roof. Turn ignition off. Remove second row seats. Remove third row seats (if equipped).
Remove liftback door scuff plate. See Fig. 61
. Remove rear speaker cover and rear quarter trim panel
cover. Remove seat belt bezel from rear quarter trim panel. Remove luggage room light. Carefully
remove left and right quarter trim panels by removing 4 screws and releasing clips along outer edges.
Remove "D" pillar trim. Remove second row seat shoulder belt outer anchor bolt and "C" pillar trim.
2. Remove quarter trim front panel. Disconnect power connectors and heater control cable. Remove slide
door scuff plate. Remove roof side rail trim. Remove front door scuff plates. Remove kick panels.
Remove front door opening trim. Remove front pillar trim. Disconnect tweeter speaker (if equipped).
3. Remove front seat shoulder belt outer floor anchor bolt. Remove center pillar lower trim. Remove front
seat shoulder belt seat shoulder belt outer anchor bolt. Remove coat hooks. Remove assist grips. Remove
sun visors and holders. Remove sun roof opening trim moldings. Remove overhead console. Remove
dome light cover and dome lights. Release 4 clips and remove roof headlining.
4. Remove sun roof side trim. Usin
g a Torx wrench, remove 4 sun roof mounting bolts. See Fig. 62. Pull
1999 Toyota RAV4
1999-2000 ACCESSORIES & EQUIPMENT Power Sun Roofs
Microsoft
Sunday, November 22, 2009 10:58:30 AMPage 80 © 2005 Mitchell Repair Information Company, LLC.
Page 1361 of 1632
upward on sun roof glass and remove. Remove 3 bolts and sun roof motor assembly. Disconnect 4 drain
hoses. Remove 8 bolts and 4 brackets. Remove 6 nuts and sun roof housing.
Removal (Sienna 5-Door)
1. Close sun roof. Turn ignition off. Remove second row seats. Remove third row seats (if equipped).
Remove liftback door scuff plate. See Fig. 61
. Remove slide door scuff plate. Remove rear speaker
cover. On left side remove rear quarter trim panel cover. On right side remove air inlet grille. On both
sides, remove seat belt bezel from rear quarter trim panel. Remove luggage room light. Remove slide
door courtesy lights. Carefully remove left and right quarter trim panels by removing 2 screws, and
releasing clips along outer edges. Remove "D" pillar trim. Remove second row seat shoulder belt outer
anchor bolt and "C" pillar trim.
2. Remove roof side rail trim. Remove front door scuff plates. Remove kick panels. Remove front door
opening trim. Remove front pillar trim. Disconnect tweeter speaker (if equipped).
3. Remove front seat shoulder belt outer floor anchor bolt. Remove center pillar lower trim. Remove front
seat shoulder belt seat shoulder belt outer anchor bolt. Remove coat hooks. Remove assist grips. Remove
sun visors and holders. Remove sun roof opening trim moldings. Remove overhead console. Remove
dome light cover and dome lights. Remove heater control panel. Release 4 clips and remove roof
headlining.
4. Remove sun roof side trim. Using a Torx wrench, remove 4 sun roof mounting bolts. See Fig. 62
. Pull
upward on sun roof glass and remove. Remove 3 bolts and sun roof motor assembly. Disconnect 4 drain
hoses. Remove 8 bolts and 4 brackets. Remove 6 nuts and sun roof housing.
Disassembly & Reassembly
1. Remove screws and sun roof panel stoppers. Remove sunshade trim. Remove rear sun roof drip channel.
Remove 4 screws and rear frame. Remove screws and guide rail stoppers. Slide drive cable rearward and
remove it. Remove sun roof wind deflector panel. Remove 2 screws and guide blocks. Remove 6 screws
and sun roof housing.
2. To reassemble, adjust drive cables to a completely closed and tilted down position. Slide both cables
forward or backward to align marks. See Fig. 30
. To complete reassembly, reverse disassembly
procedure.
Installation
Prior to installing drive motor, remove cam plate cover from drive motor. Turn drive gear until marks align,
indicating a full closed position. See Fig. 40
. Reinstall cam plate cover. Tighten nuts and bolt to specification.
See TORQUE SPECIFICATIONS
. To complete installation, reverse removal procedure.
1999 Toyota RAV4
1999-2000 ACCESSORIES & EQUIPMENT Power Sun Roofs
Microsoft
Sunday, November 22, 2009 10:58:30 AMPage 81 © 2005 Mitchell Repair Information Company, LLC.