cruise control TOYOTA RAV4 1996 Service Manual PDF
[x] Cancel search | Manufacturer: TOYOTA, Model Year: 1996, Model line: RAV4, Model: TOYOTA RAV4 1996Pages: 1632, PDF Size: 41.64 MB
Page 912 of 1632
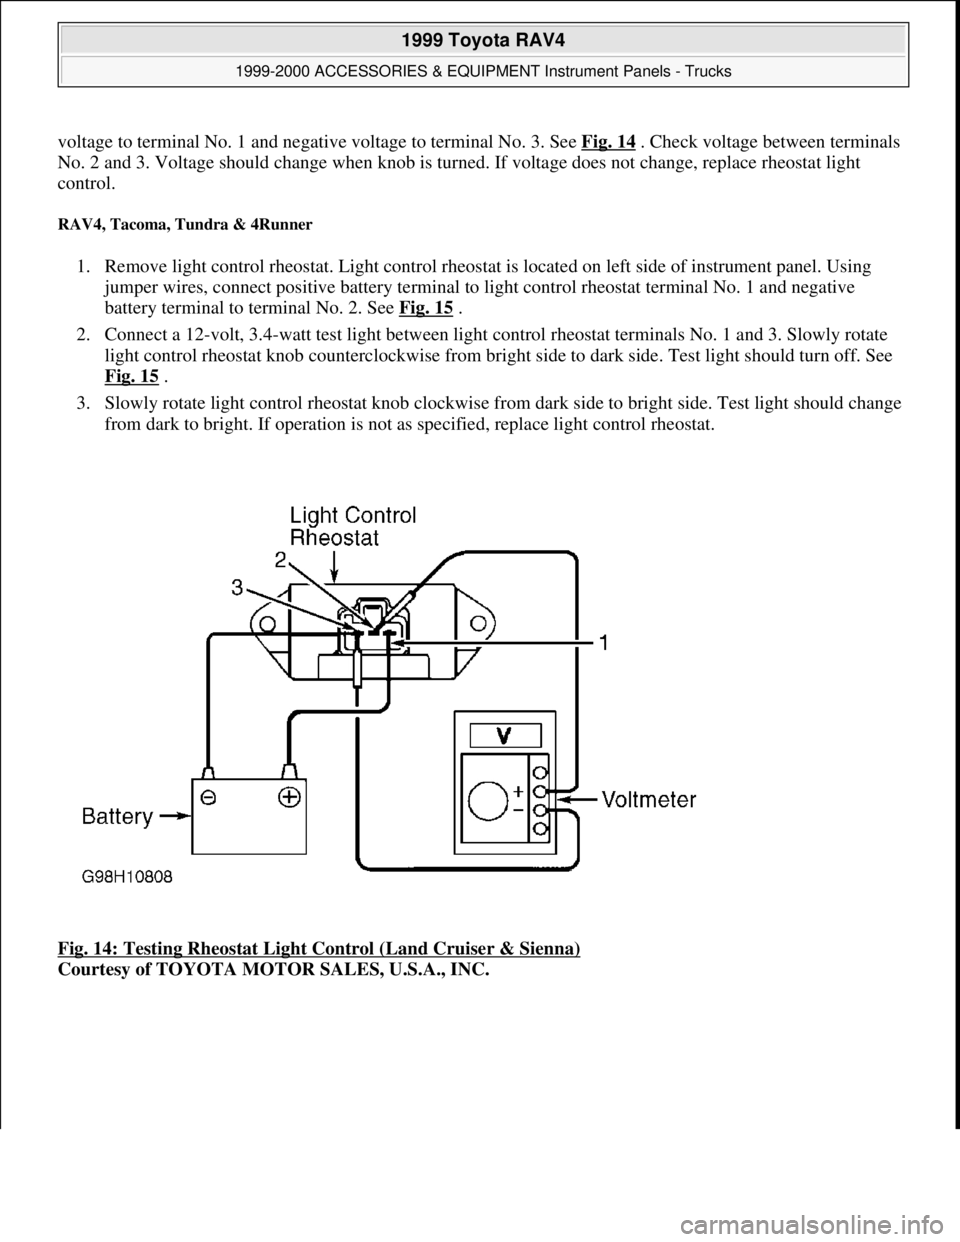
voltage to terminal No. 1 and negative voltage to terminal No. 3. See Fig. 14. Check voltage between terminals
No. 2 and 3. Voltage should change when knob is turned. If voltage does not change, replace rheostat light
control.
RAV4, Tacoma, Tundra & 4Runner
1. Remove light control rheostat. Light control rheostat is located on left side of instrument panel. Using
jumper wires, connect positive battery terminal to light control rheostat terminal No. 1 and negative
battery terminal to terminal No. 2. See Fig. 15
.
2. Connect a 12-volt, 3.4-watt test light between light control rheostat terminals No. 1 and 3. Slowly rotate
light control rheostat knob counterclockwise from bright side to dark side. Test light should turn off. See
Fig. 15
.
3. Slowly rotate light control rheostat knob clockwise from dark side to bright side. Test light should change
from dark to bright. If operation is not as specified, replace light control rheostat.
Fig. 14: Testing Rheostat Light Control (Land Cruiser & Sienna)
Courtesy of TOYOTA MOTOR SALES, U.S.A., INC.
1999 Toyota RAV4
1999-2000 ACCESSORIES & EQUIPMENT Instrument Panels - Trucks
Microsoft
Sunday, November 22, 2009 10:54:10 AMPage 22 © 2005 Mitchell Repair Information Company, LLC.
Page 969 of 1632
35 - HTR 50 Amp Air Conditioning system
36 - ABS 60 Amp Anti-Lock brake system
Fuse & Circuit Breaker Identificatio - 1998
1 - H-LP (LH) 15 Amp Left-Hand Headlight
2 - H-LP (RH) 15 Amp Right-Hand Headlight
3 - SPARE 10 Amp Spare fuse
4 - SPARE 15 Amp Spare fuse
5 - AM2 5 Amp Multiport Fuel Injection System/Sequential Multiport Fuel Injection System, SRS
Airbag System, Seat Belt Pretensioners, Starting System, Discharge Warning Light
6 - ALT-S 5 Amp Charging system
7 - HAZ 10 Amp Emergency Flashers
8 - EFI 20 Amp (USA) or 15 Amp (Canada)Multiport Fuel Injection System/Sequential Multiport Fuel
Injection System
9 - DOME 15 Amp Personal Lights, Open Door Warning Light, Clock
10 - IGN 20 Amp Charging System
11 - H-LP LH-H 10 Amp Left Hand Headlight (High Beam)
12 - H-LP RH-H 10 Amp Right Hand Headlight (High Beam)
13 - H-LP LH-L 10 Amp Left Hand Headlight (Low Beam)
14 - H-LP RH-L 10 Amp Right Hand Headlight (Low Beam)
15 - SEAT-HTR 10 Amp No Circuit
16 - PWR OUTLET 15 Amp Power Outlet
17 - CIG 15 Amp Cigarette Lighter, Clock, Car Audio System, Power Rear View Mirrors, Electronically
Controlled Automatic Transmission
18 - SRS-SCC 10 Amp SRS Airbag System, Seat Belt Pretensioners
19 - WIPER 20 Amp Windshield Wipers And Washer, Rear Window Wiper And Washer
20 - ECU-IG 10 Amp Electronically Controlled Automatic Transmission System, Rear Window
Defogger, Center Differential Lock System, Electric Moon Roof, Multiport Fuel Injection System,
Electric Cooling Fan, Anti-Lock Brake System, Cruise Control System
21 - TURN & GAUGE 10 Amp Turn Signal Lights, Gauges & Meters, Back-Up Lights, Service
Reminder Indicators, Air Conditioning System, Daytime Running Light System
22 - STOP 10 Amp Stop Lights, High Mounted Stop Light, Electronically Controlled Automatic
Transmission System, Anti-Lock Brake System
23 - TAIL 15 Amp Gauges & Meters, Emergency Flashers, Cigarette Lighter, Center Differential Lock
System, Clock, Rear Window Defogger, Air Conditioning System, Electronically Controlled Automatic
Transmission System, Car Audio System, Tail Lights, License Plate Lights, Parking Lights, Instrument
Panel Light Control, Side Marker Lights
24 - OBD 10 Amp On-Board Diagnosis System
25 - SRS-B 10 Amp SRS Air Bag Warning Light
1999 Toyota RAV4
MAINTENANCE INFORMATION 1997-99 MAINTENANCE Toyota Maintenance Information
Microsoft
Sunday, November 22, 2009 10:32:42 AMPage 27 © 2005 Mitchell Repair Information Company, LLC.
Page 1095 of 1632
SYSTEMS TESTS
AIR CONTROL VALVE
Land Cruiser, RAV4, Tacoma & 4Runner
Start and fully warm up engine. Ensure A/C is off. With engine at idle, turn steering wheel to full LOCK
position until test is complete. Ensure engine RPM decreases when air control valve vacuum hose is pinched
shut. When hose is released, engine RPM should increase to normal. If system fails this test, check vacuum
hose, connections, and air control valve.
HYDRAULIC SYSTEM PRESSURE TEST
Pressure Test
1. Connect pressure to power steering pump high pressure line. Connect pressure gauge according to
manufacturer's instructions. Bleed air from hydraulic system. Check power steering fluid level. With
engine at idle, close pressure gauge valve for 2-3 seconds. DO NOT keep valve closed for more than 10
seconds. Note fluid minimum pressure. See HYDRAULIC PRESSURE
table.
2. Open pressure gauge valve fully. Note pressure with engine at 1000 RPM and at 3000 RPM. DO NOT
turn steering wheel. Pressure difference should be less than 71 psi (5 kg/cm2). If difference is greater than
specified, check flow control valve. If valve is okay, repair or replace power steering pump.
3. When steering wheel at full lock position and pressure valve open, again measure pressure. See
HYDRAULIC PRESSURE
table. If pressure is less than specified, steering gear has an internal leak.
Repair or replace steering gear.
HYDRAULIC PRESSURE
STEERING WHEEL TURNING FORCE
1. Center steering wheel. Check that free play of steering wheel does not exceed 1.58" (40 mm) on Land
Cruiser, or 1.18" (30 mm) on all other models. Remove steering wheel pad.
2. Attach INCH-lb torque wrench to steerin
g wheel nut. Start and idle engine. Using torque wrench, turn
Tacoma, Tundra & 4Runner
New135-180 (61-82)
Used (2) 85-120 (39-54)
(1)Land Cruiser uses automatic belt tensioner.
(2)Belt is used if it has been in operation for longer than 5 minutes.
ApplicationMinimum Pressure - Psi (kg/cm2 )
RAV41067 (75)
Sienna1138 (80)
Land Cruiser, Tacoma, Tundra & 4Runner1209 (85)
1999 Toyota RAV4
1999-2000 STEERING Power Rack & Pinion - Trucks
Microsoft
Sunday, November 22, 2009 10:35:46 AMPage 2 © 2005 Mitchell Repair Information Company, LLC.
Page 1096 of 1632
and measure turning force. See STEERING EFFORT SPECIFICATIONS table. Repair or replace
power steering pump if force exceeds specifications.
STEERING EFFORT SPECIFICATIONS
REMOVAL & INSTALLATION
POWER STEERING PUMP
Removal (Land Cruiser)
1. Raise and support front of vehicle. Remove right and left engine under covers. Disconnect MAF
connector. Remove hose from air cleaner. Remove clamp, bolts and remove air cleaner assembly. Loosen
drive belt tensioner and remove drive belt.
2. Disconnect and plug return hose. Use drain pan to catch power steering fluid when connections are
released. Remove 3 bolts, and remove power steering pump.
Removal (RAV4)
1. Raise and support front of vehicle. Remove right and left engine under covers. Remove front exhaust
pipe. See Fig. 1
.
2. Remove stabilizer bar with link. Disconnect right and left lower control arms. See FRONT
- AVALON,
CAMRY, CAMRY SOLARA, CELICA, COROLLA, ECHO, RAV4 & SIENNA appropriate
FRONT SUSPENSION article in SUSPENSION.
3. Remove 2 power steering gear assembly set bolts and nuts. Remove front suspension crossmember
assembly. See Fig. 1
.
4. Disconnect 2 tube clamps and 2 vacuum hoses. Disconnect and plug return line. Use drain pan to catch
power steering fluid when connections are released.
5. Loosen top and bottom pump bolts and remove drive belt. Disconnect pressure feed tube. Remove 3
power steering pump bracket bolts. Remove pump assembly with bracket.
6. Remove union bolt and
gasket. Remove pressure feed line.
ApplicationINCH Lbs. (N.m)
RAV4 & Sienna52 (5.9)
Land Cruiser, Tacoma, Tundra & 4Runner43 (4.9)
1999 Toyota RAV4
1999-2000 STEERING Power Rack & Pinion - Trucks
Microsoft
Sunday, November 22, 2009 10:35:46 AMPage 3 © 2005 Mitchell Repair Information Company, LLC.
Page 1104 of 1632
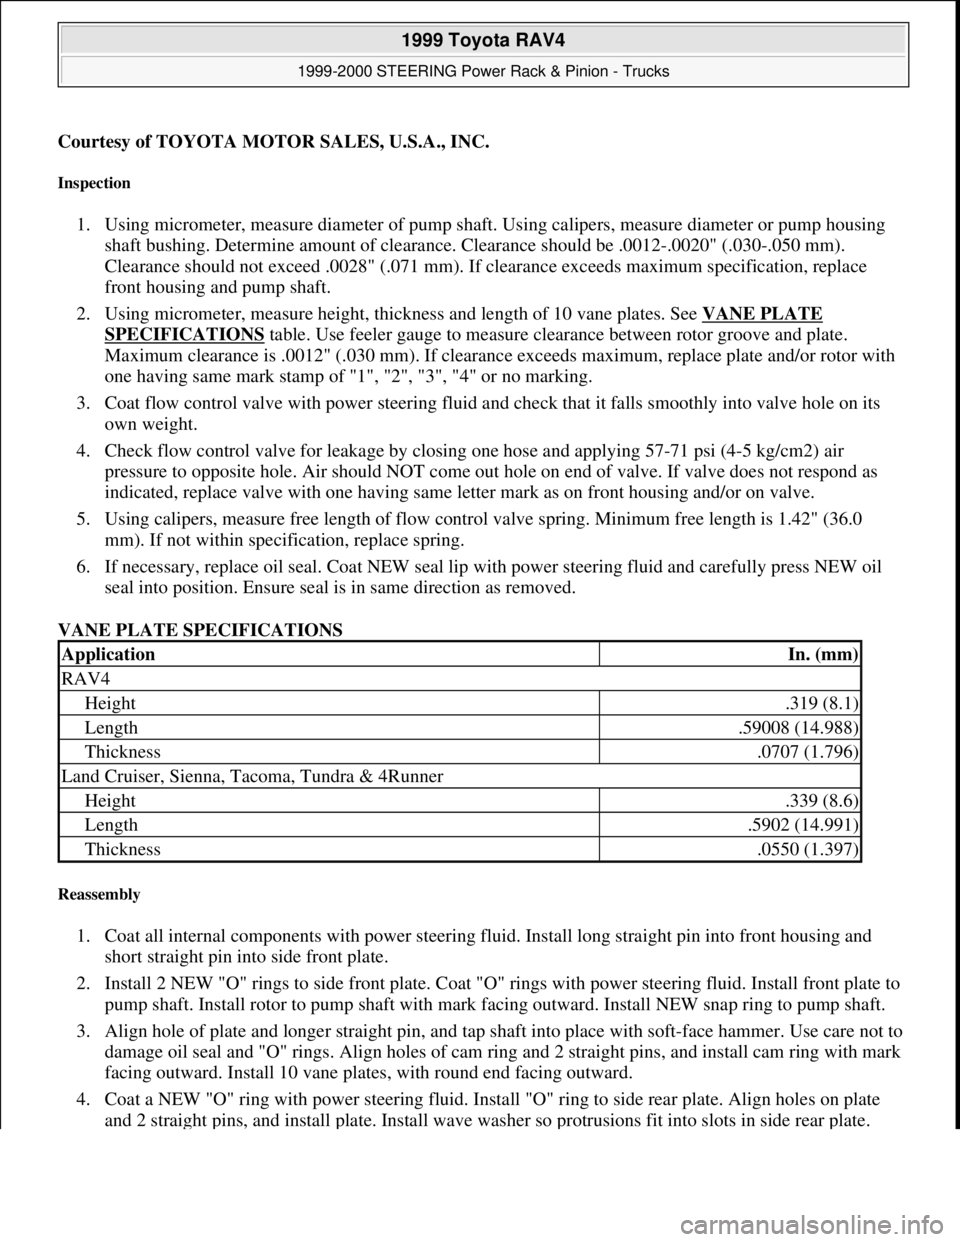
Courtesy of TOYOTA MOTOR SALES, U.S.A., INC.
Inspection
1. Using micrometer, measure diameter of pump shaft. Using calipers, measure diameter or pump housing
shaft bushing. Determine amount of clearance. Clearance should be .0012-.0020" (.030-.050 mm).
Clearance should not exceed .0028" (.071 mm). If clearance exceeds maximum specification, replace
front housing and pump shaft.
2. Using micrometer, measure height, thickness and length of 10 vane plates. See VANE PLATE
SPECIFICATIONS table. Use feeler gauge to measure clearance between rotor groove and plate.
Maximum clearance is .0012" (.030 mm). If clearance exceeds maximum, replace plate and/or rotor with
one having same mark stamp of "1", "2", "3", "4" or no marking.
3. Coat flow control valve with power steering fluid and check that it falls smoothly into valve hole on its
own weight.
4. Check flow control valve for leakage by closing one hose and applying 57-71 psi (4-5 kg/cm2) air
pressure to opposite hole. Air should NOT come out hole on end of valve. If valve does not respond as
indicated, replace valve with one having same letter mark as on front housing and/or on valve.
5. Using calipers, measure free length of flow control valve spring. Minimum free length is 1.42" (36.0
mm). If not within specification, replace spring.
6. If necessary, replace oil seal. Coat NEW seal lip with power steering fluid and carefully press NEW oil
seal into position. Ensure seal is in same direction as removed.
VANE PLATE SPECIFICATIONS
Reassembly
1. Coat all internal components with power steering fluid. Install long straight pin into front housing and
short straight pin into side front plate.
2. Install 2 NEW "O" rings to side front plate. Coat "O" rings with power steering fluid. Install front plate to
pump shaft. Install rotor to pump shaft with mark facing outward. Install NEW snap ring to pump shaft.
3. Align hole of plate and longer straight pin, and tap shaft into place with soft-face hammer. Use care not to
damage oil seal and "O" rings. Align holes of cam ring and 2 straight pins, and install cam ring with mark
facing outward. Install 10 vane plates, with round end facing outward.
4. Coat a NEW "O" ring with power steering fluid. Install "O" ring to side rear plate. Align holes on plate
and 2 straight pins, and install plate. Install wave washer so protrusions fit into slots in side rear plate.
ApplicationIn. (mm)
RAV4
Height.319 (8.1)
Length.59008 (14.988)
Thickness.0707 (1.796)
Land Cruiser, Sienna, Tacoma, Tundra & 4Runner
Height.339 (8.6)
Length.5902 (14.991)
Thickness.0550 (1.397)
1999 Toyota RAV4
1999-2000 STEERING Power Rack & Pinion - Trucks
Microsoft
Sunday, November 22, 2009 10:35:46 AMPage 11 © 2005 Mitchell Repair Information Company, LLC.
Page 1110 of 1632
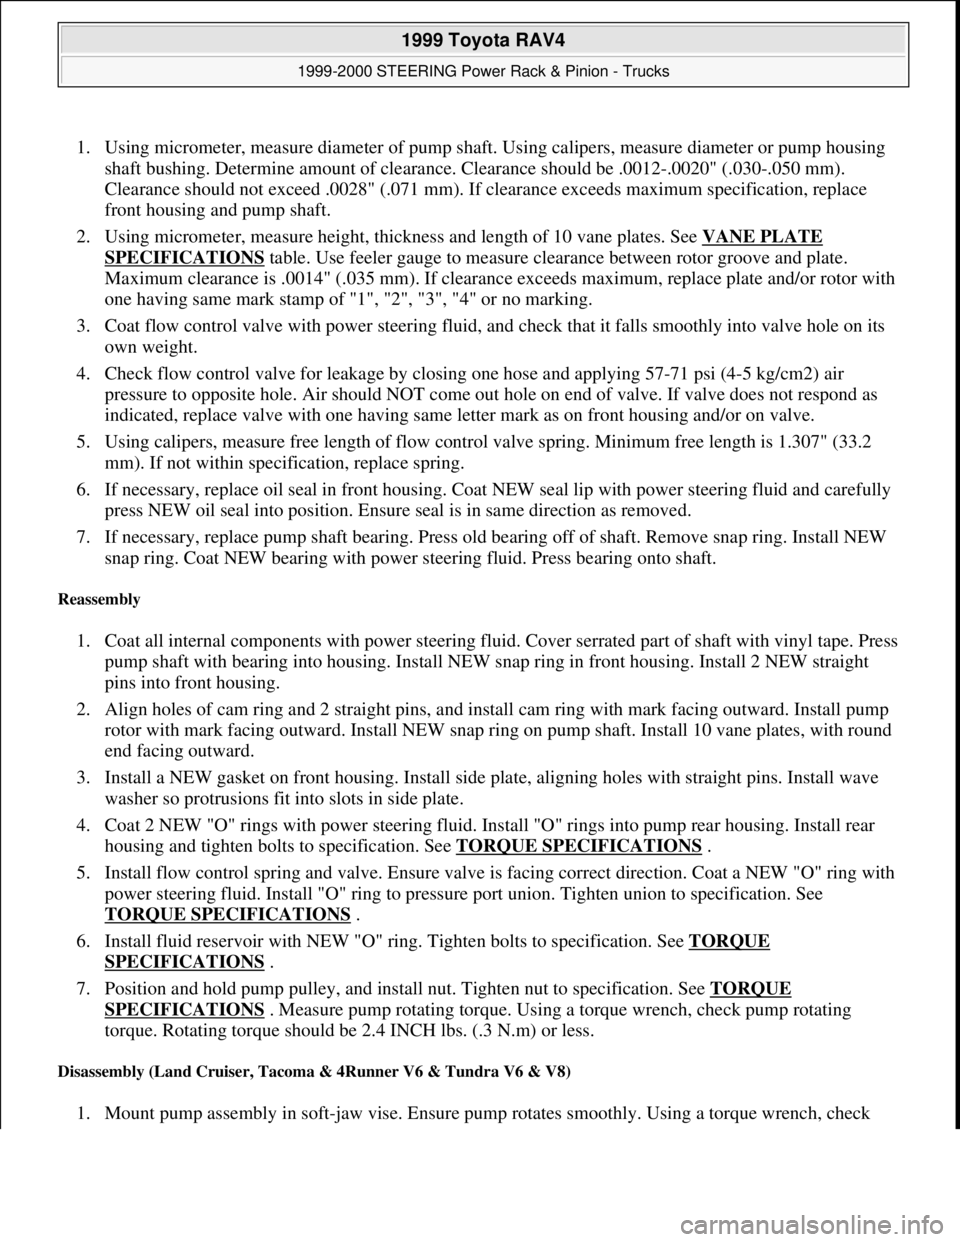
1. Using micrometer, measure diameter of pump shaft. Using calipers, measure diameter or pump housing
shaft bushing. Determine amount of clearance. Clearance should be .0012-.0020" (.030-.050 mm).
Clearance should not exceed .0028" (.071 mm). If clearance exceeds maximum specification, replace
front housing and pump shaft.
2. Using micrometer, measure height, thickness and length of 10 vane plates. See VANE PLATE
SPECIFICATIONS table. Use feeler gauge to measure clearance between rotor groove and plate.
Maximum clearance is .0014" (.035 mm). If clearance exceeds maximum, replace plate and/or rotor with
one having same mark stamp of "1", "2", "3", "4" or no marking.
3. Coat flow control valve with power steering fluid, and check that it falls smoothly into valve hole on its
own weight.
4. Check flow control valve for leakage by closing one hose and applying 57-71 psi (4-5 kg/cm2) air
pressure to opposite hole. Air should NOT come out hole on end of valve. If valve does not respond as
indicated, replace valve with one having same letter mark as on front housing and/or on valve.
5. Using calipers, measure free length of flow control valve spring. Minimum free length is 1.307" (33.2
mm). If not within specification, replace spring.
6. If necessary, replace oil seal in front housing. Coat NEW seal lip with power steering fluid and carefully
press NEW oil seal into position. Ensure seal is in same direction as removed.
7. If necessary, replace pump shaft bearing. Press old bearing off of shaft. Remove snap ring. Install NEW
snap ring. Coat NEW bearing with power steering fluid. Press bearing onto shaft.
Reassembly
1. Coat all internal components with power steering fluid. Cover serrated part of shaft with vinyl tape. Press
pump shaft with bearing into housing. Install NEW snap ring in front housing. Install 2 NEW straight
pins into front housing.
2. Align holes of cam ring and 2 straight pins, and install cam ring with mark facing outward. Install pump
rotor with mark facing outward. Install NEW snap ring on pump shaft. Install 10 vane plates, with round
end facing outward.
3. Install a NEW gasket on front housing. Install side plate, aligning holes with straight pins. Install wave
washer so protrusions fit into slots in side plate.
4. Coat 2 NEW "O" rings with power steering fluid. Install "O" rings into pump rear housing. Install rear
housing and tighten bolts to specification. See TORQUE SPECIFICATIONS
.
5. Install flow control spring and valve. Ensure valve is facing correct direction. Coat a NEW "O" ring with
power steering fluid. Install "O" ring to pressure port union. Tighten union to specification. See
TORQUE SPECIFICATIONS
.
6. Install fluid reservoir with NEW "O" ring. Tighten bolts to specification. See TORQUE
SPECIFICATIONS .
7. Position and hold pump pulley, and install nut. Tighten nut to specification. See TORQUE
SPECIFICATIONS . Measure pump rotating torque. Using a torque wrench, check pump rotating
torque. Rotating torque should be 2.4 INCH lbs. (.3 N.m) or less.
Disassembly (Land Cruiser, Tacoma & 4Runner V6 & Tundra V6 & V8)
1. Mount pump assembly in soft-jaw vise. Ensure pump rotates smoothly. Using a torque wrench, check
1999 Toyota RAV4
1999-2000 STEERING Power Rack & Pinion - Trucks
Microsoft
Sunday, November 22, 2009 10:35:47 AMPage 17 © 2005 Mitchell Repair Information Company, LLC.
Page 1130 of 1632
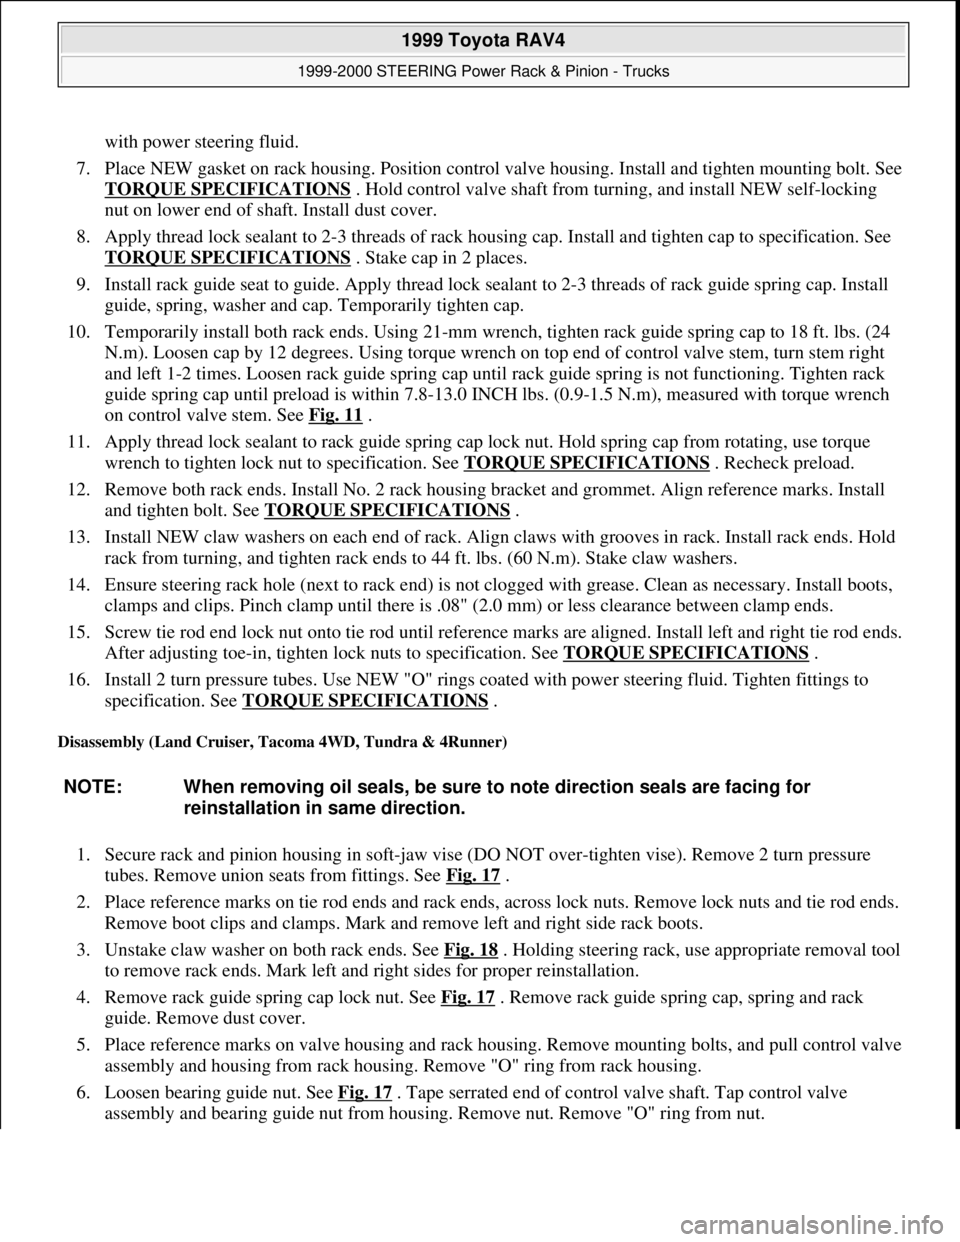
with power steering fluid.
7. Place NEW gasket on rack housing. Position control valve housing. Install and tighten mounting bolt. See
TORQUE SPECIFICATIONS
. Hold control valve shaft from turning, and install NEW self-locking
nut on lower end of shaft. Install dust cover.
8. Apply thread lock sealant to 2-3 threads of rack housing cap. Install and tighten cap to specification. See
TORQUE SPECIFICATIONS
. Stake cap in 2 places.
9. Install rack guide seat to guide. Apply thread lock sealant to 2-3 threads of rack guide spring cap. Install
guide, spring, washer and cap. Temporarily tighten cap.
10. Temporarily install both rack ends. Using 21-mm wrench, tighten rack guide spring cap to 18 ft. lbs. (24
N.m). Loosen cap by 12 degrees. Using torque wrench on top end of control valve stem, turn stem right
and left 1-2 times. Loosen rack guide spring cap until rack guide spring is not functioning. Tighten rack
guide spring cap until preload is within 7.8-13.0 INCH lbs. (0.9-1.5 N.m), measured with torque wrench
on control valve stem. See Fig. 11
.
11. Apply thread lock sealant to rack guide spring cap lock nut. Hold spring cap from rotating, use torque
wrench to tighten lock nut to specification. See TORQUE SPECIFICATIONS
. Recheck preload.
12. Remove both rack ends. Install No. 2 rack housing bracket and grommet. Align reference marks. Install
and tighten bolt. See TORQUE SPECIFICATIONS
.
13. Install NEW claw washers on each end of rack. Align claws with grooves in rack. Install rack ends. Hold
rack from turning, and tighten rack ends to 44 ft. lbs. (60 N.m). Stake claw washers.
14. Ensure steering rack hole (next to rack end) is not clogged with grease. Clean as necessary. Install boots,
clamps and clips. Pinch clamp until there is .08" (2.0 mm) or less clearance between clamp ends.
15. Screw tie rod end lock nut onto tie rod until reference marks are aligned. Install left and right tie rod ends.
After adjusting toe-in, tighten lock nuts to specification. See TORQUE SPECIFICATIONS
.
16. Install 2 turn pressure tubes. Use NEW "O" rings coated with power steering fluid. Tighten fittings to
specification. See TORQUE SPECIFICATIONS
.
Disassembly (Land Cruiser, Tacoma 4WD, Tundra & 4Runner)
1. Secure rack and pinion housing in soft-jaw vise (DO NOT over-tighten vise). Remove 2 turn pressure
tubes. Remove union seats from fittings. See Fig. 17
.
2. Place reference marks on tie rod ends and rack ends, across lock nuts. Remove lock nuts and tie rod ends.
Remove boot clips and clamps. Mark and remove left and right side rack boots.
3. Unstake claw washer on both rack ends. See Fig. 18
. Holding steering rack, use appropriate removal tool
to remove rack ends. Mark left and right sides for proper reinstallation.
4. Remove rack guide spring cap lock nut. See Fig. 17
. Remove rack guide spring cap, spring and rack
guide. Remove dust cover.
5. Place reference marks on valve housing and rack housing. Remove mounting bolts, and pull control valve
assembly and housing from rack housing. Remove "O" ring from rack housing.
6. Loosen bearing guide nut. See Fig. 17
. Tape serrated end of control valve shaft. Tap control valve
assembly and bearing guide nut from housing. Remove nut. Remove "O" ring from nut. NOTE: When removing oil seals, be sure to note direction seals are facing for
reinstallation in same direction.
1999 Toyota RAV4
1999-2000 STEERING Power Rack & Pinion - Trucks
Microsoft
Sunday, November 22, 2009 10:35:47 AMPage 37 © 2005 Mitchell Repair Information Company, LLC.
Page 1133 of 1632
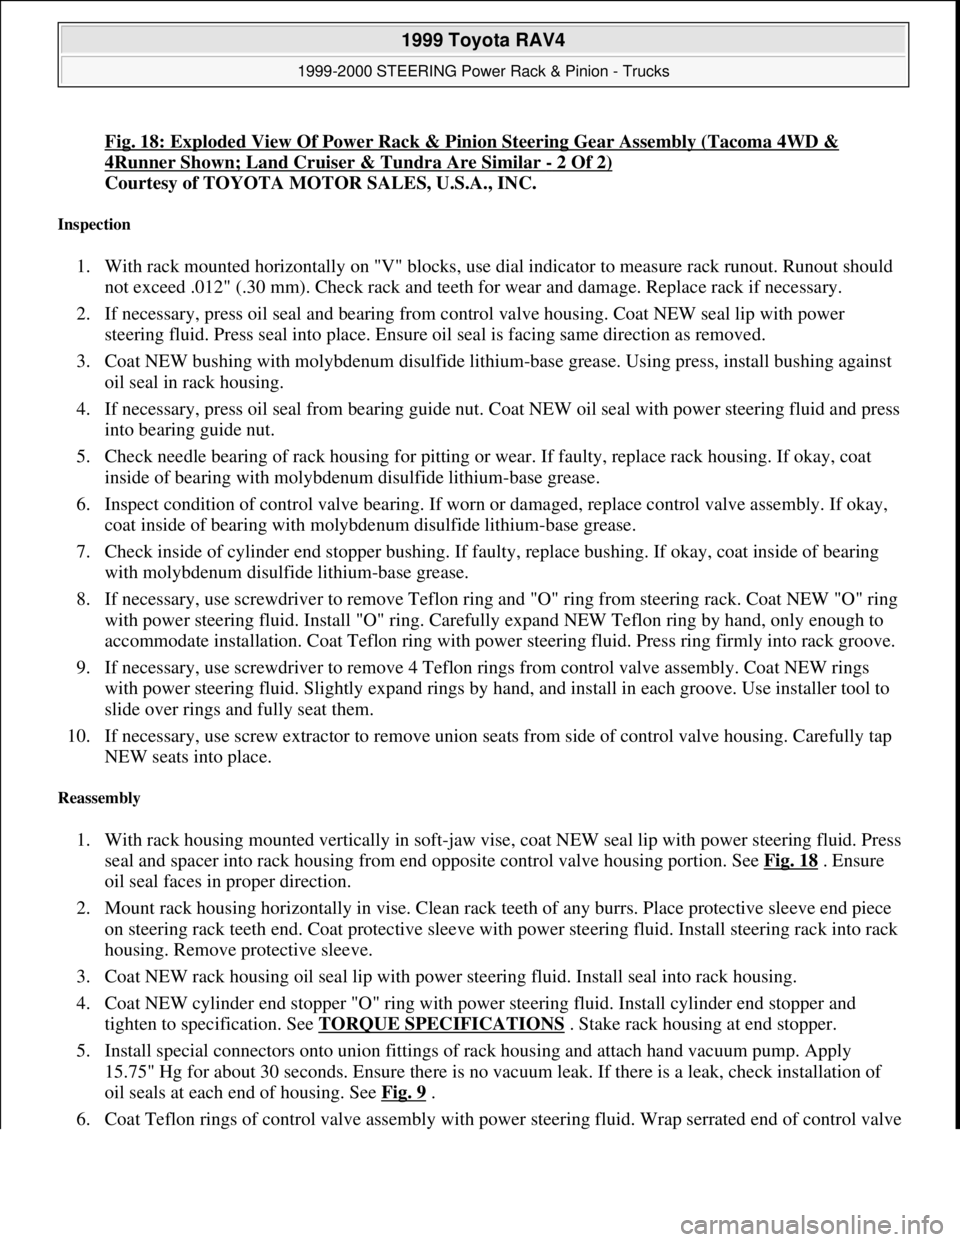
Fig. 18: Exploded View Of Power Rack & Pinion Steering Gear Assembly (Tacoma 4WD &
4Runner Shown; Land Cruiser & Tundra Are Similar - 2 Of 2)
Courtesy of TOYOTA MOTOR SALES, U.S.A., INC.
Inspection
1. With rack mounted horizontally on "V" blocks, use dial indicator to measure rack runout. Runout should
not exceed .012" (.30 mm). Check rack and teeth for wear and damage. Replace rack if necessary.
2. If necessary, press oil seal and bearing from control valve housing. Coat NEW seal lip with power
steering fluid. Press seal into place. Ensure oil seal is facing same direction as removed.
3. Coat NEW bushing with molybdenum disulfide lithium-base grease. Using press, install bushing against
oil seal in rack housing.
4. If necessary, press oil seal from bearing guide nut. Coat NEW oil seal with power steering fluid and press
into bearing guide nut.
5. Check needle bearing of rack housing for pitting or wear. If faulty, replace rack housing. If okay, coat
inside of bearing with molybdenum disulfide lithium-base grease.
6. Inspect condition of control valve bearing. If worn or damaged, replace control valve assembly. If okay,
coat inside of bearing with molybdenum disulfide lithium-base grease.
7. Check inside of cylinder end stopper bushing. If faulty, replace bushing. If okay, coat inside of bearing
with molybdenum disulfide lithium-base grease.
8. If necessary, use screwdriver to remove Teflon ring and "O" ring from steering rack. Coat NEW "O" ring
with power steering fluid. Install "O" ring. Carefully expand NEW Teflon ring by hand, only enough to
accommodate installation. Coat Teflon ring with power steering fluid. Press ring firmly into rack groove.
9. If necessary, use screwdriver to remove 4 Teflon rings from control valve assembly. Coat NEW rings
with power steering fluid. Slightly expand rings by hand, and install in each groove. Use installer tool to
slide over rings and fully seat them.
10. If necessary, use screw extractor to remove union seats from side of control valve housing. Carefully tap
NEW seats into place.
Reassembly
1. With rack housing mounted vertically in soft-jaw vise, coat NEW seal lip with power steering fluid. Press
seal and spacer into rack housing from end opposite control valve housing portion. See Fig. 18
. Ensure
oil seal faces in proper direction.
2. Mount rack housing horizontally in vise. Clean rack teeth of any burrs. Place protective sleeve end piece
on steering rack teeth end. Coat protective sleeve with power steering fluid. Install steering rack into rack
housing. Remove protective sleeve.
3. Coat NEW rack housing oil seal lip with power steering fluid. Install seal into rack housing.
4. Coat NEW cylinder end stopper "O" ring with power steering fluid. Install cylinder end stopper and
tighten to specification. See TORQUE SPECIFICATIONS
. Stake rack housing at end stopper.
5. Install special connectors onto union fittings of rack housing and attach hand vacuum pump. Apply
15.75" Hg for about 30 seconds. Ensure there is no vacuum leak. If there is a leak, check installation of
oil seals at each end of housing. See Fig. 9
.
6. Coat Teflon rin
gs of control valve assembly with power steering fluid. Wrap serrated end of control valve
1999 Toyota RAV4
1999-2000 STEERING Power Rack & Pinion - Trucks
Microsoft
Sunday, November 22, 2009 10:35:47 AMPage 40 © 2005 Mitchell Repair Information Company, LLC.
Page 1134 of 1632
shaft with tape. Push control valve assembly into housing. Coat NEW "O" ring with power steering fluid
and install into bearing guide nut. Install and tighten nut. See TORQUE SPECIFICATIONS
. Stake
guide nut.
7. Coat NEW control valve "O" ring with power steering fluid. Install into control valve housing. Align
reference marks for housings. Position control valve housing. Install and tighten mounting bolts. See
TORQUE SPECIFICATIONS
. Install dust cover.
8. Install rack guide, spring and rack guide spring cap. Apply thread lock sealant to cap threads.
Temporarily install cap.
9. Temporarily install both rack ends. Using a 21-mm wrench, tighten rack guide spring cap to 18 ft. lbs. (24
N.m). Loosen cap by 12 degrees on Tundra, or 19 degrees on all other models. With torque wrench on top
end of control valve stem, turn stem right and left 1-2 times. Loosen rack guide spring cap until rack
guide spring is not functioning. Tighten rack guide spring cap until preload is within 11.5-16 INCH lbs.
(1.3-1.8 N.m) on Land Cruiser, 10.4-13.9 INCH lbs. (1.2-1.6 N.m) on Tundra, or 4.1-14.9 INCH lbs.
(0.5-1.7 N.m) on all other models, measured with torque wrench on control valve stem. See Fig. 11
.
10. Apply thread lock sealant to rack guide spring cap lock nut. Hold spring cap from rotating, use torque
wrench to tighten lock nut to specification. See TORQUE SPECIFICATIONS
. Recheck preload.
11. Remove both rack ends. Install NEW claw washers on each end of rack. Align claws with grooves in
rack. Install rack ends. Hold rack from turning and tighten rack ends to 56 ft. lbs. (76 N.m). Stake claw
washers.
12. Ensure steering rack hole (next to rack end) is not clogged with grease. Clean as necessary. Install boots,
clamps and clips. Pinch clamp until there is .08" (2.0 mm) or less clearance between clamp ends.
13. Screw tie rod end lock nut onto tie rod until reference marks are aligned. Install left and right tie rod ends.
After adjusting toe-in, tighten lock nuts to specification. See TORQUE SPECIFICATIONS
.
14. Install NEW union seats into housing fittings. Install 2 turn pressure tubes. Tighten fittings to
specification. See TORQUE SPECIFICATIONS
.
TORQUE SPECIFICATIONS
TORQUE SPECIFICATIONS (LAND CRUISER)
ApplicationFt. Lbs. (N.m)
Power Steering Pump
Mounting Bolts/Nut13 (17)
Power Steering Pulley Nut32 (43)
Pressure Feed Tube Union Bolt42 (56)
Pressure Port Union61 (83)
Rear Housing Bolts17 (23)
Rack & Pinion
Assembly Mounting Bolts/Nuts74 (100)
Bearing Guide Nut19 (25)
Control Valve Housing-To-Rack Housing Bolts13 (18)
Control Valve Housing-To-Pressure Feed Tube36 (49)
Control Valve Stem-To-Intermediate Shaft Clamp Bolt26 (35)
Cylinder End Stopper49 (65)
1999 Toyota RAV4
1999-2000 STEERING Power Rack & Pinion - Trucks
Microsoft
Sunday, November 22, 2009 10:35:47 AMPage 41 © 2005 Mitchell Repair Information Company, LLC.
Page 1174 of 1632
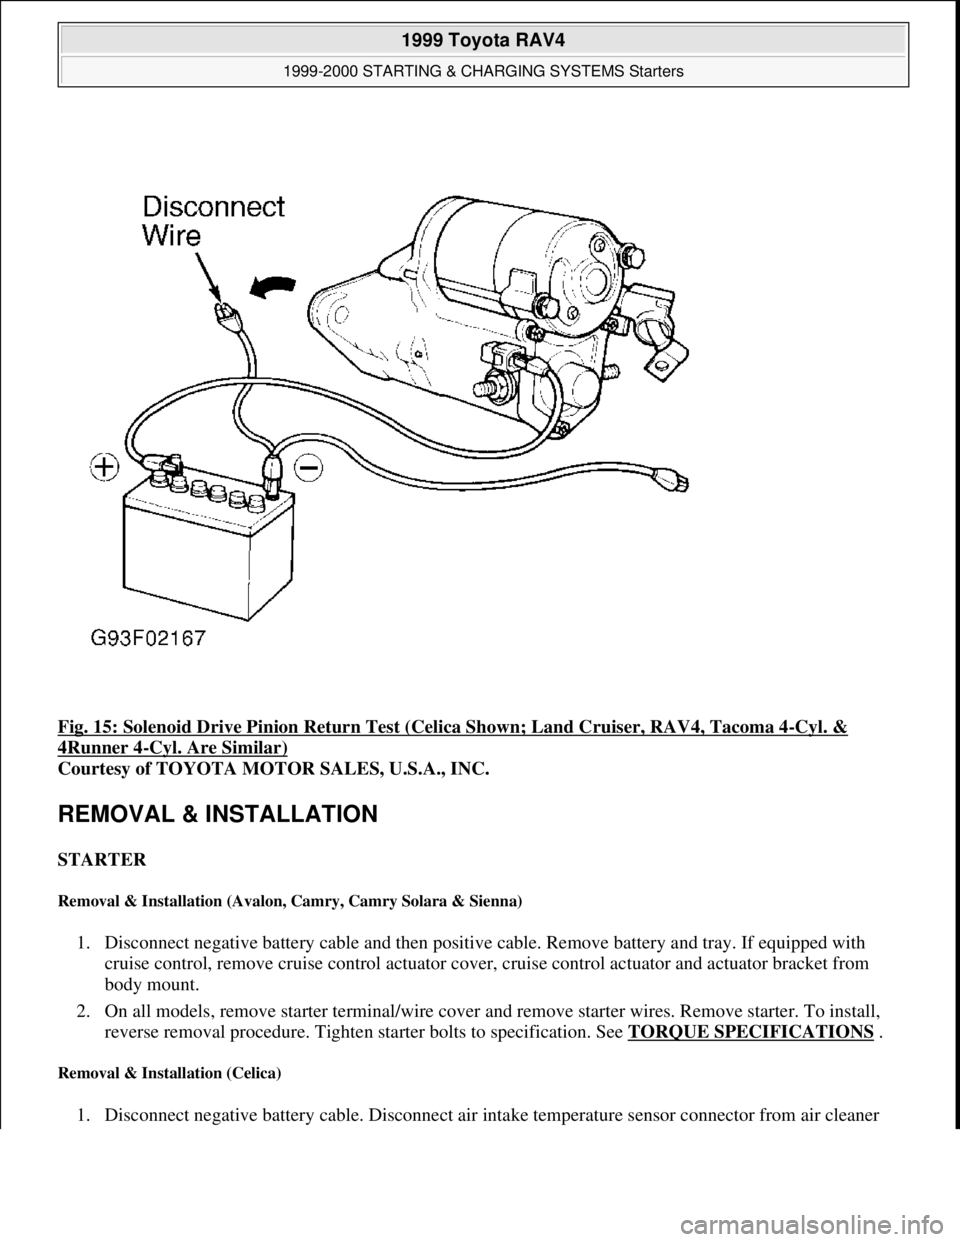
Fig. 15: Solenoid Drive Pinion Return Test (Celica Shown; Land Cruiser, RAV4, Tacoma 4-Cyl. &
4Runner 4-Cyl. Are Similar)
Courtesy of TOYOTA MOTOR SALES, U.S.A., INC.
REMOVAL & INSTALLATION
STARTER
Removal & Installation (Avalon, Camry, Camry Solara & Sienna)
1. Disconnect negative battery cable and then positive cable. Remove battery and tray. If equipped with
cruise control, remove cruise control actuator cover, cruise control actuator and actuator bracket from
body mount.
2. On all models, remove starter terminal/wire cover and remove starter wires. Remove starter. To install,
reverse removal procedure. Tighten starter bolts to specification. See TORQUE SPECIFICATIONS
.
Removal & Installation (Celica)
1. Disconnect negative battery cable. Disconnect air intake temperature sensor connector from air cleaner
1999 Toyota RAV4
1999-2000 STARTING & CHARGING SYSTEMS Starters
Microsoft
Sunday, November 22, 2009 10:19:18 AMPage 19 © 2005 Mitchell Repair Information Company, LLC.