VOLVO XC70 2003 Owners Manual
Manufacturer: VOLVO, Model Year: 2003, Model line: XC70, Model: VOLVO XC70 2003Pages: 257, PDF Size: 5.33 MB
Page 231 of 257
2003 VOLVO XC70
Slide a cassette into the slot with the tape to the right (side 1 or A \
upwards). The ignition key must be in
position I or II before a cassette can be inserted. "TAPE A" or "TAPE B"\
is displayed. When one side
has finished playing the unit will automatically begin playing the other\
side. If a cassette is already
inserted in the cassette deck select cassette play by turning the "SOURC\
E" knob.
Changing tape direction
Press the "REV" button if you wish play the other side of the tape. The \
side being played is displayed.
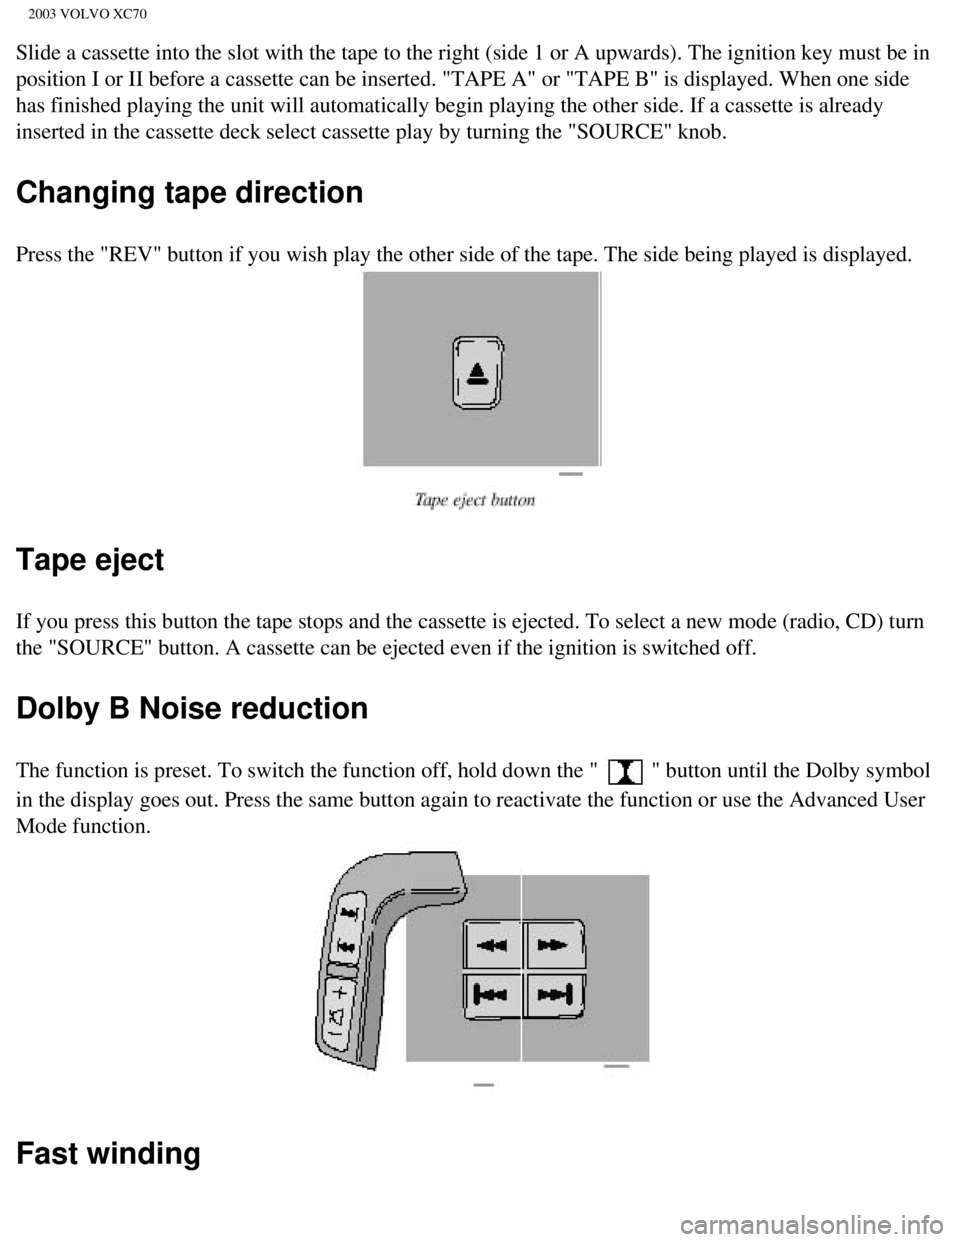
Tape eject
If you press this button the tape stops and the cassette is ejected. To \
select a new mode (radio, CD) turn
the "SOURCE" button. A cassette can be ejected even if the ignition is s\
witched off.
Dolby B Noise reduction
The function is preset. To switch the function off, hold down the " " button until the Dolby symbol
in the display goes out. Press the same button again to reactivate the f\
unction or use the Advanced User
Mode function.
Fast winding
file:///K|/ownersdocs/2003/2003_XC70/03xc70_10b.htm (8 of 13)12/30/200\
6 4:18:07 PM
Page 232 of 257
2003 VOLVO XC70
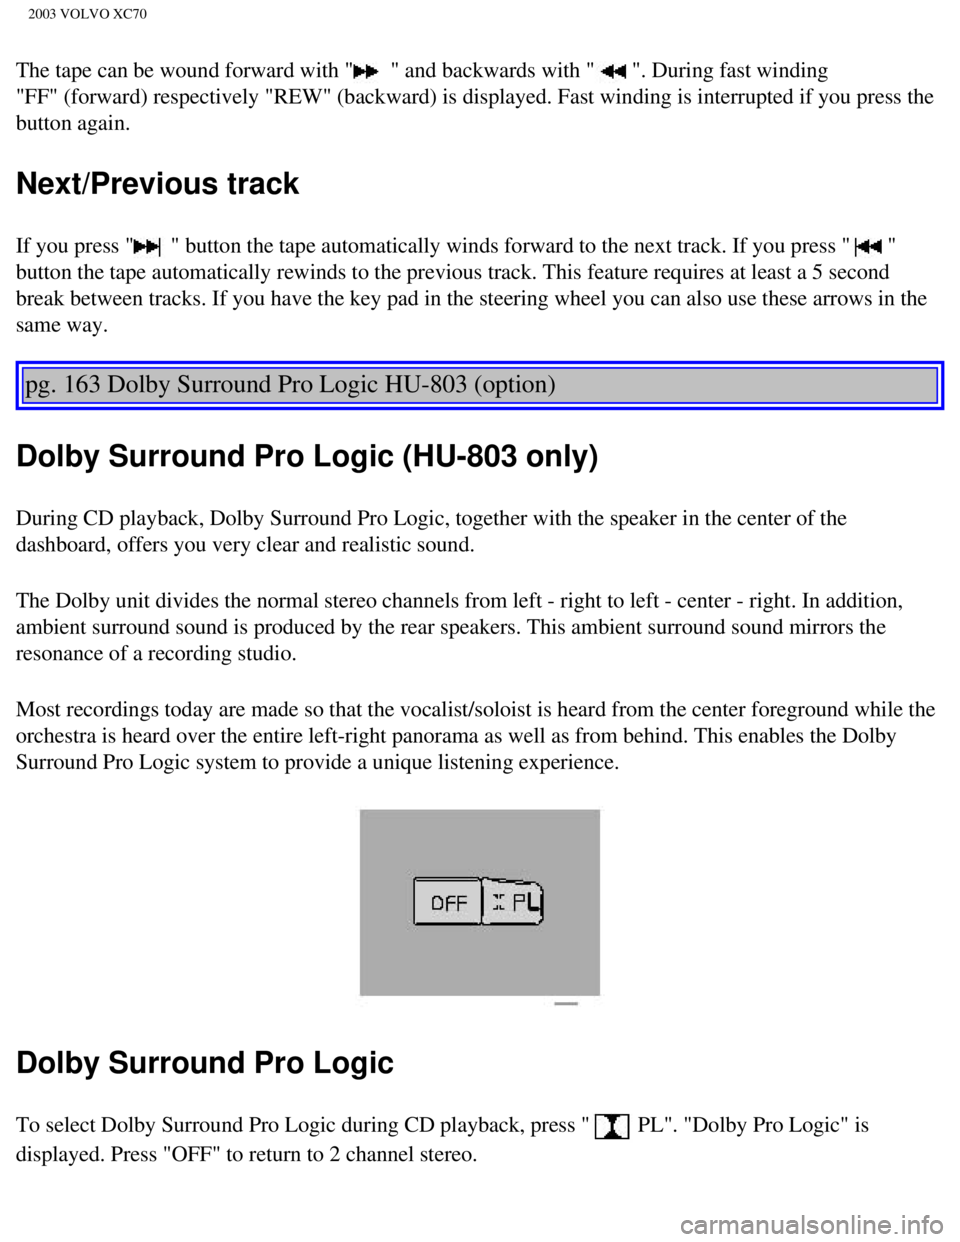
The tape can be wound forward with " " and backwards with " ". During fast winding
"FF" (forward) respectively "REW" (backward) is displayed. Fast wind\
ing is interrupted if you press the
button again.
Next/Previous track
If you press " " button the tape automatically winds forward to the next track. If you\
press " "
button the tape automatically rewinds to the previous track. This featur\
e requires at least a 5 second
break between tracks. If you have the key pad in the steering wheel you \
can also use these arrows in the
same way.
pg. 163 Dolby Surround Pro Logic HU-803 (option)
Dolby Surround Pro Logic (HU-803 only)
During CD playback, Dolby Surround Pro Logic, together with the speaker \
in the center of the
dashboard, offers you very clear and realistic sound.
The Dolby unit divides the normal stereo channels from left - right to l\
eft - center - right. In addition,
ambient surround sound is produced by the rear speakers. This ambient su\
rround sound mirrors the
resonance of a recording studio.
Most recordings today are made so that the vocalist/soloist is heard fro\
m the center foreground while the
orchestra is heard over the entire left-right panorama as well as from b\
ehind. This enables the Dolby
Surround Pro Logic system to provide a unique listening experience.
Dolby Surround Pro Logic
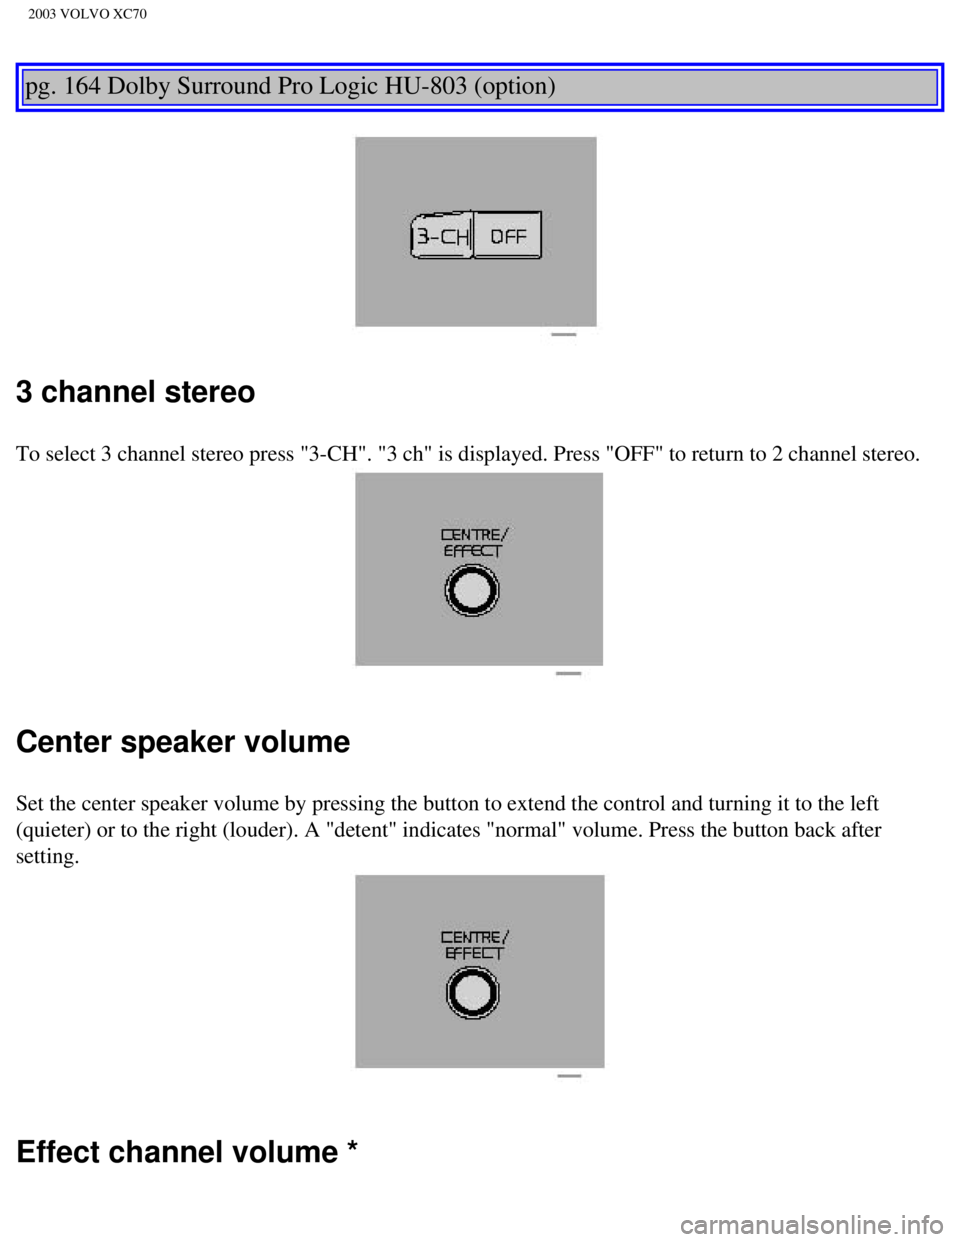
To select Dolby Surround Pro Logic during CD playback, press " PL". "Dolby Pro Logic" is
displayed. Press "OFF" to return to 2 channel stereo.
file:///K|/ownersdocs/2003/2003_XC70/03xc70_10b.htm (9 of 13)12/30/200\
6 4:18:07 PM
Page 233 of 257
2003 VOLVO XC70
pg. 164 Dolby Surround Pro Logic HU-803 (option)
3 channel stereo
To select 3 channel stereo press "3-CH". "3 ch" is displayed. Press "OFF\
" to return to 2 channel stereo.
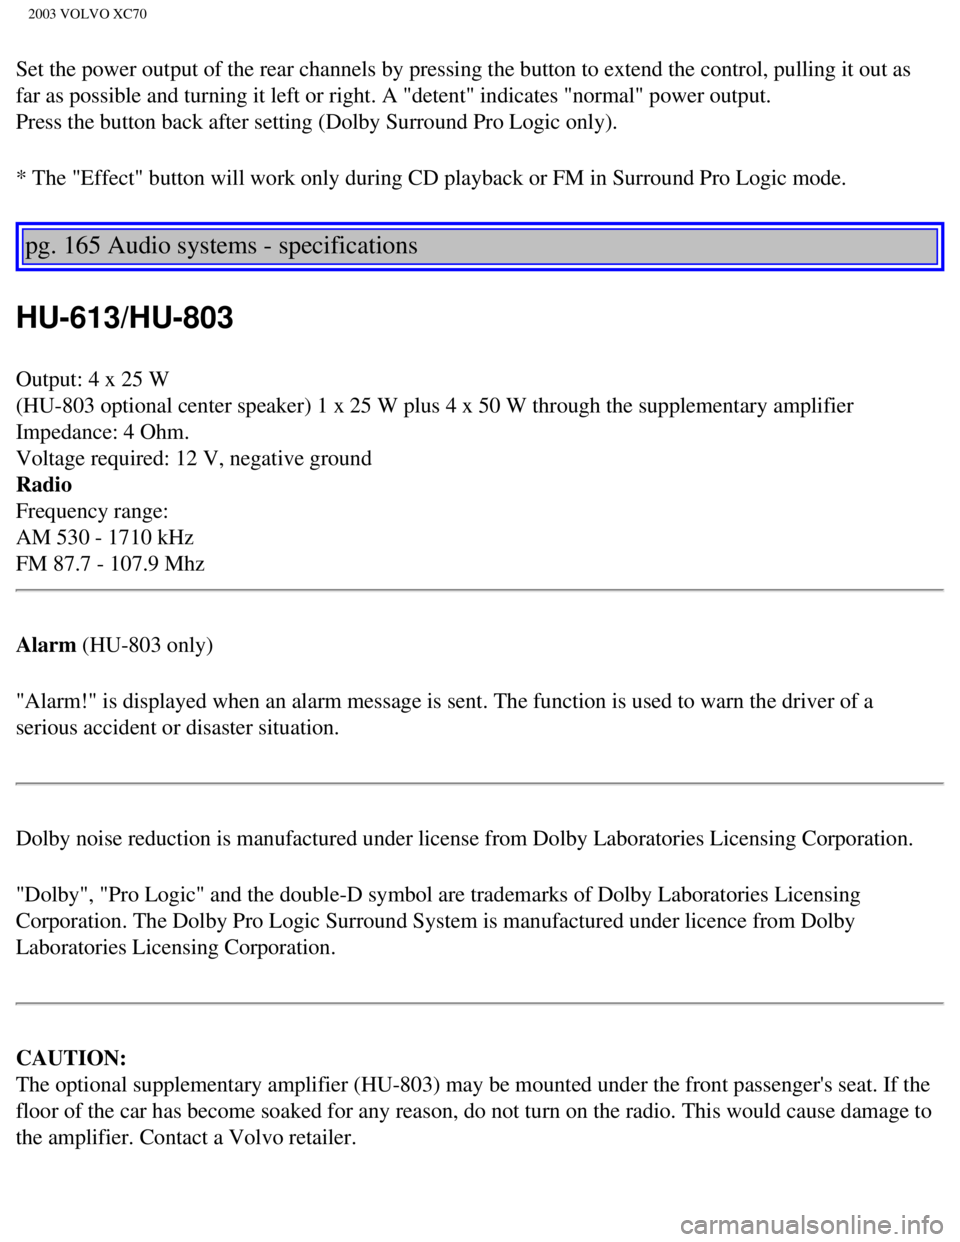
Center speaker volume
Set the center speaker volume by pressing the button to extend the contr\
ol and turning it to the left
(quieter) or to the right (louder). A "detent" indicates "normal" vo\
lume. Press the button back after
setting.
Effect channel volume *
file:///K|/ownersdocs/2003/2003_XC70/03xc70_10b.htm (10 of 13)12/30/20\
06 4:18:07 PM
Page 234 of 257
2003 VOLVO XC70
Set the power output of the rear channels by pressing the button to exte\
nd the control, pulling it out as
far as possible and turning it left or right. A "detent" indicates "norm\
al" power output.
Press the button back after setting (Dolby Surround Pro Logic only).
* The "Effect" button will work only during CD playback or FM in Surroun\
d Pro Logic mode.
pg. 165 Audio systems - specifications
HU-613/HU-803
Output: 4 x 25 W
(HU-803 optional center speaker) 1 x 25 W plus 4 x 50 W through the su\
pplementary amplifier
Impedance: 4 Ohm.
Voltage required: 12 V, negative ground
Radio
Frequency range:
AM 530 - 1710 kHz
FM 87.7 - 107.9 Mhz
Alarm (HU-803 only)
"Alarm!" is displayed when an alarm message is sent. The function is use\
d to warn the driver of a
serious accident or disaster situation.
Dolby noise reduction is manufactured under license from Dolby Laborator\
ies Licensing Corporation.
"Dolby", "Pro Logic" and the double-D symbol are trademarks of Dolby Lab\
oratories Licensing
Corporation. The Dolby Pro Logic Surround System is manufactured under l\
icence from Dolby
Laboratories Licensing Corporation.
CAUTION:
The optional supplementary amplifier (HU-803) may be mounted under the\
front passenger's seat. If the
floor of the car has become soaked for any reason, do not turn on the ra\
dio. This would cause damage to
the amplifier. Contact a Volvo retailer.
file:///K|/ownersdocs/2003/2003_XC70/03xc70_10b.htm (11 of 13)12/30/20\
06 4:18:07 PM
Page 235 of 257
2003 VOLVO XC70
pg. 166 Audio systems - general information
Cassettes
l Store cassettes in their cases.
l Do not touch the tape surface with your fingers.
l Tapes should not be exposed to direct sunlight or extreme temperatures. \
l Keep tapes away from oil, grease and other contaminants.
l For optimal tape deck performance Volvo does not recommend the use of C-\
120 tapes.
l Take up slack using a pen or a pencil before inserting a cassette in the\
cassette slot.
Cassette cleaning
We recommend the use of the Volvo Cleaning Cassette available as a genui\
ne Volvo accessory. Regular
use improves sound quality, cleans vital parts and prevents tape tangle.\
Compact disc care
l Before using a new disc for the first time, remove any burrs in the cent\
er/outer edge by running the
stem of a pen or similar object around the hole/edge of the disc.
l Use high quality discs only.
l Keep the discs clean. Wipe them with a soft, clean, lint-free cloth, wor\
king from the center outwards.
If necessary, dampen the cloth with a neutral soap solution. Dry thoroug\
hly before using.
l Never use cleaning spray or antistatic liquid. Use only cleaners specifi\
cally made for CD's.
l Use discs of the correct size only (3.5" discs should never be used). \
l Do not put tape or labels on the disc itself.
l Volvo does not recommend the use of plastic outer rings on the disc.
l Condensation may occur on discs/optical components of the changer in col\
d winter weather. The disc
can be dried with a clean, lint-free cloth. Optical components in the CD\
changer may, however, take up
to one hour to dry off.
l Never attempt to play a disc which is damaged in any way.
l When not in use, the discs should be stored in their covers. Avoid stori\
ng discs in excessive heat,
direct sunlight or dusty locations.
file:///K|/ownersdocs/2003/2003_XC70/03xc70_10b.htm (12 of 13)12/30/20\
06 4:18:07 PM
Page 236 of 257
2003 VOLVO XC70
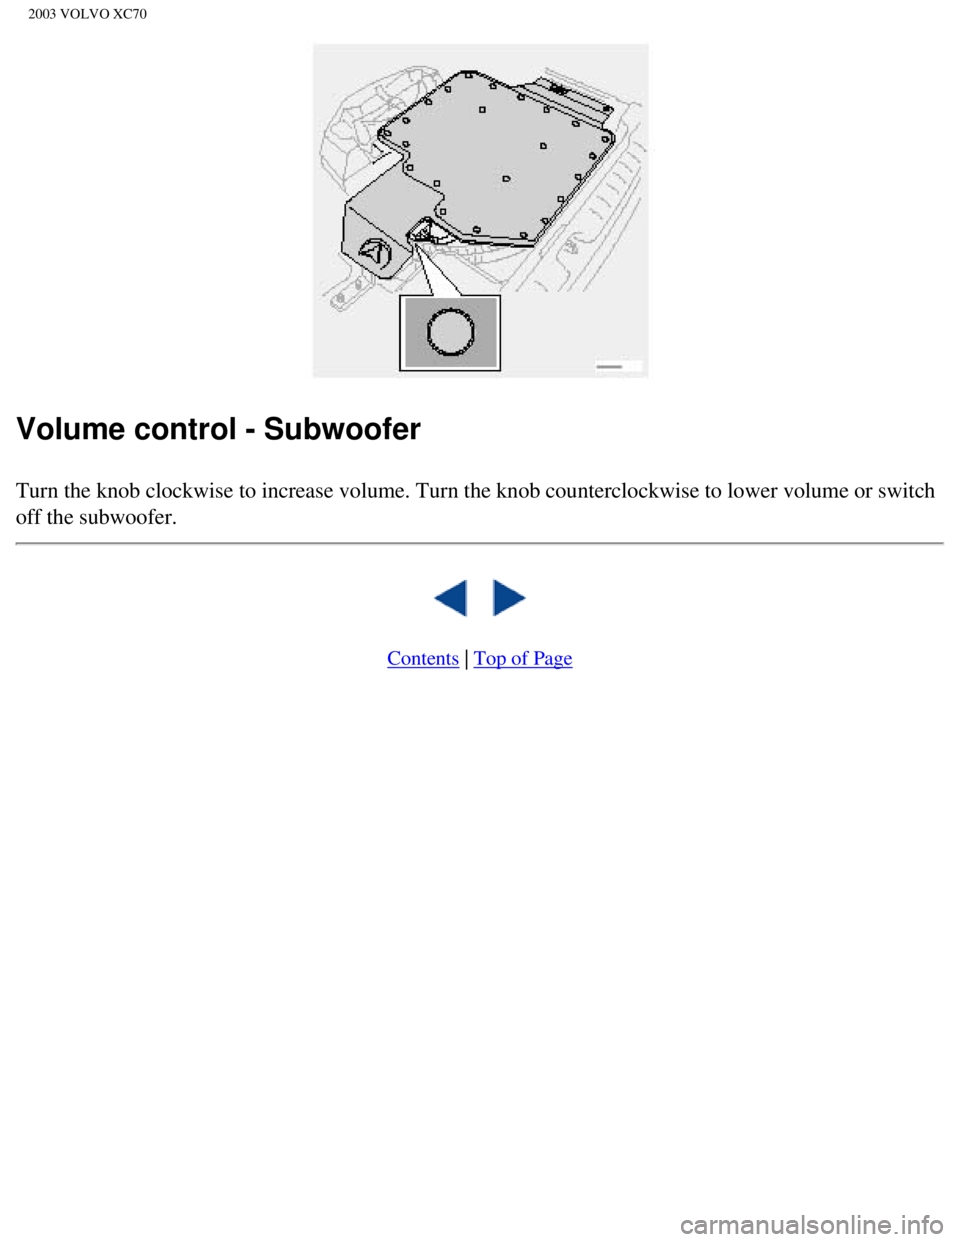
Volume control - Subwoofer
Turn the knob clockwise to increase volume. Turn the knob counterclockwi\
se to lower volume or switch
off the subwoofer.
Contents | Top of Page
file:///K|/ownersdocs/2003/2003_XC70/03xc70_10b.htm (13 of 13)12/30/20\
06 4:18:07 PM
Page 237 of 257
2003 VOLVO XC70
2 0 0 3
VOLVO XC70
HomeLink® Universal Transceiver (option)
pg. 167 HomeLink® Universal Transceiver (option)
HomeLink® Universal Transceiver
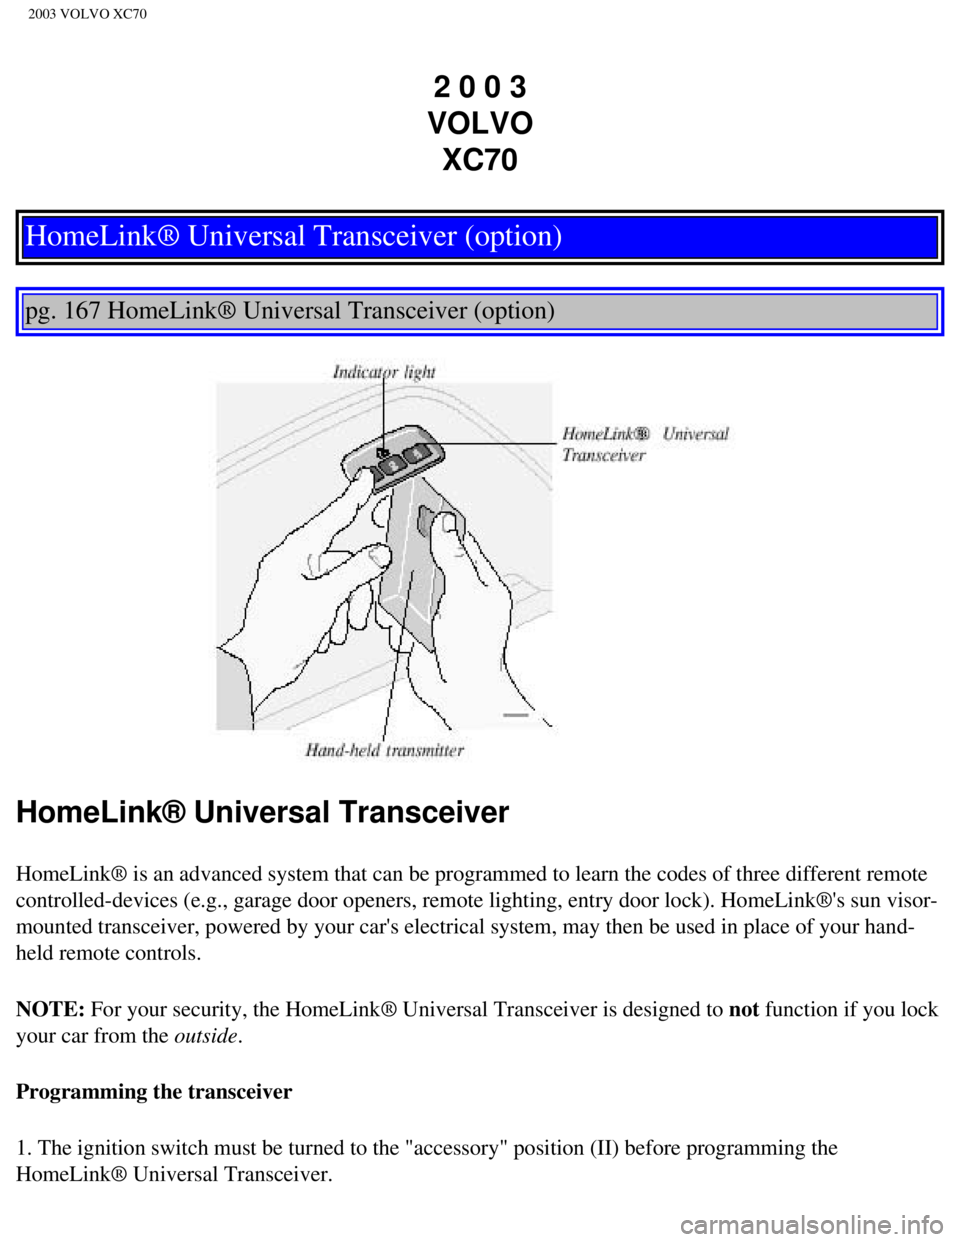
HomeLink® is an advanced system that can be programmed to learn the c\
odes of three different remote
controlled-devices (e.g., garage door openers, remote lighting, entry d\
oor lock). HomeLink®'s sun visor-
mounted transceiver, powered by your car's electrical system, may then b\
e used in place of your hand-
held remote controls.
NOTE: For your security, the HomeLink® Universal Transceiver is designed to\
not function if you lock
your car from the outside.
Programming the transceiver
1. The ignition switch must be turned to the "accessory" position (II)\
before programming the
HomeLink® Universal Transceiver.
file:///K|/ownersdocs/2003/2003_XC70/03xc70_11.htm (1 of 5)12/30/2006 \
4:18:07 PM
Page 238 of 257
2003 VOLVO XC70
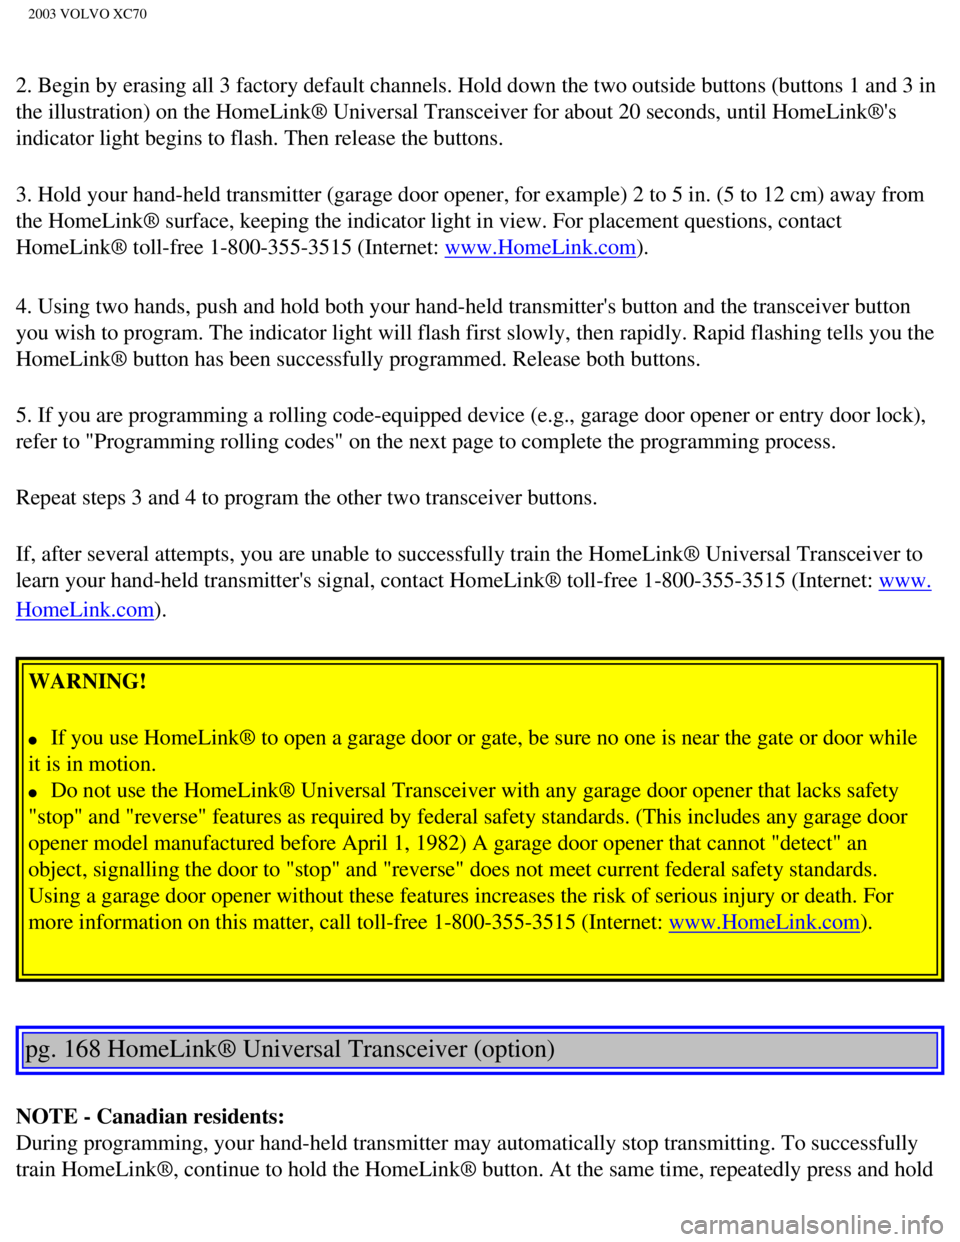
2. Begin by erasing all 3 factory default channels. Hold down the two ou\
tside buttons (buttons 1 and 3 in
the illustration) on the HomeLink® Universal Transceiver for about 2\
0 seconds, until HomeLink®'s
indicator light begins to flash. Then release the buttons.
3. Hold your hand-held transmitter (garage door opener, for example) 2\
to 5 in. (5 to 12 cm) away from
the HomeLink® surface, keeping the indicator light in view. For place\
ment questions, contact
HomeLink® toll-free 1-800-355-3515 (Internet:
www.HomeLink.com).
4. Using two hands, push and hold both your hand-held transmitter's butt\
on and the transceiver button
you wish to program. The indicator light will flash first slowly, then r\
apidly. Rapid flashing tells you the
HomeLink® button has been successfully programmed. Release both butto\
ns.
5. If you are programming a rolling code-equipped device (e.g., garage \
door opener or entry door lock),
refer to "Programming rolling codes" on the next page to complete the pr\
ogramming process.
Repeat steps 3 and 4 to program the other two transceiver buttons.
If, after several attempts, you are unable to successfully train the Hom\
eLink® Universal Transceiver to
learn your hand-held transmitter's signal, contact HomeLink® toll-fre\
e 1-800-355-3515 (Internet:
www.
HomeLink.com).
WARNING!
l If you use HomeLink® to open a garage door or gate, be sure no one is\
near the gate or door while
it is in motion.
l Do not use the HomeLink® Universal Transceiver with any garage door o\
pener that lacks safety
"stop" and "reverse" features as required by federal safety standards. (\
This includes any garage door
opener model manufactured before April 1, 1982) A garage door opener th\
at cannot "detect" an
object, signalling the door to "stop" and "reverse" does not meet curren\
t federal safety standards.
Using a garage door opener without these features increases the risk of \
serious injury or death. For
more information on this matter, call toll-free 1-800-355-3515 (Interne\
t:
www.HomeLink.com).
pg. 168 HomeLink® Universal Transceiver (option)
NOTE - Canadian residents:
During programming, your hand-held transmitter may automatically stop tr\
ansmitting. To successfully
train HomeLink®, continue to hold the HomeLink® button. At the sam\
e time, repeatedly press and hold
file:///K|/ownersdocs/2003/2003_XC70/03xc70_11.htm (2 of 5)12/30/2006 \
4:18:07 PM
Page 239 of 257

2003 VOLVO XC70
your hand-held transmitter's button at two-second intervals until HomeLi\
nk® has learned your
transmitter's code. The HomeLink® indicator light will flash first sl\
owly, and then rapidly to indicate
that the button has been successfully programmed.
Determining if your garage door uses a rolling code
Determine, in one of the following ways, if your garage door uses a roll\
ing code system and is
manufactured after 1996:
l Refer to the garage door opener owner's manual for verification.
l If your hand-held transmitter appears to program the HomeLink® Univer\
sal Transceiver but the
programmed button does not activate the garage door, your garage door op\
ener may have a rolling code.
l Press the programmed HomeLink® button. If the garage door opener has \
the rolling code feature, the
HomeLink® indicator light flashes rapidly and then glows steadily aft\
er approximately 2 seconds.
To train a rolling code garage door opener, follow these instructions after programming the desired
transceiver button according to "Programming the transceiver." The help \
of a second person may make
training easier.
1. Locate the training button on the garage door opener motor head unit. The location and color of the
training button may vary. If you encounter difficulty, refer to the gara\
ge door opener owner's manual or
call toll-free 1-800-355-3515 (Internet:
www.HomeLink.com).
2. Press the "training" button on the garage door opener motor head unit\
until the "training" light comes
on.
3. Press and release the programmed HomeLink® button. Press and relea\
se the programmed
HomeLink® button a second time to complete the training process. Some garage door openers may
require you to do this procedure a third time to complete the training.
The programmed button on your HomeLink® Universal Transceiver should \
now operate your garage
door opener. The original hand-held transmitter can also be used, as des\
ired, to operate the garage door.
The remaining two HomeLink® buttons can be programmed in the same way\
. In the event of any
problems in programming the HomeLink® Universal Transceiver, call tol\
l-free 1-800-355-3515
(Internet:
www.HomeLink.com).
Operating the HomeLink® Universal Transceiver
Once programmed, the HomeLink® Universal Transceiver can be used in p\
lace of your hand-held
transmitters.
To operate, the key must be turned to the "accessory" position (II) or\
the engine must be running. Press
the programmed HomeLink® button to activate the garage door, driveway\
gate, security lighting, home
file:///K|/ownersdocs/2003/2003_XC70/03xc70_11.htm (3 of 5)12/30/2006 \
4:18:07 PM
Page 240 of 257
2003 VOLVO XC70
security system, etc.
Your original hand-held transmitters may, of course, be used at any time\
.
Erasing programmed buttons
Individual buttons cannot be erased. To erase all three programmed butto\
ns:
1. Turn the ignition key to the "accessory" position (II).
2. Hold down the two outside buttons on the HomeLink® Universal Trans\
ceiver for about 20 seconds,
until HomeLink®'s indicator light begins to flash.
3. Release both buttons.
The HomeLink® buttons can be reprogrammed using the procedures descri\
bed on the previous page.
(HomeLink® information continues on the next page)
pg. 169 HomeLink® Universal Transceiver (option)
Reprogramming a single HomeLink® button
1. Press and hold the desired HomeLink® button. Do not release the bu\
tton until step 3 has been
completed.
2. When the indicator light begins to flash slowly (after approximately\
20 seconds), position your hand-
held transmitter 2 to 5 in. (5 to 12 cm) away from the HomeLink® su\
rface.
3. Press and hold the hand-held transmitter button. The HomeLink® ind\
icator light will flash first
slowly, then rapidly. When the indicator light flashes rapidly, release \
both buttons.
The previously programmed device has now been erased and the new device \
can be activated by
pressing the HomeLink® button that has just been programmed. This pro\
cedure will not affect any other
programmed HomeLink® buttons.
NOTE:
l Retain the original transmitter(s) for future programming procedures (\
e.g., if you purchase a new car).
l For your own security, erase all programmed buttons on the HomeLink® \
Universal Transceiver when
you sell your car.
l Metallic sun protection films should not be used on any windows in a car\
equipped with HomeLink®
file:///K|/ownersdocs/2003/2003_XC70/03xc70_11.htm (4 of 5)12/30/2006 \
4:18:07 PM