navigation Acura TSX 2011 Navigation Manual
[x] Cancel search | Manufacturer: ACURA, Model Year: 2011, Model line: TSX, Model: Acura TSX 2011Pages: 253, PDF Size: 22.88 MB
Page 129 of 253
127
Changing Your RouteEditing the Destination List
Navigation
Editing the Destination List
HMENU button (when en route) Destination List
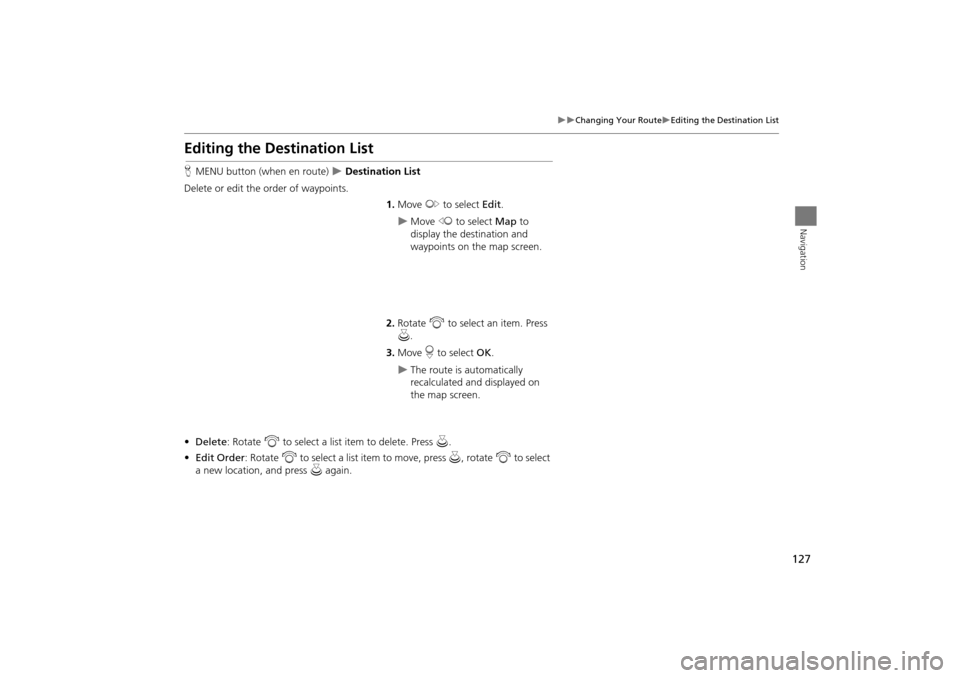
Delete or edit the order of waypoints. 1.Move y to select Edit .
Move w to select Map to
display the destination and
waypoints on the map screen.
2. Rotate i to select an item. Press
u .
3. Move r to select OK.
The route is automatically
recalculated and displayed on
the map screen.
• Delete : Rotate i to select a list item to delete. Press u.
• Edit Order : Rotate i to select a list item to move, press u, rotate i to select
a new location, and press u again.
TSX_KA-31TL1820.book Page 127 Wednesday, September 22, 2010 3:17 PM
Page 130 of 253
128
Navigation
Changing Your Destination
There are several methods you can use to change the route destination.
Find Nearest Place
HENTER button (on map) Find Nearest…
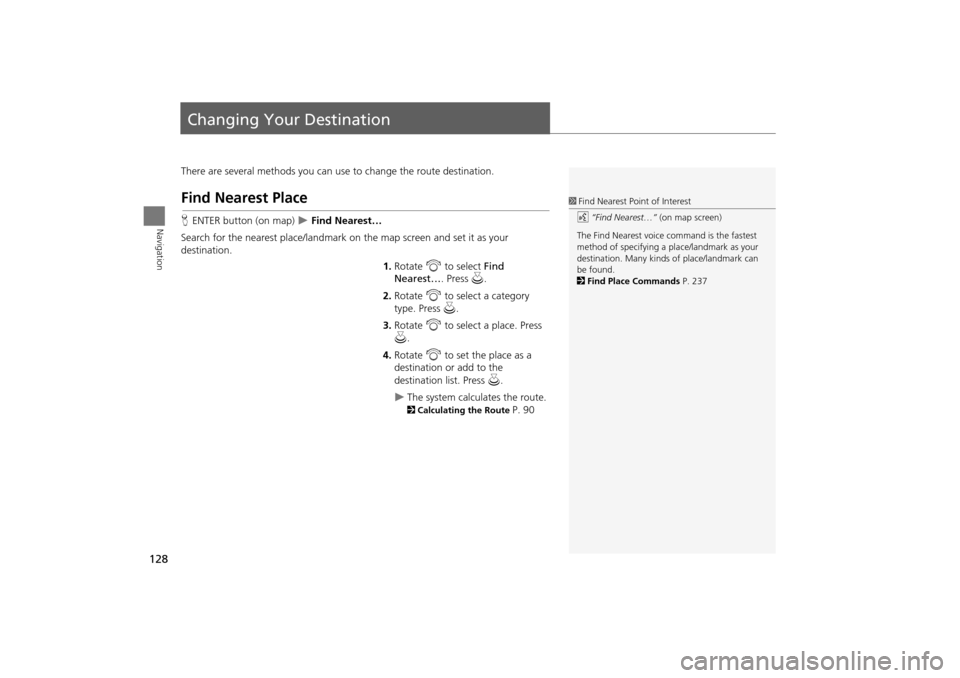
Search for the nearest place/landmark on the map screen and set it as your
destination.
1.Rotate i to select Find
Nearest… . Press u.
2. Rotate i to select a category
type. Press u.
3. Rotate i to select a place. Press
u .
4. Rotate i to set the place as a
destination or add to the
destination list. Press u.
The system calculates the route.
2Calculating the Route P. 90
1Find Nearest Point of Interest
d “Find Nearest…” (on map screen)
The Find Nearest voice command is the fastest
method of specifying a pl ace/landmark as your
destination. Many kinds of place/landmark can
be found.
2 Find Place Commands P. 237
TSX_KA-31TL1820.book Page 128 Wednesday, September 22, 2010 3:17 PM
Page 131 of 253
129
Changing Your DestinationSelecting a Destination on the Map
Navigation
Selecting a Destination on the Map
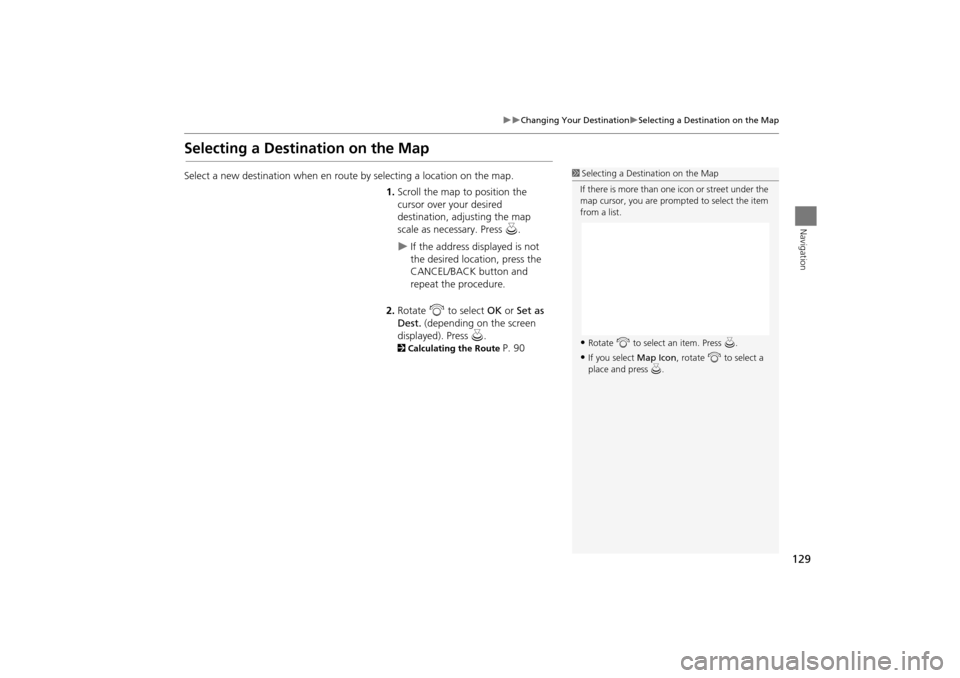
Select a new destination when en route by selecting a location on the map.
1.Scroll the map to position the
cursor over your desired
destination, adjusting the map
scale as necessary. Press u.
If the address displayed is not
the desired location, press the
CANCEL/BACK button and
repeat the procedure.
2. Rotate i to select OK or Set as
Dest. (depending on the screen
displayed). Press u.
2Calculating the Route P. 90
1Selecting a Destination on the Map
If there is more than one icon or street under the
map cursor, you are prompted to select the item
from a list.
•Rotate i to select an item. Press u.
•If you select Map Icon, rotate i to select a
place and press u.
TSX_KA-31TL1820.book Page 129 Wednesday, September 22, 2010 3:17 PM
Page 132 of 253
130
Changing Your DestinationEntering a New Destination
Navigation
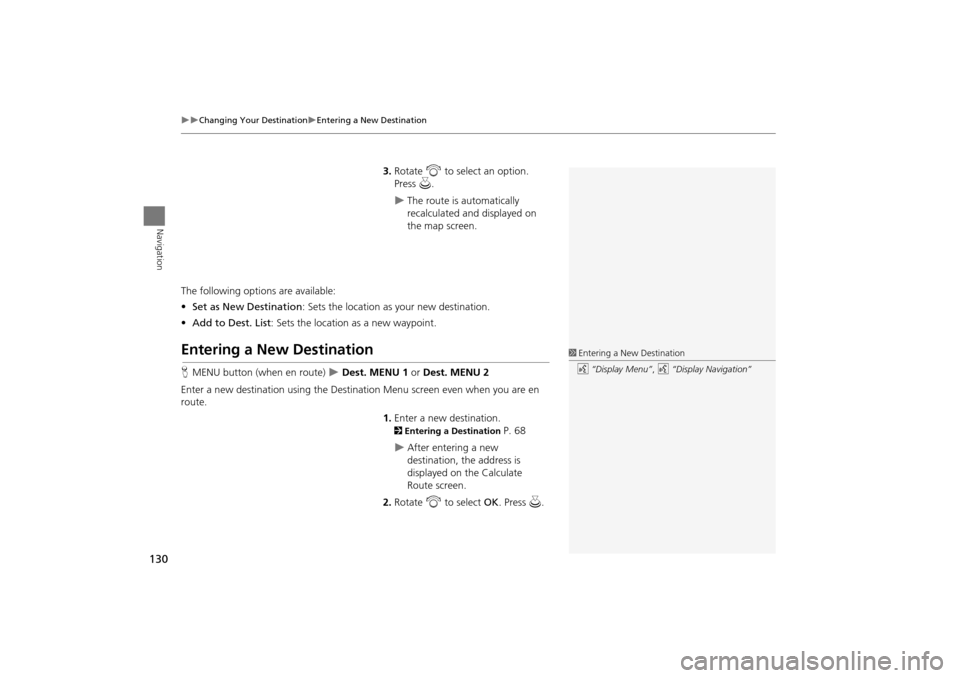
3.Rotate i to select an option.
Press u.
The route is automatically
recalculated and displayed on
the map screen.
The following options are available:
• Set as New Destination : Sets the location as your new destination.
• Add to Dest. List : Sets the location as a new waypoint.
Entering a New Destination
HMENU button (when en route) Dest. MENU 1 or Dest. MENU 2
Enter a new destination using the Destinat ion Menu screen even when you are en
route.
1.Enter a new destination.
2 Entering a Destination P. 68
After entering a new
destination, the address is
displayed on the Calculate
Route screen.
2. Rotate i to select OK . Press u.
1Entering a New Destination
d “Display Menu”, d “Display Navigation”
TSX_KA-31TL1820.book Page 130 Wednesday, September 22, 2010 3:17 PM
Page 133 of 253
131
Changing Your DestinationEntering a New Destination
Navigation
3.Rotate i to select an option.
Press u.
The route is automatically
recalculated and displayed on
the map screen.
The following options are available:
• Set as New Destination : Sets the location as your new destination.
• Add to Dest. List : Sets the location as a new waypoint.
TSX_KA-31TL1820.book Page 131 Wednesday, September 22, 2010 3:17 PM
Page 134 of 253
132
Navigation
Resuming Your Trip
Stop your vehicle en route (e.g., to rest, stop for gas, etc.), and then continue on
your route.
If you did not complete your route, the Continue Trip screen is displayed when you
restart your vehicle.
Rotate i to select OK. Press u.
You can continue on the same
route.
• Route Pref. : Changes the route preferences (calculating method).
2Changing the Route Preference P. 91
• View Routes : Views three different routes.
2Viewing the Routes P. 91
• DESTINATION MAP : Move r to select DESTINATION MAP to display a map of
the destination.
2 Calculating the Route on the Destination Map P. 92
1Continuing Your Trip
The Continue Trip screen has the same options
as when you calculate a route.
2 Calculating the Route P. 90
To cancel your destination, press the CANCEL/
BACK button.
Add to Address Book
You can add the address to the address book.
2 Adding an Address Book Entry P. 37
Add to Dest. List
You can add the address to the Destination List.
2 Editing the Destination List P. 127
Call
You can place a phone ca ll to the destination
phone number.
2 Bluetooth® HandsFreeLink® P. 174
TSX_KA-31TL1820.book Page 132 Wednesday, September 22, 2010 3:17 PM
Page 138 of 253
136
Audio
Playing FM/AM Radio
Selecting FM/AM Mode
1.Press the FM/AM button.
Press the FM/AM button again, if necessary, to select the frequency band (AM,
FM1, FM2).
2. Select a station using the buttons (Preset, SCAN) or bars (SKIP, TUNE).
On the FM bands, you can also use the CATEGORY bar and TITLE button to
select a station provided by the Radio Data System (RDS).
The band and frequency are displayed on the display.
Audio Screen Control
H AUDIO button (in FM/AM mode)
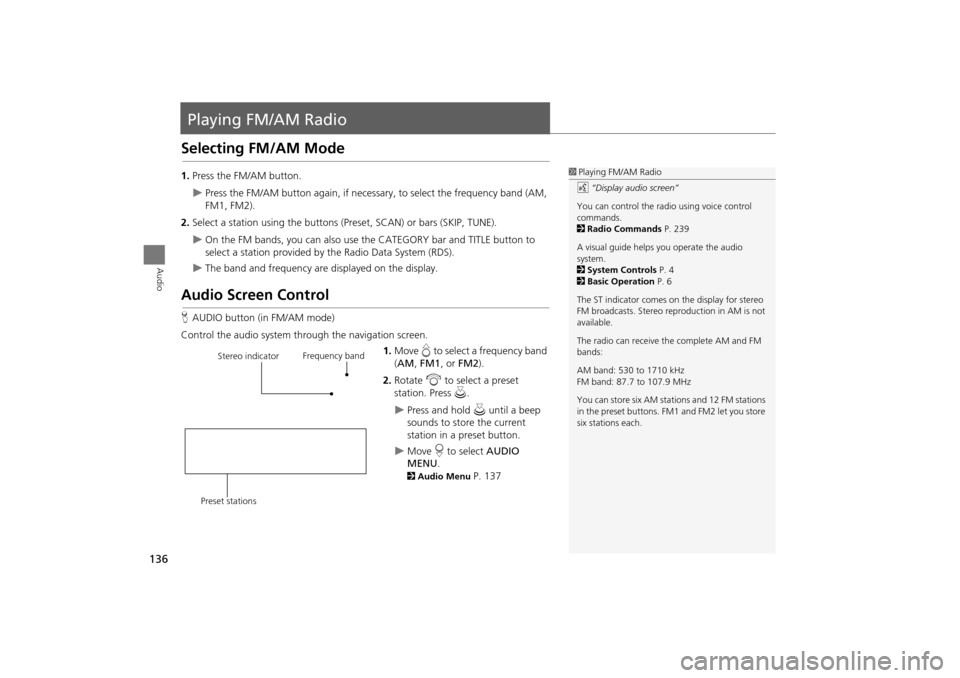
Control the audio system through the navigation screen. 1.Move e to select a frequency band
( AM , FM1 , or FM2 ).
2. Rotate i to select a preset
station. Press u .
Press and hold u until a beep
sounds to store the current
station in a preset button.
Move r to select AUDIO
MENU .
2Audio Menu P. 137
1Playing FM/AM Radio
d “Display audio screen”
You can control the radio using voice control
commands.
2 Radio Commands P. 239
A visual guide helps you operate the audio
system.
2 System Controls P. 4
2 Basic Operation P. 6
The ST indicator comes on the display for stereo
FM broadcasts. Stereo re production in AM is not
available.
The radio can receive the complete AM and FM
bands:
AM band: 530 to 1710 kHz
FM band: 87.7 to 107.9 MHz
You can store six AM stati ons and 12 FM stations
in the preset buttons. FM1 and FM2 let you store
six stations each.
Stereo indicator Frequency band
Preset stations
TSX_KA-31TL1820.book Page 136 Wednesday, September 22, 2010 3:17 PM
Page 142 of 253
140
Audio
Playing XM® Radio
Selecting XM Mode
1.Press the XM button.
Press the XM button again, if necess ary, to select the band (XM1, XM2).
2. Select a channel using the buttons (Preset, SCAN, TITLE) and the bars (SKIP, TUNE,
CATEGORY).
The band and channel are displayed on the display.
Audio Screen Control
H AUDIO button (in XM mode)
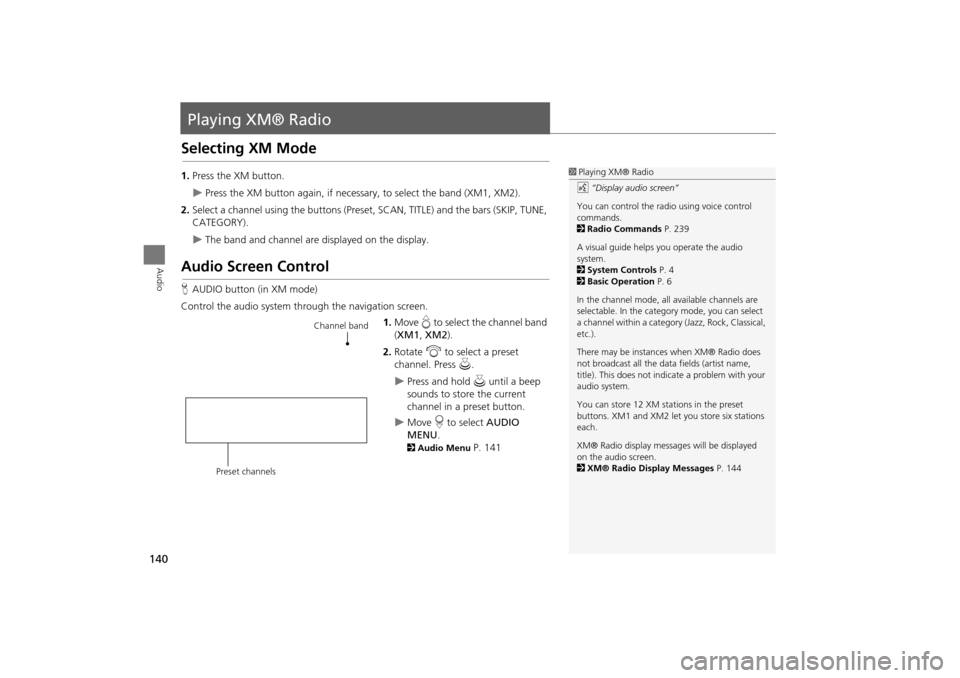
Control the audio system through the navigation screen. 1.Move e to select the channel band
( XM1 , XM2 ).
2. Rotate i to select a preset
channel. Press u.
Press and hold u until a beep
sounds to store the current
channel in a preset button.
Move r to select AUDIO
MENU .
2Audio Menu P. 141
1Playing XM® Radio
d “Display audio screen”
You can control the radio using voice control
commands.
2 Radio Commands P. 239
A visual guide helps you operate the audio
system.
2 System Controls P. 4
2 Basic Operation P. 6
In the channel mode, all available channels are
selectable. In the categor y mode, you can select
a channel within a category (Jazz, Rock, Classical,
etc.).
There may be instance s when XM® Radio does
not broadcast all the data fields (artist name,
title). This does not indica te a problem with your
audio system.
You can store 12 XM stat ions in the preset
buttons. XM1 and XM2 let you store six stations
each.
XM® Radio display messag es will be displayed
on the audio screen.
2 XM® Radio Display Messages P. 144
Channel band
Preset channels
TSX_KA-31TL1820.book Page 140 Wednesday, September 22, 2010 3:17 PM
Page 147 of 253
145
Audio
Playing a Disc
Selecting Disc Mode
1.Press the DISC/HDD button to play a CD or other disc.
2. Insert a disc into the disc slot.
The disc automatically begins playing.
3. Select a track using the buttons (TITLE , SCAN) and the bars (SKIP, TUNE,
CATEGORY).
The track number and elapsed time ar e displayed on the display. Title
information for audio CDs is displayed if found in the Gracenote® Album Info
(Gracenote® Media Database) stored on the built-in hard disc drive (HDD). Text
information stored on MP3/WMA/ AAC discs is also displayed.
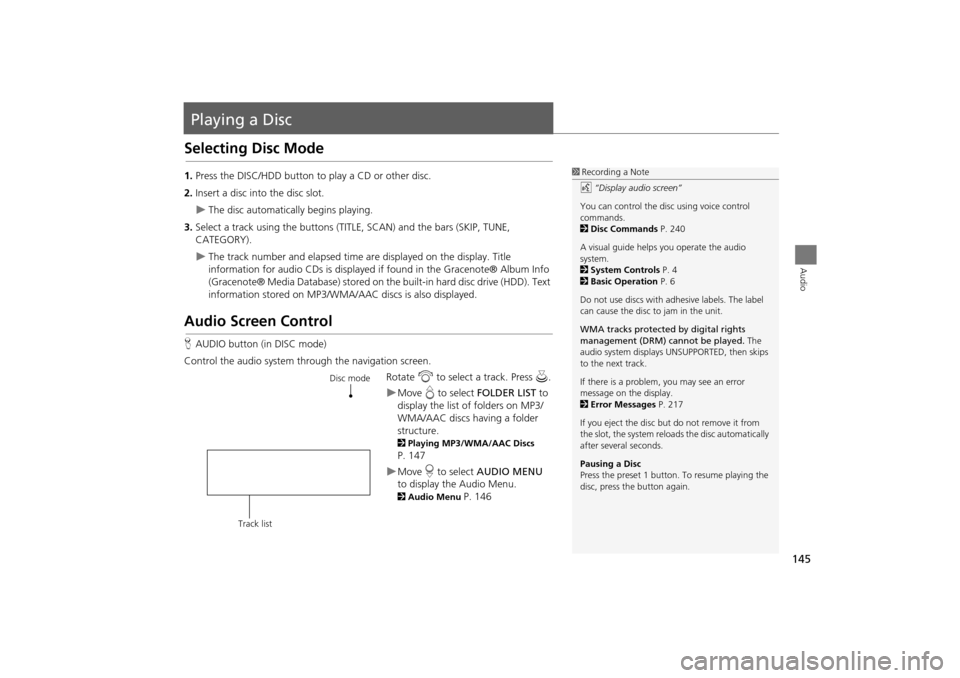
Audio Screen Control
HAUDIO button (in DISC mode)
Control the audio system through the navigation screen. Rotate i to select a track. Press u .
Move e to select FOLDER LIST to
display the list of folders on MP3/
WMA/AAC discs having a folder
structure.
2 Playing MP3/WMA/AAC Discs
P. 147
Move r to select AUDIO MENU
to display the Audio Menu.
2 Audio Menu P. 146
1Recording a Note
d “Display audio screen”
You can control the disc using voice control
commands.
2 Disc Commands P. 240
A visual guide helps you operate the audio
system.
2 System Controls P. 4
2 Basic Operation P. 6
Do not use discs with a dhesive labels. The label
can cause the disc to jam in the unit.
WMA tracks protected by digital rights
management (DRM) cannot be played. The
audio system displays UNSUPPORTED, then skips
to the next track.
If there is a problem, you may see an error
message on the display.
2 Error Messages P. 217
If you eject the disc but do not remove it from
the slot, the system reloads the disc automatically
after severa l seconds.
Pausing a Disc
Press the preset 1 button. To resume playing the
disc, press the button again.
Disc mode
Track list
TSX_KA-31TL1820.book Page 145 Wednesday, September 22, 2010 3:17 PM
Page 152 of 253
150
Playing Hard Disc Drive (HDD) AudioAudio Screen Control
Audio
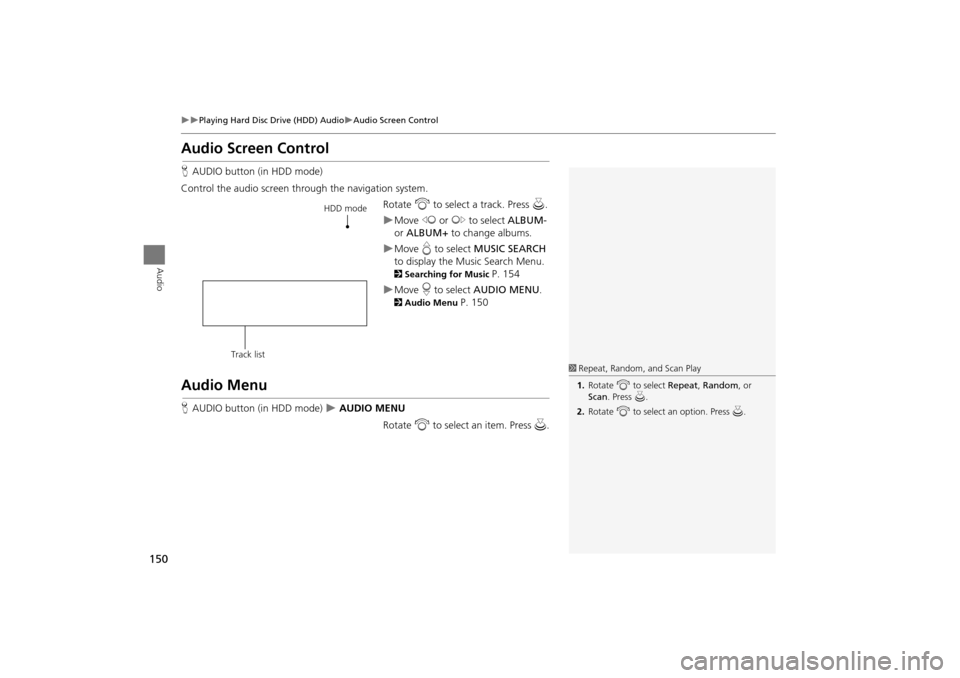
Audio Screen Control
HAUDIO button (in HDD mode)
Control the audio screen through the navigation system. Rotate i to select a track. Press u.
Move w or y to select ALBUM-
or ALBUM+ to change albums.
Move e to select MUSIC SEARCH
to display the Music Search Menu.
2 Searching for Music P. 154
Move r to select AUDIO MENU .
2Audio Menu P. 150
Audio Menu
HAUDIO button (in HDD mode) AUDIO MENU
Rotate i to select an item. Press u .
HDD mode
Track list
1 Repeat, Random, and Scan Play
1. Rotate i to select Repeat, Random, or
Scan . Press u.
2. Rotate i to select an option. Press u.
TSX_KA-31TL1820.book Page 150 Wednesday, September 22, 2010 3:17 PM