AUDI TT COUPE 2009 Manual Online
Manufacturer: AUDI, Model Year: 2009, Model line: TT COUPE, Model: AUDI TT COUPE 2009Pages: 316, PDF Size: 71.16 MB
Page 81 of 316
-Pull the cover© out of the brackets 0 => fig. 69 in the
direction of the arrow.
Replacing the luggage compartment cover
-Push the cover up into the brackets 0-
- Press the buttons G) onto the ball heads.
& WARNING
Never store or place heavy objects on the luggage compartment
cover. If you leave something heavy on the cover and then open the
cover, the object could slide forward and injure anyone sitting in
the rear. Also, in the case of sudden braking or a crash, a heavy
object on the cover could fly forward and injure any passengers. •
Roof rack
First things first
A roof rack can be fitted to carry additional luggage on
the roof.
-Always read and follow the instructions provided by the
roof rack manufacturer when the roof rack system must
be installed.
If you are transporting luggage or other objects on the roof, please
note the following:
• Your vehicle has specially designed aerodynamic roof rails . Only
install a roof rack specifically designed for your model. Contact the
nearest Audi dealer for information on approved modular roof racks
for your vehicle.
• These approved roof racks are the basis for a complete roof rack
system. Additional attachments for the basic roof rack are neces-
Controls and equip
ment
Seats and storage
sary to safely transport luggage, bicycles, surf boards, skis or small
boats. All necessary hardware for these systems is available at your
authorized Audi dealer.
• We recommend that you keep the installation instructions for
your roof rack system together with your Owner's literature in the
vehicle.
When should the roof rack be removed?
• Before going through an automatic car wash (it is best to ask the
car wash operator for advice).
• When not in use , to reduce fuel consumption, wind noise and to
guard against theft.
& WARNING
• Use of an unapproved roof rack or incorrect mounting of an
approved roof rack can cause the roof rack or the items attached
to it to fall off the roof onto the road.
• Objects falling from the roof of a vehicle can cause a crash and
personal injury.
• Only mount the system between the markings shown in
~ page 80, fig. 70.
• The roof rack system must be installed exactly according to the
instructions provided.
0 Note
• Your vehicle warranty does not cover any damages to the vehicle
caused by using roof racks or mounting structures not approved by
Audi for your vehicle. The same applies to damage resulting from
incorrect roof rack installation .
• Always check the roof rack mountings and hardware before each
trip and during a trip to make sure everything is securely tightened.
If necessary, retighten the mountings and check the entire system
from time to time . .,,
I • •
Page 82 of 316
Seats and stor ag e
• After mounting a roof rack system, or when you transport
objects on the roof of your vehicle, the height of the vehicle is natu
rally increased . Be careful when driving under low bridges or in
parking garages for example. This cou ld cause damage to the load
and even the vehicle itself. •
Mounting locations
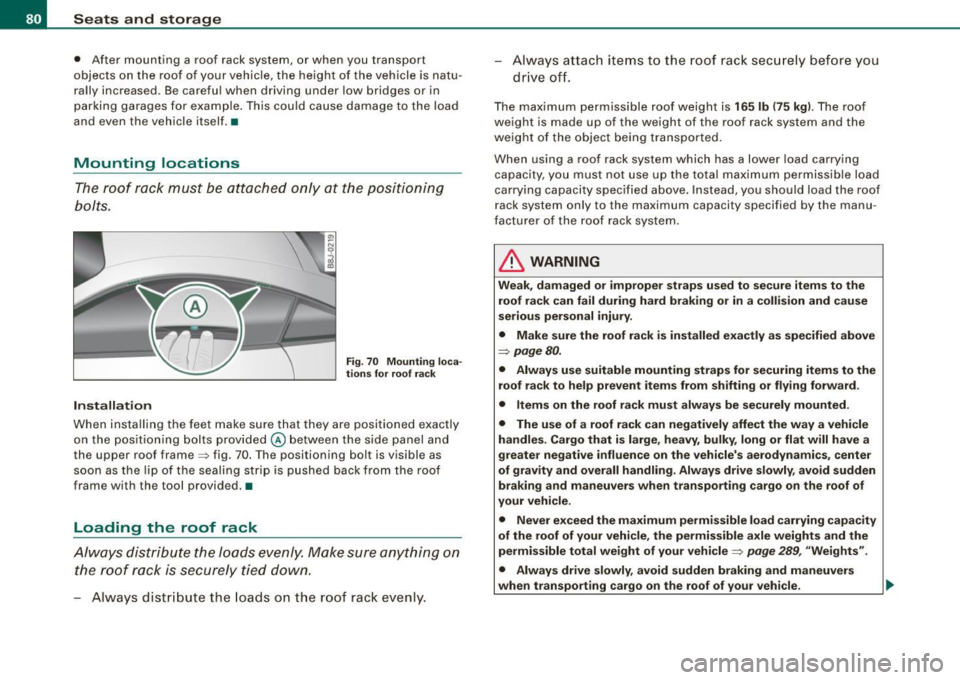
The roof rack must be attached only at the positioning
bolts.
Inst allati on
Fig . 7 0 M ounti ng l oca
tion s for roo f ra ck
When installing the feet make sure that they are positioned exactly
on the position ing bolts provided @ between the side panel and
the upper roof frame=> fig. 70. The positioning bolt is visible as
soon as the lip of the sealing strip is pushed back from the roof
frame with the tool provided. •
Loading the roof rack
Always distribute the loads evenly . M ake sure anything on
the roof rack is securely tied down.
- Always distr ibute the loads on the roo f rac k evenly . Always attach items t
o the roof rack sec urely bef ore you
d rive of f.
The maximum permiss ible roof weigh t is 16 5 lb (75 kgl. The roof
weight is made up of the weight of the roof rack system and the
we ight of the object being transported.
When using a roof rack system which has a lower load carrying
capacity, you must not use up the total maximum permissible load
carrying capacity specified above. Instead, you should load the roof
rack system only to the maximum capacity specified by the manu
facturer of the roof rack system .
& WARNING
Weak, d ama ged or imp rop er strap s used to se cure item s to the
roof ra ck c an f ail during hard braking or in a colli sion and cau se
s eriou s per sonal injury.
• Make sure the roof rack is installed e xactly a s specified abov e
=> page B O.
• Always use suitabl e mounting straps for securing i tems to the
roof ra ck to he lp prevent ite ms from s hifting or fly ing f orward .
• Items on the roof rack must alwa ys be securely mounted.
• The use of a roof rack can negatively affect the wa y a ve hicle
h andle s. Ca rgo that i s la rg e, heavy , bulky , long or fl at will hav e a
gr eater negative influen ce on th e vehicle' s aerodynamics , center
of gravity and overall handling . Al ways drive slowly , avo id sudden
br aking and man euver s when transport ing cargo on the roof of
y our vehicle.
• Never e xceed the ma ximu m permi ssible lo ad carr ying capac ity
of the roof of your vehic le , the permissible axle weights and the
perm is sible t ota l weight of your vehicle:::;,
page 289 , "Weight s".
• Alway s drive slowly , avoid sudden braking and maneuver s
when transport ing carg o on t he ro of of your vehi cle .
Page 83 of 316
<£> For the sake of the environment
Sometimes it may be easier to leave a roof rack installed even
though you are not using it . Due to the increased air resistance your
vehicle wi ll unnecessarily use more fuel. Remove the roo f rack if you
are not going to use it. •
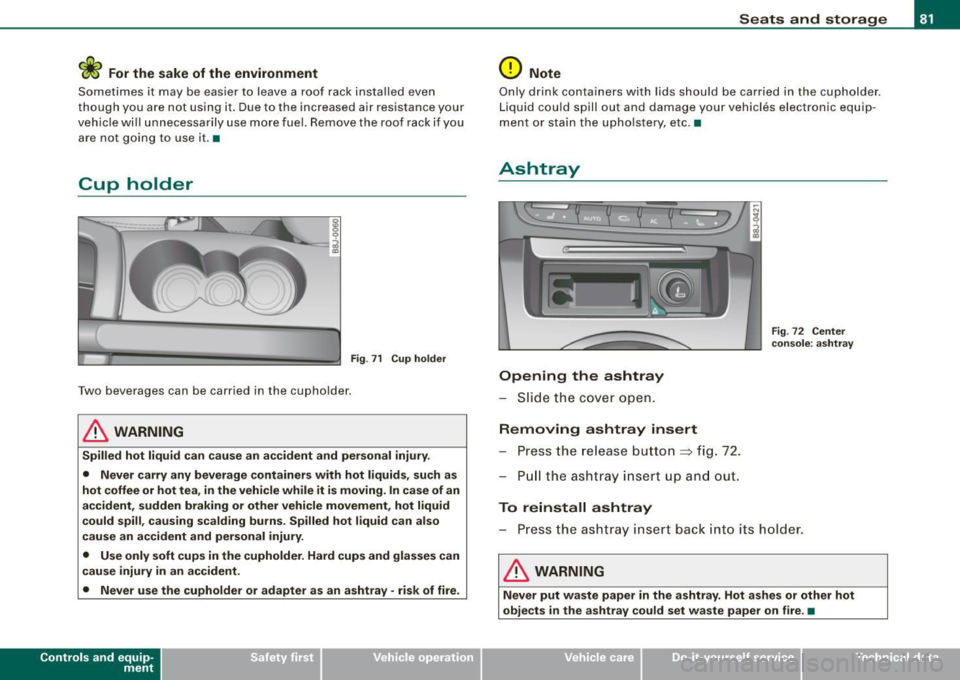
Cup holder
Fig. 71 C up hol der
Two beverages can be carried in the cupholder .
& WARNING
Spilled hot liq uid ca n cause an a ccident and perso nal injury .
• Never carry any beverage container s with hot liquids , such a s
hot coffee or hot tea , in the vehicle while it i s moving . In case of an
accident , sudden braking o r other vehicle movement , hot liquid
c ould spill , cau sing scald ing burns . Spilled hot liquid c an also
c au se an accident and per sonal injury.
• Use only soft cups in the cupholder . Hard cups and gla sses c an
c au se injury in an accident .
• Never use the cupholder or adapter as an ashtray · risk of fire .
Con tro ls and eq uip
ment
Seats and storag e
0 Note
Only drink containers with lids should be carried in the cupholder.
Liquid cou ld spill out and damage your vehicles electronic equip
ment or stain the upho lstery, etc. •
Ashtray
Opening the ashtray
- Slid e the cove r open.
Removing ashtray insert Press the re lease butto n
~ fig. 72.
P ull the ashtra y insert up and out .
To reinstall ashtray
F ig . 72 C enter
co nsole : a sht ray
- Press the ashtray insert back into its holder.
& WARNING
Nev er put w aste paper in the a shtr ay . Hot ashes or other hot
obje cts in the ashtr ay could set w aste paper on fire . •
Vehicle care I I irechnical data
Page 84 of 316
Seats and stor ag e
Cigarette lighter /socket
Cigarette lighter
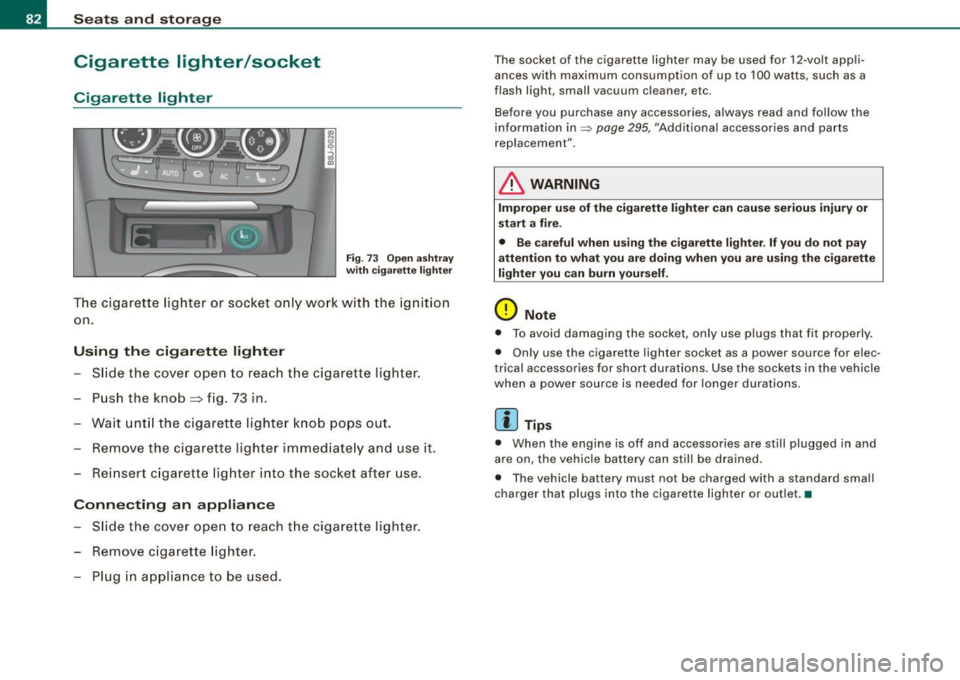
F ig . 7 3 O pen ashtra y
w it h cig arett e lig ht er
T he cigare tte lighter or socket o nly work w ith the ignition
on.
Using the cigarette lighter
- Slide the cover open to reach t he cigarette lighter .
- Push the knob=> fig. 73 in .
- Wait unt il the cigarette light er k no b pops out.
Remove the cigarette ligh ter immedi ate ly and use it.
Re insert c igarette lighter into the socket after use .
Connecting an appliance
-Slide th e cover ope n to rea ch t he cigarette light er.
- Remove c iga rette lighter.
Plug in applia nce to be used.
T he socket of the cigarette lighter may be used for 12 -volt appli
ances with maximum consumption o f up to 100 wa tts, such as a
flash light , small vacuum c leaner, e tc.
Before you purchase any accessories, always read and follow the
information in=>
page 295 , "Additional accessories and parts
replacement" .
& WARNING
Improper use of the cig arett e light er can cau se seriou s inju ry or
start a fire .
• Be car eful when u sing th e cigarette lighter . If you do not pa y
attention to w hat y ou are doing when yo u are u sing the cigar ette
lighter you can burn your self .
0 Note
• To avoid damaging the socke t, only use plugs that fit properly.
• Only use the cigarette lighter socke t as a power sour ce for ele c
trical accessories for short durations . Use the sockets in the vehicle
when a power source is needed for longer durations .
[ i ] Tips
• When the engine is off and accessories are still plugged in and
are on, the vehicle battery can still be drained.
• The vehicle battery must not be charged with a s tandard sma ll
cha rger that plugs into the cigarette lighter or ou tlet .•
Page 85 of 316
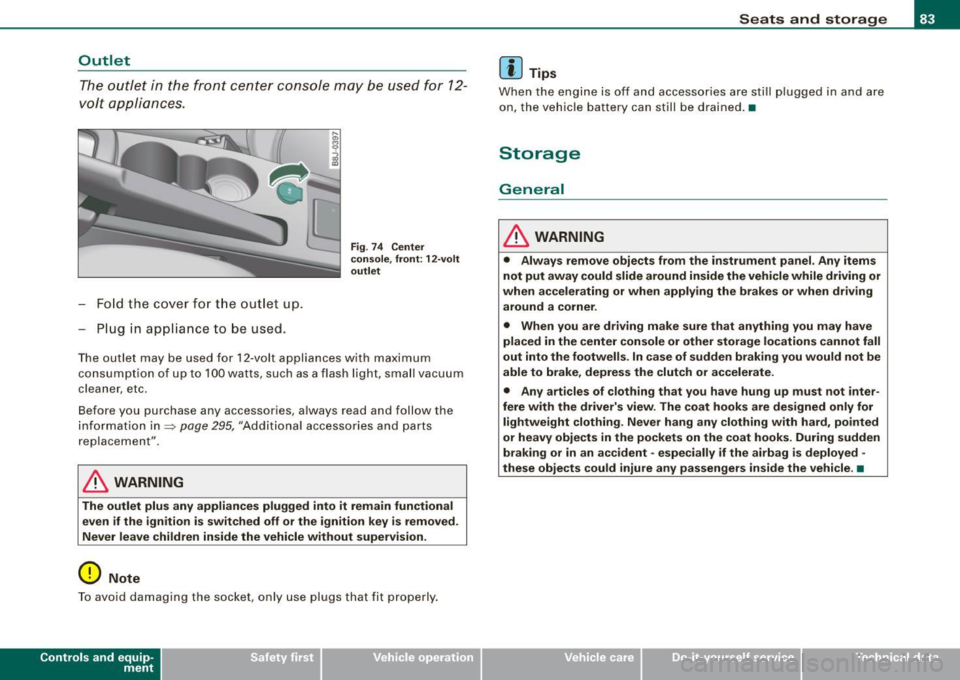
Outlet
The o utle t in the fron t center cons ole may be used for 12 -
volt appliances .
-Fold the cove r for th e out let up.
- Plug in app lia nce to be used .
Fig . 7 4 Center
co nso le, fron t: 12 -vo lt
o utl et
The outlet may be used for 12-volt appliances with maximum
co nsumpt ion of up to 100 watts , such as a flash light. small vacuu m
cleaner , etc.
Before you purchase any accessories, a lways read and follow the
information in~
page 295, "Additiona l accessories and parts
replacement ".
& WARNING
The outlet plu s any appliances plugged into it remain functional
even if the ignition i s swit ched off or the ignition key i s removed .
Never l eave chi ldren in side the vehicle without supervision .
0 Note
To avoid damag ing the socket, only use plugs that fit properly.
Con tro ls and eq uip
ment
Seats and storag e
[ i ] Tips
Whe n the engine is off and accessories are stil l p lugged in and are
on, the vehicle battery can still be drained .•
Storage
General
& WARNING
• Alway s remo ve obje cts from the instrument panel. Any items
not put away could slide around in side the vehicle while driving or
when a ccelerating or when applying the br ake s or when driv ing
around a corner .
• When you are driving m ake sure t hat anything you may h ave
placed in the center con sole or oth er storage lo cations cannot fall
out into the foot wells . In case of sudden braking you would not be
able to brake , depres s the clut ch or accelerate .
• Any articles of clothing that you have hung up must n ot inter
fere with the driver' s view. The coa t hook s are de sig ned only for
lightwe ight clothing. Ne ver hang any clothing with hard , po inted
or heavy obj ects in the pockets on the coat ho oks . Dur ing sudden
braki ng or in an ac cident · especiall y if the airbag i s de plo yed ·
these ob je cts could injure any pa ssengers in side the vehicle . •
Vehicle care
I I irechnical data
Page 86 of 316
Seats and storage
Glove compartment
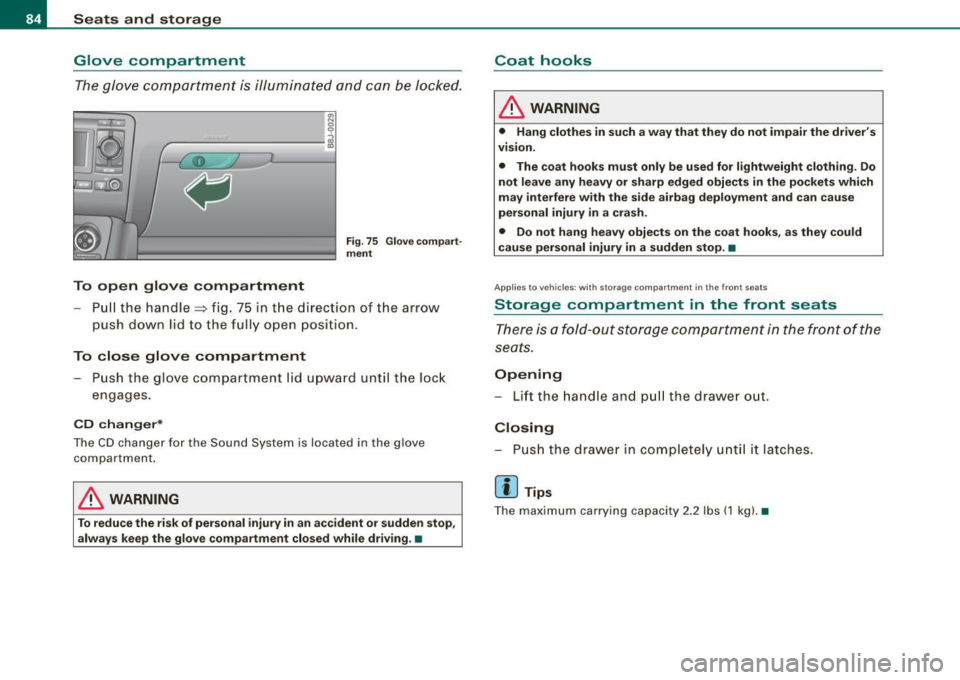
The glove compartment is illuminated and can be locked.
0 9
------------ i
To open glove compartment
Fig. 75 Glove compart
ment
-Pull the handle => fig. 75 in the direct ion of the arrow
push down lid to the fully open position.
To close glove compartment
- Push the glove compartment lid upward until the lock
engages.
CD changer*
The CD changer for the Sound System is located in the glove
compartmen t.
& WARNING
To reduce the risk of personal injury in an accident or sudden stop,
always keep the glove compartment closed while driving. •
Coat hooks
& WARNING
• Hang clothes in such a way that they do not impair the driver's
vision.
• The coat hooks must only be used for lightweight clothing. Do
not leave any heavy or sharp edged objects in the pockets which
may interfere with the side airbag deployment and can cause
personal injury in a crash.
• Do not hang heavy objects on the coat hooks, as they could
cause personal injury in a sudden stop. •
Applies to ve hi cle s: w ith sto rag e co mp art me nt in th e fr on t se at s
Storage compartment in the front seats
There is a fold-out storage compartment in the front of the
seats.
Opening
- Lift the handle and pull the drawer out .
Closing
- Push the drawer in completely until it latches.
[ i] Tips
The maximum carrying capacity 2.2 lbs (1 kg).•
Page 87 of 316
Warm and cold
Climate controls
Controls
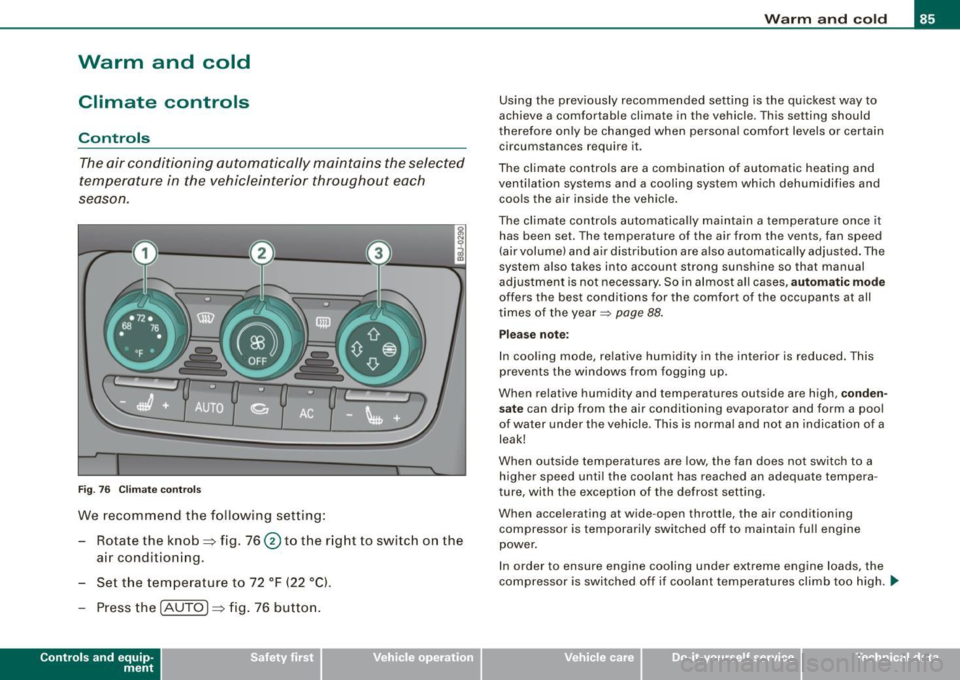
The air conditioning automatically maintains the selected
temperature in the vehicleinterior throughout each
se ason.
F ig. 76 C limate contro ls
We recommend the following setting:
- Rotate the knob~ fig. 76@ to the right to switch on the
ai r conditioning.
- Set the temperature to 72 °F (22 °C).
- Press the !AUTO
j ~ fig. 76 button.
Con tro ls and eq uip
ment
W arm and cold
Using the previously recommended setting is the quickest way to
achieve a comfortable climate in the vehicle. This setting should
therefore only be changed when personal comfort levels or certa in
circumstances require it.
The climate controls are a combination of automatic heating and
ventilation systems and a cooling system which dehumidifies and cools the air inside the vehic le .
The climate controls automatically maintain a temperature once it has been set. The temperature of the air from the vents, fan speed
(air volume) and air dist ribu tion are a lso automatically adjus ted . The
system also takes into account strong sunshine so that manual
adjus tment is not necessary. So in almost all cases,
a ut omatic mode
offers the best conditions for the comfort of the occupants at all
times of the year~
page 88.
Ple ase not e:
In cooling mode, relative humidity in the interior is reduced. This
prevents the windows from fogging up .
When relative humidity and temperatures outside are high,
conden
s ate
can drip from the air conditioning evaporator and form a pool
of water under the vehicle . This is normal and not an indication of a
leak!
When outside temperatures are low, the fan does no t switch to a
higher speed until the coolant has reached an adequate tempera
ture, with the exception of t he defrost setting .
When accelerating at wide-open throttle, the air conditioning compressor is temporarily switched off to maintain fu ll engine
power.
In order to ensure engine cooling under extreme engine loads, the
compressor is switched off if coolant temperatures climb too high ...
Vehicle care I I irechnical data
Page 88 of 316
Warm and cold
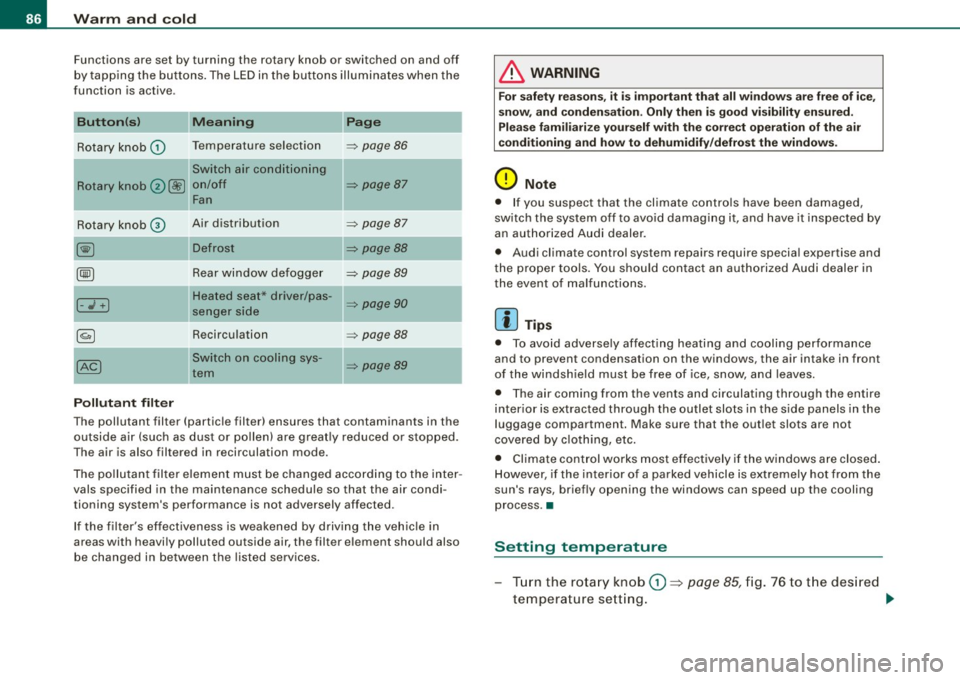
Functions are set by turning the rotary knob or switched on and off
b y tap ping the buttons . The LED in the bu ttons illuminates when the
function is active .
Button(sl
Rotary knob G)
Rotary knob 0@
Rotary knob©
I- .;+ I
Pollutant filter Meaning
Temperature selection
Switch air conditioning
on/off Fan
Air distribution
Rear window de fogger
Heated seat* driver/pas
senger side
Recirculation
-Switch on coo ling sys -
tem Page
=> page 86
=> page 87
=> page 87
=> page 88
=> page 89
=> page 90
=> page 88
=> page89
The pollutant filter (particle filter) ensures that contaminants in the
outside air (such as dus t or p ollen) are greatly reduced or stopped.
The air is also filtered in recirculation mode.
T he pollutan t fil te r element must be changed accord ing to the inter
vals specified in the maintenance schedule so that the air condi
tioning system's performance is not adversely affected.
If the filter's effectiveness is weakened by driv ing t he vehic le in
areas with heavi ly polluted outside air, the filter element should also
be changed in between the listed services .
& WARNING
For safety re ason s, it is impo rtant that all window s are free of i ce ,
snow, and condensat ion . Onl y then is good visibility ensured .
Plea se familiari ze your self with the correct operation of the air
conditioning and how to dehumidify /defrost the windows .
0 Note
• If you suspect that the climate controls have been damaged,
switch the system off to avoid damag ing it, and have it inspected by
an author ized Audi dealer.
• Audi climate control system repairs require special expertise and
t he proper tools. You shou ld contact an authorized Audi dealer in
the event o f malfunctions.
[ i ] Tips
• To avo id adverse ly affecting heating and cooling performance
and to prevent condensation on the windows, the air intake in front
of the windsh ield must be free of ice, snow, and leaves.
• The air coming from the vents and circulating through the entire
inter ior is extracted through the outlet slots in the side panels in the
luggage compartment. Make sure that the outlet slots are not
covered by clo th ing, etc.
• Climate control works most effectively if the windows are closed .
H owever, if the interior of a parked vehicle is extremely hot from the
sun's rays, briefly opening the windows can speed up the cooling
process. •
Setting temperature
Tur n th e rota ry kno b G) ~ page 85, fig. 7 6 to t he des ired
t e mperature sett ing .
~
Page 89 of 316
To set a lower temperature, turn the rotary knob to the left. To set a
higher temperature, turn the rotary knob to the right. There are addi
tional intermediate settings available to adjust the temperature as
needed. •
Switching climate control on and off
Switching the climate control system on and off
- Turn the knob@==> page 85, fig. 76 to the right to switch
climate control on. The LED next to the word OFF goes
out.
Turn the knob@==>
page 85, fig. 76 to the left to switch
the climate control system off. The LED next to the word
OFF comes on.
Setting fan speed ~
- Turn the knob @==> page 85, fig. 76 to the setting you
want to adjust fan speed (air quantity).
In automatic mode the climate control system automatically regu
lates fan speed depending on interior temperature. You can adjust
the volume of air produced by the fan to meet your own require ments .
[ i] Tips
If the difference between the desired temperature set by you and
the vehicle's interior temperature is too great, the fan speed will change automatically. This is done so that the desired temperature
setting is reached as quickly as possible. •
Contro ls and eq uip
ment
Warm and cold
Air distribution
0
§
i
Fig. 77 Instrument panel: Location of air vents
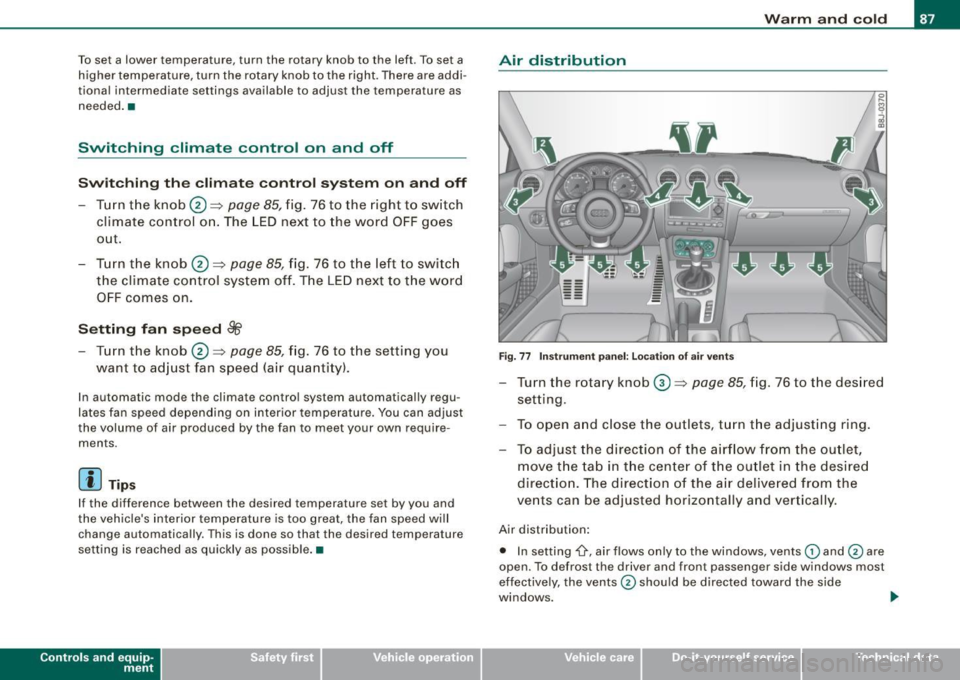
-Turn the rotary knob 0 ==> page 85, fig. 76 to the desired
setting .
- To open and close the outlets, turn the adjusting ring.
- To adjust the direction of the airflow from the outlet,
move the tab in the center of the outlet in the desired
direction. The direction of the air delivered from the
vents can be adjusted horizontally and vertically.
Air distribution:
• In setting
-0-, air flows only to the windows, vents (D and 0 are
open. To defrost the driver and front passenger side windows most
effectively, the vents
0 should be directed toward the side
windows. .,,_
Vehicle care I I irechnical data
Page 90 of 316
Warm and cold
• In setting®, air flows on ly to the driver/passenger, vents 0 and
@ are open.
• In setting..(}, air flows only to the footwell, vents © are open.
• In setting~. air flows only to the w indows and the footwe ll,
vents
G) , 0 and © are open .
There are additiona l combinations (through intermediate settings)
available to adjust air distribution as needed.
[ i I Tip s
If the climate controls are runn ing in cooling mode, air should flow
mainly from vents
0 and @. To achieve sufficient cooling, you
should never close these vents comp letely. •
Defrost [@)
The windshield and si de w indows are defroste d or cleared
of condensation as q uickly as possible.
- To tu rn on t he de fogger/defros ter, press th e [®] butto n
=>
page 85, fig . 76.
- To turn the defogger/defroster off, press the [®]button
again, or the
[AU TO I button.
Temperature is control led automatically. The maximum amount of
air flows mainly from vents 1
=> page 87.
A small amount o f air f lows from vents 2 -if they are open
=> page 87.
Pressing the[@] button switches off recircu lation mode. •
Automatic operation [AUTO]
Stan da rd operating mode at all times of the ye ar.
Turning on automati c operation
- Set the temperature you want.
- Press the
(AUTO ] button=> page 85, fig. 76.
Automatic operation ensures constant temperatures in the interior
and dehumidifies the air inside the vehic le. Air temperature,
vo lume, and distribution are controlled automatically to reach or
mainta in the desired interior temperature as quick ly as possible.
Fluctuations in exterior temperature and the effects of temperature
from the position of the sun are compensated for au tomatical ly . •
Manual air recirculation mode l~I
The recir culation mode prevents polluted outside air from
entering the vehicle in teri or.
Swit ching on air recircul ation
- Press the button !~I=> page 85, fig. 76 => &.
Switching off a ir r ecirculat ion
- Press the button !~I again, or
- Press th e
(AUTO I button, o r
- Press the(@] button .
In recirculation mode, air is drawn from the vehicle interior, filtered,
and recirculated . We recommend that you select recircu lation mode
briefly=> & under the follow ing conditions :
When driving through a tunne l or in a traffic jam so that exhaust
fumes and odors cannot enter the vehic le interior .
~