wheel torque BMW MOTORRAD G 650 XCHALLENGE 2007 Rider's Manual (in English)
[x] Cancel search | Manufacturer: BMW MOTORRAD, Model Year: 2007, Model line: G 650 XCHALLENGE, Model: BMW MOTORRAD G 650 XCHALLENGE 2007Pages: 138, PDF Size: 2.23 MB
Page 77 of 138

Make sure that scale read-
ings4are the same on left and
right.
Tighten locknuts2on left and
right by turning them clock-
wise.
Locknut of the final-drive
chain tensioning screw
25 Nm
Tighten quick-release axle
nut1to the specified tight-
ening torque.
Nut on quick-release
axle, rear
80 NmChecking chain wearMake sure the ground is level
and firm and place the motor-
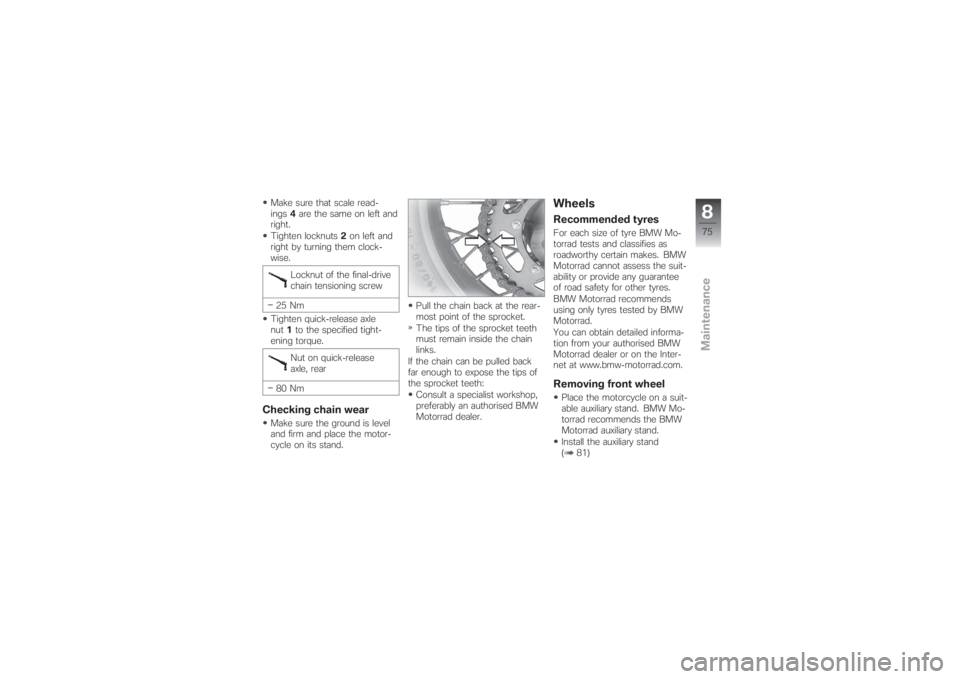
cycle on its stand.Pull the chain back at the rear-
most point of the sprocket.
The tips of the sprocket teeth
must remain inside the chain
links.
If the chain can be pulled back
far enough to expose the tips of
the sprocket teeth:
Consult a specialist workshop,
preferably an authorised BMW
Motorrad dealer.
WheelsRecommended tyresFor each size of tyre BMW Mo-
torrad tests and classifies as
roadworthy certain makes. BMW
Motorrad cannot assess the suit-
ability or provide any guarantee
of road safety for other tyres.
BMW Motorrad recommends
using only tyres tested by BMW
Motorrad.
You can obtain detailed informa-
tion from your authorised BMW
Motorrad dealer or on the Inter-
net at www.bmw-motorrad.com.Removing front wheelPlace the motorcycle on a suit-
able auxiliary stand. BMW Mo-
torrad recommends the BMW
Motorrad auxiliary stand.
Install the auxiliary stand
( 81)
875zMaintenance
Page 79 of 138

lever when the brake calipers
have been removed.
Roll the front wheel clear of the
forks.
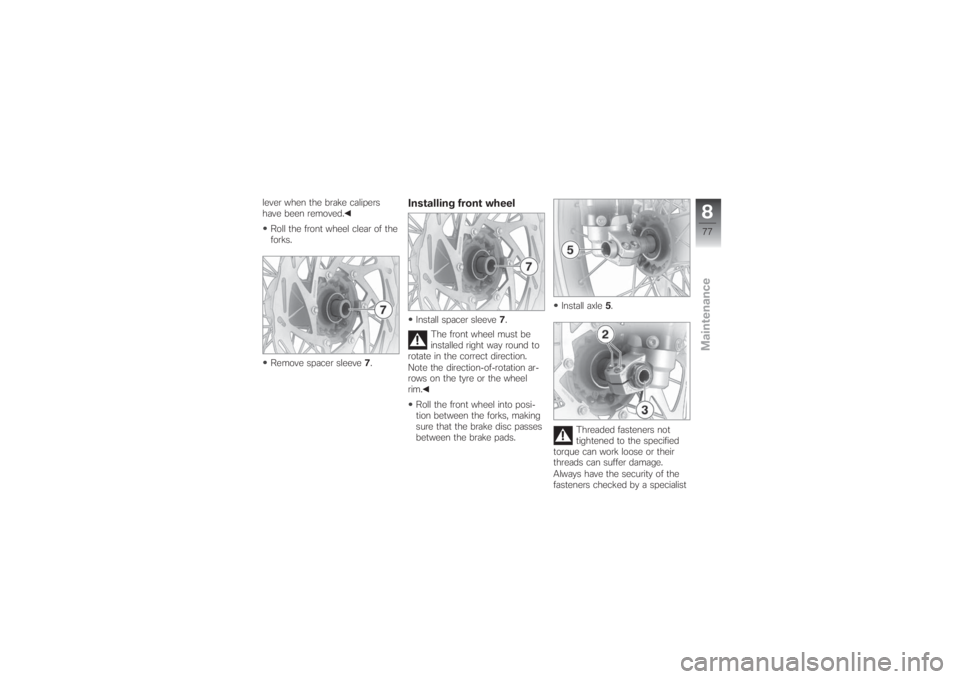
Remove spacer sleeve7.
Installing front wheelInstall spacer sleeve7.
The front wheel must be
installed right way round to
rotate in the correct direction.
Note the direction-of-rotation ar-
rows on the tyre or the wheel
rim.
Roll the front wheel into posi-
tion between the forks, making
sure that the brake disc passes
between the brake pads.Install axle5.
Threaded fasteners not
tightened to the specified
torque can work loose or their
threads can suffer damage.
Always have the security of the
fasteners checked by a specialist
877zMaintenance
Page 80 of 138

workshop, preferably an author-
ised BMW Motorrad dealer.
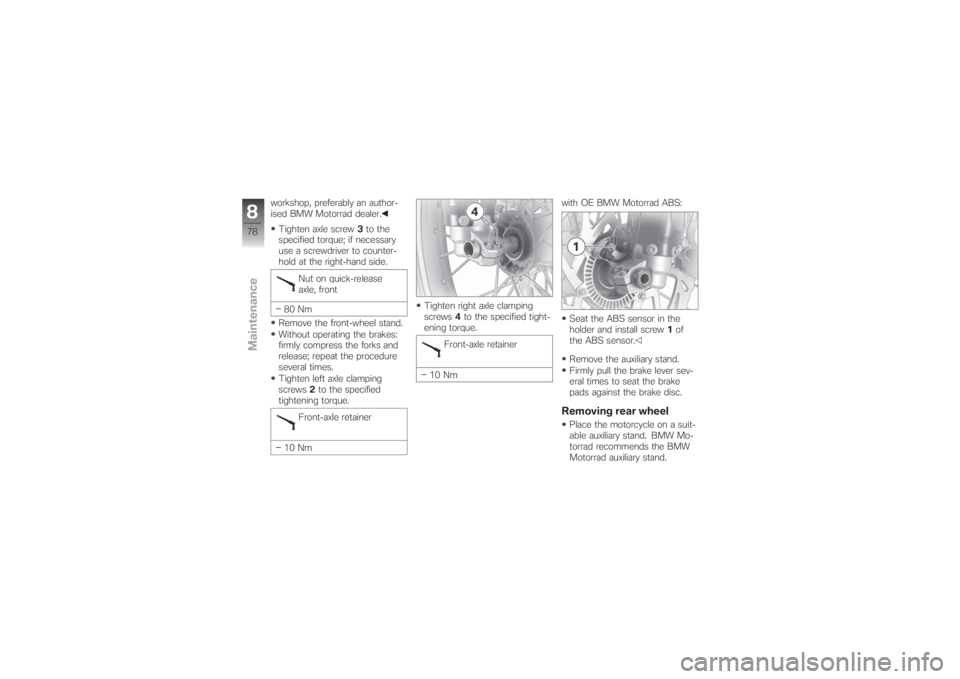
Tighten axle screw3to the
specified torque; if necessary
use a screwdriver to counter-
hold at the right-hand side.
Nut on quick-release
axle, front
80 Nm
Remove the front-wheel stand.
Without operating the brakes:
firmly compress the forks and
release; repeat the procedure
several times.
Tighten left axle clamping
screws2to the specified
tightening torque.
Front-axle retainer
10 NmTighten right axle clamping
screws4to the specified tight-
ening torque.
Front-axle retainer
10 Nmwith OE BMW Motorrad ABS:
Seat the ABS sensor in the
holder and install screw1of
the ABS sensor.
Remove the auxiliary stand.
Firmly pull the brake lever sev-
eral times to seat the brake
pads against the brake disc.
Removing rear wheelPlace the motorcycle on a suit-
able auxiliary stand. BMW Mo-
torrad recommends the BMW
Motorrad auxiliary stand.
878zMaintenance
Page 136 of 138

Status indicators
Overview, 20
Steering lock, 27
Locking, 28
T
Technical data
Battery, 117
Brakes, 114
Bulbs, 118
Clutch, 112
Dimensions, 119
Electrics, 117
Engine, 110
Engine oil, 111
Frame, 118
Fuel, 4, 111
Rear-wheel drive, 113
Running gear, 113
Spark plugs, 117
Standards, 7
Transmission, 112
Tyres, 115
Weights, 119
Wheels, 115Telltale lights, 17
Overview, 20
Toolkit, 14, 64
Torques, 109
Transmission
Technical data, 112
Troubleshooting chart, 108
Turn indicators
Operate, 15, 32
Replacing bulb, 90
Telltale light, 20
Tyres
BMW recommendations, 75,
115
Checking tread depth, 73
Checking tyre pressures, 40
Running in, 49
Technical data, 115
W
Warnings
Overview, 20
Warnings, overview, 21, 24
Weights, 119Wheels
Checking rims, 73
Removing and installing front
wheel, 75
Removing and installing rear
wheel, 78
Technical data, 115, 116
12134zIndex