BMW MOTORRAD K 1200 R 2004 Rider's Manual (in English)
Manufacturer: BMW MOTORRAD, Model Year: 2004, Model line: K 1200 R, Model: BMW MOTORRAD K 1200 R 2004Pages: 168, PDF Size: 2.02 MB
Page 31 of 168
229Status indicators
Think well ahead, brake early
and avoid sharp braking if pos-
sible, because BMW Integral
ABS functions might not be
available.c
• Have the fault rectified as quickly as possible by a spe-
cialist workshop, preferably
an authorised BMW motor-
cycle dealer.
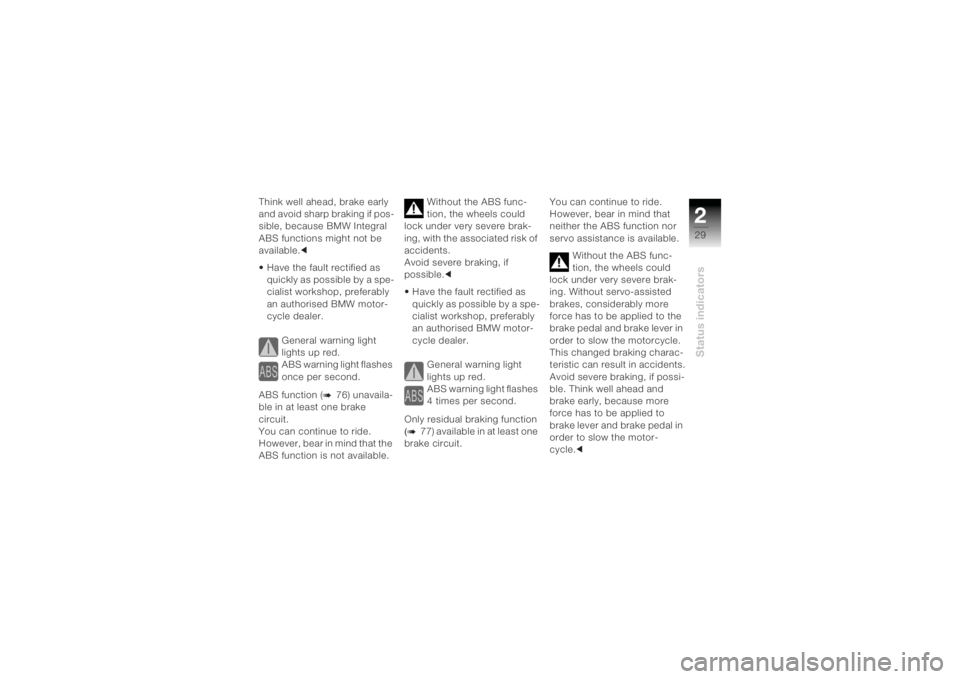
General warning light
lights up red.
ABS warning light flashes
once per second.
ABS function (
b
76) unavaila-
ble in at least one brake
circuit.
You can continue to ride.
H o w e v e r , b e a r i n m i n d t h a t t h e
ABS function is not available. Without the ABS func-
tion, the wheels could
lock under very severe brak-
ing, with the associated risk of
accidents.
Avoid severe braking, if
possible.c
• Have the fault rectified as quickly as possible by a spe-
cialist workshop, preferably
an authorised BMW motor-
cycle dealer.
General warning light
lights up red.
ABS warning light flashes
4 times per second.
Only residual braking function
(b
77)
available in at least one
brake circuit. You can continue to ride.
However, bear in mind that
neither the ABS function nor
servo assistance is available.
Without the ABS func-
tion, the wheels could
lock under very severe brak-
ing. Without servo-assisted
brakes, considerably more
force has to be applied to the
brake pedal and brake lever in
order to slow the motorcycle.
This changed braking charac-
teristic can result in accidents.
Avoid severe braking, if possi-
ble. Think well ahead and
brake early, because more
force has to be applied to
brake lever and brake pedal in
order to slow the motor-
cycle. c
Page 32 of 168
Status indicators230
• Have the fault rectified as quickly as possible by a spe-
cialist workshop, preferably
an authorised BMW motor-
cycle dealer.
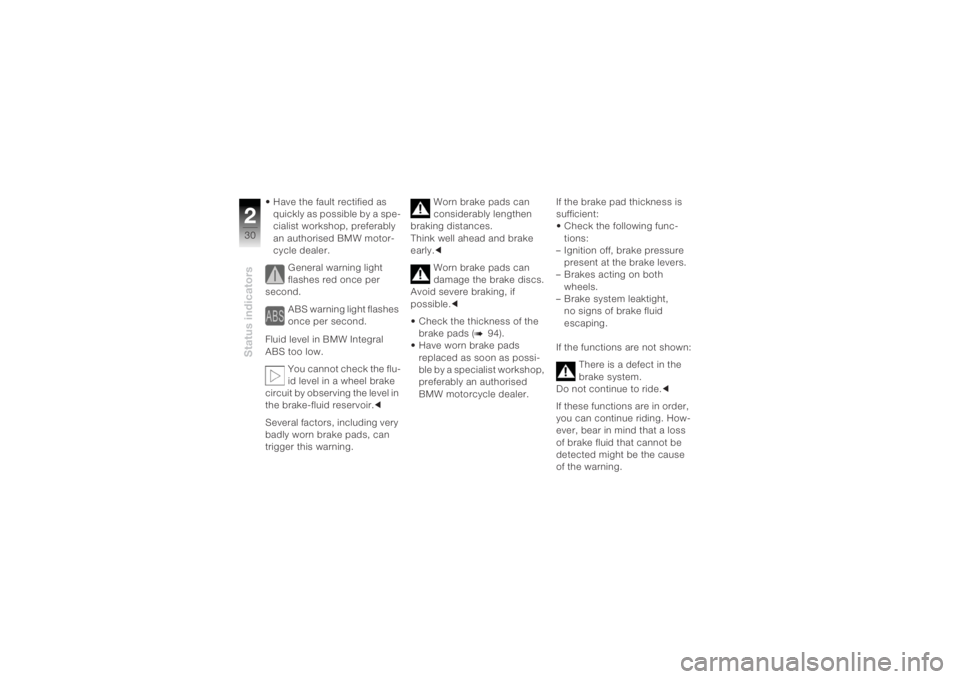
General warning light
flashes red once per
second.
ABS warning light flashes
once per second.
Fluid level in BMW Integral
ABS too low. You cannot check the flu-
id level in a wheel brake
circuit by observing the level in
the brake-fluid reservoir. c
Several factors, including very
badly worn brake pads, can
trigger this warning. Worn brake pads can
considerably lengthen
braking distances.
Think well ahead and brake
early. c
Worn brake pads can
damage the brake discs.
Avoid severe braking, if
possible. c
• Check the thickness of the brake pads (
b
94).
• Have worn brake pads
replaced as soon as possi-
ble by a specialist workshop,
preferably an authorised
BMW motorcycle dealer. If the brake pad thickness is
sufficient:
• Check the following func-
tions:
– Ignition off, brake pressure
present at the brake levers.
– Brakes acting on both
wheels.
– Brake system leaktight, no signs of brake fluid
escaping.
If the functions are not shown: There is a defect in the
brake system.
Do not continue to ride. c
If these functions are in order,
you can continue riding. How-
ever, bear in mind that a loss
of brake fluid that cannot be
detected might be the cause
of the warning.
Page 33 of 168
231Status indicators
There is a fault in the
brake system that can
lead to decreased braking
efficiency.
Avoid severe braking, if
possible.c
• Have the fault rectified as soon as possible by a spe-
cialist workshop, preferably
an authorised
BMW motorcycle dealer.
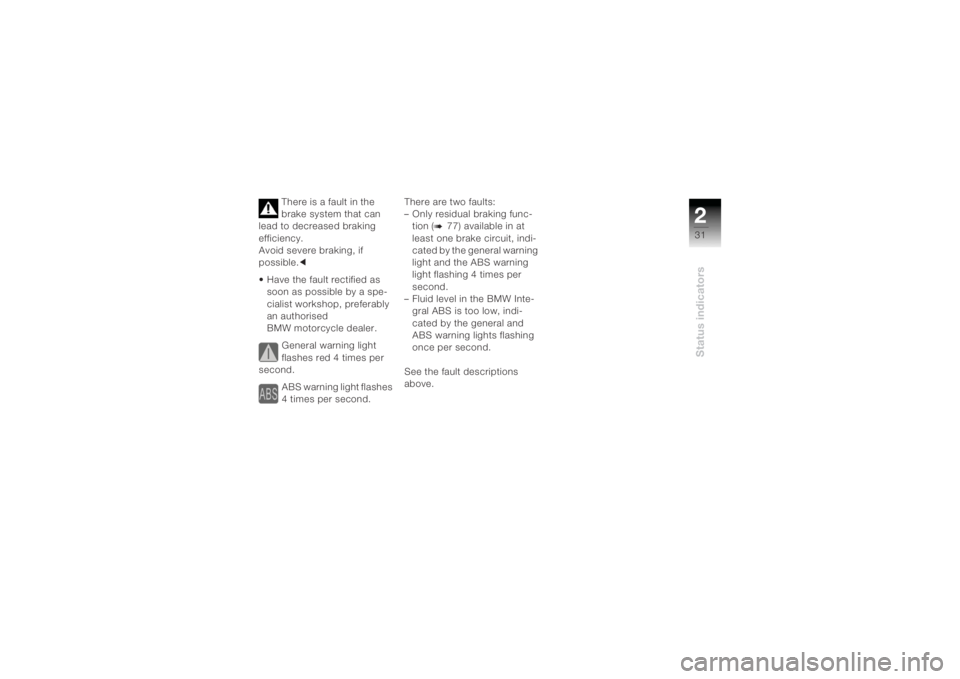
General warning light
flashes red 4 times per
second.
ABS warning light flashes
4 times per second. There are two faults:
– Only residual braking func-
tion
(b
77) available in at
least one brake circuit, indi-
cated by the general warning
light and the ABS warning
light flashing 4 times per
second.
– Fluid level in the BMW Inte- gral ABS is too low, indi-
cated by the general and
ABS warning lights flashing
once per second.
See the fault descriptions
above.
Page 34 of 168

Status indicators232
Page 35 of 168
333Operation
Ignition switch and
steering lock ................................. 34
Electronic immobiliser ................. 35
Hazard warning flashers .............. 36
Tripmaster ..................................... 37
Emergency off switch
(kill switch) .................................... 38
Grip heating
OE
.............................. 39
Clock ............................................. 39
Handlebar levers .......................... 40
Light ............................................... 41
Turn indicators ............................. 43
Seat ............................................... 44
Helmet holder ............................... 45
Luggage loops .............................. 45
Mirrors ........................................... 46
Spring preload .............................. 47 Shock absorbers .......................... 48
ESA
OE
............................................ 49
Wheels ........................................... 51
Operation
Page 36 of 168
Operation334
Ignition switch and
steering lockKeysYou receive one master key
and one spare key. If a key is lost
, please note the informa-
tion on the EWS electronic
immobiliser (
b 24).
Ignition switch and steer-
ing lock, tank filler cap
lock and seat lock are all oper-
ated with the same key. If you
wish you can arrange to have
sport cases
OA fitted with locks
that can be opened with this
key as well. c
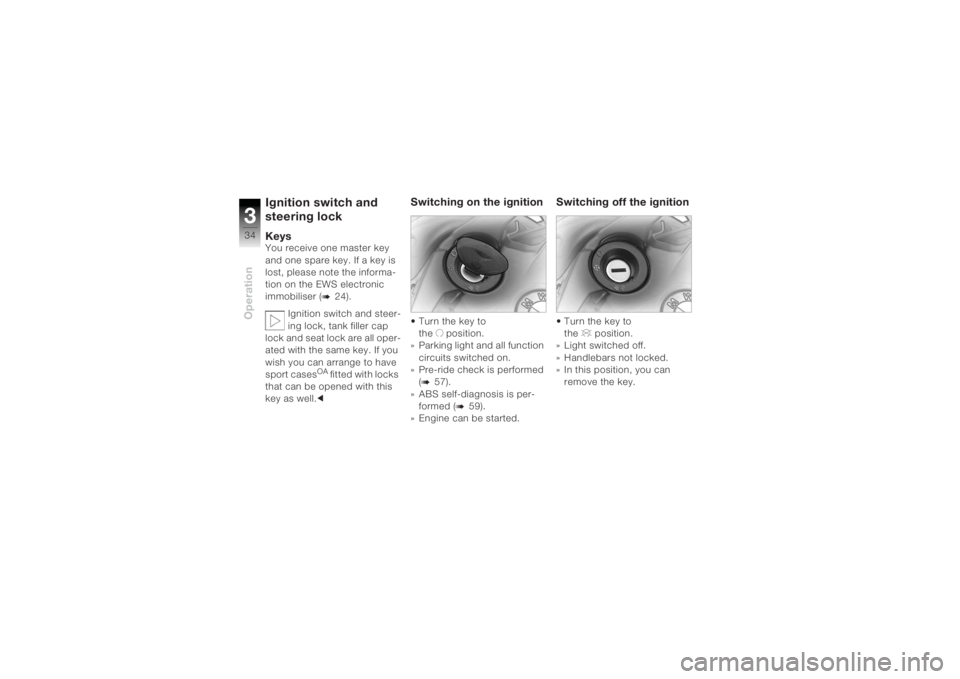
Switching on the ignition• Turn the key to
the Uposition.
» Parking light and all function
circuits switched on.
» Pre-ride check is performed
(b
57).
» ABS self-diagnosis is per- formed (
b
59).
» Engine can be started.
Switching off the ignition• Turn the key to the Vposition.
» Light switched off.
» Handlebars not locked.
» In this position, you can
remove the key.
Page 37 of 168
335Operation
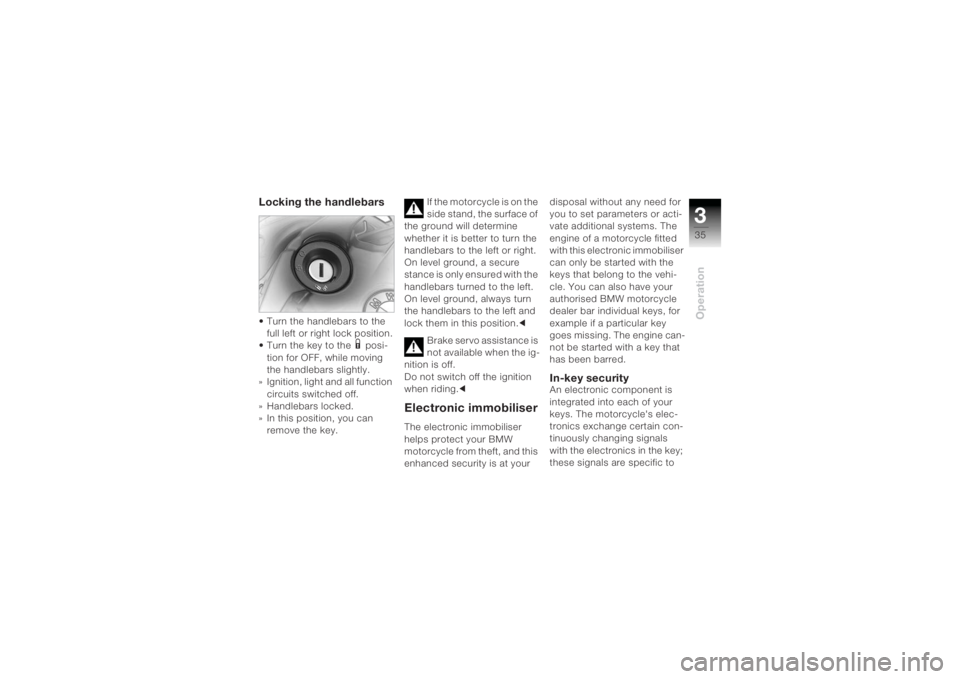
Locking the handlebars• Turn the handlebars to the full left or right lock position.
• Turn the key to the
1 posi-
tion for OFF, while moving
the handlebars slightly.
» Ignition, light and all function circuits switched off.
» Handlebars locked.
» In this position, you can remove the key. If the motorcycle is on the
side stand, the surface of
the ground will determine
whether it is better to turn the
handlebars to the left or right.
On level ground, a secure
stance is only ensured with the
handlebars turned to the left.
On level ground, always turn
the handlebars to the left and
lock them in this position.c
Brake servo assistance is
not available when the ig-
nition is off.
Do not switch off the ignition
when riding. c
Electronic immobiliserThe electronic immobiliser
helps protect your BMW
motorcycle from theft, and this
enhanced security is at your disposal without any need for
you to set parameters or acti-
vate additional systems. The
engine of a motorcycle fitted
with this electronic immobiliser
can only be started with the
keys that belong to the vehi-
cle. You can also have your
authorised BMW motorcycle
dealer bar individual keys, for
example if a particular key
goes missing. The engine can-
not be started with a key that
has been barred.
In-key securityAn electronic component is
integrated into each of your
keys. The motorcycle's elec-
tronics exchange certain con-
tinuously changing signals
with the electronics in the key;
these signals are specific to
Page 38 of 168
Operation336
your motorcycle and they are
transmitted via the ring
antenna in the ignition lock.
The ignition is not enabled for
starting until the key has been
recognised as "authorised" for
your motorcycle.A spare key attached to
the same ring as the igni-
tion key used to start the en-
gine could "upset" the elec-
tronics, in which case the
enabling signal for starting is
not issued. The "EWS" warn-
ing is displayed in the multi-
function display.
Always keep the spare key
separately from the ignition
key. c
Replacement keys and
extra keysYou can obtain replacement/
extra keys
only
through an
authorised BMW motorcycle
dealer. The keys are part of an
integrated security system, so
the dealer is under an obliga-
tion to check the legitimacy of
all applications for replace-
ment/extra keys.
If you want to have a lost key
barred, you have to bring with
you all the keys that belong to
the motorcycle. A key that has
been barred can subsequently
be cleared and reactivated for
use.
Hazard warning
flashersSwitching on the hazard
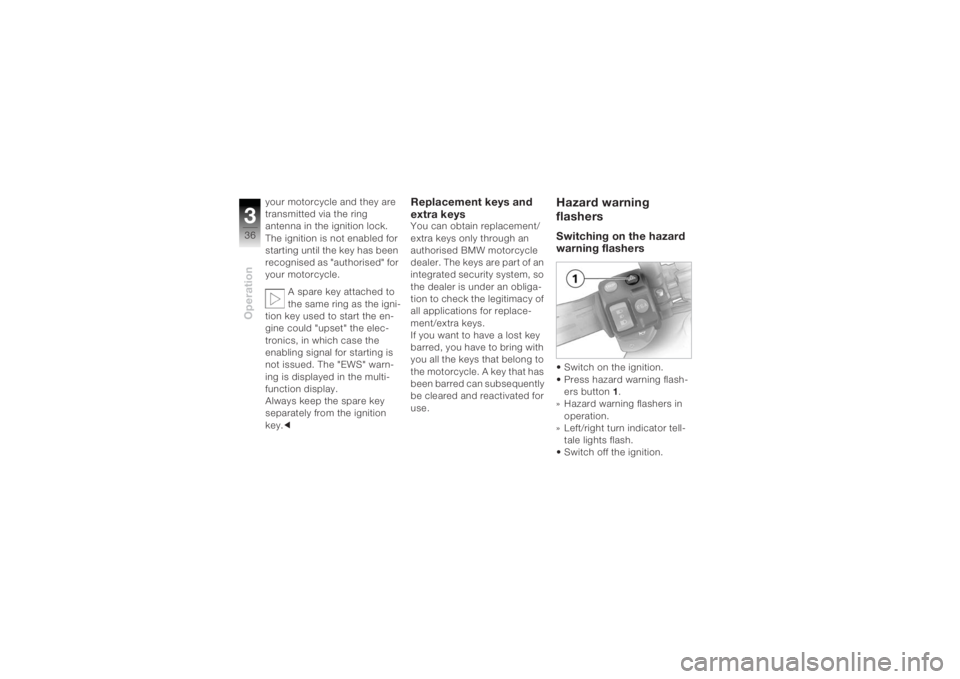
warning flashers• Switch on the ignition.
• Press hazard warning flash-
ers button 1.
» Hazard warning flashers in
operation.
» Left/right turn indicator tell-
tale lights flash.
• Switch off the ignition.
Page 39 of 168
337Operation
» The hazard warning flashers continues to operate.
» Left/right turn indicator tell- tale lights off.
You can also switch on
the hazard warning flash-
ers by simultaneously pressing
the buttons for the left and
right turn indicators. c
The hazard warning
flashers place a strain on
the battery.
Do not use the hazard warning
flashers for longer than abso-
lutely necessary. cSwitching off the hazard
warning flashers• Press hazard warning flash-
ers button 1 or switch on the
ignition.
» Hazard warning flashers cease to operate.
TripmasterSelecting the display
When you switch on the
ignition, the information
shown by the Tripmaster when
the ignition was switched off
always reappears on the multi-
function display. c
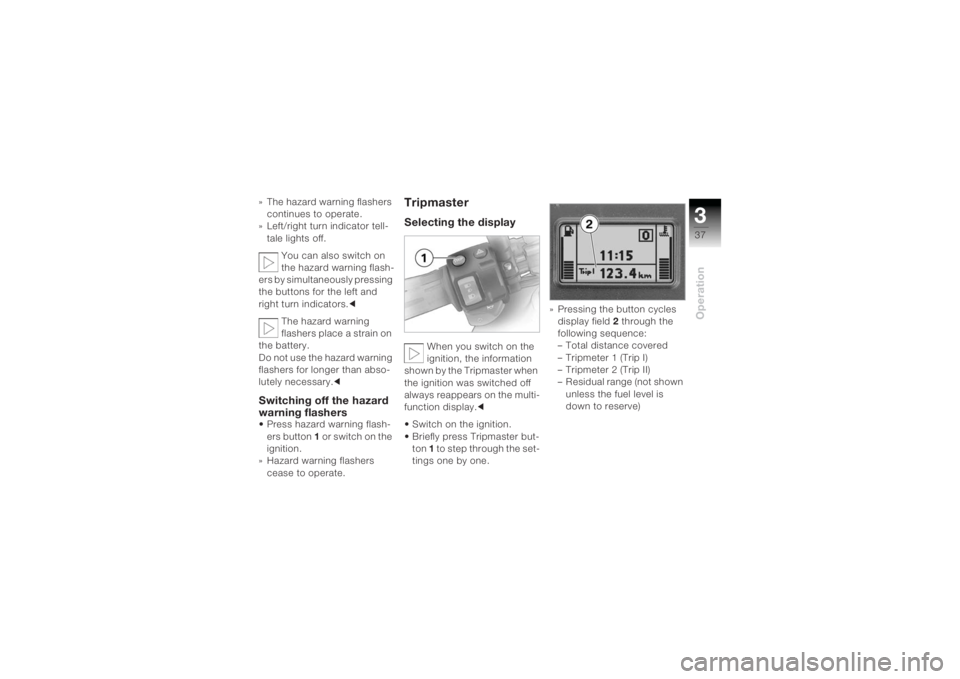
• Switch on the ignition.
• Briefly press Tripmaster but- ton 1 to step through the set-
tings one by one. » Pressing the button cycles
display field 2 through the
following sequence:
– Total distance covered
– Tripmeter 1 (Trip I)
– Tripmeter 2 (Trip II)
– Residual range (not shown unless the fuel level is
down to reserve)
Page 40 of 168
Operation338
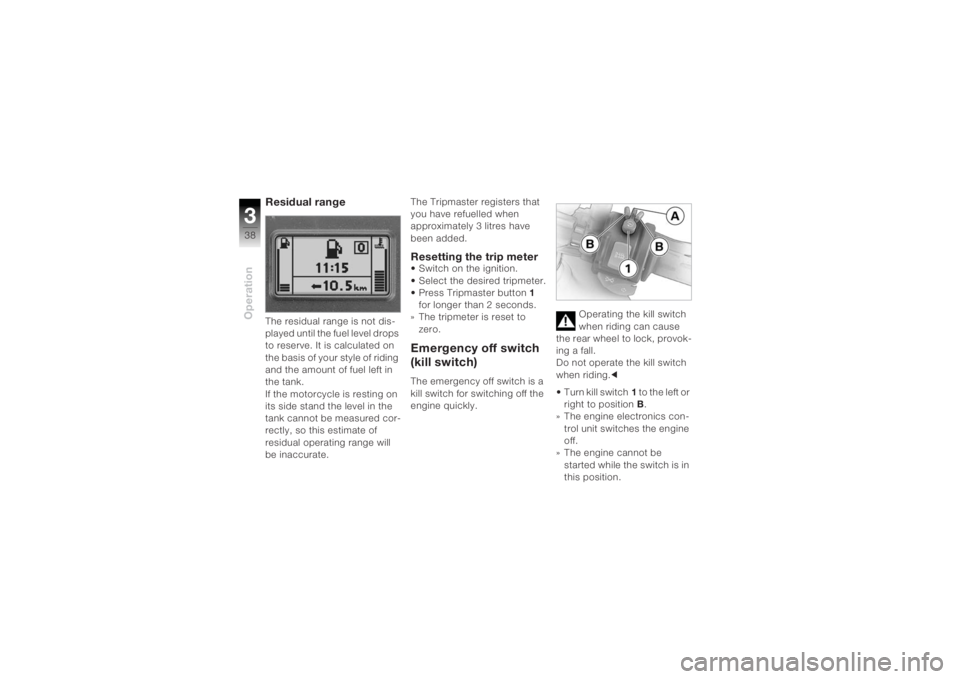
Residual range The residual range is not dis-
played until the fuel level drops
to reserve. It is calculated on
the basis of your style of riding
and the amount of fuel left in
the tank.
If the motorcycle is resting on
its side stand the level in the
tank cannot be measured cor-
rectly, so this estimate of
residual operating range will
be inaccurate.The Tripmaster registers that
you have refuelled when
approximately 3 litres have
been added.
Resetting the trip meter• Switch on the ignition.
• Select the desired tripmeter.
• Press Tripmaster button
1
for longer than 2 seconds.
» The tripmeter is reset to
zero.Emergency off switch
(kill switch)The emergency off switch is a
kill switch for switching off the
engine quickly. Operating the kill switch
when riding can cause
the rear wheel to lock, provok-
ing a fall.
Do not operate the kill switch
when riding. c
• Turn kill switch 1 to the left or
right to position B.
» The engine electronics con-
trol unit switches the engine
off.
» The engine cannot be started while the switch is in
this position.