HONDA ODYSSEY 2014 RC1-RC2 / 5.G Navigation Manual
Manufacturer: HONDA, Model Year: 2014, Model line: ODYSSEY, Model: HONDA ODYSSEY 2014 RC1-RC2 / 5.GPages: 327, PDF Size: 19.96 MB
Page 21 of 327
20System Setup
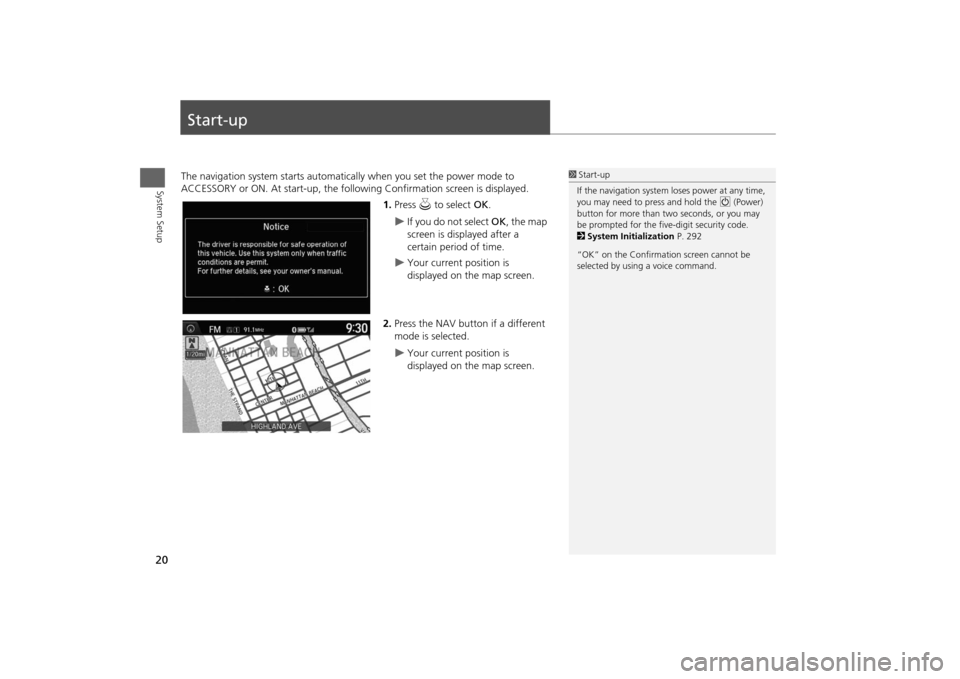
Start-upThe navigation system starts automatically when you set the power mode to
ACCESSORY or ON. At start-up, the following Confirmation screen is displayed.
1.Press u to select OK.
If you do not select OK, the map
screen is displayed after a
certain period of time.
Your current position is
displayed on the map screen.
2.Press the NAV button if a different
mode is selected.
Your current position is
displayed on the map screen.
1Start-up
If the navigation system loses power at any time,
you may need to press and hold the 9 (Power)
button for more than two seconds, or you may
be prompted for the five-digit security code.
2System Initialization P. 292
“OK” on the Confirmation screen cannot be
selected by using a voice command.
Page 22 of 327
21
Start-up
System Setup
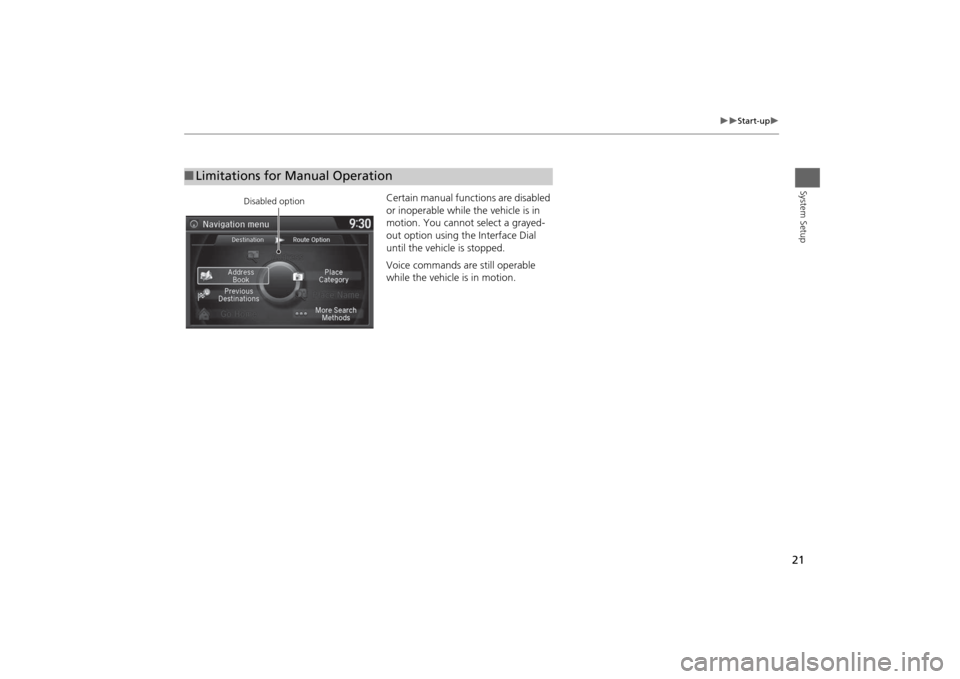
Certain manual functions are disabled
or inoperable while the vehicle is in
motion. You cannot select a grayed-
out option using the Interface Dial
until the vehicle is stopped.
Voice commands are still operable
while the vehicle is in motion.
■Limitations for Manual Operation
Disabled option
Page 23 of 327
22System Setup
Voice Control SystemYour vehicle has a voice control system that allows hands-free operation of most of
the navigation system functions.
The voice control system uses the d (Talk) and J (Hang-Up/Back) buttons on
the steering wheel and a microphone near the map lights on the ceiling.
A “Getting Started” feature provides a tutorial that explains how to use the voice
control system.
2Getting Started Tutorial
P. 15
Command InputIf the system does not understand a command or you wait too long to give a
command, the system asks you to repeat the command.
When you give a command, the system generally either repeats the command as a
confirmation or asks you for further information. If you do not wish to hear this
feedback, you can turn it off. However, listening to the feedback will help familiarize
you with the way the system expects commands to be phrased.
If the system cannot perform a command or the command is not appropriate for the
screen you are on, the system beeps.
On character input screens, a list of possible characters is displayed if the system
does not recognize your command.
You can find out which voice commands are available for a particular screen using
the d “Voice Help” command. The system will display and read the list of available
commands to you.
2Voice Help
P. 15
1d (Talk) Button
When you press the d (Talk) button, the system
prompts you to say a voice command and gives
examples. Press and release the d (Talk) button
again to bypass this prompt and give a
command.1Command Input
The audio system is muted while using the voice
control system.
Page 24 of 327
23
Voice Control System
Voice Recognition
System Setup
Voice RecognitionTo achieve optimum voice recognition when using the navigation voice control
system:
•Make sure the correct screen is displayed for the voice command that you are
using.
2
Voice Commands
P. 308
•Close the windows and moonroof.
•Adjust the dashboard and side vents so air does not blow onto the microphone on
the ceiling.
•Speak clearly in a clear, natural speaking voice without pausing between words.
•Reduce any background noise if possible. The system may misinterpret your
command if more than one person is speaking at the same time.
•Refer to the Voice Help feature.
2
Voice Help
P. 15
1Voice Recognition
The voice control system can only be used from
the driver’s seat because the microphone unit
removes noises from the front passenger’s side.
Page 25 of 327
24
Voice Control System
Voice Recognition Settings
System Setup
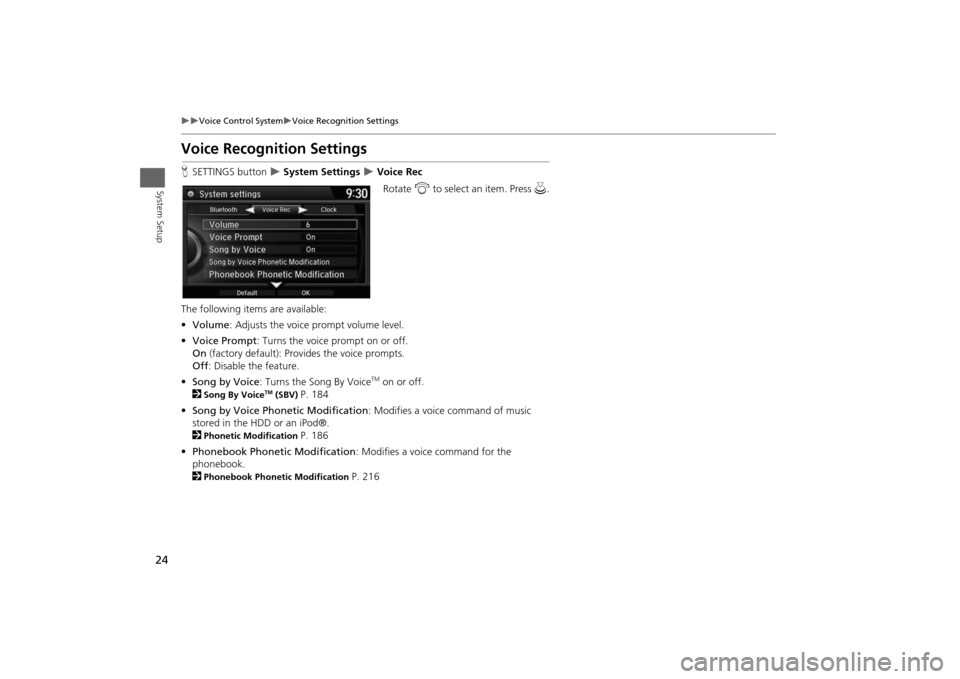
Voice Recognition SettingsHSETTINGS button
System Settings
Voice Rec
Rotate i to select an item. Press u.
The following items are available:
•Volume: Adjusts the voice prompt volume level.
•Voice Prompt: Turns the voice prompt on or off.
On (factory default): Provides the voice prompts.
Off: Disable the feature.
•Song by Voice: Turns the Song By VoiceTM on or off.
2
Song By Voice
TM (SBV)
P. 184
•Song by Voice Phonetic Modification: Modifies a voice command of music
stored in the HDD or an iPod®.
2
Phonetic Modification
P. 186
•Phonebook Phonetic Modification: Modifies a voice command for the
phonebook.
2
Phonebook Phonetic Modification
P. 216
Page 26 of 327
25System Setup
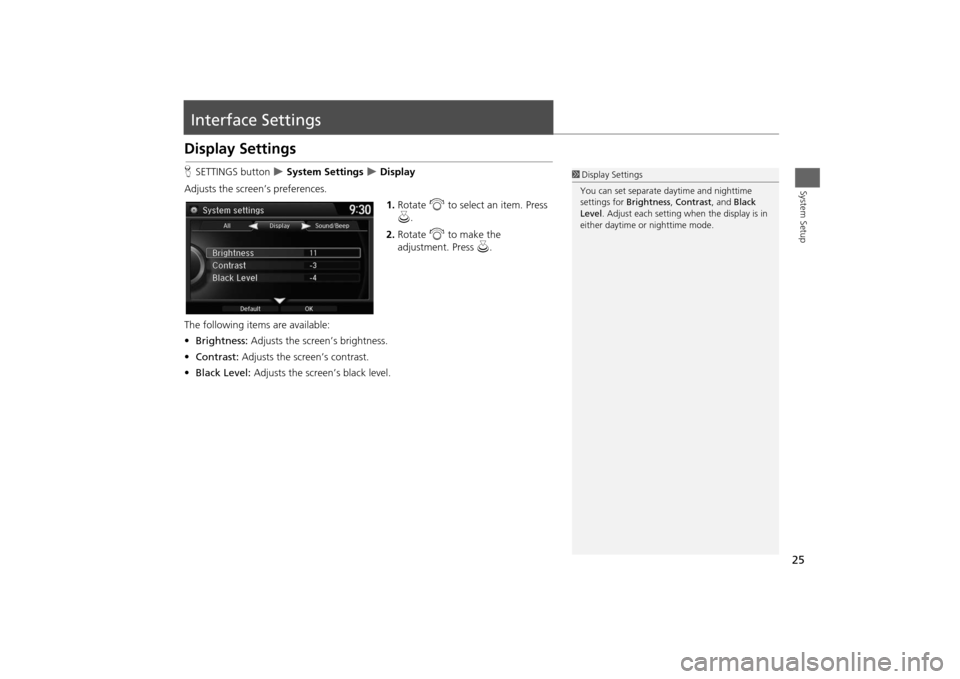
Interface SettingsDisplay SettingsHSETTINGS button
System Settings
Display
Adjusts the screen’s preferences.
1.Rotate i to select an item. Press
u.
2.Rotate i to make the
adjustment. Press u.
The following items are available:
•Brightness: Adjusts the screen’s brightness.
•Contrast: Adjusts the screen’s contrast.
•Black Level: Adjusts the screen’s black level.
1Display Settings
You can set separate daytime and nighttime
settings for Brightness, Contrast, and Black
Level. Adjust each setting when the display is in
either daytime or nighttime mode.
Page 27 of 327
26
Interface Settings
Sound and Beep Settings
System Setup
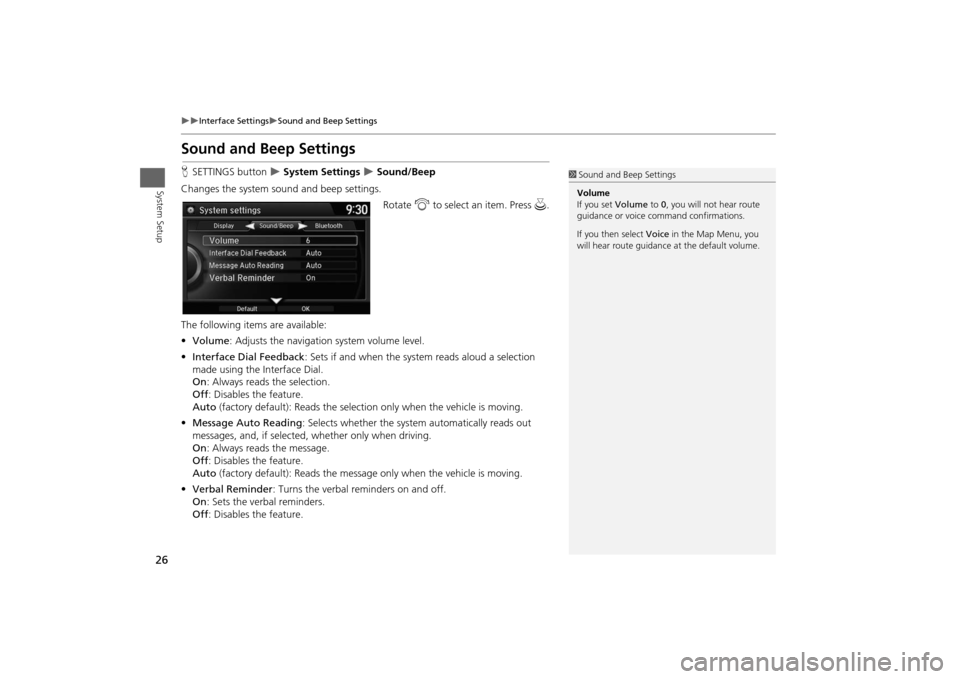
Sound and Beep SettingsHSETTINGS button
System Settings
Sound/Beep
Changes the system sound and beep settings.
Rotate i to select an item. Press u.
The following items are available:
•Volume: Adjusts the navigation system volume level.
•Interface Dial Feedback: Sets if and when the system reads aloud a selection
made using the Interface Dial.
On: Always reads the selection.
Off: Disables the feature.
Auto (factory default): Reads the selection only when the vehicle is moving.
•Message Auto Reading: Selects whether the system automatically reads out
messages, and, if selected, whether only when driving.
On: Always reads the message.
Off: Disables the feature.
Auto (factory default): Reads the message only when the vehicle is moving.
•Verbal Reminder: Turns the verbal reminders on and off.
On: Sets the verbal reminders.
Off: Disables the feature.
1Sound and Beep Settings
Volume
If you set Volume to 0, you will not hear route
guidance or voice command confirmations.
If you then select Voice in the Map Menu, you
will hear route guidance at the default volume.
Page 28 of 327
27
Interface Settings
Clock Adjustment
System Setup
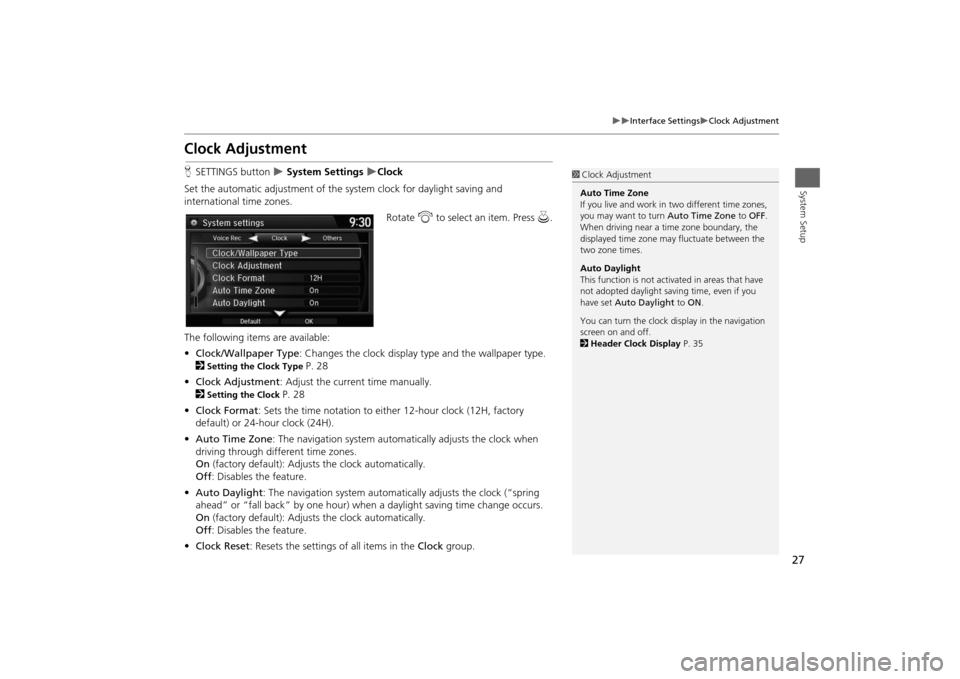
Clock AdjustmentHSETTINGS button
System Settings
Clock
Set the automatic adjustment of the system clock for daylight saving and
international time zones.
Rotate i to select an item. Press u.
The following items are available:
•Clock/Wallpaper Type: Changes the clock display type and the wallpaper type.
2
Setting the Clock Type
P. 28
•Clock Adjustment: Adjust the current time manually.
2
Setting the Clock
P. 28
•Clock Format: Sets the time notation to either 12-hour clock (12H, factory
default) or 24-hour clock (24H).
•Auto Time Zone: The navigation system automatically adjusts the clock when
driving through different time zones.
On (factory default): Adjusts the clock automatically.
Off: Disables the feature.
•Auto Daylight: The navigation system automatically adjusts the clock (“spring
ahead” or “fall back” by one hour) when a daylight saving time change occurs.
On (factory default): Adjusts the clock automatically.
Off: Disables the feature.
•Clock Reset: Resets the settings of all items in the Clock group.
1Clock Adjustment
Auto Time Zone
If you live and work in two different time zones,
you may want to turn Auto Time Zone to OFF.
When driving near a time zone boundary, the
displayed time zone may fluctuate between the
two zone times.
Auto Daylight
This function is not activated in areas that have
not adopted daylight saving time, even if you
have set Auto Daylight to ON.
You can turn the clock display in the navigation
screen on and off.
2Header Clock Display P. 35
Page 29 of 327
28
Interface Settings
Clock Adjustment
System Setup
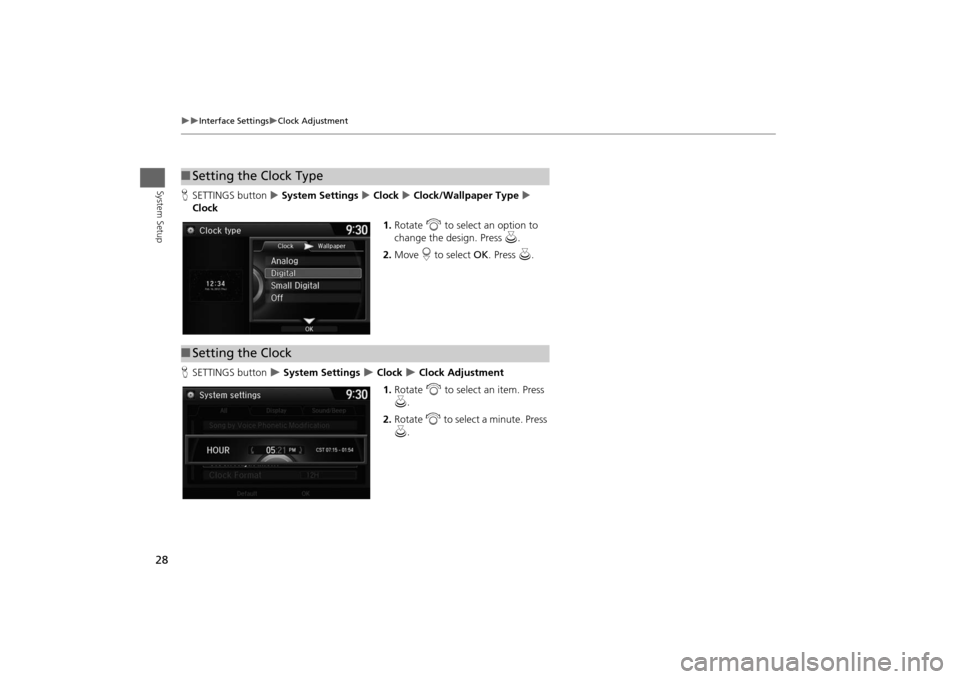
HSETTINGS button System Settings Clock Clock/Wallpaper Type
Clock
1.Rotate i to select an option to
change the design. Press u.
2.Move r to select OK. Press u.
HSETTINGS button
System Settings
Clock
Clock Adjustment
1.Rotate i to select an item. Press
u.
2.Rotate i to select a minute. Press
u.
■Setting the Clock Type■Setting the Clock
Page 30 of 327
29
Interface Settings
Wallpaper Settings
System Setup
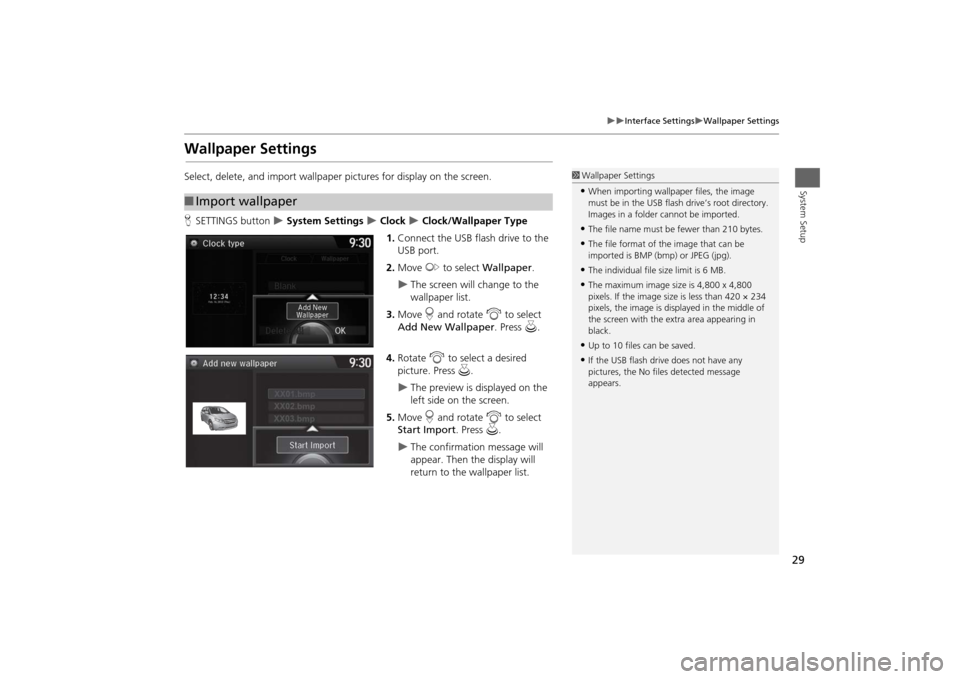
Wallpaper SettingsSelect, delete, and import wallpaper pictures for display on the screen.
HSETTINGS button
System Settings
Clock
Clock/Wallpaper Type
1.Connect the USB flash drive to the
USB port.
2.Move y to select Wallpaper.
The screen will change to the
wallpaper list.
3.Move r and rotate i to select
Add New Wallpaper. Press u.
4.Rotate i to select a desired
picture. Press u.
The preview is displayed on the
left side on the screen.
5.Move r and rotate i to select
Start Import. Press u.
The confirmation message will
appear. Then the display will
return to the wallpaper list.
■Import wallpaper
1Wallpaper Settings•When importing wallpaper files, the image
must be in the USB flash drive’s root directory.
Images in a folder cannot be imported.•The file name must be fewer than 210 bytes.•The file format of the image that can be
imported is BMP (bmp) or JPEG (jpg).•The individual file size limit is 6 MB.•The maximum image size is 4,800 x 4,800
pixels. If the image size is less than 420 × 234
pixels, the image is displayed in the middle of
the screen with the extra area appearing in
black.•Up to 10 files can be saved.•If the USB flash drive does not have any
pictures, the No files detected message
appears.