Hyundai Terracan 2004 Owner's Manual
Manufacturer: HYUNDAI, Model Year: 2004, Model line: Terracan, Model: Hyundai Terracan 2004Pages: 361, PDF Size: 4.69 MB
Page 251 of 361
CONTROLS AND EQUIPMENT1- 51
are not damaged by rings or jewellery whilst the glass is being cleaned. NOTE: The ignition must be in the "ON" position forthe heated rear window to operate.
B400A01HP
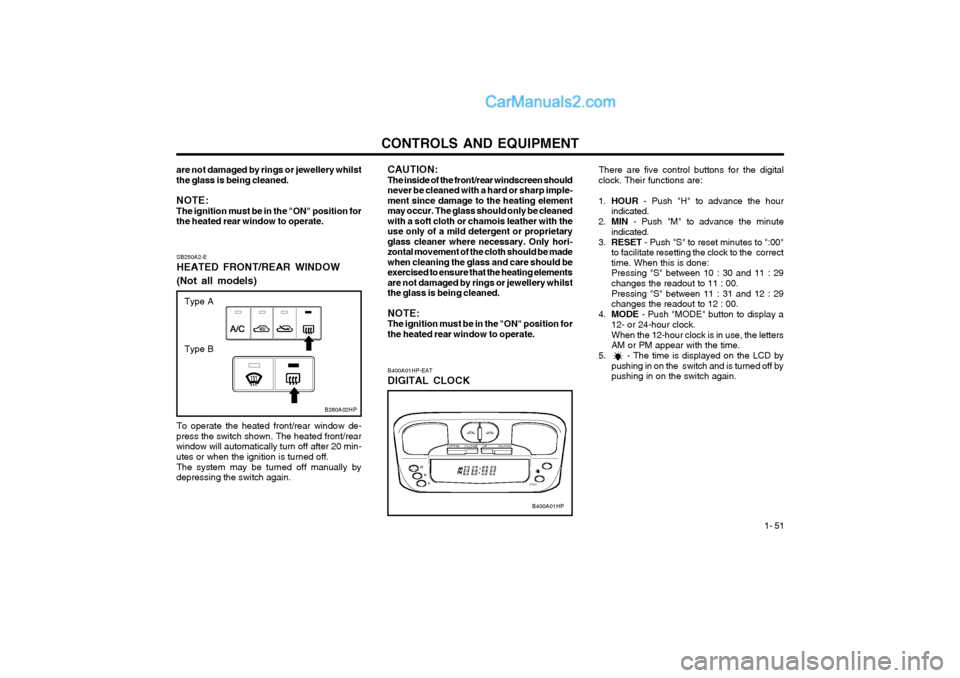
B400A01HP-EAT DIGITAL CLOCK There are five control buttons for the digital
clock. Their functions are: 1. HOUR - Push "H" to advance the hour
indicated.
2. MIN - Push "M" to advance the minute
indicated.
3. RESET - Push "S" to reset minutes to ":00"
to facilitate resetting the clock to the correct time. When this is done:Pressing "S" between 10 : 30 and 11 : 29changes the readout to 11 : 00. Pressing "S" between 11 : 31 and 12 : 29 changes the readout to 12 : 00.
4. MODE - Push "MODE" button to display a
12- or 24-hour clock. When the 12-hour clock is in use, the letters AM or PM appear with the time.
5. - The time is displayed on the LCD by pushing in on the switch and is turned off bypushing in on the switch again.
SB250A2-E HEATED FRONT/REAR WINDOW (Not all models)
B380A02HP
To operate the heated front/rear window de-
press the switch shown. The heated front/rear window will automatically turn off after 20 min-utes or when the ignition is turned off.
The system may be turned off manually by
depressing the switch again. CAUTION:The inside of the front/rear windscreen shouldnever be cleaned with a hard or sharp imple-ment since damage to the heating elementmay occur. The glass should only be cleanedwith a soft cloth or chamois leather with theuse only of a mild detergent or proprietaryglass cleaner where necessary. Only hori-zontal movement of the cloth should be madewhen cleaning the glass and care should beexercised to ensure that the heating elementsare not damaged by rings or jewellery whilstthe glass is being cleaned. NOTE: The ignition must be in the "ON" position forthe heated rear window to operate.
Type A
Type B
Page 252 of 361
CONTROLS AND EQUIPMENT
1- 52
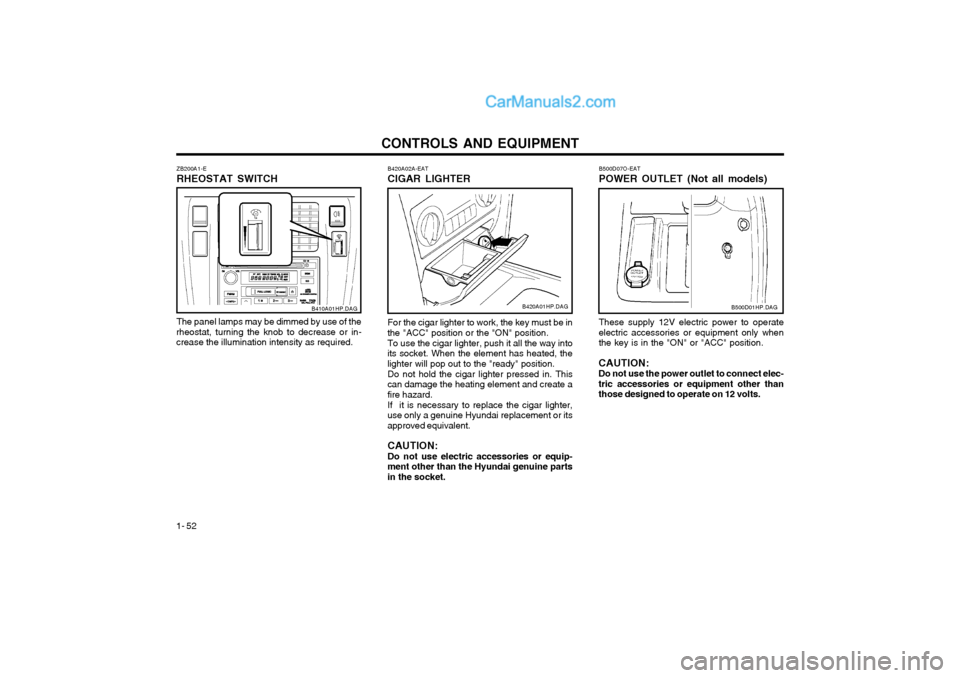
B500D07O-EAT POWER OUTLET (Not all models) These supply 12V electric power to operate electric accessories or equipment only whenthe key is in the "ON" or "ACC" position.
CAUTION:Do not use the power outlet to connect elec-tric accessories or equipment other thanthose designed to operate on 12 volts.
B420A02A-EAT CIGAR LIGHTER For the cigar lighter to work, the key must be in
the "ACC" position or the "ON" position.
To use the cigar lighter, push it all the way into
its socket. When the element has heated, the lighter will pop out to the "ready" position.
Do not hold the cigar lighter pressed in. This
can damage the heating element and create afire hazard.
If it is necessary to replace the cigar lighter,
use only a genuine Hyundai replacement or itsapproved equivalent. CAUTION: Do not use electric accessories or equip-
ment other than the Hyundai genuine parts in the socket.
B420A01HP.DAG
ZB200A1-E RHEOSTAT SWITCH
The panel lamps may be dimmed by use of the
rheostat, turning the knob to decrease or in- crease the illumination intensity as required. B410A01HP.DAG
B500D01HP.DAG
Page 253 of 361
CONTROLS AND EQUIPMENT1- 53
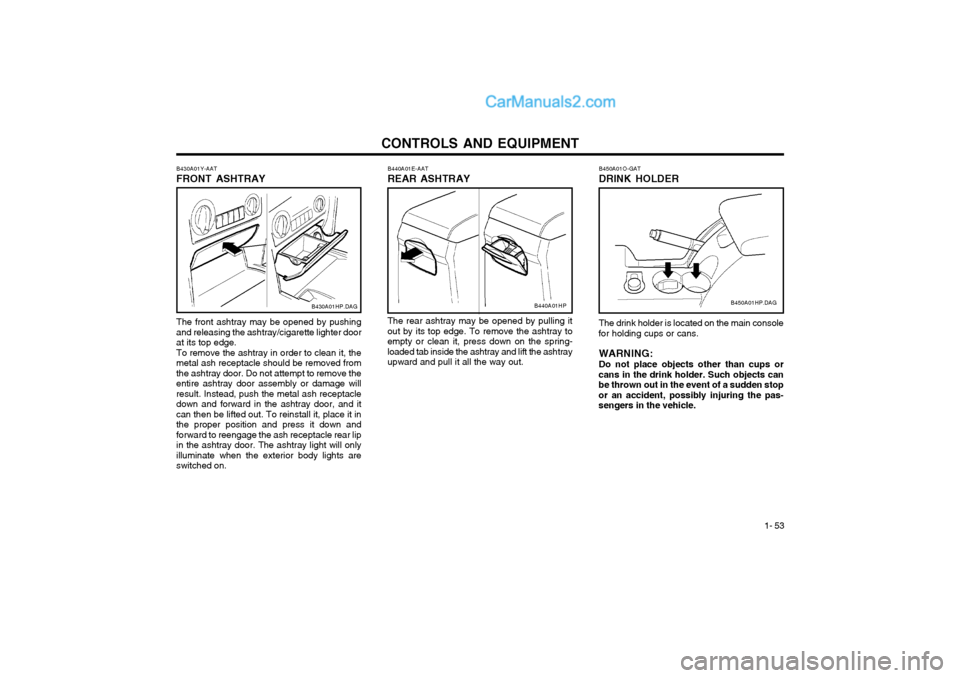
The front ashtray may be opened by pushing and releasing the ashtray/cigarette lighter door at its top edge. To remove the ashtray in order to clean it, the metal ash receptacle should be removed fromthe ashtray door. Do not attempt to remove theentire ashtray door assembly or damage willresult. Instead, push the metal ash receptacledown and forward in the ashtray door, and itcan then be lifted out. To reinstall it, place it inthe proper position and press it down andforward to reengage the ash receptacle rear lipin the ashtray door. The ashtray light will onlyilluminate when the exterior body lights areswitched on.B440A01E-AAT REAR ASHTRAYThe rear ashtray may be opened by pulling it out by its top edge. To remove the ashtray toempty or clean it, press down on the spring-loaded tab inside the ashtray and lift the ashtrayupward and pull it all the way out.
B440A01HP
B430A01Y-AAT FRONT ASHTRAYB430A01HP.DAG
B450A01O-GAT DRINK HOLDER
B450A01HP.DAG
The drink holder is located on the main console
for holding cups or cans.
WARNING: Do not place objects other than cups or
cans in the drink holder. Such objects can be thrown out in the event of a sudden stopor an accident, possibly injuring the pas-sengers in the vehicle.
Page 254 of 361
CONTROLS AND EQUIPMENT
1- 54
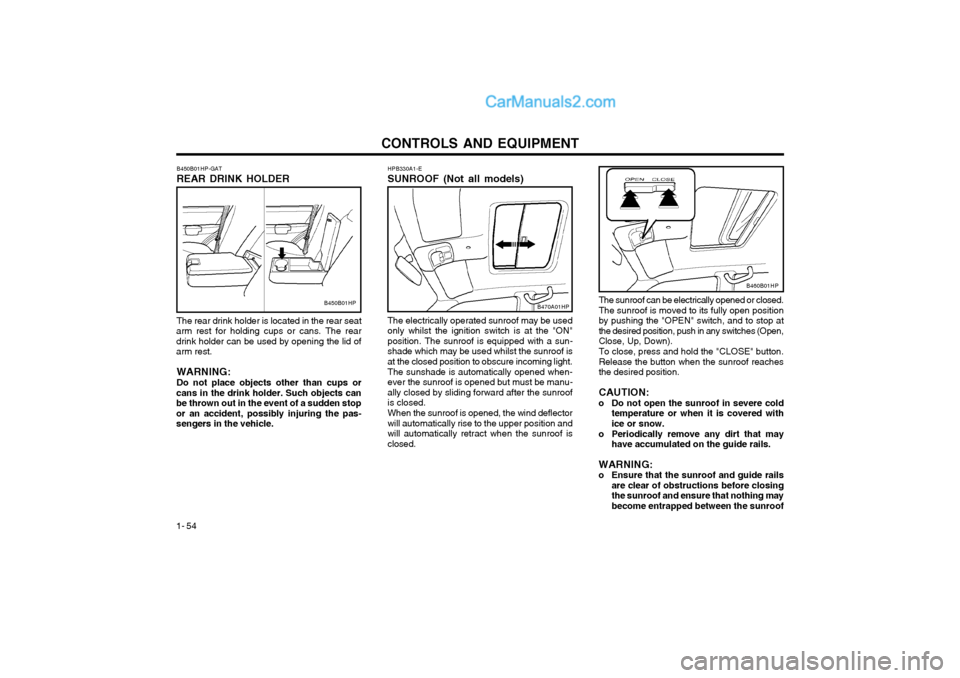
The rear drink holder is located in the rear seat
arm rest for holding cups or cans. The rear drink holder can be used by opening the lid ofarm rest.
WARNING: Do not place objects other than cups or
cans in the drink holder. Such objects can be thrown out in the event of a sudden stopor an accident, possibly injuring the pas-sengers in the vehicle. B450B01HP-GAT REAR DRINK HOLDER
B450B01HP
B460B01HP
The sunroof can be electrically opened or closed. The sunroof is moved to its fully open positionby pushing the "OPEN" switch, and to stop atthe desired position, push in any switches (Open,Close, Up, Down). To close, press and hold the "CLOSE" button. Release the button when the sunroof reachesthe desired position. CAUTION:
o Do not open the sunroof in severe cold temperature or when it is covered with ice or snow.
o Periodically remove any dirt that may have accumulated on the guide rails.
WARNING:
o Ensure that the sunroof and guide rails are clear of obstructions before closingthe sunroof and ensure that nothing maybecome entrapped between the sunroof
HPB330A1-E SUNROOF (Not all models)
B470A01HP
The electrically operated sunroof may be used only whilst the ignition switch is at the "ON"position. The sunroof is equipped with a sun-shade which may be used whilst the sunroof isat the closed position to obscure incoming light. The sunshade is automatically opened when- ever the sunroof is opened but must be manu-ally closed by sliding forward after the sunroofis closed. When the sunroof is opened, the wind deflector will automatically rise to the upper position andwill automatically retract when the sunroof isclosed.
Page 255 of 361
CONTROLS AND EQUIPMENT1- 55
panel and the vehicle body whilst the sunroof is being closed.
o Do not stand up or extend any portion of your body out of the opening whilst thevehicle is moving.
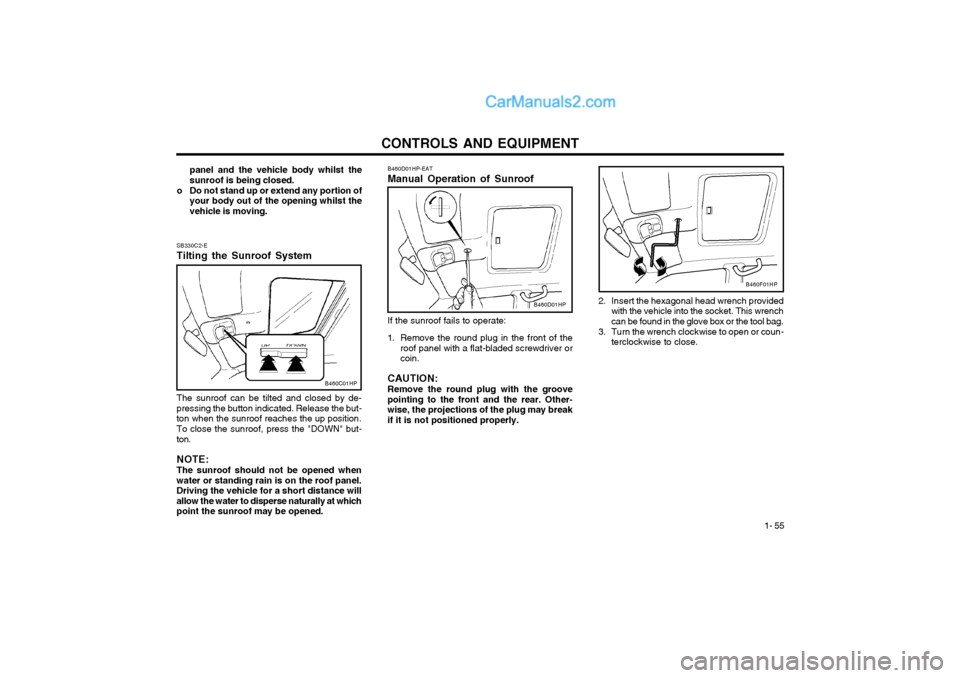
SB330C2-E Tilting the Sunroof System The sunroof can be tilted and closed by de- pressing the button indicated. Release the but-ton when the sunroof reaches the up position. To close the sunroof, press the "DOWN" but- ton. NOTE: The sunroof should not be opened when water or standing rain is on the roof panel.Driving the vehicle for a short distance willallow the water to disperse naturally at whichpoint the sunroof may be opened. B460D01HP-EAT Manual Operation of Sunroof If the sunroof fails to operate:
1. Remove the round plug in the front of the roof panel with a flat-bladed screwdriver or coin.
CAUTION: Remove the round plug with the groove
pointing to the front and the rear. Other-wise, the projections of the plug may breakif it is not positioned properly.
B460C01HP
B460D01HP 2. Insert the hexagonal head wrench provided
with the vehicle into the socket. This wrench can be found in the glove box or the tool bag.
3. Turn the wrench clockwise to open or coun- terclockwise to close.
B460F01HP
Page 256 of 361
CONTROLS AND EQUIPMENT
1- 56 B500A01A-EAT GLOVE BOX
WARNING: To avoid the possibility of injury in case of an accident or a sudden stop, the glove boxdoor should be kept closed whilst the car isin motion.
o To open the glove box, pull on the glove box
release lever. B500A01HP.DAG
B480B01Y-AAT MAP LIGHT
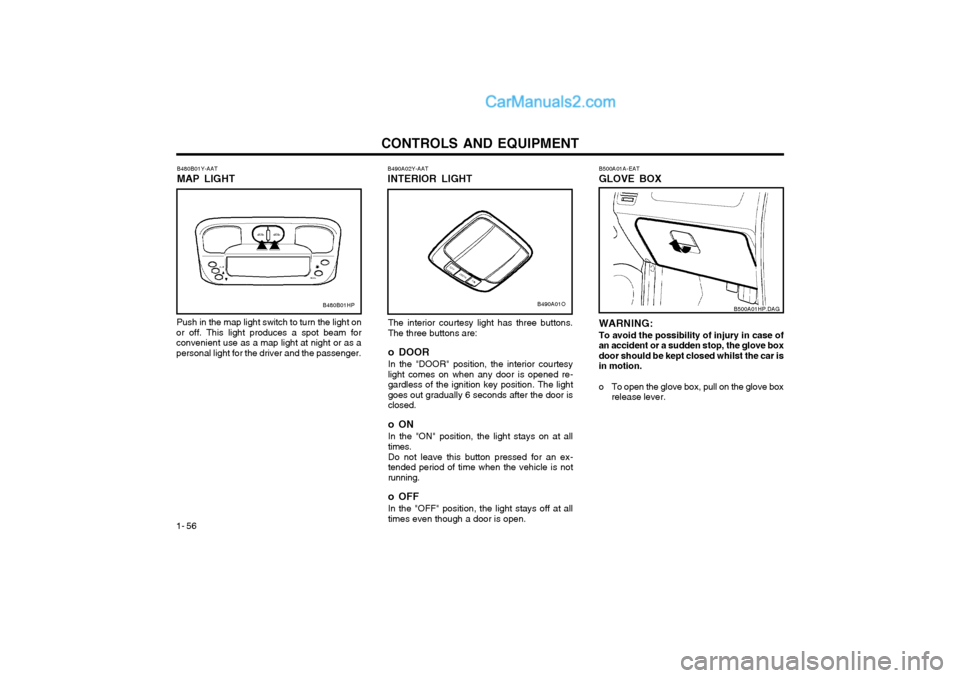
Push in the map light switch to turn the light on
or off. This light produces a spot beam for convenient use as a map light at night or as apersonal light for the driver and the passenger. B490A02Y-AAT INTERIOR LIGHT
The interior courtesy light has three buttons. The three buttons are: o DOOR In the "DOOR" position, the interior courtesy light comes on when any door is opened re-gardless of the ignition key position. The lightgoes out gradually 6 seconds after the door isclosed. o ON In the "ON" position, the light stays on at all times. Do not leave this button pressed for an ex- tended period of time when the vehicle is notrunning. o OFF In the "OFF" position, the light stays off at all times even though a door is open.
B480B01HPB490A01O
Page 257 of 361
CONTROLS AND EQUIPMENT1- 57
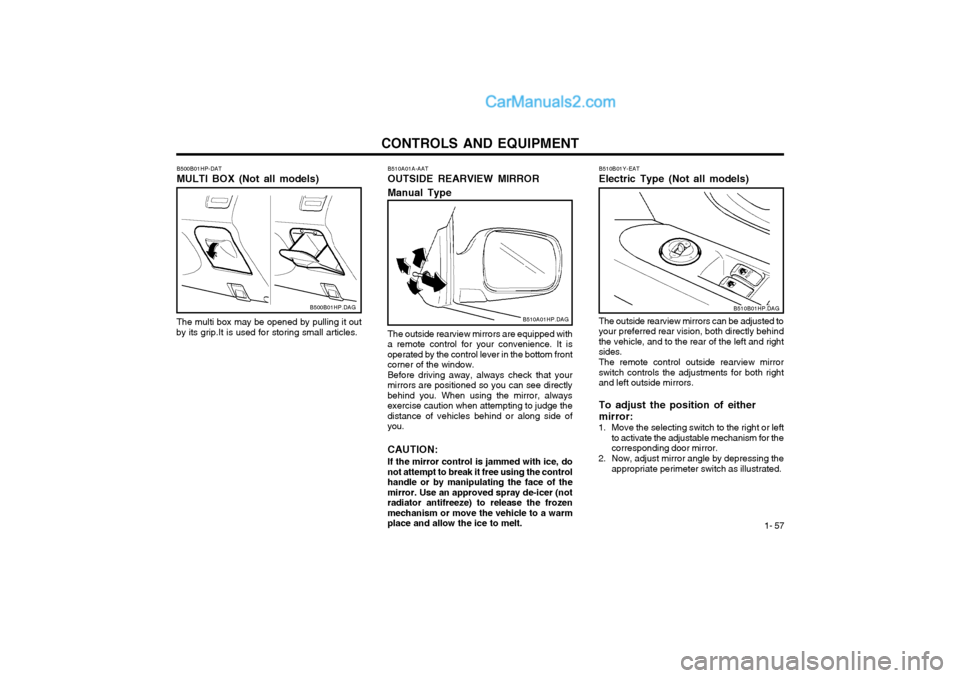
The outside rearview mirrors are equipped with
a remote control for your convenience. It is operated by the control lever in the bottom frontcorner of the window. Before driving away, always check that your
mirrors are positioned so you can see directlybehind you. When using the mirror, alwaysexercise caution when attempting to judge thedistance of vehicles behind or along side ofyou. CAUTION:
If the mirror control is jammed with ice, do
not attempt to break it free using the control handle or by manipulating the face of themirror. Use an approved spray de-icer (notradiator antifreeze) to release the frozenmechanism or move the vehicle to a warmplace and allow the ice to melt. B510A01A-AAT OUTSIDE REARVIEW MIRROR Manual Type
B510A01HP.DAG
B510B01Y-EAT Electric Type (Not all models)B510B01HP.DAG
The outside rearview mirrors can be adjusted to your preferred rear vision, both directly behindthe vehicle, and to the rear of the left and rightsides. The remote control outside rearview mirror switch controls the adjustments for both rightand left outside mirrors. To adjust the position of either mirror:
1. Move the selecting switch to the right or left to activate the adjustable mechanism for the corresponding door mirror.
2. Now, adjust mirror angle by depressing the appropriate perimeter switch as illustrated.B500B01HP.DAG
The multi box may be opened by pulling it out
by its grip.It is used for storing small articles. B500B01HP-DAT MULTI BOX (Not all models)
Page 258 of 361
CONTROLS AND EQUIPMENT
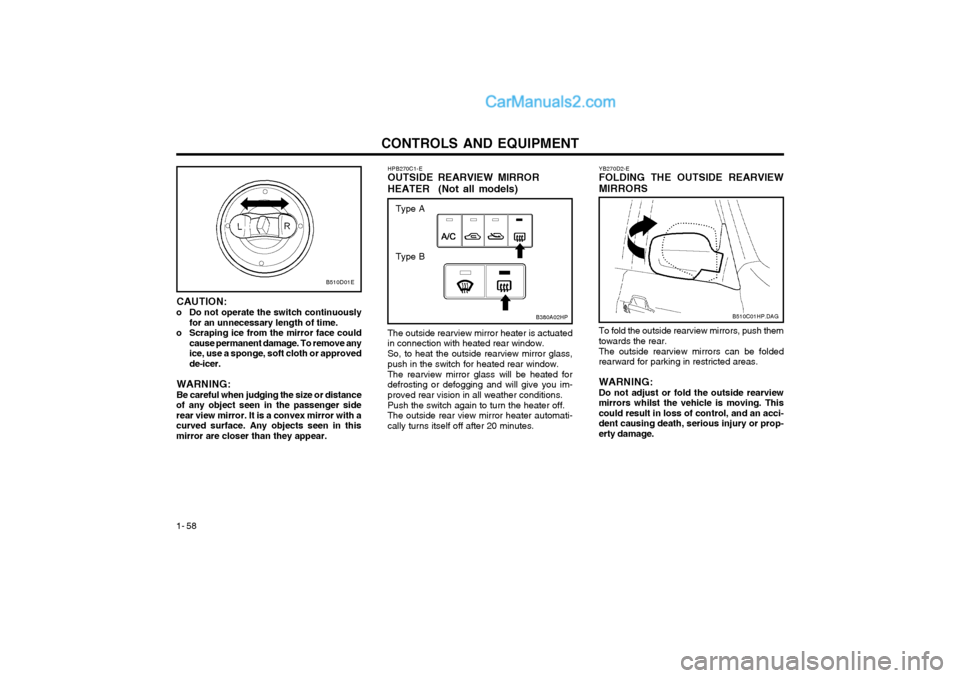
1- 58 B510C01HP.DAG
YB270D2-E FOLDING THE OUTSIDE REARVIEW MIRRORS To fold the outside rearview mirrors, push them towards the rear. The outside rearview mirrors can be folded rearward for parking in restricted areas. WARNING: Do not adjust or fold the outside rearviewmirrors whilst the vehicle is moving. Thiscould result in loss of control, and an acci-dent causing death, serious injury or prop-erty damage.
CAUTION:
o Do not operate the switch continuously for an unnecessary length of time.
o Scraping ice from the mirror face could cause permanent damage. To remove anyice, use a sponge, soft cloth or approvedde-icer.
WARNING: Be careful when judging the size or distance
of any object seen in the passenger side rear view mirror. It is a convex mirror with acurved surface. Any objects seen in thismirror are closer than they appear. HPB270C1-E OUTSIDE REARVIEW MIRROR HEATER (Not all models) The outside rearview mirror heater is actuated in connection with heated rear window. So, to heat the outside rearview mirror glass, push in the switch for heated rear window. The rearview mirror glass will be heated for defrosting or defogging and will give you im-proved rear vision in all weather conditions. Push the switch again to turn the heater off. The outside rear view mirror heater automati-cally turns itself off after 20 minutes.
B510D01E
B380A02HP
Type A
Type B
Page 259 of 361
CONTROLS AND EQUIPMENT1- 59
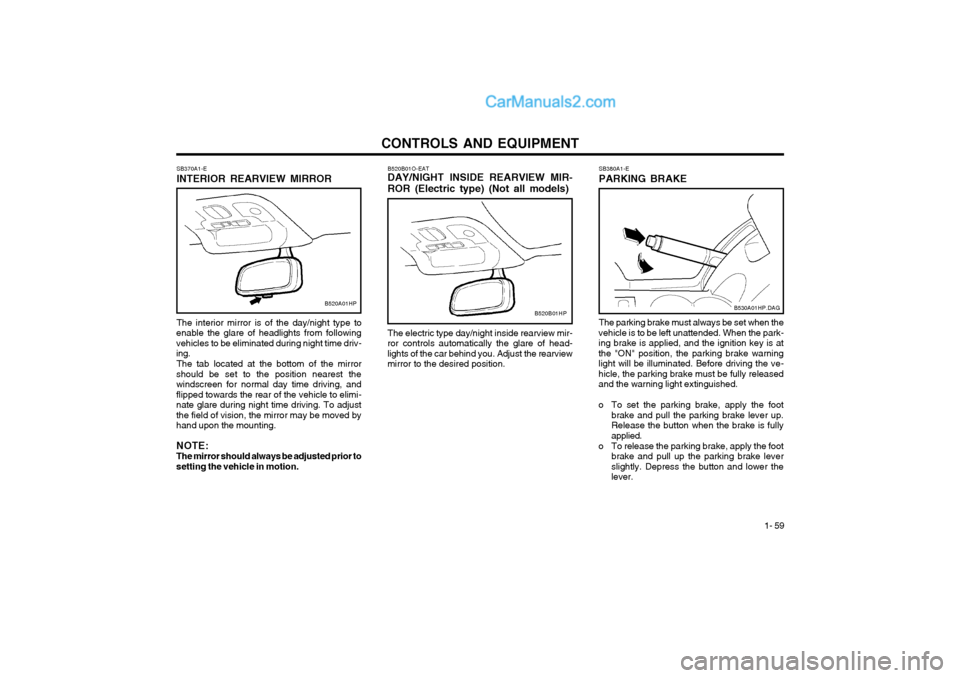
B520B01O-EAT DAY/NIGHT INSIDE REARVIEW MIR- ROR (Electric type) (Not all models) The electric type day/night inside rearview mir-
ror controls automatically the glare of head- lights of the car behind you. Adjust the rearviewmirror to the desired position.
SB370A1-E INTERIOR REARVIEW MIRROR The interior mirror is of the day/night type to
enable the glare of headlights from following vehicles to be eliminated during night time driv-ing.
The tab located at the bottom of the mirror
should be set to the position nearest thewindscreen for normal day time driving, andflipped towards the rear of the vehicle to elimi-nate glare during night time driving. To adjustthe field of vision, the mirror may be moved byhand upon the mounting. NOTE: The mirror should always be adjusted prior tosetting the vehicle in motion.
B520A01HPB520B01HP
SB380A1-E PARKING BRAKE The parking brake must always be set when the
vehicle is to be left unattended. When the park- ing brake is applied, and the ignition key is atthe "ON" position, the parking brake warninglight will be illuminated. Before driving the ve-hicle, the parking brake must be fully releasedand the warning light extinguished.
o To set the parking brake, apply the foot brake and pull the parking brake lever up. Release the button when the brake is fullyapplied.
o To release the parking brake, apply the foot brake and pull up the parking brake leverslightly. Depress the button and lower thelever.
B530A01HP.DAG
Page 260 of 361
CONTROLS AND EQUIPMENT
1- 60
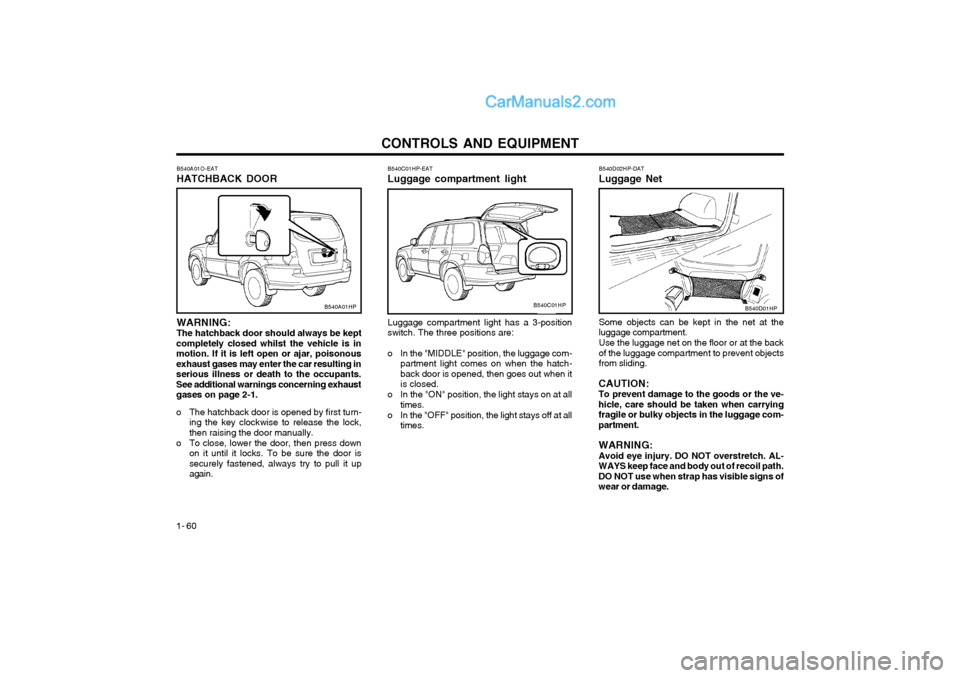
B540A01O-EAT HATCHBACK DOOR
B540A01HP
WARNING: The hatchback door should always be kept
completely closed whilst the vehicle is inmotion. If it is left open or ajar, poisonousexhaust gases may enter the car resulting inserious illness or death to the occupants.See additional warnings concerning exhaustgases on page 2-1.
o The hatchback door is opened by first turn- ing the key clockwise to release the lock, then raising the door manually.
o To close, lower the door, then press down on it until it locks. To be sure the door issecurely fastened, always try to pull it upagain.
B540C01HP-EAT Luggage compartment light Luggage compartment light has a 3-position switch. The three positions are:
o In the "MIDDLE" position, the luggage com- partment light comes on when the hatch-back door is opened, then goes out when itis closed.
o In the "ON" position, the light stays on at all times.
o In the "OFF" position, the light stays off at all times.
B540C01HPB540D01HP
B540D02HP-DAT Luggage Net Some objects can be kept in the net at the luggage compartment. Use the luggage net on the floor or at the back of the luggage compartment to prevent objectsfrom sliding.
CAUTION:To prevent damage to the goods or the ve-hicle, care should be taken when carryingfragile or bulky objects in the luggage com-partment. WARNING: Avoid eye injury. DO NOT overstretch. AL-WAYS keep face and body out of recoil path.DO NOT use when strap has visible signs ofwear or damage.