check engine INFINITI QX4 2001 Factory Service Manual
[x] Cancel search | Manufacturer: INFINITI, Model Year: 2001, Model line: QX4, Model: INFINITI QX4 2001Pages: 2395, PDF Size: 43.2 MB
Page 6 of 2395
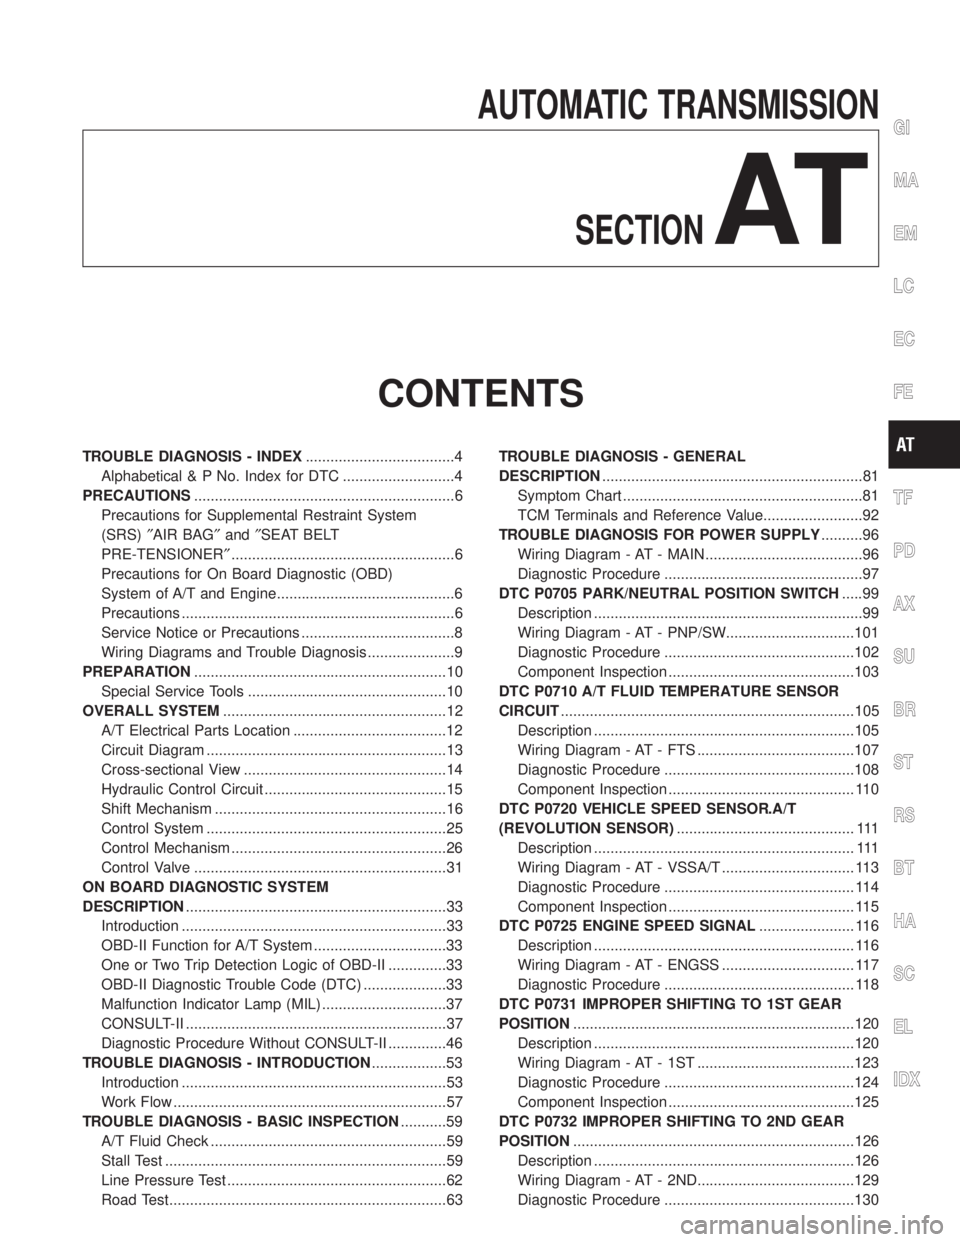
AUTOMATIC TRANSMISSION
SECTION
AT
CONTENTS
TROUBLE DIAGNOSIS - INDEX....................................4
Alphabetical & P No. Index for DTC ...........................4
PRECAUTIONS...............................................................6
Precautions for Supplemental Restraint System
(SRS)²AIR BAG²and²SEAT BELT
PRE-TENSIONER²......................................................6
Precautions for On Board Diagnostic (OBD)
System of A/T and Engine...........................................6
Precautions ..................................................................6
Service Notice or Precautions .....................................8
Wiring Diagrams and Trouble Diagnosis .....................9
PREPARATION.............................................................10
Special Service Tools ................................................10
OVERALL SYSTEM......................................................12
A/T Electrical Parts Location .....................................12
Circuit Diagram ..........................................................13
Cross-sectional View .................................................14
Hydraulic Control Circuit ............................................15
Shift Mechanism ........................................................16
Control System ..........................................................25
Control Mechanism ....................................................26
Control Valve .............................................................31
ON BOARD DIAGNOSTIC SYSTEM
DESCRIPTION...............................................................33
Introduction ................................................................33
OBD-II Function for A/T System ................................33
One or Two Trip Detection Logic of OBD-II ..............33
OBD-II Diagnostic Trouble Code (DTC) ....................33
Malfunction Indicator Lamp (MIL) ..............................37
CONSULT-II ...............................................................37
Diagnostic Procedure Without CONSULT-II ..............46
TROUBLE DIAGNOSIS - INTRODUCTION..................53
Introduction ................................................................53
Work Flow ..................................................................57
TROUBLE DIAGNOSIS - BASIC INSPECTION...........59
A/T Fluid Check .........................................................59
Stall Test ....................................................................59
Line Pressure Test .....................................................62
Road Test...................................................................63TROUBLE DIAGNOSIS - GENERAL
DESCRIPTION...............................................................81
Symptom Chart ..........................................................81
TCM Terminals and Reference Value........................92
TROUBLE DIAGNOSIS FOR POWER SUPPLY..........96
Wiring Diagram - AT - MAIN ......................................96
Diagnostic Procedure ................................................97
DTC P0705 PARK/NEUTRAL POSITION SWITCH.....99
Description .................................................................99
Wiring Diagram - AT - PNP/SW...............................101
Diagnostic Procedure ..............................................102
Component Inspection .............................................103
DTC P0710 A/T FLUID TEMPERATURE SENSOR
CIRCUIT.......................................................................105
Description ...............................................................105
Wiring Diagram - AT - FTS ......................................107
Diagnostic Procedure ..............................................108
Component Inspection ............................................. 110
DTC P0720 VEHICLE SPEED SENSOR.A/T
(REVOLUTION SENSOR)........................................... 111
Description ............................................................... 111
Wiring Diagram - AT - VSSA/T ................................ 113
Diagnostic Procedure .............................................. 114
Component Inspection ............................................. 115
DTC P0725 ENGINE SPEED SIGNAL....................... 116
Description ............................................................... 116
Wiring Diagram - AT - ENGSS ................................ 117
Diagnostic Procedure .............................................. 118
DTC P0731 IMPROPER SHIFTING TO 1ST GEAR
POSITION....................................................................120
Description ...............................................................120
Wiring Diagram - AT - 1ST ......................................123
Diagnostic Procedure ..............................................124
Component Inspection .............................................125
DTC P0732 IMPROPER SHIFTING TO 2ND GEAR
POSITION....................................................................126
Description ...............................................................126
Wiring Diagram - AT - 2ND......................................129
Diagnostic Procedure ..............................................130
GI
MA
EM
LC
EC
FE
TF
PD
AX
SU
BR
ST
RS
BT
HA
SC
EL
IDX
Page 8 of 2395
19. A/T Does Not Shift: 22-> 11, When Selector
Lever²2²->²1²Position .........................................255
20. Vehicle Does Not Decelerate By Engine
Brake........................................................................256
21. TCM Self-diagnosis Does Not Activate (PNP,
Overdrive Control and Throttle Position Switches
Circuit Checks) ........................................................257
A/T SHIFT LOCK SYSTEM.........................................265
Description ...............................................................265
Wiring Diagram - SHIFT -........................................266
Diagnostic Procedure ..............................................267
KEY INTERLOCK CABLE..........................................271
Components.............................................................271
Removal ...................................................................271
Installation ................................................................272
ON-VEHICLE SERVICE..............................................273
Control Valve Assembly and Accumulators .............273
Revolution Sensor Replacement .............................274
Turbine Revolution Sensor Replacement................274
Rear Oil Seal Replacement .....................................274
Rear Oil Seal and Companion Flange Oil Seal
Replacement ............................................................275
Parking Components Inspection..............................275
Park/Neutral Position Switch Adjustment ................276
Manual Control Linkage Adjustment........................276
REMOVAL AND INSTALLATION...............................277
Removal ...................................................................277
Installation ................................................................278
OVERHAUL.................................................................281
Components.............................................................281
Oil Channel ..............................................................284
Locations of Needle Bearings, Thrust Washers
and Snap Rings .......................................................285
DISASSEMBLY............................................................286
REPAIR FOR COMPONENT PARTS.........................297Oil Pump ..................................................................297
Control Valve Assembly ...........................................301
Control Valve Upper Body .......................................307
Control Valve Lower Body .......................................312
Reverse Clutch ........................................................314
High Clutch ..............................................................317
Forward and Overrun Clutches ...............................320
Low & Reverse Brake..............................................324
Forward Clutch Drum Assembly ..............................328
Rear Internal Gear and Forward Clutch Hub ..........330
Band Servo Piston Assembly ..................................333
Parking Pawl Components ......................................337
ASSEMBLY..................................................................339
Assembly (1) ............................................................339
Adjustment ...............................................................347
Assembly (2) ............................................................349
SERVICE DATA AND SPECIFICATIONS (SDS).......356
General Specifications .............................................356
Shift Schedule..........................................................356
Stall Revolution ........................................................356
Line Pressure...........................................................356
Return Springs .........................................................357
Accumulator O-ring ..................................................358
Clutches and Brakes ...............................................358
Oil Pump and Low One-way Clutch ........................360
Total End Play..........................................................360
Reverse Clutch Drum End Play ..............................361
Removal and Installation .........................................361
Shift Solenoid Valves ...............................................361
Solenoid Valves .......................................................361
A/T Fluid Temperature Sensor.................................361
Turbine Revolution Sensor ......................................361
Revolution Sensor ...................................................362
Dropping Resistor ....................................................362GI
MA
EM
LC
EC
FE
TF
PD
AX
SU
BR
ST
RS
BT
HA
SC
EL
IDX
CONTENTS(Cont'd)
AT-3
Page 13 of 2395
IBefore assembly, apply a coat of recommended ATF to all
parts. Apply petroleum jelly to protect O-rings and seals, or
hold bearings and washers in place during assembly. Do not
use grease.
IExtreme care should be taken to avoid damage to O-rings,
seals and gaskets when assembling.
IReplace ATF cooler if excessive foreign material is found in oil
pan or clogging strainer. Refer to ªATF COOLER SERVICEº,
AT-9.
IAfter overhaul, refill the transmission with new ATF.
IWhen the A/T drain plug is removed, only some of the fluid is
drained. Old A/T fluid will remain in torque converter and ATF
cooling system.
Always follow the procedures when changing A/T fluid. Refer
to MA-21, ªChanging A/T Fluidº.
Service Notice or PrecautionsNBAT0004FAIL-SAFENBAT0004S01The TCM has an electronic Fail-Safe (limp home mode). This allows the vehicle to be driven even if a major
electrical input/output device circuit is damaged.
Under Fail-Safe, the vehicle always runs in third gear, even with a shift lever position of ª1º, ª2º or ªDº. The
customer may complain of sluggish or poor acceleration.
When the ignition key is turned ªONº following Fail-Safe operation, O/D OFF indicator lamp blinks for about
8 seconds. (For ªTCM SELF-DIAGNOSTIC PROCEDURE (No Tools)º, refer to AT-46.)
Fail-Safe may occur without electrical circuit damage if the vehicle is driven under extreme conditions (such
as excessive wheel spin followed by sudden braking). To recover normal shift pattern, turn the ignition key
ªOFFº for 5 seconds, then ªONº.
The blinking of the O/D OFF indicator lamp for about 8 seconds will appear only once and be cleared. The
customer may resume normal driving conditions.
Always follow the ªWORK FLOWº (Refer to AT-57).
The SELF-DIAGNOSIS results will be as follows:
The first SELF-DIAGNOSIS will indicate damage to the vehicle speed sensor or the revolution sensor.
During the next SELF-DIAGNOSIS, performed after checking the sensor, no damages will be indicated.
TORQUE CONVERTER SERVICENBAT0004S04The torque converter should be replaced under any of the following conditions:
IExternal leaks in the hub weld area.
IConverter hub is scored or damaged.
IConverter pilot is broken, damaged or fits poorly into crankshaft.
ISteel particles are found after flushing the cooler and cooler lines.
IPump is damaged or steel particles are found in the converter.
IVehicle has TCC shudder and/or no TCC apply. Replace only after all hydraulic and electrical diagnoses
have been made. (Converter clutch material may be glazed.)
IConverter is contaminated with engine coolant containing antifreeze.
IInternal failure of stator roller clutch.
IHeavy clutch debris due to overheating (blue converter).
ISteel particles or clutch lining material found in fluid filter or on magnet when no internal parts in unit are
worn or damaged Ð indicates that lining material came from converter.
The torque converter should not be replaced if:
IThe fluid has an odor, is discolored, and there is no evidence of metal or clutch facing particles.
PRECAUTIONS
Precautions (Cont'd)
AT-8
Page 42 of 2395
SAT964I
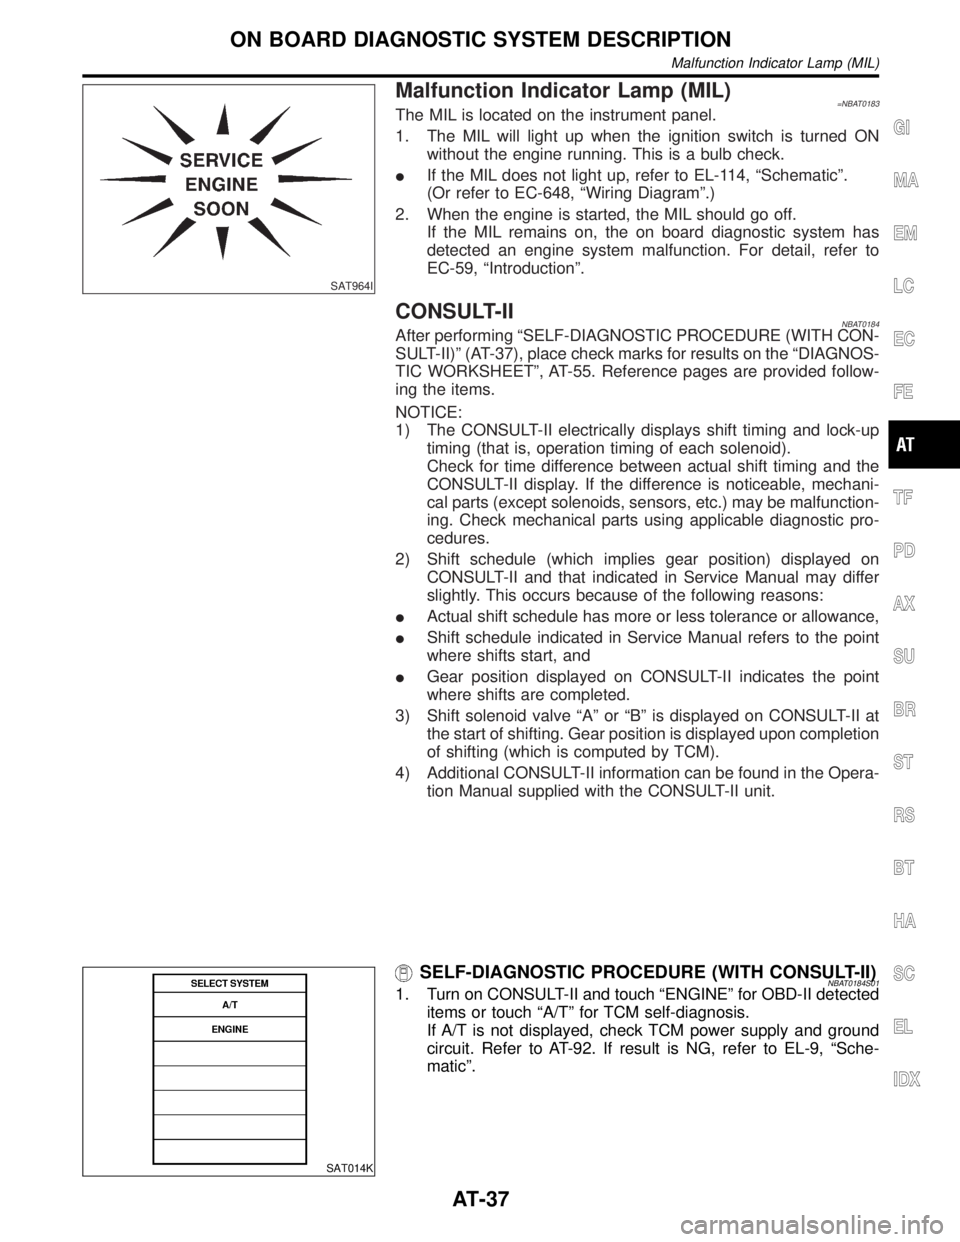
Malfunction Indicator Lamp (MIL)=NBAT0183The MIL is located on the instrument panel.
1. The MIL will light up when the ignition switch is turned ON
without the engine running. This is a bulb check.
IIf the MIL does not light up, refer to EL-114, ªSchematicº.
(Or refer to EC-648, ªWiring Diagramº.)
2. When the engine is started, the MIL should go off.
If the MIL remains on, the on board diagnostic system has
detected an engine system malfunction. For detail, refer to
EC-59, ªIntroductionº.
CONSULT-IINBAT0184After performing ªSELF-DIAGNOSTIC PROCEDURE (WITH CON-
SULT-II)º (AT-37), place check marks for results on the ªDIAGNOS-
TIC WORKSHEETº, AT-55. Reference pages are provided follow-
ing the items.
NOTICE:
1) The CONSULT-II electrically displays shift timing and lock-up
timing (that is, operation timing of each solenoid).
Check for time difference between actual shift timing and the
CONSULT-II display. If the difference is noticeable, mechani-
cal parts (except solenoids, sensors, etc.) may be malfunction-
ing. Check mechanical parts using applicable diagnostic pro-
cedures.
2) Shift schedule (which implies gear position) displayed on
CONSULT-II and that indicated in Service Manual may differ
slightly. This occurs because of the following reasons:
IActual shift schedule has more or less tolerance or allowance,
IShift schedule indicated in Service Manual refers to the point
where shifts start, and
IGear position displayed on CONSULT-II indicates the point
where shifts are completed.
3) Shift solenoid valve ªAº or ªBº is displayed on CONSULT-II at
the start of shifting. Gear position is displayed upon completion
of shifting (which is computed by TCM).
4) Additional CONSULT-II information can be found in the Opera-
tion Manual supplied with the CONSULT-II unit.
SAT014K
SELF-DIAGNOSTIC PROCEDURE (WITH CONSULT-II)NBAT0184S011. Turn on CONSULT-II and touch ªENGINEº for OBD-II detected
items or touch ªA/Tº for TCM self-diagnosis.
If A/T is not displayed, check TCM power supply and ground
circuit. Refer to AT-92. If result is NG, refer to EL-9, ªSche-
maticº.
GI
MA
EM
LC
EC
FE
TF
PD
AX
SU
BR
ST
RS
BT
HA
SC
EL
IDX
ON BOARD DIAGNOSTIC SYSTEM DESCRIPTION
Malfunction Indicator Lamp (MIL)
AT-37
Page 52 of 2395
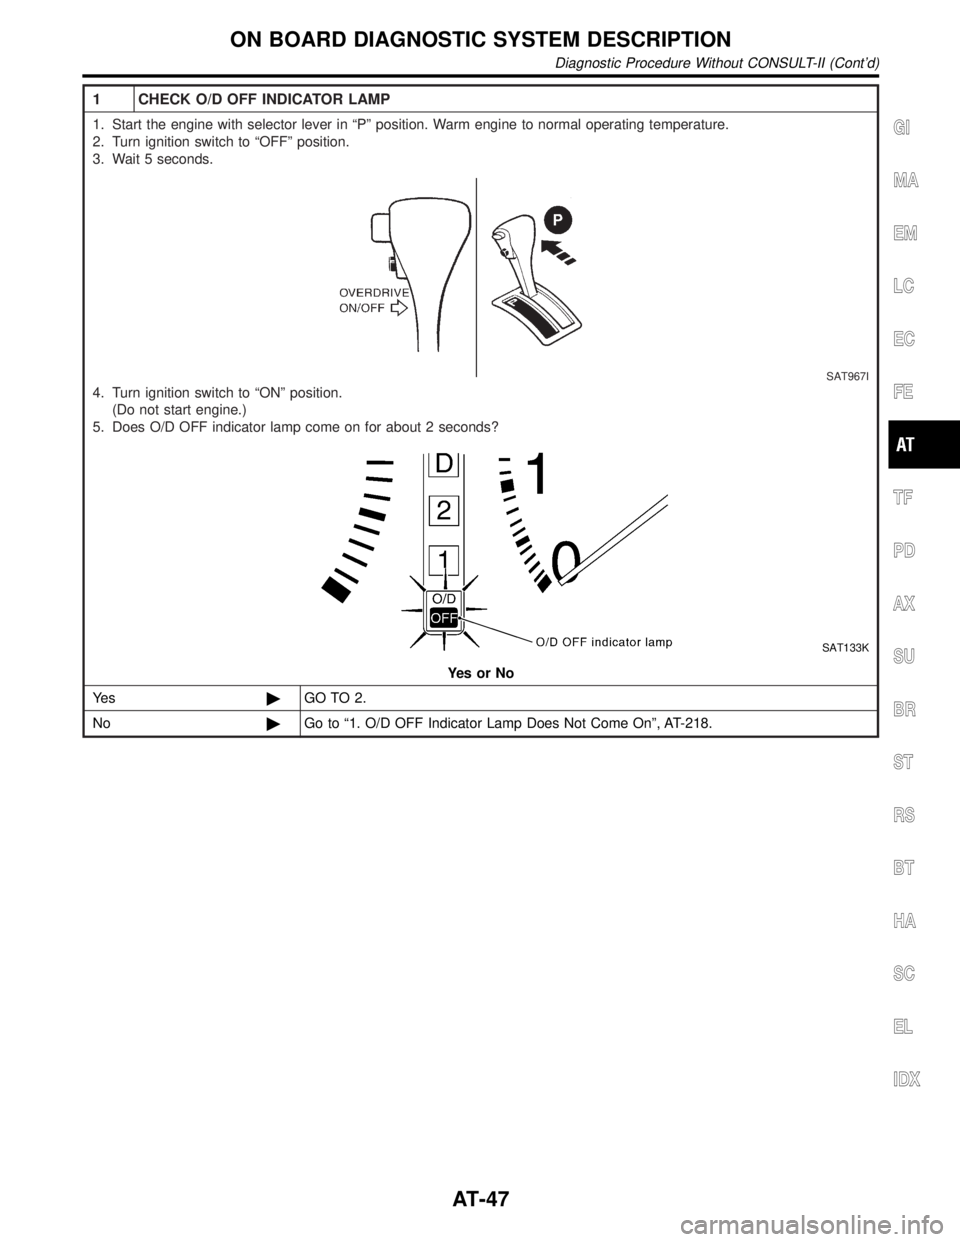
1 CHECK O/D OFF INDICATOR LAMP
1. Start the engine with selector lever in ªPº position. Warm engine to normal operating temperature.
2. Turn ignition switch to ªOFFº position.
3. Wait 5 seconds.
SAT967I
4. Turn ignition switch to ªONº position.
(Do not start engine.)
5. Does O/D OFF indicator lamp come on for about 2 seconds?
SAT133K
YesorNo
Ye s©GO TO 2.
No©Go to ª1. O/D OFF Indicator Lamp Does Not Come Onº, AT-218.
GI
MA
EM
LC
EC
FE
TF
PD
AX
SU
BR
ST
RS
BT
HA
SC
EL
IDX
ON BOARD DIAGNOSTIC SYSTEM DESCRIPTION
Diagnostic Procedure Without CONSULT-II (Cont'd)
AT-47
Page 58 of 2395

SAT631IB
IntroductionNBAT0019
SAT632I
SEF234G
The TCM receives a signal from the vehicle speed sensor, throttle
position sensor or PNP switch and provides shift control or lock-up
control via A/T solenoid valves.
The TCM also communicates with the ECM by means of a signal
sent from sensing elements used with the OBD-related parts of the
A/T system for malfunction-diagnostic purposes. The TCM is
capable of diagnosing malfunctioning parts while the ECM can
store malfunctions in its memory.
Input and output signals must always be correct and stable in the
operation of the A/T system. The A/T system must be in good
operating condition and be free of valve seizure, solenoid valve
malfunction, etc.
It is much more difficult to diagnose a problem that occurs intermit-
tently rather than continuously. Most intermittent problems are
caused by poor electric connections or improper wiring. In this
case, careful checking of suspected circuits may help prevent the
replacement of good parts.
A visual check only may not find the cause of the problems. A road
test with CONSULT-II (or GST) or a circuit tester connected should
be performed. Follow the ªWork Flowº. Refer to AT-57.
Before undertaking actual checks, take a few minutes to talk with
a customer who approaches with a driveability complaint. The cus-
tomer can supply good information about such problems, espe-
cially intermittent ones. Find out what symptoms are present and
under what conditions they occur. A ªDiagnostic Worksheetº like the
example (AT-55) should be used.
Start your diagnosis by looking for ªconventionalº problems first.
This will help troubleshoot driveability problems on an electronically
controlled engine vehicle.
Also check related Service bulletins.GI
MA
EM
LC
EC
FE
TF
PD
AX
SU
BR
ST
RS
BT
HA
SC
EL
IDX
TROUBLE DIAGNOSIS Ð INTRODUCTION
Introduction
AT-53
Page 60 of 2395

Diagnostic Worksheet=NBAT0019S0102
1.lRead the Fail-safe Remarks and listen to customer complaints. AT-8
2.lCHECK A/T FLUIDAT-59
lLeakage (Follow specified procedure)
lFluid condition
lFluid level
3. Perform STALL TEST and LINE PRESSURE TEST. AT-59, AT-62
lStall test Ð Mark possible damaged components/others.
lTorque converter one-way clutch
lReverse clutch
lForward clutch
lOverrun clutch
lForward one-way clutchlLow & reverse brake
lLow one-way clutch
lEngine
lLine pressure is low
lClutches and brakes except high clutch and
brake band are OK
lPressure test Ð Suspected parts:
4.lPerform all ROAD TEST and mark required procedures. AT-63
4-1. Check before engine is started.AT-64
lSELF-DIAGNOSTIC PROCEDURE - Mark detected items.
lDTC P0705 PNP switch, AT-99.
lDTC P0710 A/T fluid temperature sensor, AT-105.
lDTC P0720 Vehicle speed sensor´A/T (Revolution sensor), AT-111.
lDTC P0725 Engine speed signal, AT-116.
lDTC P0740 Torque converter clutch solenoid valve, AT-148.
lDTC P0745 Line pressure solenoid valve, AT-162.
lDTC P0750 Shift solenoid valve A, AT-168.
lDTC P0755 Shift solenoid valve B, AT-172.
lDTC P1705 Throttle position sensor, AT-176.
lDTC P1760 Overrun clutch solenoid valve, AT-185.
lDTC BATT/FLUID TEMP SEN (A/T fluid temperature sensor and TCM power source), AT-190.
lDTC Vehicle speed sensor´MTR, AT-197.
lDTC Turbine revolution sensor, AT-202.
lDTC A/T communication line, AT-207.
lDTC Control unit (RAM), control unit (ROM), AT-211.
lDTC Control unit (EEP ROM), AT-213.
lPNP, overdrive control and throttle position switches, AT-257.
lBattery
lOthers
4-2. Check at idleAT-66
l1. O/D OFF Indicator Lamp Does Not Come On, AT-218.
l2. Engine Cannot Be Started In ªPº And ªNº Position, AT-221.
l3. In ªPº Position, Vehicle Moves Forward Or Backward When Pushed, AT-222.
l4. In ªNº Position, Vehicle Moves, AT-223.
l5. Large Shock. ªNº,ªRº Position, AT-225.
l6. Vehicle Does Not Creep Backward In ªRº Position, AT-227.
l7. Vehicle Does Not Creep Forward In ªDº, ª2º Or ª1º Position, AT-230.GI
MA
EM
LC
EC
FE
TF
PD
AX
SU
BR
ST
RS
BT
HA
SC
EL
IDX
TROUBLE DIAGNOSIS Ð INTRODUCTION
Introduction (Cont'd)
AT-55
Page 61 of 2395

4. 4-3. Cruise testAT-67
AT-71
Part-1
l8. Vehicle Cannot Be Started From D
1, AT-233.
l9. A/T Does Not Shift: D
1,D2Or Does Not Kickdown: D4,D2, AT-236.
l10. A/T Does Not Shift: D
2,D3, AT-239.
l11. A/T Does Not Shift: D
3,D4, AT-242.
l12. A/T Does Not Perform Lock-up, AT-245.
l13. A/T Does Not Hold Lock-up Condition, AT-247.
l14. Lock-up Is Not Released, AT-249.
l15. Engine Speed Does Not Return To Idle (Light Braking D
4,D3), AT-250.
Part-2AT-75
l16. Vehicle Does Not Start From D
1, AT-252.
l9. A/T Does Not Shift: D
1,D2Or Does Not Kickdown: D4,D2, AT-236.
l10. A/T Does Not Shift: D
2,D3, AT-239.
l11. A/T Does Not Shift: D
3,D4, AT-242.
Part-3AT-77
l17. A/T Does Not Shift: D
4,D3When Overdrive Control Switch ªONº,ªOFFº, AT-253
l15. Engine Speed Does Not Return To Idle (Engine Brake In D
3), AT-250.
l18. A/T Does Not Shift: D
3,22, When Selector Lever ªDº,ª2º Position, AT-254.
l15. Engine Speed Does Not Return To Idle (Engine Brake In 2
2), AT-250.
l19. A/T Does Not Shift: 2
2,11, When Selector Lever ª2º,ª1º Position, AT-255.
l20. Vehicle Does Not Decelerate By Engine Brake, AT-256.
lSELF-DIAGNOSTIC PROCEDURE Ð Mark detected items.
lDTC P0705 PNP switch, AT-99.
lDTC P0710 A/T fluid temperature sensor, AT-105.
lDTC P0720 Vehicle speed sensor´A/T (Revolution sensor), AT-111.
lDTC P0725 Engine speed signal, AT-116.
lDTC P0740 Torque converter clutch solenoid valve, AT-148.
lDTC P0745 Line pressure solenoid valve, AT-162.
lDTC P0750 Shift solenoid valve A, AT-168.
lDTC P0755 Shift solenoid valve B, AT-172.
lDTC P1705 Throttle position sensor, AT-176.
lDTC P1760 Overrun clutch solenoid valve, AT-185.
lDTC BATT/FLUID TEMP SEN (A/T fluid temperature sensor and TCM power source), AT-190.
lDTC Vehicle speed sensor´MTR, AT-197.
lDTC Turbine revolution sensor, AT-202.
lDTC A/T communication line, AT-207.
lDTC Control unit (RAM), control unit (ROM), AT-211.
lDTC Control unit (EEP ROM), AT-213.
lPNP, overdrive control and throttle position switches, AT-257.
lBattery
lOthers
5.lFor self-diagnosis NG items, inspect each component. Repair or replace the damaged parts. AT-38
6.lPerform all ROAD TEST and re-mark required procedures. AT-63
7.lPerform DTC CONFIRMATION PROCEDURE for following MIL indicating items and check out NG items.
Refer to EC-60, ªEmission-related Diagnostic Informationº.EC-60
lDTC (P0731, 1103) A/T 1st gear function, AT-120.
lDTC (P0732, 1104) A/T 2nd gear function, AT-126.
lDTC (P0733, 1105) A/T 3rd gear function, AT-132.
lDTC (P0734, 1106) A/T 4th gear function, AT-138.
lDTC (P0744, 1107) A/T TCC S/V function (lock-up), AT-153.
8.lPerform the Diagnostic Procedures for all remaining items marked NG. Repair or replace the damaged
parts.
Refer to the Symptom Chart when you perform the procedures. (The chart also shows some other possible
symptoms and the component inspection orders.)AT-92
AT-97
9.lErase DTC from TCM and ECM memories. AT-35
TROUBLE DIAGNOSIS Ð INTRODUCTION
Introduction (Cont'd)
AT-56
Page 64 of 2395
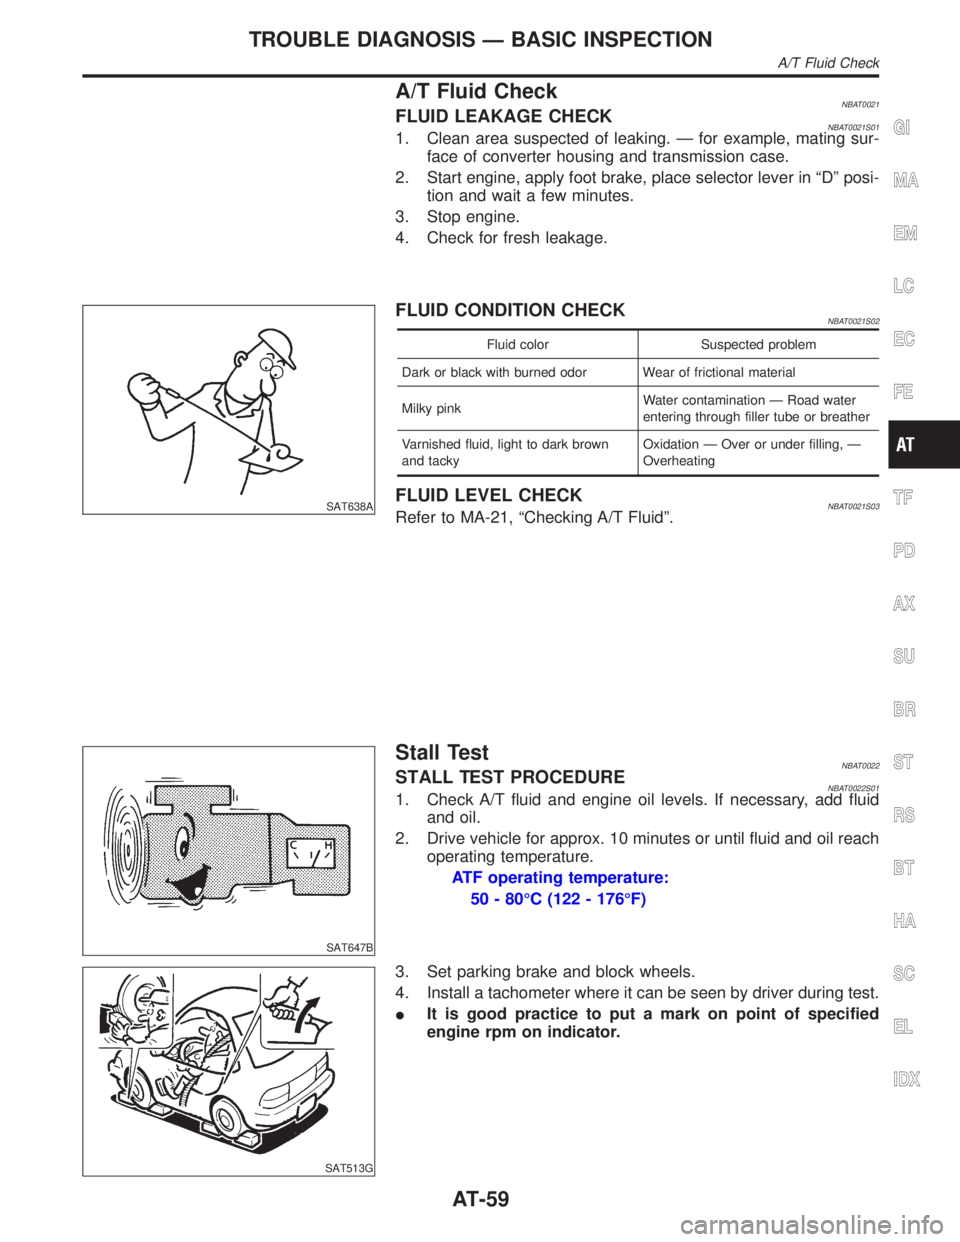
A/T Fluid CheckNBAT0021FLUID LEAKAGE CHECKNBAT0021S011. Clean area suspected of leaking. Ð for example, mating sur-
face of converter housing and transmission case.
2. Start engine, apply foot brake, place selector lever in ªDº posi-
tion and wait a few minutes.
3. Stop engine.
4. Check for fresh leakage.
SAT638A
FLUID CONDITION CHECKNBAT0021S02
Fluid color Suspected problem
Dark or black with burned odor Wear of frictional material
Milky pinkWater contamination Ð Road water
entering through filler tube or breather
Varnished fluid, light to dark brown
and tackyOxidation Ð Over or under filling, Ð
Overheating
FLUID LEVEL CHECKNBAT0021S03Refer to MA-21, ªChecking A/T Fluidº.
SAT647B
Stall TestNBAT0022STALL TEST PROCEDURENBAT0022S011. Check A/T fluid and engine oil levels. If necessary, add fluid
and oil.
2. Drive vehicle for approx. 10 minutes or until fluid and oil reach
operating temperature.
ATF operating temperature:
50 - 80ÉC (122 - 176ÉF)
SAT513G
3. Set parking brake and block wheels.
4. Install a tachometer where it can be seen by driver during test.
IIt is good practice to put a mark on point of specified
engine rpm on indicator.
GI
MA
EM
LC
EC
FE
TF
PD
AX
SU
BR
ST
RS
BT
HA
SC
EL
IDX
TROUBLE DIAGNOSIS Ð BASIC INSPECTION
A/T Fluid Check
AT-59
Page 67 of 2395

SAT209GA
Line Pressure TestNBAT0023ILocation of line pressure test ports.
IAlways replace line pressure plugs as they are self-seal-
ing bolts.
SAT647B
LINE PRESSURE TEST PROCEDURENBAT0023S011. Check A/T fluid and engine oil levels. If necessary, add fluid
and oil.
2. Drive vehicle for approx. 10 minutes or until fluid and oil reach
operating temperature.
ATF operating temperature:
50 - 80ÉC (122 - 176ÉF)
SAT518GB
SAT519GB
3. Install pressure gauge to corresponding line pressure port.
SAT513G
4. Set parking brake and block wheels.
IContinue to depress brake pedal fully while line pressure
test is being performed at stall speed.
TROUBLE DIAGNOSIS Ð BASIC INSPECTION
Line Pressure Test
AT-62