display JEEP GRAND CHEROKEE 2013 Owner handbook (in English)
[x] Cancel search | Manufacturer: JEEP, Model Year: 2013, Model line: GRAND CHEROKEE, Model: JEEP GRAND CHEROKEE 2013Pages: 408, PDF Size: 3.21 MB
Page 214 of 408
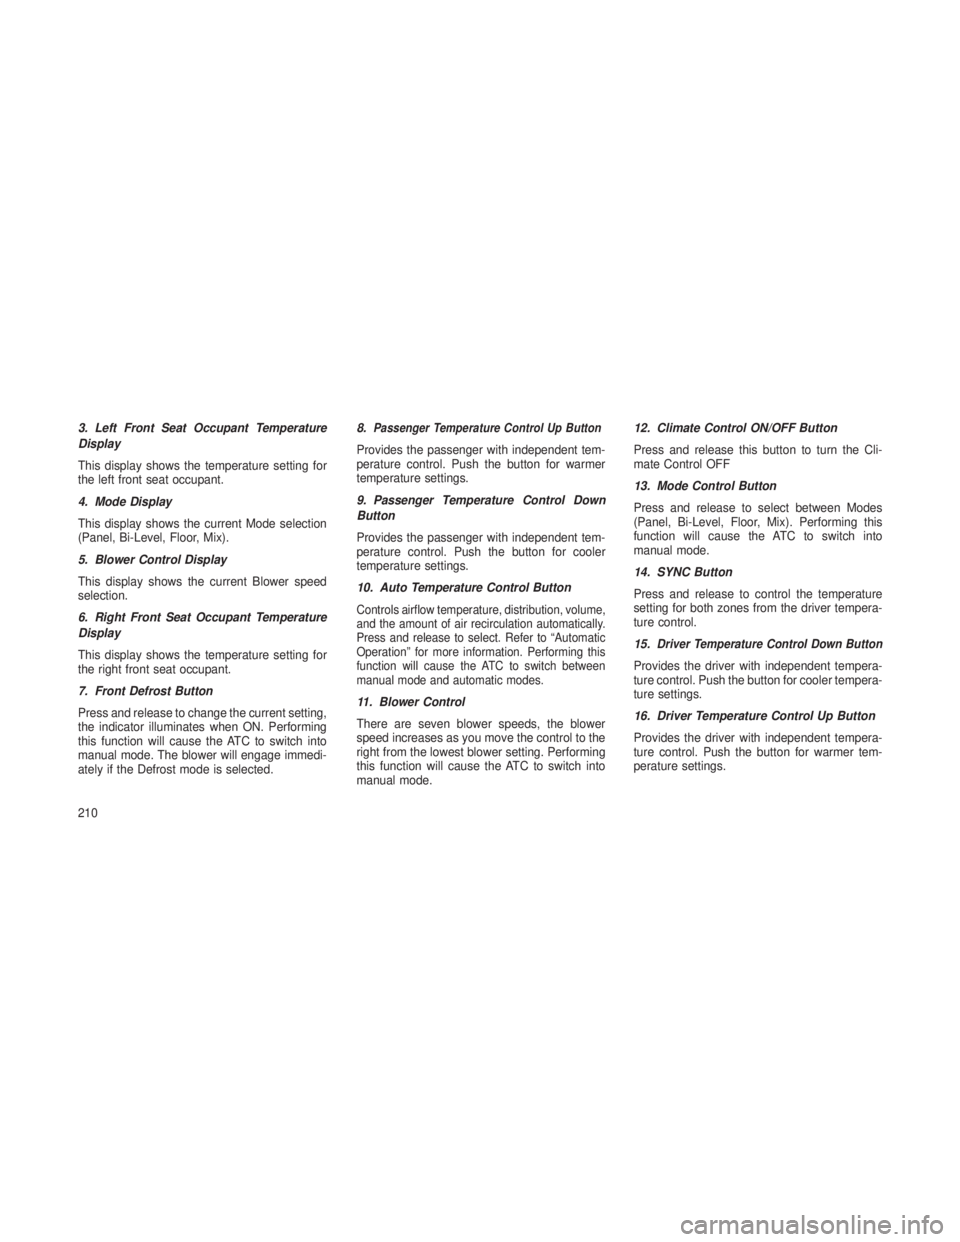
3. Left Front Seat Occupant Temperature
Display
This display shows the temperature setting for
the left front seat occupant.
4. Mode Display
This display shows the current Mode selection
(Panel, Bi-Level, Floor, Mix).
5. Blower Control Display
This display shows the current Blower speed
selection.
6. Right Front Seat Occupant Temperature
Display
This display shows the temperature setting for
the right front seat occupant.
7. Front Defrost Button
Press and release to change the current setting,
the indicator illuminates when ON. Performing
this function will cause the ATC to switch into
manual mode. The blower will engage immedi-
ately if the Defrost mode is selected.8.Passenger Temperature Control Up Button
Provides the passenger with independent tem-
perature control. Push the button for warmer
temperature settings.
9. Passenger Temperature Control Down
Button
Provides the passenger with independent tem-
perature control. Push the button for cooler
temperature settings.
10. Auto Temperature Control Button
Controls airflow temperature, distribution, volume,
and the amount of air recirculation automatically.
Press and release to select. Refer to “Automatic
Operation” for more information. Performing this
function will cause the ATC to switch between
manual mode and automatic modes.
11. Blower Control
There are seven blower speeds, the blower
speed increases as you move the control to the
right from the lowest blower setting. Performing
this function will cause the ATC to switch into
manual mode.12. Climate Control ON/OFF Button
Press and release this button to turn the Cli-
mate Control OFF
13. Mode Control Button
Press and release to select between Modes
(Panel, Bi-Level, Floor, Mix). Performing this
function will cause the ATC to switch into
manual mode.
14. SYNC Button
Press and release to control the temperature
setting for both zones from the driver tempera-
ture control.
15.
Driver Temperature Control Down Button
Provides the driver with independent tempera-
ture control. Push the button for cooler tempera-
ture settings.
16. Driver Temperature Control Up Button
Provides the driver with independent tempera-
ture control. Push the button for warmer tem-
perature settings.
210
Page 215 of 408
Automatic Operation
1. Press the AUTO button on the Automatic
Temperature Control (ATC) Panel.
2. Next, adjust the temperature you would like
the system to maintain by adjusting the driver
and front passenger temperature control but-
tons. Once the desired temperature is dis-
played, the system will achieve and automati-
cally maintain that comfort level.
3. When the system is set up for your comfort
level, it is not necessary to change the settings.
You will experience the greatest efficiency by
simply allowing the system to function automati-
cally.
NOTE:
•It is not necessary to move the tempera-
ture settings for cold or hot vehicles. The
system automatically adjusts the tem-
perature, mode and fan speed to provide
comfort as quickly as possible. •
The temperature can be displayed in U.S.
or Metric units by selecting the US/M
customer-programmable feature. Refer to
the “Electronic Vehicle Information Cen-
ter (EVIC) — Customer-Programmable
Features (SETUP)” in this section of the
manual.
To provide you with maximum comfort in the
Automatic mode, during cold start-ups, the
blower fan will remain on low until the engine
warms up. The blower will increase in speed
and transition into Auto mode.
Manual Operation
This system offers a full complement of manual
override features.
NOTE:
Each of these features operate indepen-
dently from each other. If any one feature is
controlled manually, temperature control
will continue to operate automatically. Blower Control
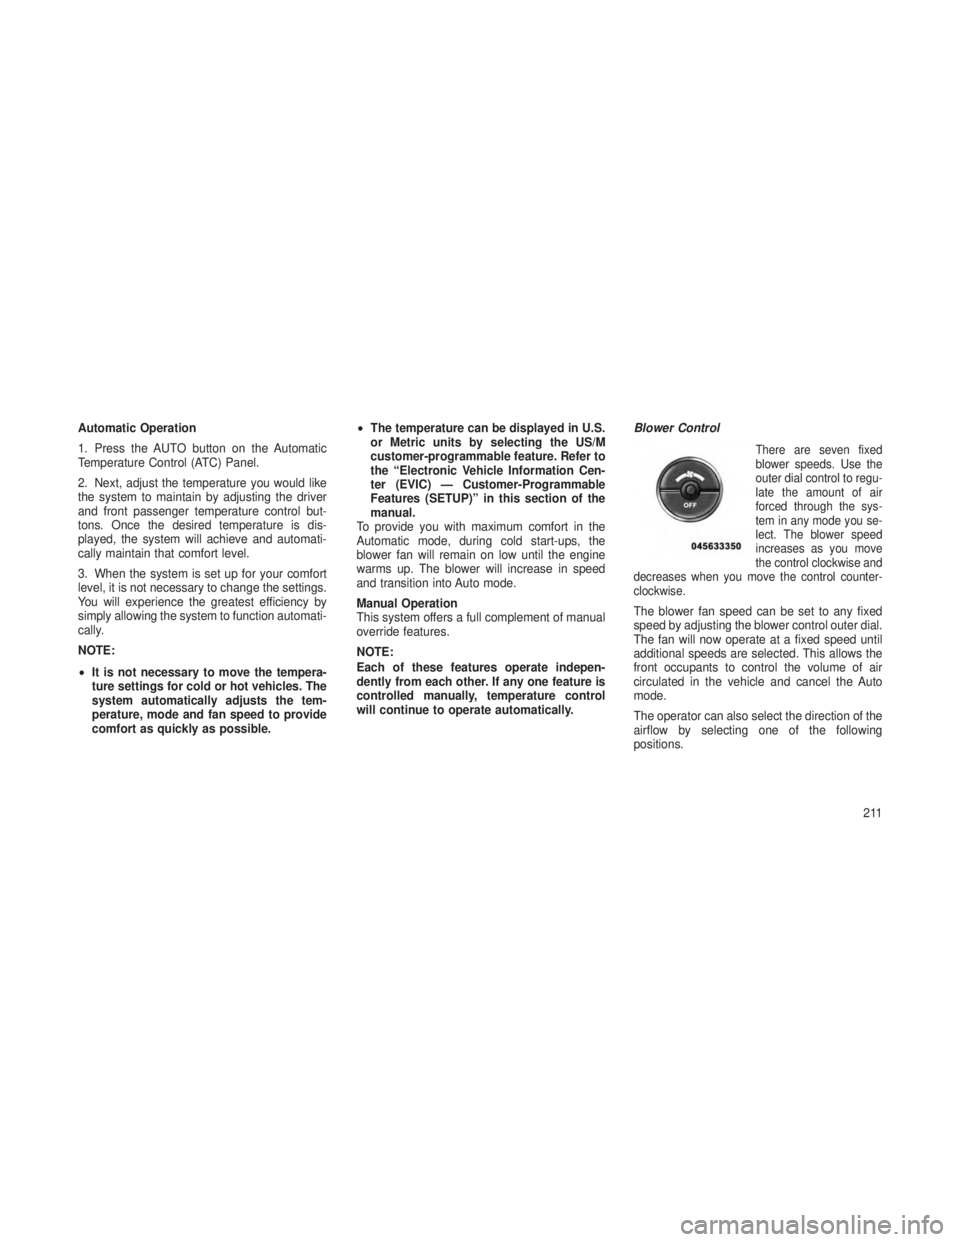
There are seven fixed
blower speeds. Use the
outer dial control to regu-
late the amount of air
forced through the sys-
tem in any mode you se-
lect. The blower speed
increases as you move
the control clockwise and
decreases when you move the control counter-
clockwise.
The blower fan speed can be set to any fixed
speed by adjusting the blower control outer dial.
The fan will now operate at a fixed speed until
additional speeds are selected. This allows the
front occupants to control the volume of air
circulated in the vehicle and cancel the Auto
mode.
The operator can also select the direction of the
airflow by selecting one of the following
positions.
211
Page 216 of 408
Panel ModeAir comes from the outlets in the in-
strument panel. Each of these outlets
can be individually adjusted to direct
the flow of air. The air vanes of the center
outlets and outboard outlets can be moved up
and down or side to side to regulate airflow
direction. There is a shut off wheel located
below the air vanes to shut off or adjust the
amount of airflow from these outlets.
Bi-Level Mode
Air comes from the instrument panel
outlets, floor outlets and defrost outlets.
NOTE:
In many temperature positions, the Bi–Level
mode is designed to provide cooler air out of
the panel outlets and warmer air from the
floor outlets.
Floor Mode
Air comes from the floor outlets. A slight
amount of air is directed through the
defrost and side window demister outlets.
Mix Mode
Air comes from the floor, defrost and
side window demist outlets. This mode
works best in cold or snowy conditions.
It allows you to stay comfortable while keeping
the windshield clear.
Defrost Mode
Air comes from the windshield and
side window demist outlets. Use De-
frost mode with maximum temperature
settings for best windshield and side window
defrosting. When the defrost mode is selected,
the blower will automatically default to medium-
high unless the blower is controlled manually.
NOTE:
While operating in the other modes, the
system will not automatically sense the
presence of fog, mist or ice on the wind-
shield. Defrost mode must be manually se-
lected to clear the windshield and side
glass. Air Conditioning (A/C)
The Air Conditioning (A/C) button allows the
operator to manually activate or deactivate the
air conditioning system. When in A/C mode and
the ATC is set to a cool temperature, dehumidi-
fied air flows through the air outlets. If Economy
mode is desired, press the A/C button to turn off
the A/C mode in the ATC display and deactivate
the A/C system. Also, make sure to select only
Panel, Bi-Level or Floor modes.
NOTE:
•
If the system is in Mix, Floor or Defrost
Mode, the A/C can be turned off, but the
A/C system shall remain active to prevent
fogging of the windows.
• If fog or mist appears on the windshield or
side glass, select Defrost mode and in-
crease blower speed.
212
Page 220 of 408
•FOUR-WHEEL DRIVE OPERATION ....................237•Quadra-Trac II® Operating Instructions/Precautions .........237
• Shift Positions ............................... .238
• Shifting Procedures ............................ .238
• Quadra-Drive® II System – If Equipped .................240
•SELEC-TERRAIN™ — IF EQUIPPED ...................240•Description ................................. .240
• Electronic Vehicle Information Center (EVIC) Display Messages . .241
•QUADRA-LIFT™ — IF EQUIPPED .....................241•Description ................................. .241
• Electronic Vehicle Information Center (EVIC) Display Messages . .243
• Operation .................................. .243
•ON-ROAD DRIVING TIPS ..........................244
• OFF-ROAD DRIVING TIPS ..........................245
•Quadra-Lift™ – If Equipped ........................245
• When To Use 4WD LOW Range – If Equipped .............245
• Driving Through Water .......................... .245
• Driving In Snow, Mud And Sand .....................246
• Hill Climbing ................................ .246
• Traction Downhill ............................. .247
• After Driving Off-Road .......................... .247
•FUEL SAVER TECHNOLOGY 5.7L ENGINE ONLY – IF
EQUIPPED ....................................248
• POWER STEERING ..............................248
•3.6L And 5.7L Engine ........................... .248
• 3.0L Diesel Engine ............................ .249
• Power Steering Fluid Check ...................... .250
216
Page 226 of 408
If the shift lever is not in PARK and the ENGINE
START/STOP button is pressed once, the EVIC
(if equipped) will display a “Vehicle Not In Park”
message and the engine will remain running.
Never leave a vehicle out of the PARK position,
or it could roll.
NOTE:
If the ignition switch is left in the ACC or
RUN (engine not running) position and the
transmission is in PARK, the system will
automatically time out after 30 minutes of
inactivity and the ignition will switch to the
OFF position.
Keyless Enter-N-Go™ Functions – With
Driver’s Foot OFF The Brake Pedal/Clutch
Pedal (In PARK Or NEUTRAL Position)
The Keyless Enter-N-Go™ feature operates
similar to an ignition switch. It has four positions,
OFF, ACC, RUN and START. To change the
ignition switch positions without starting thevehicle and use the accessories follow these
steps.
•
Starting with the ignition switch in the OFF
position:
• Press the ENGINE START/STOP button
once to change the ignition switch to the ACC
position (EVIC displays “IGNITION MODE
ACCESSORY”),
• Press the ENGINE START/STOP button a
second time to change the ignition switch to
the RUN position (EVIC displays “IGNITION
MODE RUN”),
• Press the ENGINE START/STOP button a
third time to return the ignition switch to the
OFF position (EVIC displays “IGNITION
MODE OFF”).
Extreme Cold Weather (Below –20°F
Or �29°C)
To ensure reliable starting at these tempera-
tures, use of an externally powered electric
engine block heater (available from your autho-
rized dealer) is recommended.
If Engine Fails To Start
WARNING!
•
Never pour fuel or other flammable liquid
into the throttle body air inlet opening in an
attempt to start the vehicle. This could result
in flash fire causing serious personal injury.
•Do not attempt to push or tow your vehicle
to get it started. Vehicles equipped with an
automatic transmission cannot be started
this way. Unburned fuel could enter the
catalytic converter and once the engine
has started, ignite and damage the con-
verter and vehicle.
• If the vehicle has a discharged battery,
booster cables may be used to obtain a
start from a booster battery or the battery
in another vehicle. This type of start can be
dangerous if done improperly. Refer to
“Jump Starting” in “What To Do In Emer-
gencies” for further information.
222
Page 230 of 408
WARNING!(Continued)
•When leaving the vehicle, always remove
the key fob and lock your vehicle.
• Never leave children alone in a vehicle, or
with access to an unlocked vehicle. Allow-
ing children to be in a vehicle unattended
is dangerous for a number of reasons.
A child or others could be seriously or
fatally injured.
• Children should be warned not to touch the
parking brake, brake pedal or the shift
lever.
•
Do not leave the key fob in or near the
vehicle (or in a location accessible to chil-
dren), and do not leave Keyless Enter-N-
Go™ in the ACC or ON/RUN position.
A child could operate power windows, other
controls, or move the vehicle.
Key Ignition Park InterlockThis vehicle is equipped with a Key Ignition Park
Interlock which requires the shift lever to be in
PARK before the ignition switch can be turned
to the OFF position. The key fob can only be
removed from the ignition when the ignition is in
the OFF position, and the shift lever is locked in
PARK whenever the ignition switch is in the
OFF position.
NOTE:
If a malfunction occurs, the system will trap
the key fob in the ignition switch to warn you
that this safety feature is inoperable. The
engine can be started and stopped but the
key fob cannot be removed until you obtain
service.
Brake/Transmission Shift Interlock
System
This vehicle is equipped with a Brake Transmis-
sion Shift Interlock system (BTSI) that holds the
shift lever in PARK unless the brakes are ap-
plied. To shift the transmission out of PARK, the
ignition switch must be turned to the ON/RUN
position (engine running or not) and the brake
pedal must be pressed.
Five-Speed Automatic Transmission
(3.6L and 3.0L Diesel Engine) — If
Equipped
The shift lever position display (located in the
instrument cluster) indicates the transmission
gear range. You must press the brake pedal to
move the shift lever out of PARK (refer to
“Brake/Transmission Shift Interlock System” in
this section). To drive, move the shift lever from
PARK or NEUTRAL to the DRIVE position.
The electronically-controlled transmission pro-
vides a precise shift schedule. The transmission
electronics are self-calibrating; therefore, the
first few shifts on a new vehicle may be some-
what abrupt. This is a normal condition, and
precision shifts will develop within a few hun-
dred miles (kilometers).
Only shift from DRIVE to PARK or REVERSE
when the accelerator pedal is released and the
vehicle is stopped. Be sure to keep your foot on
the brake pedal when shifting between these
gears.
226
Page 231 of 408
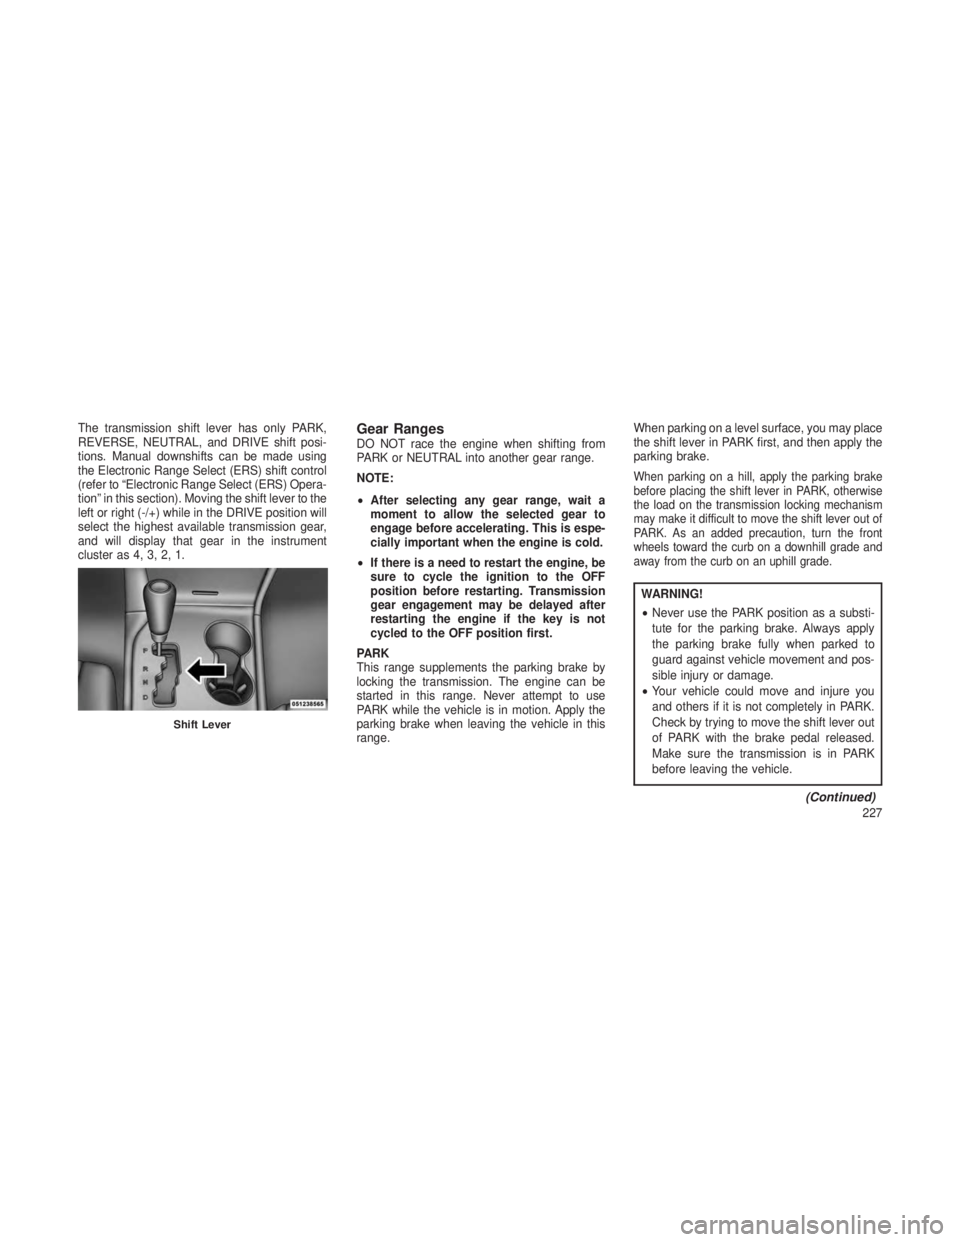
The transmission shift lever has only PARK,
REVERSE, NEUTRAL, and DRIVE shift posi-
tions. Manual downshifts can be made using
the Electronic Range Select (ERS) shift control
(refer to “Electronic Range Select (ERS) Opera-
tion” in this section). Moving the shift lever to the
left or right (-/+) while in the DRIVE position will
select the highest available transmission gear,
and will display that gear in the instrument
cluster as 4, 3, 2, 1.Gear RangesDO NOT race the engine when shifting from
PARK or NEUTRAL into another gear range.
NOTE:
•After selecting any gear range, wait a
moment to allow the selected gear to
engage before accelerating. This is espe-
cially important when the engine is cold.
• If there is a need to restart the engine, be
sure to cycle the ignition to the OFF
position before restarting. Transmission
gear engagement may be delayed after
restarting the engine if the key is not
cycled to the OFF position first.
PARK
This range supplements the parking brake by
locking the transmission. The engine can be
started in this range. Never attempt to use
PARK while the vehicle is in motion. Apply the
parking brake when leaving the vehicle in this
range. When parking on a level surface, you may place
the shift lever in PARK first, and then apply the
parking brake.
When parking on a hill, apply the parking brake
before placing the shift lever in PARK, otherwise
the load on the transmission locking mechanism
may make it difficult to move the shift lever out of
PARK. As an added precaution, turn the front
wheels toward the curb on a downhill grade and
away from the curb on an uphill grade.
WARNING!
•
Never use the PARK position as a substi-
tute for the parking brake. Always apply
the parking brake fully when parked to
guard against vehicle movement and pos-
sible injury or damage.
• Your vehicle could move and injure you
and others if it is not completely in PARK.
Check by trying to move the shift lever out
of PARK with the brake pedal released.
Make sure the transmission is in PARK
before leaving the vehicle.
(Continued)
Shift Lever
227
Page 232 of 408

WARNING!(Continued)
•It is dangerous to shift out of PARK or
NEUTRAL if the engine speed is higher
than idle speed. If your foot is not firmly
pressing the brake pedal, the vehicle could
accelerate quickly forward or in reverse.
You could lose control of the vehicle and
hit someone or something. Only shift into
gear when the engine is idling normally
and your foot is firmly pressing the brake
pedal.
• Unintended movement of a vehicle could
injure those in or near the vehicle. As with
all vehicles, you should never exit a ve-
hicle while the engine is running. Before
exiting a vehicle, always apply the parking
brake, shift the transmission into PARK
turn the engine OFF, and remove the key
fob. When the ignition is in the LOCK/OFF
position, the shift lever is locked in PARK,
securing the vehicle against unwanted
movement.
(Continued)
WARNING!(Continued)
•When leaving the vehicle, always remove
the key fob and lock your vehicle.
• Never leave children alone in a vehicle, or
with access to an unlocked vehicle.
• Allowing children to be in a vehicle unat-
tended is dangerous for a number of rea-
sons. A child or others could be seriously
or fatally injured. Children should be
warned not to touch the parking brake,
brake pedal or the shift lever.
• Do not leave the key fob in or near the
vehicle (or in a location accessible to chil-
dren), and do not leave Keyless Enter-N-
Go™ in the ACC or ON/RUN position. A
child could operate power windows, other
controls, or move the vehicle.
CAUTION!
• Before moving the shift lever out of PARK,
you must turn the ignition switch from the
OFF position to the ON/RUN position, and
also press the brake pedal. Otherwise,
damage to the shift lever could result.
• DO NOT race the engine when shifting
from PARK or NEUTRAL into another gear
range, as this can damage the drivetrain.
The following indicators should be used to
ensure that you have engaged the shift lever
into the PARK position:
• When shifting into PARK, firmly move the
shift lever all the way forward and to the left
until it stops and is fully seated.
• Look at the shift lever position display and
verify that it indicates the PARK position.
• With brake pedal released, verify that the
shift lever will not move out of PARK.
228
Page 234 of 408
In the event of a momentary problem, the
transmission can be reset to regain all forward
gears by performing the following steps:
1. Stop the vehicle.
2. Shift the transmission into PARK.
3. Turn the ignition switch to the LOCK/OFF
position.
4. Wait approximately 10 seconds.
5. Restart the engine.
6. Shift into the desired gear range. If the
problem is no longer detected, the transmission
will return to normal operation.
NOTE:
Even if the transmission can be reset, we
recommend that you visit your authorized
dealer at your earliest possible conve-
nience. Your authorized dealer has diagnos-
tic equipment to determine if the problem
could recur. If the transmission cannot be
reset, authorized dealer service is required.Electronic Range Select (ERS) Operation
The Electronic Range Select (ERS) shift control
allows the driver to limit the highest available
gear when the shift lever is in the DRIVE
position. For example, if you shift the transmis-
sion into 3 (third gear), the transmission will
never shift above third gear, but will shift down
into second and first gears normally.
You can switch between DRIVE and ERS mode
at any vehicle speed. When the shift lever is in
the DRIVE position, the transmission will oper-
ate automatically, shifting between all available
gears. Tapping the shift lever to the left (-) will
downshift the transmission, activate ERS mode,
display the current gear in the instrument clus-
ter, and maintain that gear as the top available
gear. Once in ERS mode, tapping the shift lever
to the left (-) or right (+) will change the top
available gears.
To exit ERS mode, simply press and hold the
shift lever to the right (+) until “D” is once again
displayed in the shift lever position indicator in
the instrument cluster.WARNING!
Do not downshift for additional engine brak-
ing on a slippery surface. The drive wheels
could lose their grip and the vehicle could
skid, causing a collision or personal injury.
Screen Display
12 3 4 D
Actual Gear(s)
Allowed 1 1-2 1-3 1-4 1-5
NOTE:
To select the proper gear position for maxi-
mum deceleration (engine braking), simply
press and hold the shift lever to the left (-).
The transmission will shift to the range from
which the vehicle can best be slowed down.
230
Page 235 of 408
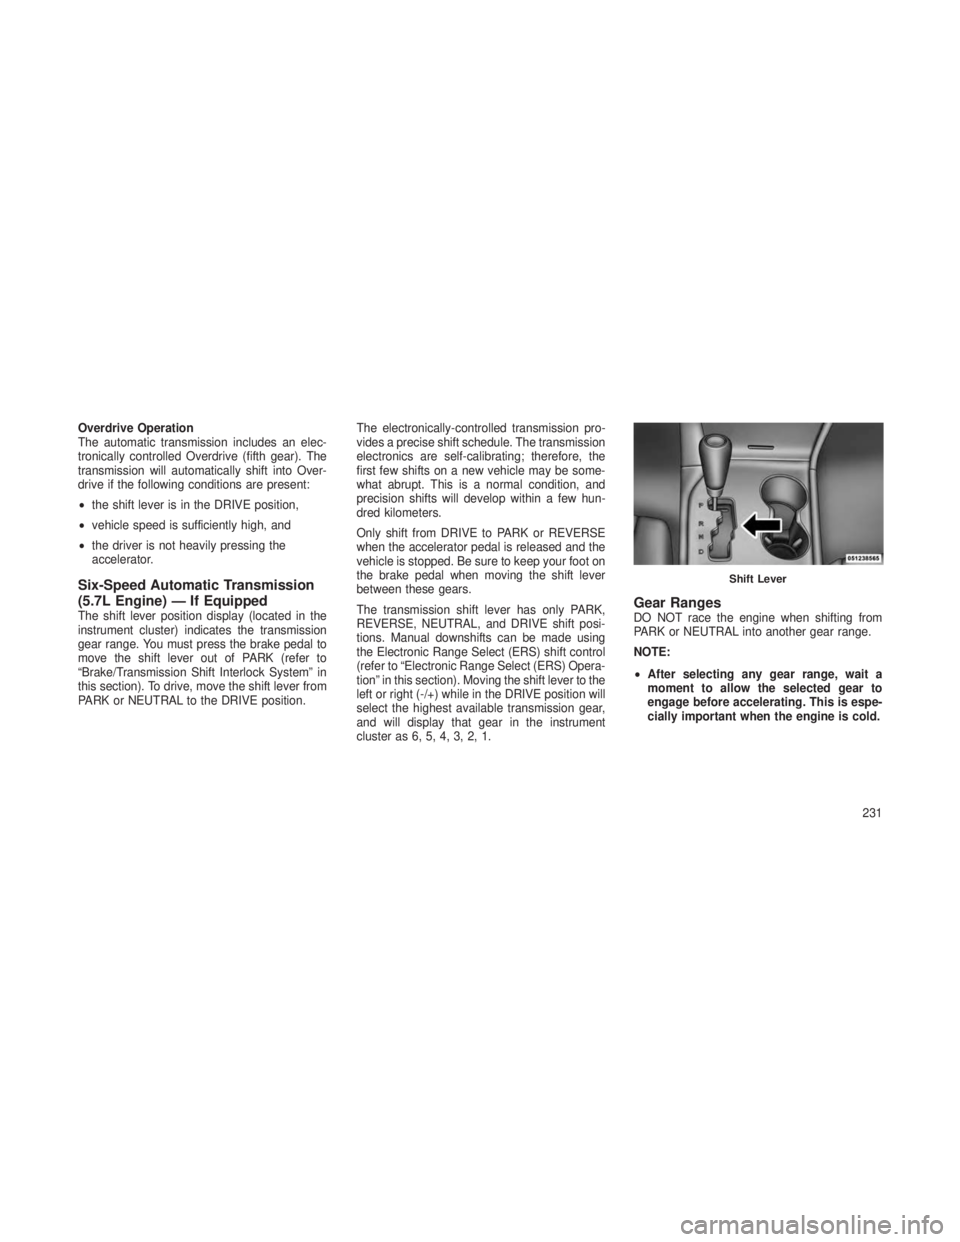
Overdrive Operation
The automatic transmission includes an elec-
tronically controlled Overdrive (fifth gear). The
transmission will automatically shift into Over-
drive if the following conditions are present:
•the shift lever is in the DRIVE position,
• vehicle speed is sufficiently high, and
• the driver is not heavily pressing the
accelerator.
Six-Speed Automatic Transmission
(5.7L Engine) — If Equipped
The shift lever position display (located in the
instrument cluster) indicates the transmission
gear range. You must press the brake pedal to
move the shift lever out of PARK (refer to
“Brake/Transmission Shift Interlock System” in
this section). To drive, move the shift lever from
PARK or NEUTRAL to the DRIVE position. The electronically-controlled transmission pro-
vides a precise shift schedule. The transmission
electronics are self-calibrating; therefore, the
first few shifts on a new vehicle may be some-
what abrupt. This is a normal condition, and
precision shifts will develop within a few hun-
dred kilometers.
Only shift from DRIVE to PARK or REVERSE
when the accelerator pedal is released and the
vehicle is stopped. Be sure to keep your foot on
the brake pedal when moving the shift lever
between these gears.
The transmission shift lever has only PARK,
REVERSE, NEUTRAL, and DRIVE shift posi-
tions. Manual downshifts can be made using
the Electronic Range Select (ERS) shift control
(refer to “Electronic Range Select (ERS) Opera-
tion” in this section). Moving the shift lever to the
left or right (-/+) while in the DRIVE position will
select the highest available transmission gear,
and will display that gear in the instrument
cluster as 6, 5, 4, 3, 2, 1.Gear RangesDO NOT race the engine when shifting from
PARK or NEUTRAL into another gear range.
NOTE:
•
After selecting any gear range, wait a
moment to allow the selected gear to
engage before accelerating. This is espe-
cially important when the engine is cold.
Shift Lever
231