stop start JEEP RENEGADE 2018 Owner handbook (in English)
[x] Cancel search | Manufacturer: JEEP, Model Year: 2018, Model line: RENEGADE, Model: JEEP RENEGADE 2018Pages: 356, PDF Size: 6.11 MB
Page 19 of 356
IMPORTANT
1)The electronic components inside the
key may be damaged if the key is
subjected to strong shocks. In order to
ensure complete efficiency of the
electronic devices inside the key, it should
never be exposed to direct sunlight.
IMPORTANT
1)Remote control used batteries may be
harmful to the environment if not disposed
of correctly. They must be disposed of as
specified by law in the special containers
or taken to a Jeep Dealership, which will
take care of their disposal.
IGNITION DEVICE
2) 3) 6) 7)
VERSIONS WITH MECHANICAL KEY
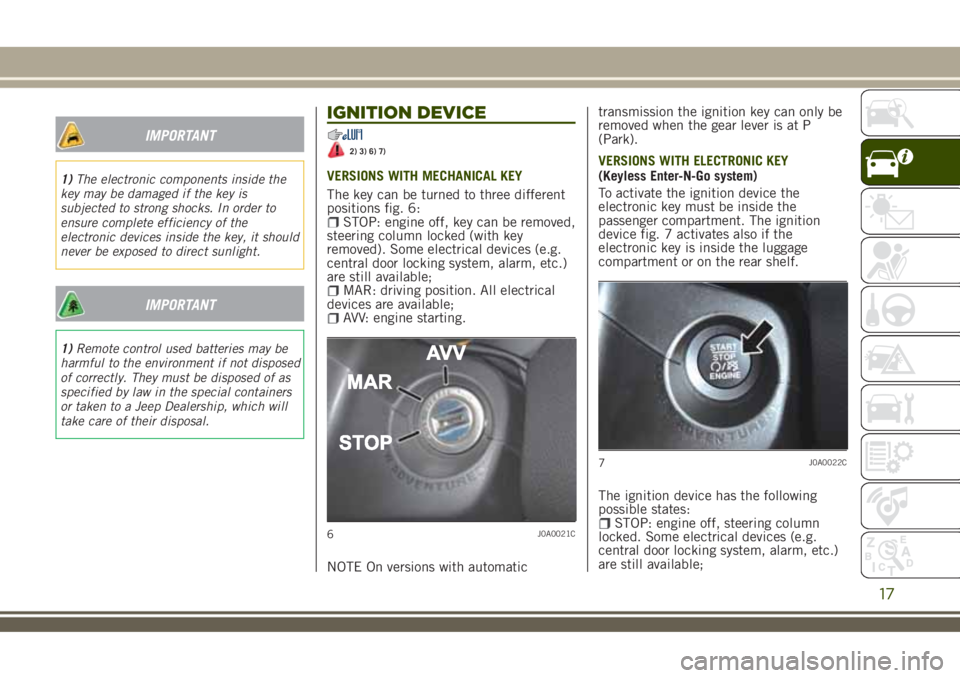
The key can be turned to three different
positions fig. 6:
STOP: engine off, key can be removed,
steering column locked (with key
removed). Some electrical devices (e.g.
central door locking system, alarm, etc.)
are still available;
MAR: driving position. All electrical
devices are available;
AVV: engine starting.
NOTE On versions with automatictransmission the ignition key can only be
removed when the gear lever is at P
(Park).
VERSIONS WITH ELECTRONIC KEY
(Keyless Enter-N-Go system)
To activate the ignition device the
electronic key must be inside the
passenger compartment. The ignition
device fig. 7 activates also if the
electronic key is inside the luggage
compartment or on the rear shelf.
The ignition device has the following
possible states:
STOP: engine off, steering column
locked. Some electrical devices (e.g.
central door locking system, alarm, etc.)
are still available;6J0A0021C
7J0A0022C
17
Page 20 of 356
MAR: driving position. All electrical
devices are available. This state can be
entered by pressing the ignition device
button once, without pressing the brake
pedal (versions with automatic
transmission) or the clutch pedal
(versions with manual gearbox);
AVV: engine starting.
Starting the engine (with electronic key
battery flat): in this case, rest the rounded
edge of the electronic key (the side
opposite the metal insert) on the ignition
device and press the button using the
electronic key.
Stopping the engine (with electronic key
battery flat): to switch off the engine in
this situation, hold down the ignition
device button for a while or press it
3 times in a row within a few seconds.
NOTE The ignition device does NOT
activate if the electronic key is inside the
boot and this is open.
NOTE With the ignition device at MAR, if
30 minutes pass with the vehicle
stationary (versions with manual gearbox)
or with the gear lever at P (Park)
(versions with automatic transmission)
and the engine off, the ignition device
will automatically move to the STOP
position.
NOTE If the device does switch off the
car, refer to the “Display” paragraph in
the “Knowing the instrument panel”chapter, where available, and contact the
Jeep Dealership as soon as possible.
For more information on the engine
start-up, see the description in the
"Starting the engine" paragraph, in the
"Starting and driving" chapter.STEERING LOCK
Activation
Versions with mechanical key: with the
device in the STOP position, remove the
key and turn the wheel until it locks.
WARNING Locking the steering wheel
can only be done after removing the
starter key if the key has been turned in
the starter from the position MAR to
STOP.
Versions with electronic key: the steering
lock is inserted into the driver's door with
the starter device button in the STOP
position and the speed is less than
3km/h.
Deactivation
Versions with mechanical key: move the
wheel lightly, turn the key to MAR
position.
Versions with electronic key: the steering
lock is removed when the starter button
is pressed and the electronic key is
recognised.
WARNING On automatic transmissionversions, to remove the key smoothly, we
advise you to position the gear shift to P,
release the brake in safe conditions and
then turn off the engine.
4) 5)
WARNING
2)If the ignition device has been
tampered with (e.g. an attempted theft),
have it checked over by a Jeep Dealership
before driving again.
3)Always take the key with you when you
leave your vehicle to prevent someone
from accidentally operating the controls.
Remember to engage the electric parking
brake. Never leave children unattended in
the vehicle.
4)It is absolutely forbidden to carry out
any after-market operation involving
steering system or steering column
modifications (e.g. installation of
anti-theft device) that could adversely
affect performance, invalidate the
warranty, cause serious safety problems
and also result in the car not meeting
type-approval requirements.
18
GETTING TO KNOW YOUR CAR
Page 21 of 356
5)Never extract the mechanical key while
the vehicle is moving. The steering wheel
will automatically lock as soon as it is
turned. This holds true for cars being
towed as well.
6)Before leaving the vehicle, ALWAYS
engage the handbrake. On versions
equipped with automatic transmission,
move the gear lever to STOP (Park) and
press the ignition device to set it to STOP.
When leaving the vehicle, always lock all
the doors by pressing the button on the
handle.
7)For versions equipped with the Keyless
Enter-N-Go system, do not leave the
electronic key inside or near the car or in
a place accessible to children. Do not
leave the vehicle with the ignition device
in MAR position. A child could activate
the electric window winders, other
controls or even start the vehicle.SENTRY KEY®
TheSentry Key®system, prevents
unauthorised use of the vehicle,
disabling engine starting.
The system does not need to be
enabled/activated: operation is
automatic, regardless of the fact that the
vehicle's doors are locked or unlocked.
When the ignition device is taken to
MAR, theSentry Key®system identifies
the code transmitted by the key. If the
code is recognised as valid, theSentry
Key®system enables engine starting.
When the ignition device is brought back
to STOP, theSentry Key®system
deactivates the control unit controlling
the engine, thus preventing its starting.
For the correct engine starting
procedures, see the instructions in the
"Starting the engine" paragraph, "Starting
and driving" chapter.
IRREGULAR OPERATION
If, during starting, the key code is not
correctly recognised, the
icon is
displayed on the instrument panel (see
the instructions in the "Warning lights
and messages" paragraph, "Knowing the
instrument panel" chapter). This
condition leads to the engine switching
off after 2 seconds. In this case, bringthe ignition device to STOP and then to
MAR; if it is still blocked, try with the
other keys provided. If it is still not
possible to start the engine, contact a
Jeep Dealership.
If the
icon is displayed while driving,
this means that the system is running a
self-diagnosis (e.g. due to a voltage
drop). If the displaying is still on, contact
a Jeep Dealership.
19
Page 38 of 356
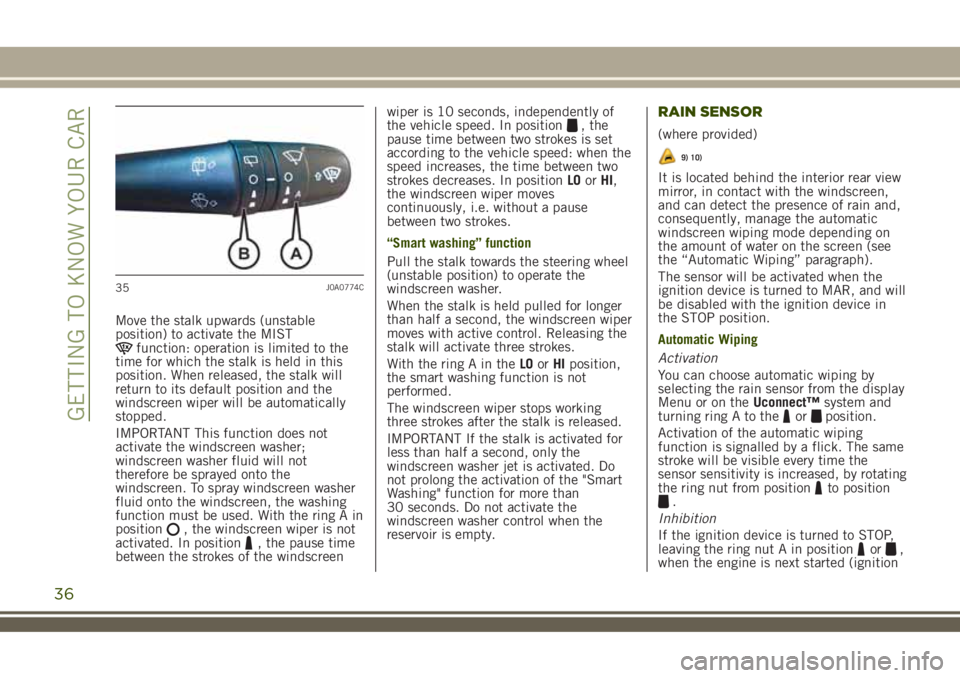
Move the stalk upwards (unstable
position) to activate the MIST
function: operation is limited to the
time for which the stalk is held in this
position. When released, the stalk will
return to its default position and the
windscreen wiper will be automatically
stopped.
IMPORTANT This function does not
activate the windscreen washer;
windscreen washer fluid will not
therefore be sprayed onto the
windscreen. To spray windscreen washer
fluid onto the windscreen, the washing
function must be used. With the ring A in
position
, the windscreen wiper is not
activated. In position, the pause time
between the strokes of the windscreenwiper is 10 seconds, independently of
the vehicle speed. In position
, the
pause time between two strokes is set
according to the vehicle speed: when the
speed increases, the time between two
strokes decreases. In positionLOorHI,
the windscreen wiper moves
continuously, i.e. without a pause
between two strokes.
“Smart washing” function
Pull the stalk towards the steering wheel
(unstable position) to operate the
windscreen washer.
When the stalk is held pulled for longer
than half a second, the windscreen wiper
moves with active control. Releasing the
stalk will activate three strokes.
With the ring A in theLOorHIposition,
the smart washing function is not
performed.
The windscreen wiper stops working
three strokes after the stalk is released.
IMPORTANT If the stalk is activated for
less than half a second, only the
windscreen washer jet is activated. Do
not prolong the activation of the "Smart
Washing" function for more than
30 seconds. Do not activate the
windscreen washer control when the
reservoir is empty.RAIN SENSOR
(where provided)
9) 10)
It is located behind the interior rear view
mirror, in contact with the windscreen,
and can detect the presence of rain and,
consequently, manage the automatic
windscreen wiping mode depending on
the amount of water on the screen (see
the “Automatic Wiping” paragraph).
The sensor will be activated when the
ignition device is turned to MAR, and will
be disabled with the ignition device in
the STOP position.
Automatic Wiping
Activation
You can choose automatic wiping by
selecting the rain sensor from the display
Menu or on theUconnect™system and
turning ring A to the
orposition.
Activation of the automatic wiping
function is signalled by a flick. The same
stroke will be visible every time the
sensor sensitivity is increased, by rotating
the ring nut from position
to position.
Inhibition
If the ignition device is turned to STOP,
leaving the ring nut A in position
or,
when the engine is next started (ignition
35J0A0774C
36
GETTING TO KNOW YOUR CAR
Page 39 of 356
device at MAR), no wiping cycle occurs
for system protection reasons.
It is possible to reactivate the automatic
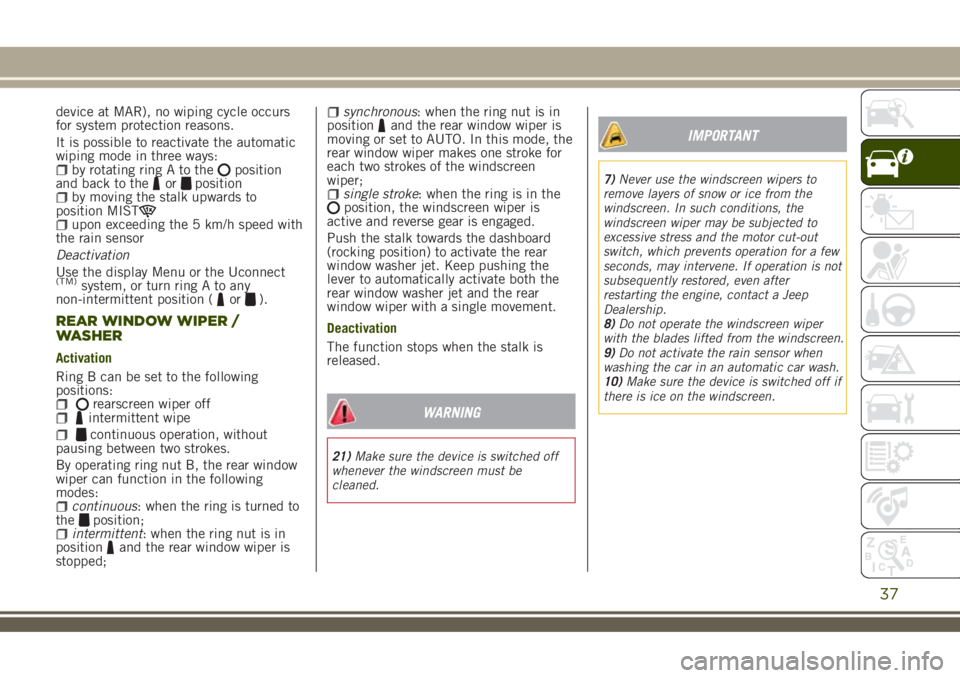
wiping mode in three ways:
by rotating ring A to theposition
and back to theorpositionby moving the stalk upwards to
position MIST
upon exceeding the 5 km/h speed with
the rain sensor
Deactivation
Use the display Menu or the Uconnect
(TM)system, or turn ring A to any
non-intermittent position (or).
REAR WINDOW WIPER /
WASHER
Activation
Ring B can be set to the following
positions:
rearscreen wiper offintermittent wipe
continuous operation, without
pausing between two strokes.
By operating ring nut B, the rear window
wiper can function in the following
modes:
continuous: when the ring is turned to
theposition;intermittent: when the ring nut is in
positionand the rear window wiper is
stopped;
synchronous: when the ring nut is in
positionand the rear window wiper is
moving or set to AUTO. In this mode, the
rear window wiper makes one stroke for
each two strokes of the windscreen
wiper;
single stroke: when the ring is in theposition, the windscreen wiper is
active and reverse gear is engaged.
Push the stalk towards the dashboard
(rocking position) to activate the rear
window washer jet. Keep pushing the
lever to automatically activate both the
rear window washer jet and the rear
window wiper with a single movement.
Deactivation
The function stops when the stalk is
released.
WARNING
21)Make sure the device is switched off
whenever the windscreen must be
cleaned.
IMPORTANT
7)Never use the windscreen wipers to
remove layers of snow or ice from the
windscreen. In such conditions, the
windscreen wiper may be subjected to
excessive stress and the motor cut-out
switch, which prevents operation for a few
seconds, may intervene. If operation is not
subsequently restored, even after
restarting the engine, contact a Jeep
Dealership.
8)Do not operate the windscreen wiper
with the blades lifted from the windscreen.
9)Do not activate the rain sensor when
washing the car in an automatic car wash.
10)Make sure the device is switched off if
there is ice on the windscreen.
37
Page 46 of 356
Description
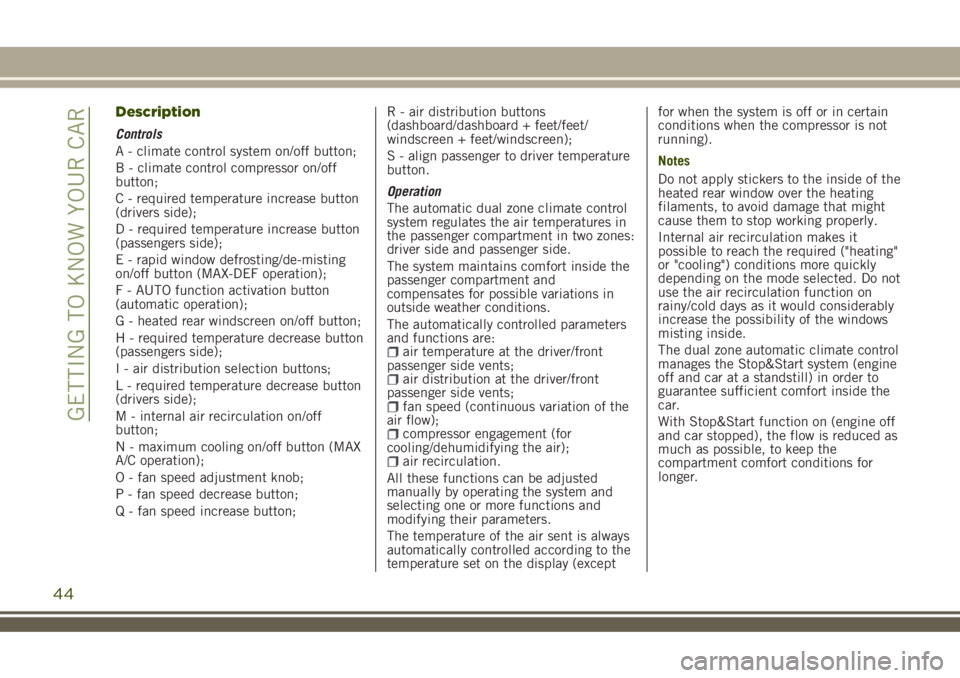
Controls
A - climate control system on/off button;
B - climate control compressor on/off
button;
C - required temperature increase button
(drivers side);
D - required temperature increase button
(passengers side);
E - rapid window defrosting/de-misting
on/off button (MAX-DEF operation);
F - AUTO function activation button
(automatic operation);
G - heated rear windscreen on/off button;
H - required temperature decrease button
(passengers side);
I - air distribution selection buttons;
L - required temperature decrease button
(drivers side);
M - internal air recirculation on/off
button;
N - maximum cooling on/off button (MAX
A/C operation);
O - fan speed adjustment knob;
P - fan speed decrease button;
Q - fan speed increase button;R - air distribution buttons
(dashboard/dashboard + feet/feet/
windscreen + feet/windscreen);
S - align passenger to driver temperature
button.
Operation
The automatic dual zone climate control
system regulates the air temperatures in
the passenger compartment in two zones:
driver side and passenger side.
The system maintains comfort inside the
passenger compartment and
compensates for possible variations in
outside weather conditions.
The automatically controlled parameters
and functions are:
air temperature at the driver/front
passenger side vents;
air distribution at the driver/front
passenger side vents;
fan speed (continuous variation of the
air flow);
compressor engagement (for
cooling/dehumidifying the air);
air recirculation.
All these functions can be adjusted
manually by operating the system and
selecting one or more functions and
modifying their parameters.
The temperature of the air sent is always
automatically controlled according to the
temperature set on the display (exceptfor when the system is off or in certain
conditions when the compressor is not
running).
Notes
Do not apply stickers to the inside of the
heated rear window over the heating
filaments, to avoid damage that might
cause them to stop working properly.
Internal air recirculation makes it
possible to reach the required ("heating"
or "cooling") conditions more quickly
depending on the mode selected. Do not
use the air recirculation function on
rainy/cold days as it would considerably
increase the possibility of the windows
misting inside.
The dual zone automatic climate control
manages the Stop&Start system (engine
off and car at a standstill) in order to
guarantee sufficient comfort inside the
car.
With Stop&Start function on (engine off
and car stopped), the flow is reduced as
much as possible, to keep the
compartment comfort conditions for
longer.
44
GETTING TO KNOW YOUR CAR
Page 50 of 356
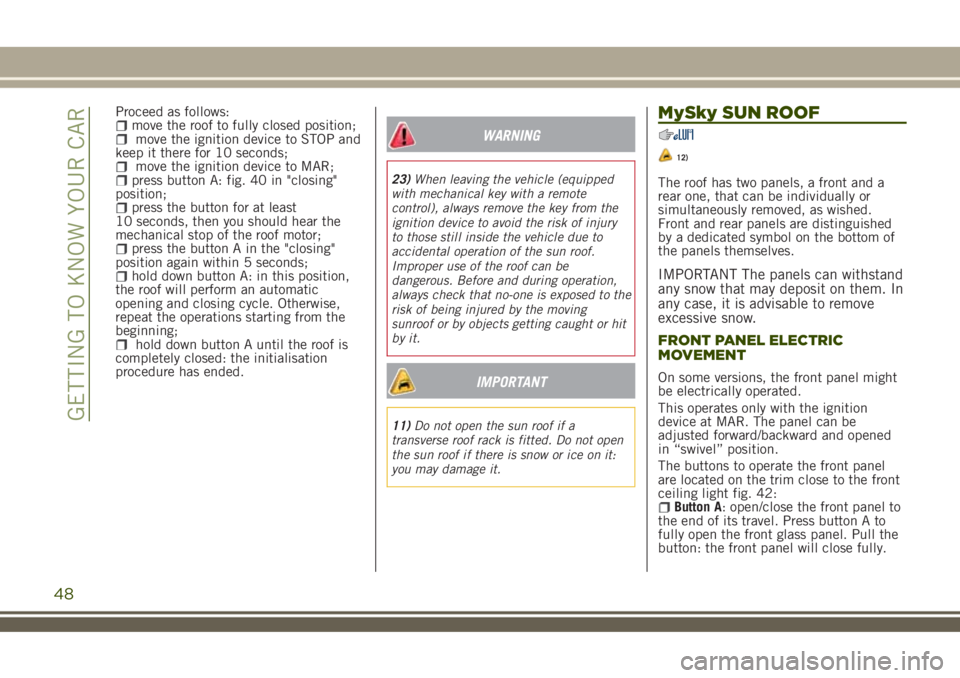
Proceed as follows:move the roof to fully closed position;move the ignition device to STOP and
keep it there for 10 seconds;
move the ignition device to MAR;press button A: fig. 40 in "closing"
position;
press the button for at least
10 seconds, then you should hear the
mechanical stop of the roof motor;
press the button A in the "closing"
position again within 5 seconds;
hold down button A: in this position,
the roof will perform an automatic
opening and closing cycle. Otherwise,
repeat the operations starting from the
beginning;
hold down button A until the roof is
completely closed: the initialisation
procedure has ended.
WARNING
23)When leaving the vehicle (equipped
with mechanical key with a remote
control), always remove the key from the
ignition device to avoid the risk of injury
to those still inside the vehicle due to
accidental operation of the sun roof.
Improper use of the roof can be
dangerous. Before and during operation,
always check that no-one is exposed to the
risk of being injured by the moving
sunroof or by objects getting caught or hit
by it.
IMPORTANT
11)Do not open the sun roof if a
transverse roof rack is fitted. Do not open
the sun roof if there is snow or ice on it:
you may damage it.
MySky SUN ROOF
12)
The roof has two panels, a front and a
rear one, that can be individually or
simultaneously removed, as wished.
Front and rear panels are distinguished
by a dedicated symbol on the bottom of
the panels themselves.
IMPORTANT The panels can withstand
any snow that may deposit on them. In
any case, it is advisable to remove
excessive snow.
FRONT PANEL ELECTRIC
MOVEMENT
On some versions, the front panel might
be electrically operated.
This operates only with the ignition
device at MAR. The panel can be
adjusted forward/backward and opened
in “swivel” position.
The buttons to operate the front panel
are located on the trim close to the front
ceiling light fig. 42:
Button A: open/close the front panel to
the end of its travel. Press button A to
fully open the front glass panel. Pull the
button: the front panel will close fully.
48
GETTING TO KNOW YOUR CAR
Page 54 of 356
Proceed as follows:move the roof to fully closed position;move the ignition device to STOP and
keep it there for 10 seconds;
bring the ignition device to MAR;press button A fig. 42 in the “close”
position;
press the button for at least
10 seconds, then you should hear the
mechanical stop of the roof motor;
within 5 seconds, press the button A
again in the "close" position;
hold down button A in this position:
the roof will perform an automatic
opening and closing cycle. Otherwise,
repeat the operations starting from the
beginning;
hold down button A until the roof is
completely closed: the initialisation
procedure has ended.
IMPORTANT
12)Do not open the sun roof if a
transverse roof rack is fitted. Do not open
the sun roof if there is snow or ice on it:
you may damage it.
BONNET
OPENING
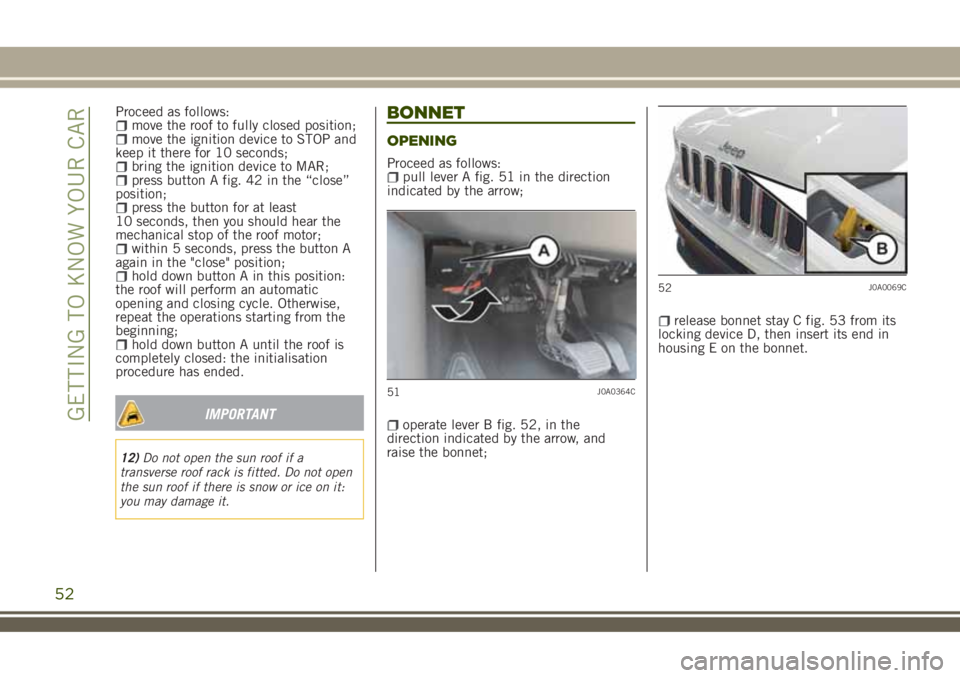
Proceed as follows:pull lever A fig. 51 in the direction
indicated by the arrow;
operate lever B fig. 52, in the
direction indicated by the arrow, and
raise the bonnet;
release bonnet stay C fig. 53 from its
locking device D, then insert its end in
housing E on the bonnet.
51J0A0364C
52J0A0069C
52
GETTING TO KNOW YOUR CAR
Page 70 of 356
GEAR SHIFT INDICATOR(where provided)
The Gear Shift Indicator (GSI) system
advises the driver to change gear through
a special indication on the display.
Through the GSI, the driver is informed
that the gear change will allow a
reduction in fuel consumption.
SHIFT UP (
SHIFT) icon on the
display: suggests switching to a higher
gear.
SHIFT DOWN (
SHIFT) icon on the
display: suggests switching to a lower
gear.
The indication in the display remains
until a gear is shifted or the driving
conditions go back to a situation where
gearshifting is not required to improve
consumption.
CONTROL BUTTONS
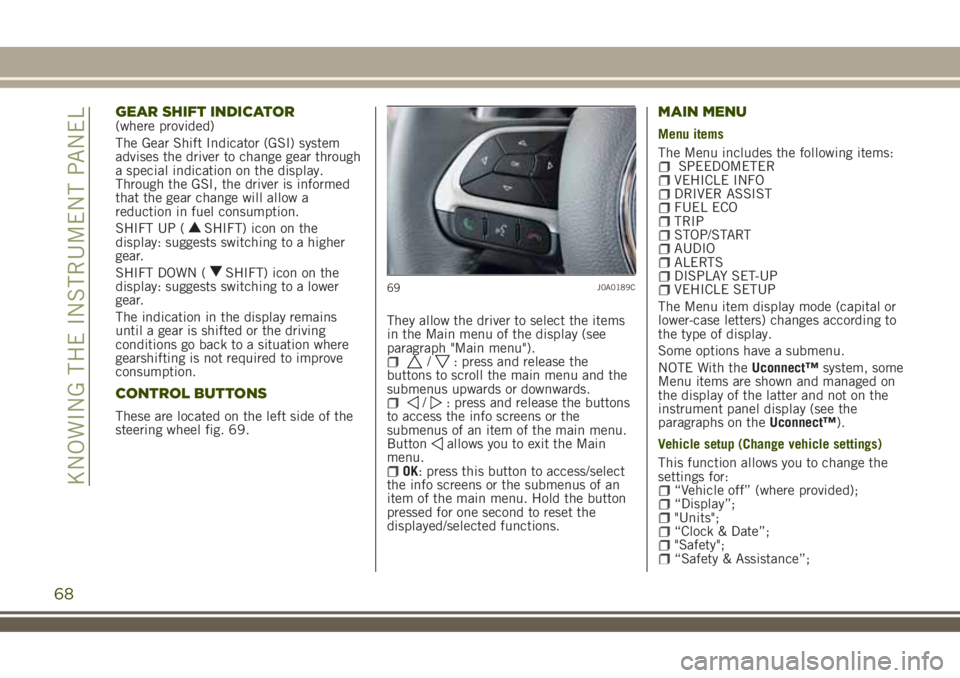
These are located on the left side of the
steering wheel fig. 69.They allow the driver to select the items
in the Main menu of the display (see
paragraph "Main menu").
/: press and release the
buttons to scroll the main menu and the
submenus upwards or downwards.
/: press and release the buttons
to access the info screens or the
submenus of an item of the main menu.
Button
allows you to exit the Main
menu.
OK: press this button to access/select
the info screens or the submenus of an
item of the main menu. Hold the button
pressed for one second to reset the
displayed/selected functions.
MAIN MENU
Menu items
The Menu includes the following items:
SPEEDOMETERVEHICLE INFODRIVER ASSISTFUEL ECOTRIPSTOP/STARTAUDIOALERTSDISPLAY SET-UPVEHICLE SETUP
The Menu item display mode (capital or
lower-case letters) changes according to
the type of display.
Some options have a submenu.
NOTE With theUconnect™system, some
Menu items are shown and managed on
the display of the latter and not on the
instrument panel display (see the
paragraphs on theUconnect™).
Vehicle setup (Change vehicle settings)
This function allows you to change the
settings for:
“Vehicle off” (where provided);“Display”;"Units";“Clock & Date”;"Safety";“Safety & Assistance”;
69J0A0189C
68
KNOWING THE INSTRUMENT PANEL
Page 76 of 356
Warning light What it means
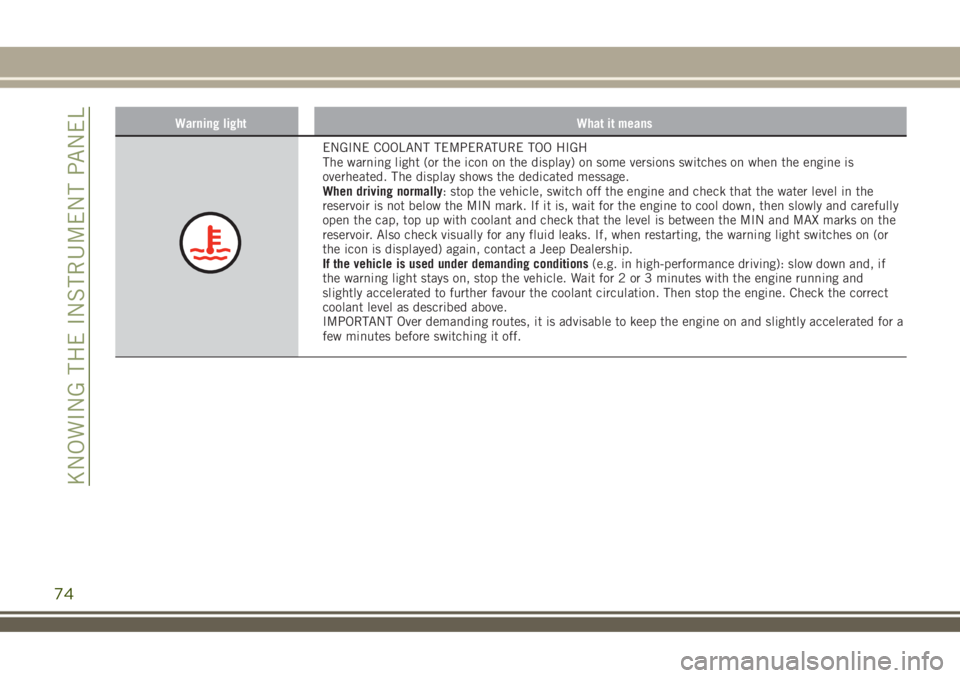
ENGINE COOLANT TEMPERATURE TOO HIGH
The warning light (or the icon on the display) on some versions switches on when the engine is
overheated. The display shows the dedicated message.
When driving normally: stop the vehicle, switch off the engine and check that the water level in the
reservoir is not below the MIN mark. If it is, wait for the engine to cool down, then slowly and carefully
open the cap, top up with coolant and check that the level is between the MIN and MAX marks on the
reservoir. Also check visually for any fluid leaks. If, when restarting, the warning light switches on (or
the icon is displayed) again, contact a Jeep Dealership.
If the vehicle is used under demanding conditions(e.g. in high-performance driving): slow down and, if
the warning light stays on, stop the vehicle. Wait for 2 or 3 minutes with the engine running and
slightly accelerated to further favour the coolant circulation. Then stop the engine. Check the correct
coolant level as described above.
IMPORTANT Over demanding routes, it is advisable to keep the engine on and slightly accelerated for a
few minutes before switching it off.
74
KNOWING THE INSTRUMENT PANEL