KIA Rio 2005 2.G Owner's Manual
Manufacturer: KIA, Model Year: 2005, Model line: Rio, Model: KIA Rio 2005 2.GPages: 238, PDF Size: 2.6 MB
Page 191 of 238
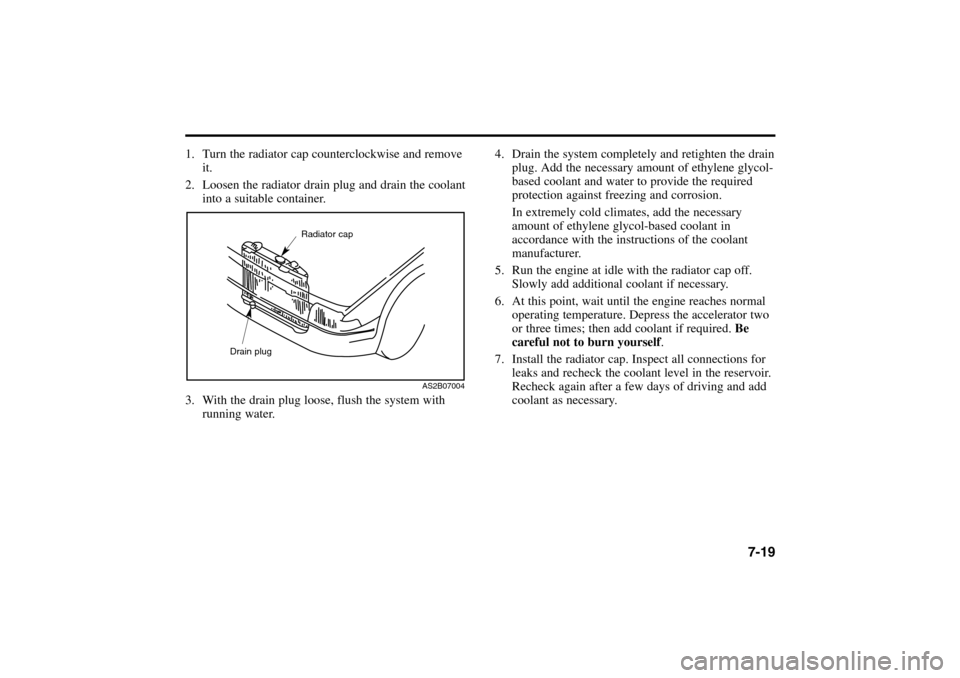
1. Turn the radiator cap counterclockwise and remove
it.
2. Loosen the radiator drain plug and drain the coolant
into a suitable container.
3. With the drain plug loose, flush the system with
running water.
4. Drain the system completely and retighten the drain
plug. Add the necessary amount of ethylene glycol-
based coolant and water to provide the required
protection against freezing and corrosion.
In extremely cold climates, add the necessary
amount of ethylene glycol-based coolant in
accordance with the instructions of the coolant
manufacturer.
5. Run the engine at idle with the radiator cap off.
Slowly add additional coolant if necessary.
6. At this point, wait until the engine reaches normal
operating temperature. Depress the accelerator two
or three times; then add coolant if required. Be
careful not to burn yourself.
7. Install the radiator cap. Inspect all connections for
leaks and recheck the coolant level in the reservoir.
Recheck again after a few days of driving and add
coolant as necessary.
7-19
AS2B07004
Radiator cap
Drain plug
RIO ENG CNA 7-1.qxd 7/29/05 5:16 PM Page 19
Page 192 of 238
Brakes and ClutchChecking Brake/Clutch Fluid LevelBrake Fluid Reservoir
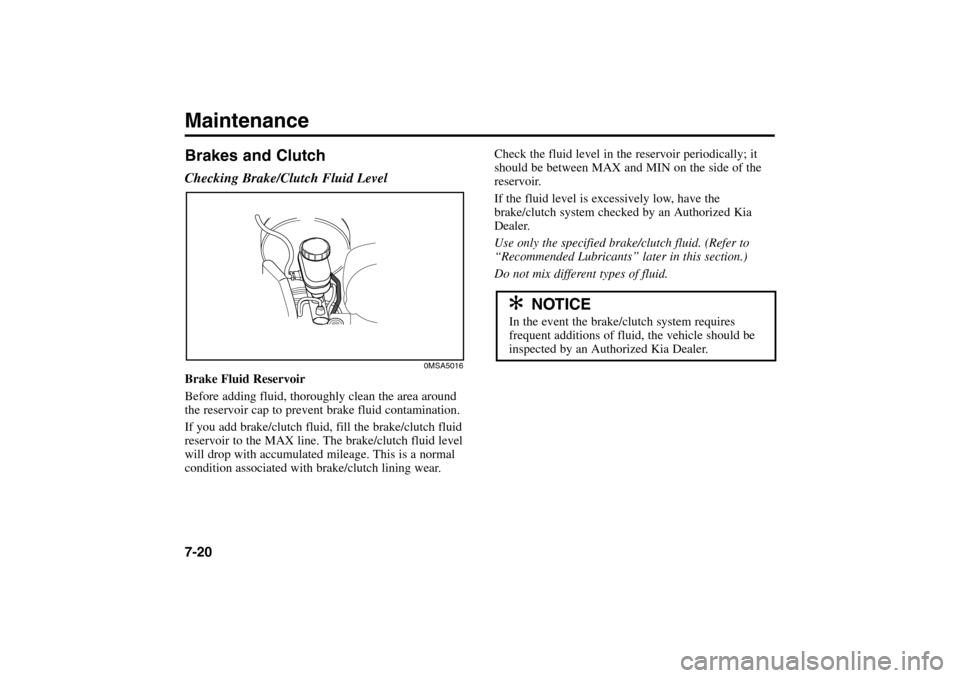
Before adding fluid, thoroughly clean the area around
the reservoir cap to prevent brake fluid contamination.
If you add brake/clutch fluid, fill the brake/clutch fluid
reservoir to the MAX line. The brake/clutch fluid level
will drop with accumulated mileage. This is a normal
condition associated with brake/clutch lining wear.
Check the fluid level in the reservoir periodically; it
should be between MAX and MIN on the side of the
reservoir.
If the fluid level is excessively low, have the
brake/clutch system checked by an Authorized Kia
Dealer.
Use only the specified brake/clutch fluid. (Refer to
“Recommended Lubricants’’ later in this section.)
Do not mix different types of fluid.
Maintenance7-20
✻ ✻
NOTICE
In the event the brake/clutch system requires
frequent additions of fluid, the vehicle should be
inspected by an Authorized Kia Dealer.
0MSA5016
RIO ENG CNA 7-1.qxd 7/29/05 5:16 PM Page 20
Page 193 of 238
Parking BrakeChecking the Parking BrakeCheck the stroke of the parking brake by counting the
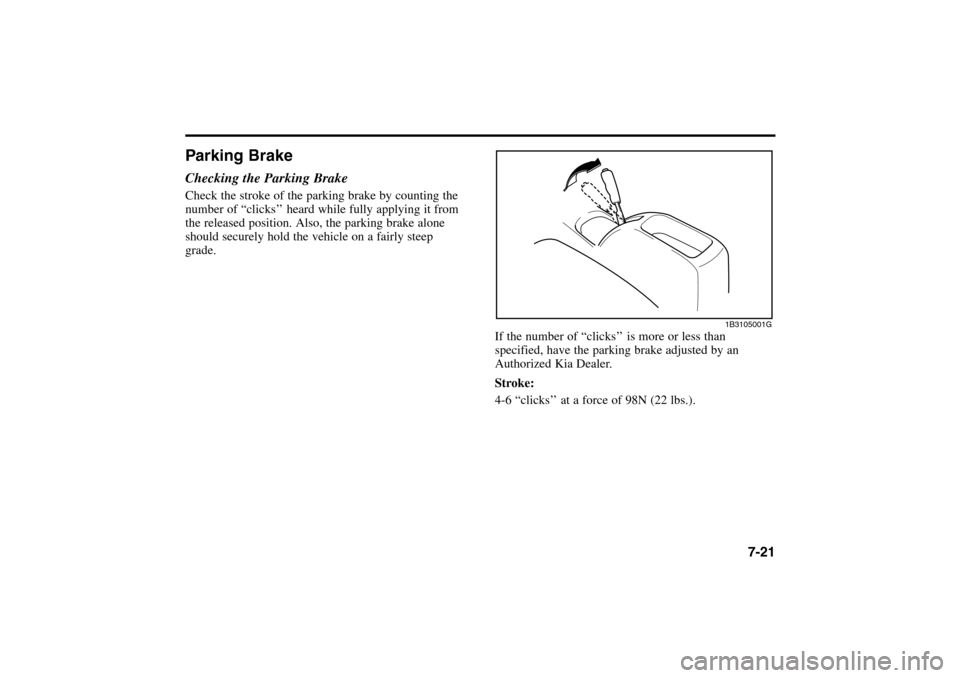
number of “clicks’’ heard while fully applying it from
the released position. Also, the parking brake alone
should securely hold the vehicle on a fairly steep
grade.
If the number of “clicks’’ is more or less than
specified, have the parking brake adjusted by an
Authorized Kia Dealer.
Stroke:
4-6 “clicks’’ at a force of 98N (22 lbs.).
7-21
1B3105001G
RIO ENG CNA 7-1.qxd 7/29/05 5:16 PM Page 21
Page 194 of 238
Power Steering (If Equipped)Checking the Power Steering Fluid LevelThe power steering fluid level should be checked
periodically.
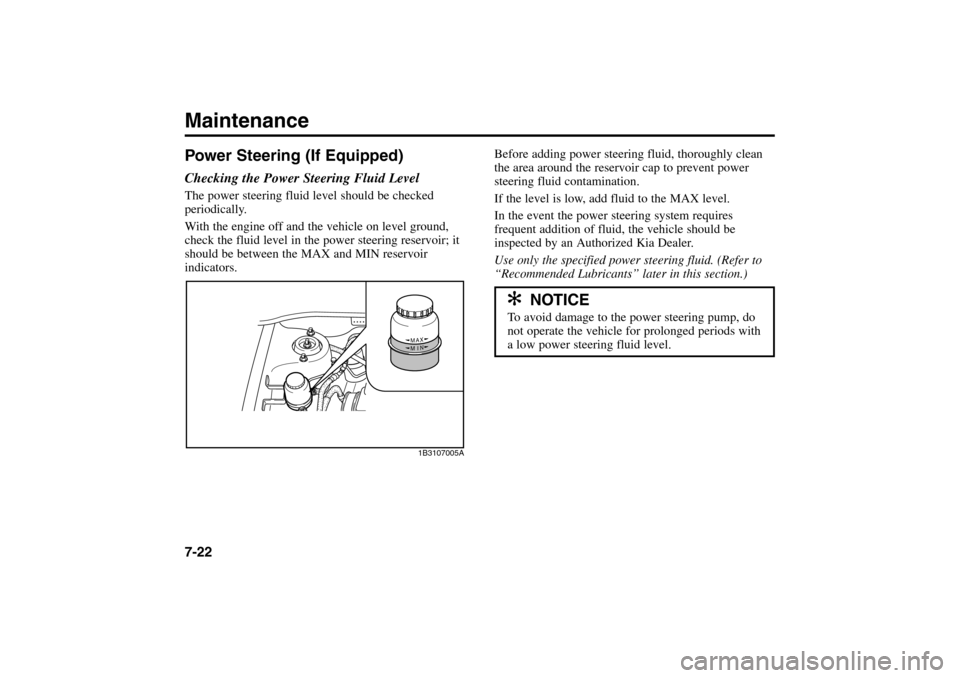
With the engine off and the vehicle on level ground,
check the fluid level in the power steering reservoir; it
should be between the MAX and MIN reservoir
indicators.
MAXMIN
Before adding power steering fluid, thoroughly clean
the area around the reservoir cap to prevent power
steering fluid contamination.
If the level is low, add fluid to the MAX level.
In the event the power steering system requires
frequent addition of fluid, the vehicle should be
inspected by an Authorized Kia Dealer.
Use only the specified power steering fluid. (Refer to
“Recommended Lubricants’’ later in this section.)
Maintenance7-22
✻ ✻
NOTICE
To avoid damage to the power steering pump, do
not operate the vehicle for prolonged periods with
a low power steering fluid level.
1B3107005A
RIO ENG CNA 7-1.qxd 7/29/05 5:16 PM Page 22
Page 195 of 238
The volume of the transaxle fluid changes with
temperature. For that reason, it is best to check
the level after having driven the vehicle for
30 minutes. If necessary, however, the fluid can also be
checked when the vehicle has not been driven.
7-23
CAUTION
• Low fluid level causes transaxle slippage.
Overfilling can cause foaming, loss of fluid,
and transaxle malfunction.
The use of a non-specified fluid could result in
transaxle malfunction and failure.
WARNING - Parking Brake
To avoid sudden movement of the vehicle, set
the parking brake and depress the brake pedal
while shifting the shift lever.
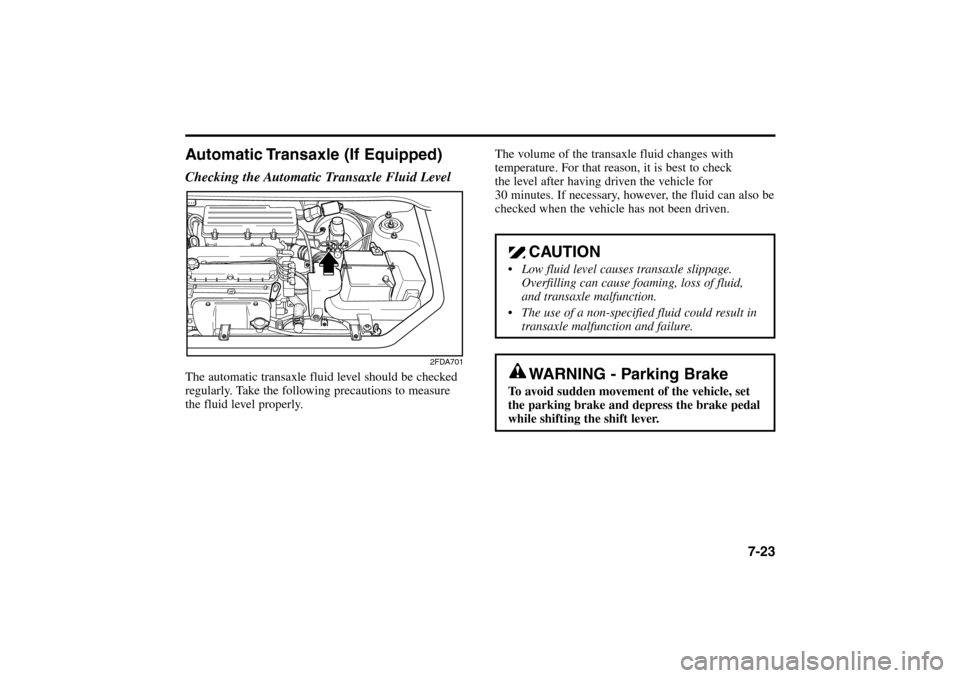
Automatic Transaxle (If Equipped)Checking the Automatic Transaxle Fluid LevelThe automatic transaxle fluid level should be checked
regularly. Take the following precautions to measure
the fluid level properly.
2FDA701
RIO ENG CNA 7-2.qxd 7/29/05 5:18 PM Page 23
Page 196 of 238
Maintenance7-241. Park the vehicle on level ground and set the
parking brake firmly.
2. Allow the engine to idle for about 2 minutes, then
depress the brake pedal. Move the shift lever
slowly through all ranges then set it in the P (Park)
position.
3. With the engine still idling, pull the dipstick out,
wipe it clean, and reinsert it fully.
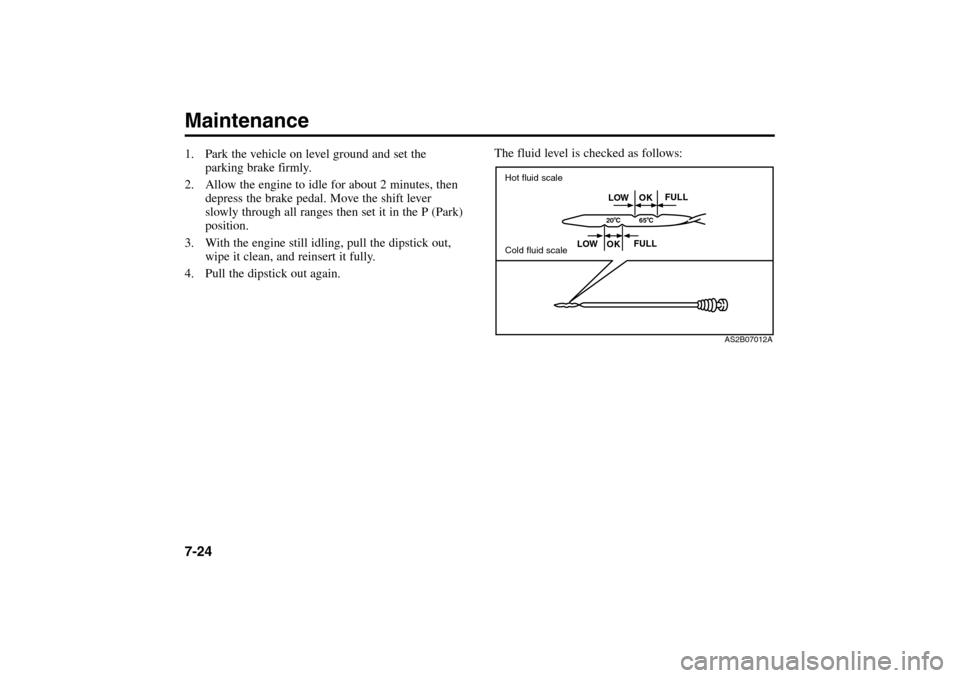
4. Pull the dipstick out again.The fluid level is checked as follows:
OK LOW
OK20 C
65 C
FULL
LOWFULL
AS2B07012A
Hot fluid scale
Cold fluid scale
RIO ENG CNA 7-2.qxd 7/29/05 5:18 PM Page 24
Page 197 of 238
Using the hot fluid scale:
If the vehicle has been driven and the fluid is warmed
to the normal operating temperature of approximately
65°C (149°F), the fluid level should be between Full
and Low.
Using the cold fluid scale:
If the engine has not been running and the outside
temperature is approximately 20°C (68°F), the fluid
level should be between Full and Low.
7-25
Use the cold scale as a rough reference only.
If the outside temperature is lower than 20°C
(68°F), start the engine and measure the fluid level
after letting the engine reach operating temperature.
If the vehicle has been driven for an extended
period at high speeds or in city traffic in hot
weather, it is usually best to measure the fluid level
after stopping the engine and allowing the fluid to
cool for 30 minutes.
When inserting the dipstick, be sure to insert it
completely. When adding fluid, measure frequently
with the dipstick to make sure the fluid level does not
go above the Full position. Do not overfill.
Use only the specified automatic transaxle fluid. (Refer
to “Recommended Lubricants’’ later in this section.)
RIO ENG CNA 7-2.qxd 7/29/05 5:18 PM Page 25
Page 198 of 238
Body LubricationAll moving points of the body, such as doors, hood
hinges and locks, should be lubricated each time the
engine oil is changed.
Use a non-freezing lubricant on locks during cold
weather.
Make sure the engine hood secondary latch keeps the
hood from opening when the primary latch is released.
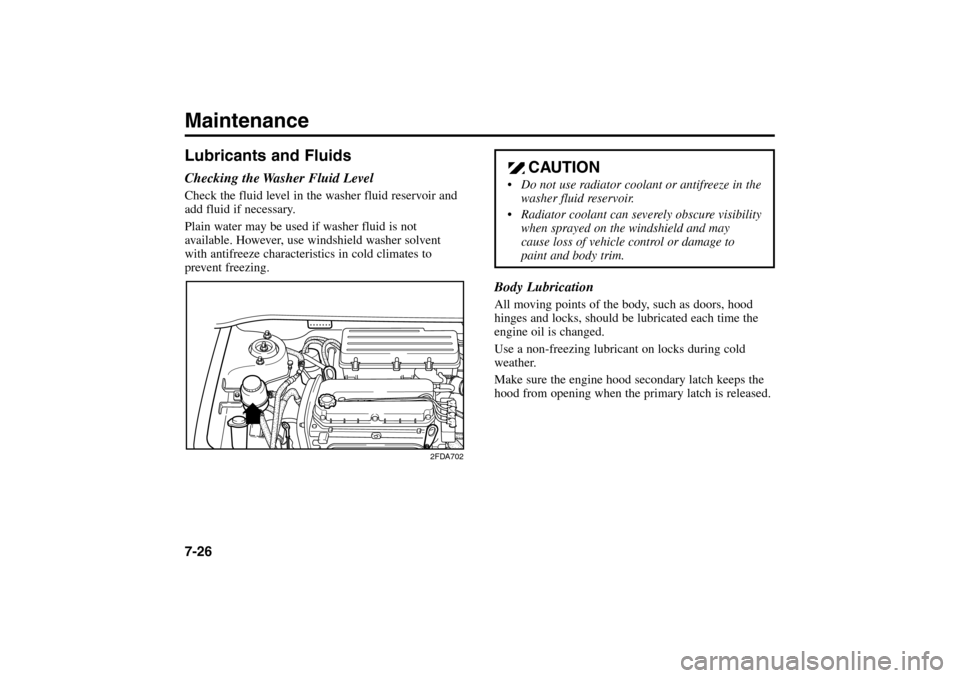
Lubricants and FluidsChecking the Washer Fluid LevelCheck the fluid level in the washer fluid reservoir and
add fluid if necessary.
Plain water may be used if washer fluid is not
available. However, use windshield washer solvent
with antifreeze characteristics in cold climates to
prevent freezing.Maintenance7-26
CAUTION
Do not use radiator coolant or antifreeze in the
washer fluid reservoir.
Radiator coolant can severely obscure visibility
when sprayed on the windshield and may
cause loss of vehicle control or damage to
paint and body trim.
2FDA702
RIO ENG CNA 7-2.qxd 7/29/05 5:18 PM Page 26
Page 199 of 238
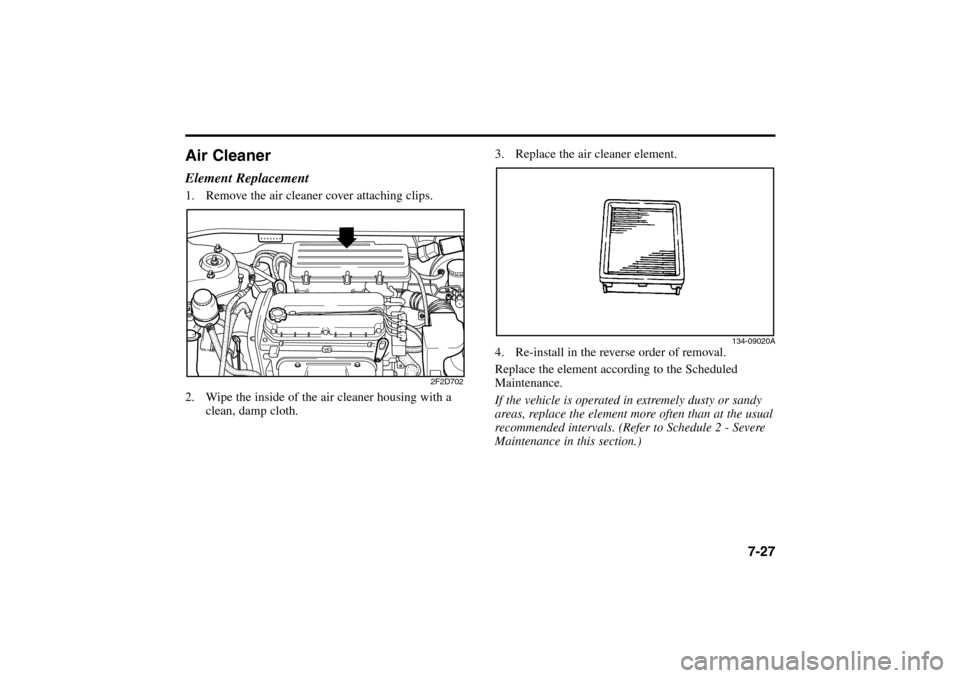
Air CleanerElement Replacement1. Remove the air cleaner cover attaching clips.
2. Wipe the inside of the air cleaner housing with a
clean, damp cloth.
7-27
3. Replace the air cleaner element.
4. Re-install in the reverse order of removal.
Replace the element according to the Scheduled
Maintenance.
If the vehicle is operated in extremely dusty or sandy
areas, replace the element more often than at the usual
recommended intervals. (Refer to Schedule 2 - Severe
Maintenance in this section.)
2F2D702134-09020A
RIO ENG CNA 7-2.qxd 7/29/05 5:18 PM Page 27
Page 200 of 238
Wiper BladesWiper Blade MaintenanceContamination of either the windshield or the
wiper blades with foreign matter can reduce the
effectiveness of the windshield wipers. Common
sources of contamination are insects, tree sap, and hot
wax treatments used by some commercial car washes.
If the blades are not wiping properly, clean both theMaintenance7-28
✻ ✻
NOTICE
To prevent damage to the wiper arms or other
components, do not attempt to move the wipers
manually.
window and the blades with a good cleaner or mild
detergent, and thoroughly rinse with clear water.Windshield Wiper Blade ReplacementWhen the wipers no longer clean adequately, the wiper
blades may be worn or cracked, requiring replacement.
✻ ✻
NOTICE
Commercial hot waxes applied by automatic car
washes have been known to make the windshield
difficult to clean.
✻ ✻
NOTICE
To prevent damage to the wiper blades, do not use
gasoline, kerosene, paint thinner, or other solvents
on or near them.
CAUTION
Do not drive with the air cleaner removed; this
will result in excessive engine wear.
Driving without an air cleaner encourages
backfiring, which could cause a fire in the
engine compartment.
RIO ENG CNA 7-2.qxd 7/29/05 5:18 PM Page 28