lights Lancia Delta 2010 Owner handbook (in English)
[x] Cancel search | Manufacturer: LANCIA, Model Year: 2010, Model line: Delta, Model: Lancia Delta 2010Pages: 276, PDF Size: 5.31 MB
Page 18 of 276
GETTING TO KNOW YOUR CAR17
1
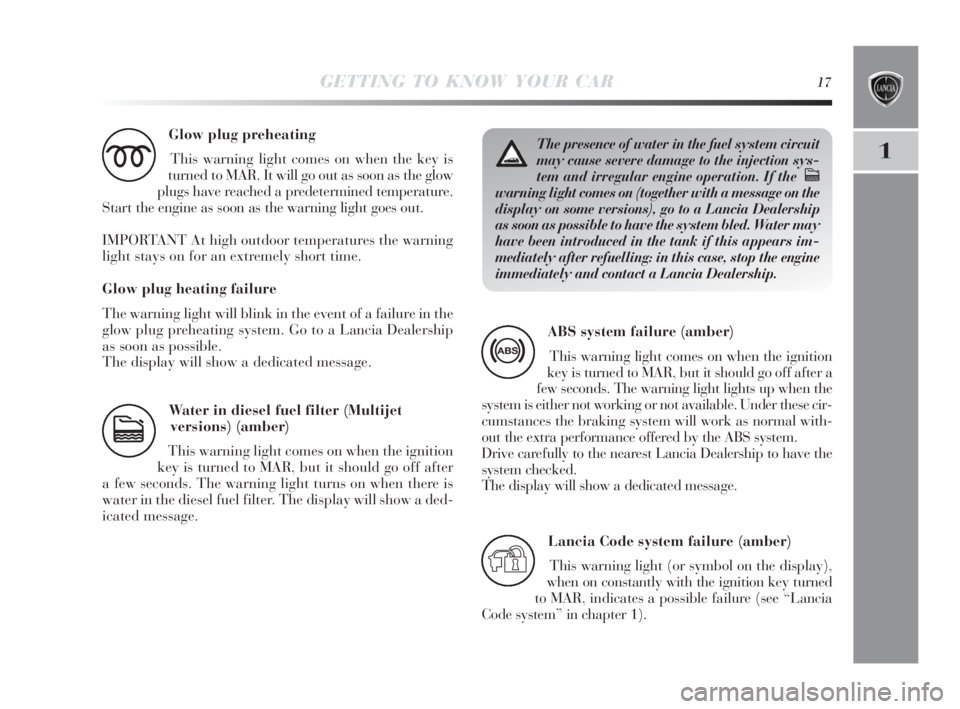
Glow plug preheating
This warning light comes on when the key is
turned to MAR. It will go out as soon as the glow
plugs have reached a predetermined temperature.
Start the engine as soon as the warning light goes out.
IMPORTANT At high outdoor temperatures the warning
light stays on for an extremely short time.
Glow plug heating failure
The warning light will blink in the event of a failure in the
glow plug preheating system. Go to a Lancia Dealership
as soon as possible.
The display will show a dedicated message.
m
Water in diesel fuel filter (Multijet
versions) (amber)
This warning light comes on when the ignition
key is turned to MAR, but it should go off after
a few seconds. The warning light turns on when there is
water in the diesel fuel filter. The display will show a ded-
icated message.
c
The presence of water in the fuel system circuit
may cause severe damage to the injection sys-
tem and irregular engine operation. If the
c
warning light comes on (together with a message on the
display on some versions), go to a Lancia Dealership
as soon as possible to have the system bled. Water may
have been introduced in the tank if this appears im-
mediately after refuelling: in this case, stop the engine
immediately and contact a Lancia Dealership.
ABS system failure (amber)
This warning light comes on when the ignition
key is turned to MAR, but it should go off after a
few seconds. The warning light lights up when the
system is either not working or not available. Under these cir-
cumstances the braking system will work as normal with-
out the extra performance offered by the ABS system.
Drive carefully to the nearest Lancia Dealership to have the
system checked.
The display will show a dedicated message.
>
Lancia Code system failure (amber)
This warning light (or symbol on the display),
when on constantly with the ignition key turned
to MAR, indicates a possible failure (see “Lancia
Code system” in chapter 1).
Y
001-142 Delta 3ed gb 30-11-2009 11:21 Pagina 17
Page 19 of 276
18GETTING TO KNOW YOUR CAR
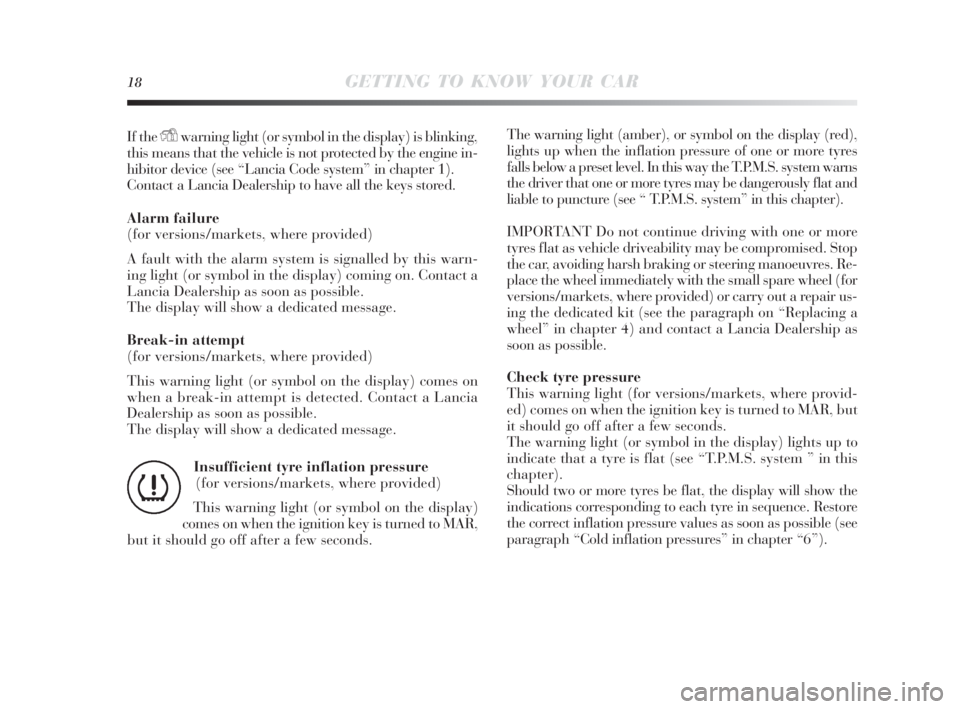
If the Ywarning light (or symbol in the display) is blinking,
this means that the vehicle is not protected by the engine in-
hibitor device (see “Lancia Code system” in chapter 1).
Contact a Lancia Dealership to have all the keys stored.
Alarm failure
(for versions/markets, where provided)
A fault with the alarm system is signalled by this warn-
ing light (or symbol in the display) coming on. Contact a
Lancia Dealership as soon as possible.
The display will show a dedicated message.
Break-in attempt
(for versions/markets, where provided)
This warning light (or symbol on the display) comes on
when a break-in attempt is detected. Contact a Lancia
Dealership as soon as possible.
The display will show a dedicated message.The warning light (amber), or symbol on the display (red),
lights up when the inflation pressure of one or more tyres
falls below a preset level. In this way the T.P.M.S. system warns
the driver that one or more tyres may be dangerously flat and
liable to puncture (see “ T.P.M.S. system” in this chapter).
IMPORTANT Do not continue driving with one or more
tyres flat as vehicle driveability may be compromised. Stop
the car, avoiding harsh braking or steering manoeuvres. Re-
place the wheel immediately with the small spare wheel (for
versions/markets, where provided) or carry out a repair us-
ing the dedicated kit (see the paragraph on “Replacing a
wheel” in chapter 4) and contact a Lancia Dealership as
soon as possible.
Check tyre pressure
This warning light (for versions/markets, where provid-
ed) comes on when the ignition key is turned to MAR, but
it should go off after a few seconds.
The warning light (or symbol in the display) lights up to
indicate that a tyre is flat (see “T.P.M.S. system ” in this
chapter).
Should two or more tyres be flat, the display will show the
indications corresponding to each tyre in sequence. Restore
the correct inflation pressure values as soon as possible (see
paragraph “Cold inflation pressures” in chapter “6”). Insufficient tyre inflation pressure
(for versions/markets, where provided)
This warning light (or symbol on the display)
comes on when the ignition key is turned to MAR,
but it should go off after a few seconds.
n
001-142 Delta 3ed gb 30-11-2009 11:21 Pagina 18
Page 20 of 276
GETTING TO KNOW YOUR CAR19
1
Particularly strong radio frequency interfer-
ence may cause the T.P.M.S. system to func-
tion incorrectly. This condition is indicated
to the driver by a message (for versions/markets,
where provided).
The warning message will go off automatically as
soon as the radio-frequency noise ceases to disturb
the system.
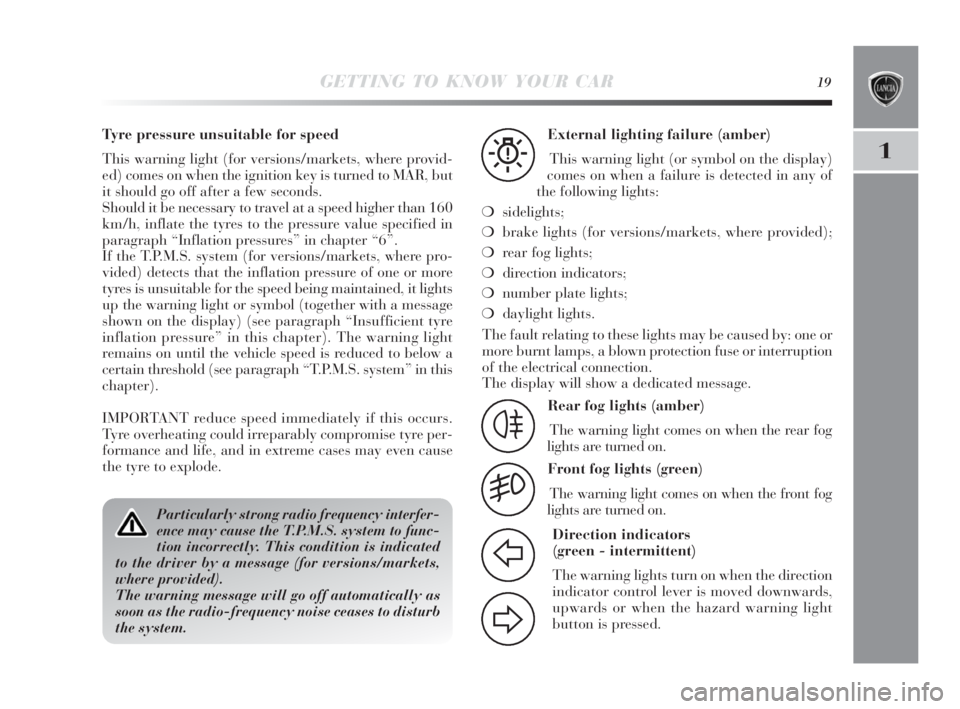
External lighting failure (amber)
This warning light (or symbol on the display)
comes on when a failure is detected in any of
the following lights:
❍sidelights;
❍brake lights (for versions/markets, where provided);
❍rear fog lights;
❍direction indicators;
❍number plate lights;
❍daylight lights.
W
Rear fog lights (amber)
The warning light comes on when the rear fog
lights are turned on.
4
Front fog lights (green)
The warning light comes on when the front fog
lights are turned on.
5
Direction indicators
(green - intermittent)
The warning lights turn on when the direction
indicator control lever is moved downwards,
upwards or when the hazard warning light
button is pressed.
F
D
Tyre pressure unsuitable for speed
This warning light (for versions/markets, where provid-
ed) comes on when the ignition key is turned to MAR, but
it should go off after a few seconds.
Should it be necessary to travel at a speed higher than 160
km/h, inflate the tyres to the pressure value specified in
paragraph “Inflation pressures” in chapter “6”.
If the T.P.M.S. system (for versions/markets, where pro-
vided) detects that the inflation pressure of one or more
tyres is unsuitable for the speed being maintained, it lights
up the warning light or symbol (together with a message
shown on the display) (see paragraph “Insufficient tyre
inflation pressure” in this chapter). The warning light
remains on until the vehicle speed is reduced to below a
certain threshold (see paragraph “T.P.M.S. system” in this
chapter).
IMPORTANT reduce speed immediately if this occurs.
Tyre overheating could irreparably compromise tyre per-
formance and life, and in extreme cases may even cause
the tyre to explode.The fault relating to these lights may be caused by: one or
more burnt lamps, a blown protection fuse or interruption
of the electrical connection.
The display will show a dedicated message.
001-142 Delta 3ed gb 30-11-2009 11:21 Pagina 19
Page 21 of 276
20GETTING TO KNOW YOUR CAR
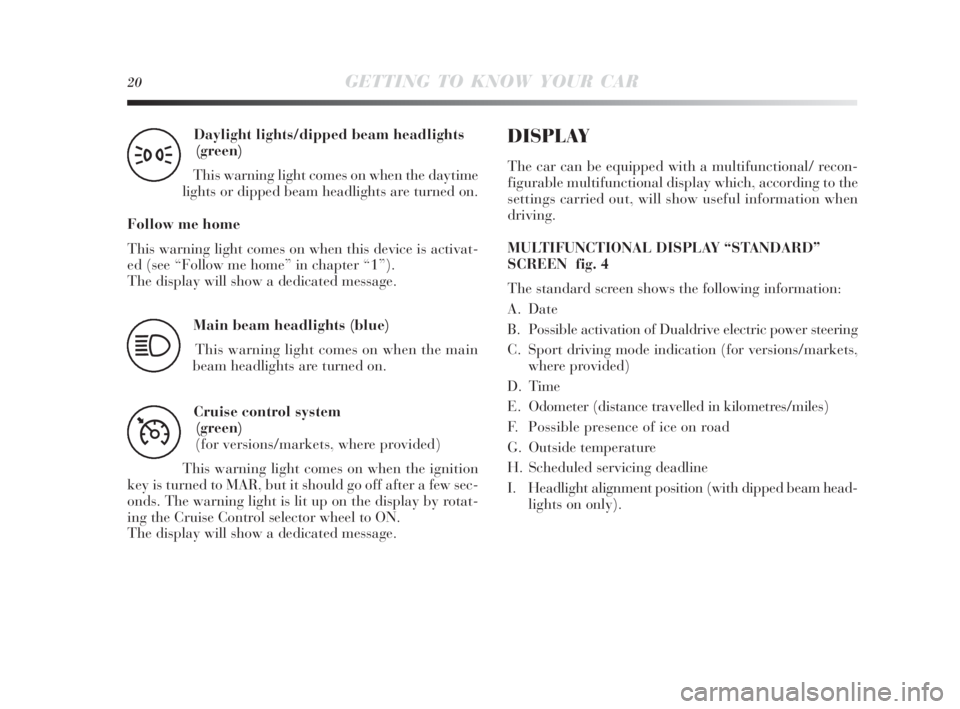
Daylight lights/dipped beam headlights
(green)
This warning light comes on when the daytime
lights or dipped beam headlights are turned on.
Follow me home
This warning light comes on when this device is activat-
ed (see “Follow me home” in chapter “1”).
The display will show a dedicated message.
3
Main beam headlights (blue)
This warning light comes on when the main
beam headlights are turned on.
1
Cruise control system
(green)
(for versions/markets, where provided)
This warning light comes on when the ignition
key is turned to MAR, but it should go off after a few sec-
onds. The warning light is lit up on the display by rotat-
ing the Cruise Control selector wheel to ON.
The display will show a dedicated message.
Ü
DISPLAY
The car can be equipped with a multifunctional/ recon-
figurable multifunctional display which, according to the
settings carried out, will show useful information when
driving.
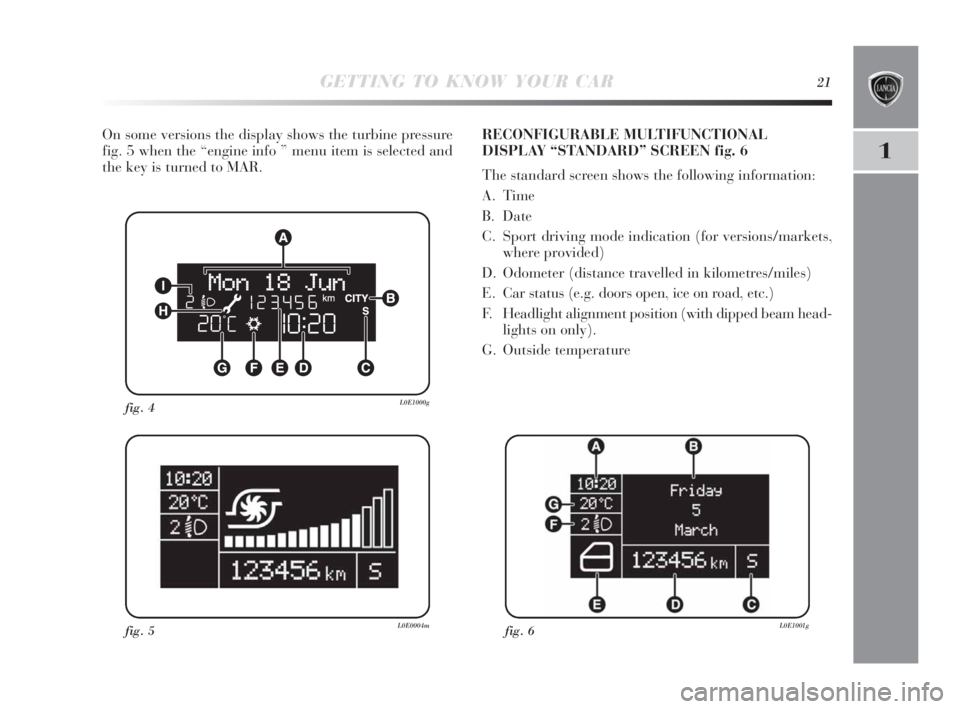
MULTIFUNCTIONAL DISPLAY “STANDARD”
SCREEN fig. 4
The standard screen shows the following information:
A. Date
B. Possible activation of Dualdrive electric power steering
C. Sport driving mode indication (for versions/markets,
where provided)
D. Time
E. Odometer (distance travelled in kilometres/miles)
F. Possible presence of ice on road
G. Outside temperature
H. Scheduled servicing deadline
I. Headlight alignment position (with dipped beam head-
lights on only).
001-142 Delta 3ed gb 30-11-2009 11:21 Pagina 20
Page 22 of 276
GETTING TO KNOW YOUR CAR21
1
On some versions the display shows the turbine pressure
fig. 5 when the “engine info ” menu item is selected and
the key is turned to MAR.
fig. 4L0E1000g
fig. 5L0E0004mfig. 6L0E1001g
RECONFIGURABLE MULTIFUNCTIONAL
DISPLAY “STANDARD” SCREEN fig. 6
The standard screen shows the following information:
A. Time
B. Date
C. Sport driving mode indication (for versions/markets,
where provided)
D. Odometer (distance travelled in kilometres/miles)
E. Car status (e.g. doors open, ice on road, etc.)
F. Headlight alignment position (with dipped beam head-
lights on only).
G. Outside temperature
001-142 Delta 3ed gb 30-11-2009 11:21 Pagina 21
Page 24 of 276
GETTING TO KNOW YOUR CAR23
1
SETUP MENU
The menu comprises a series of items which can be se-
lected using the
ÕandÔbuttons to access the different
selection and setting operations (set-up) given in the fol-
lowing paragraphs. Some items also have a sub-menu. The
Set-up Menu is activated by briefly pressing the SET but-
ton.
The menu includes the following items:
– MENU
– LIGHTING
– SPEED BEEP
– HEADLIGHT SENSOR (for versions/markets, where
provided)
– CORNERING LIGHTS (for versions/markets, where
provided)
– TRIP B ACTIVATION/INFO
– TIME SETTING
– DATE SETTING– FIRST PAGE (for versions/markets, where provided)
– SEE RADIO
– AUTOCLOSE
– UNITS OF MEASUREMENT
– LANGUAGE
– BUZZER VOLUME
– BUTTON VOLUME
– SEAT BELT BEEP/BUZZ.
– SERVICE
– AIR BAG/PASSENGER BAG
– DAYTIME LIGHTS
– EXIT MENU
001-142 Delta 3ed gb 30-11-2009 11:21 Pagina 23
Page 25 of 276
24GETTING TO KNOW YOUR CAR
Selecting an option from the main menu
without submenu:
– briefly press the SET button to select the main menu op-
tion to be set.
– Press button
ÕorÔ(by single presses) to select a new
setting;
– briefly press the SET button to store the new setting and
to go back to the main menu option selected previously.
Selecting an option from the main menu with
submenu:
– briefly press the SET button to display the first submenu
option;
– press button
ÕorÔ(by single presses) to scroll through
all the submenu options;
– briefly press the SET button to select the displayed sub-
menu option and to open the relevant set-up menu;
– press
ÕorÔ(by single presses) to select a new setting
for this submenu option;
– briefly press the SET button to store the new setting and
to go back to the previously selected submenu option.
MENU ITEMS
Lighting (Adjusting lighting
inside the car)
This function may be used to set the brightness of the in-
strument panel, sound system controls and automatic cli-
mate control system controls (for versions/markets, where
provided) to 8 levels.
Proceed as follows to adjust the brightness:
– briefly press SET. The previously set level will flash on
the display;
– press
ÕorÔto set the required brightness level;
– briefly press SET to go back to the menu screen or hold
the button down to go back to the standard screen with-
out storing the new settings.
Speed beep (Speed limit)
This function may be used to set the car speed limit (km/h
or mph); when this limit is exceeded the driver is imme-
diately alerted (see “Instrument panel warning lights” in
chapter 1). To set the speed limit, proceed as follows:
– briefly press SET. The display will show a dedicated mes-
sage;
001-142 Delta 3ed gb 30-11-2009 11:21 Pagina 24
Page 26 of 276
GETTING TO KNOW YOUR CAR25
1
– press ÕorÔto switch the speed limit function “On” or
“Off”;
– if the function is On, press
ÕorÔto select the required
speed limit and then press SET to confirm.
IMPORTANT The speed may be set in the range from 30
to 200 km/h, or from 20 to 125 mph according to the pre-
viously chosen unit of measurement (see “Setting the unit
of measurement”) described below. The setting will in-
crease/decrease by five units each time button
Õ/Ôis
pressed. Hold down button
Õ/Ôto increase/decrease the
setting rapidly. Complete the setting by briefly pressing
the button when you approach the required setting.
– briefly press SET to go back to the menu screen or hold
the button down to go back to the standard screen with-
out storing the new settings.
To cancel the setting, proceed as follows:
– briefly press SET: ON flashes on the display;
– press
Ô: Off flashes on the display;– briefly press SET to go back to the menu screen or hold
the button down to go back to the standard screen with-
out storing the new settings.
Headlight sensor (Automatic headlight/dusk
sensor sensitivity adjustment)
(for versions/markets, where provided)
This function is used to adjust the dusk sensor sensitivi-
ty to three levels (level 1 = minimum, level 2 = medium,
level 3 = maximum); the higher the sensitivity, the lower
the amount of external light needed to switch the head-
lights on.
Proceed as follows to set:
– briefly press SET. The previously set level will flash on
the display;
– press
ÕorÔto change the setting;
– briefly press SET to go back to the menu screen or hold
the button down to go back to the standard screen with-
out storing the new settings.
001-142 Delta 3ed gb 30-11-2009 11:21 Pagina 25
Page 27 of 276
26GETTING TO KNOW YOUR CAR
Cornering lights (activation/deactivation
“Cornering lights - Front fog lights with Cornering
function)
(for versions/markets, where provided)
This function allows you to activate/deactivate the Cor-
nering lights. To activate/deactivate (ON/OFF) the lights,
proceed as follows:
– briefly press SET: “On” or “Off” will flash on the dis-
play (according to previous setting);
– press
ÕorÔto change the setting;
– briefly press SET to go back to the menu screen or hold
the button down to go back to the standard screen with-
out storing the new settings.
Trip B activation/info (Trip B on)
Through this option it is possible to activate (On) or de-
activate (Off) the Trip B (partial trip) display.
For further information see “Trip computer”.
For activation / deactivation, proceed as follows:
– briefly press SET: (On) or (Off) will flash on the display
(according to previous setting);
– press
ÕorÔto change the setting;
– briefly press SET to go back to the menu screen or hold
the button down to go back to the standard screen with-
out storing the new settings.Time setting (Clock)
Using this function, it is possible to set the clock through
two sub-menus: “Time” and “Mode”.
Proceed as follows:
– briefly press SET: the display will show two sub-menus
“Time” and “Mode”;
– press
ÕorÔto navigate the two sub-menus;
– once you have selected a sub-menu, press SET briefly;
– when accessing the “Time” submenu: briefly press SET:
“hours” will flash on the display;
– press
ÕorÔto change the setting;
– briefly press SET: “minutes” will flash on the display;
– press
ÕorÔto change the setting;
001-142 Delta 3ed gb 30-11-2009 11:21 Pagina 26
Page 33 of 276
32GETTING TO KNOW YOUR CAR
Daytime lights (D.R.L. - Smart Daytime Light)
This function allows you to activate/deactivate the day-
light lights.
Proceed as follows to switch this function on or off:
– briefly press SET to display a submenu;
– briefly press SET: (On) or (Off) will flash on the display
(according to previous setting);
– press + or – to change the setting;
– briefly press the SET button to go back to the submenu
screen or hold the button down to go back to the main
menu screen without storing the new settings;
– hold down SET to go back to the standard screen or
main menu, depending on which point in the menu you
have reached.
Exit Menu
This is the last function that closes the setting cycle list-
ed in the initial menu screen. Briefly press SET to go back
to the standard screen without storing the new settings.
Press
Ôto return to the first menu option (Speed Beep).DISPLAY INDICATIONS
IMPORTANT Failure indications on the display fall into
one of two categories: serious faults and less serious faults.
Serious failures are indicated by a repeated and prolonged
warning cycle.
Less serious failures are indicated by a limited warning
cycle.
Press SET to stop the warning cycle in both cases. The
warning light (or symbol in the display) will remain on
until the cause of the malfunction is eliminated.
Luggage compartment not closed
correctly (red)
This symbol (for versions/markets, where pro-
vided) lights up on the display when the luggage
compartment is not closed correctly. The display will show
a dedicated message.
R
Bonnet not closed correctly (red)
This symbol (for versions/markets, where pro-
vided) lights up on the display when the bon-
net is not closed correctly. The display will show
a dedicated message.
S
001-142 Delta 3ed gb 30-11-2009 11:21 Pagina 32