LEXUS LS430 2003 Factory Repair Manual
Manufacturer: LEXUS, Model Year: 2003,
Model line: LS430,
Model: LEXUS LS430 2003
Pages: 4500, PDF Size: 87.45 MB
LEXUS LS430 2003 Factory Repair Manual
LS430 2003
LEXUS
LEXUS
https://www.carmanualsonline.info/img/36/57050/w960_57050-0.png
LEXUS LS430 2003 Factory Repair Manual
Trending: lumbar support, fuel, diagram, tow bar, Signal compressor condition, radio, snow chains
Page 3601 of 4500
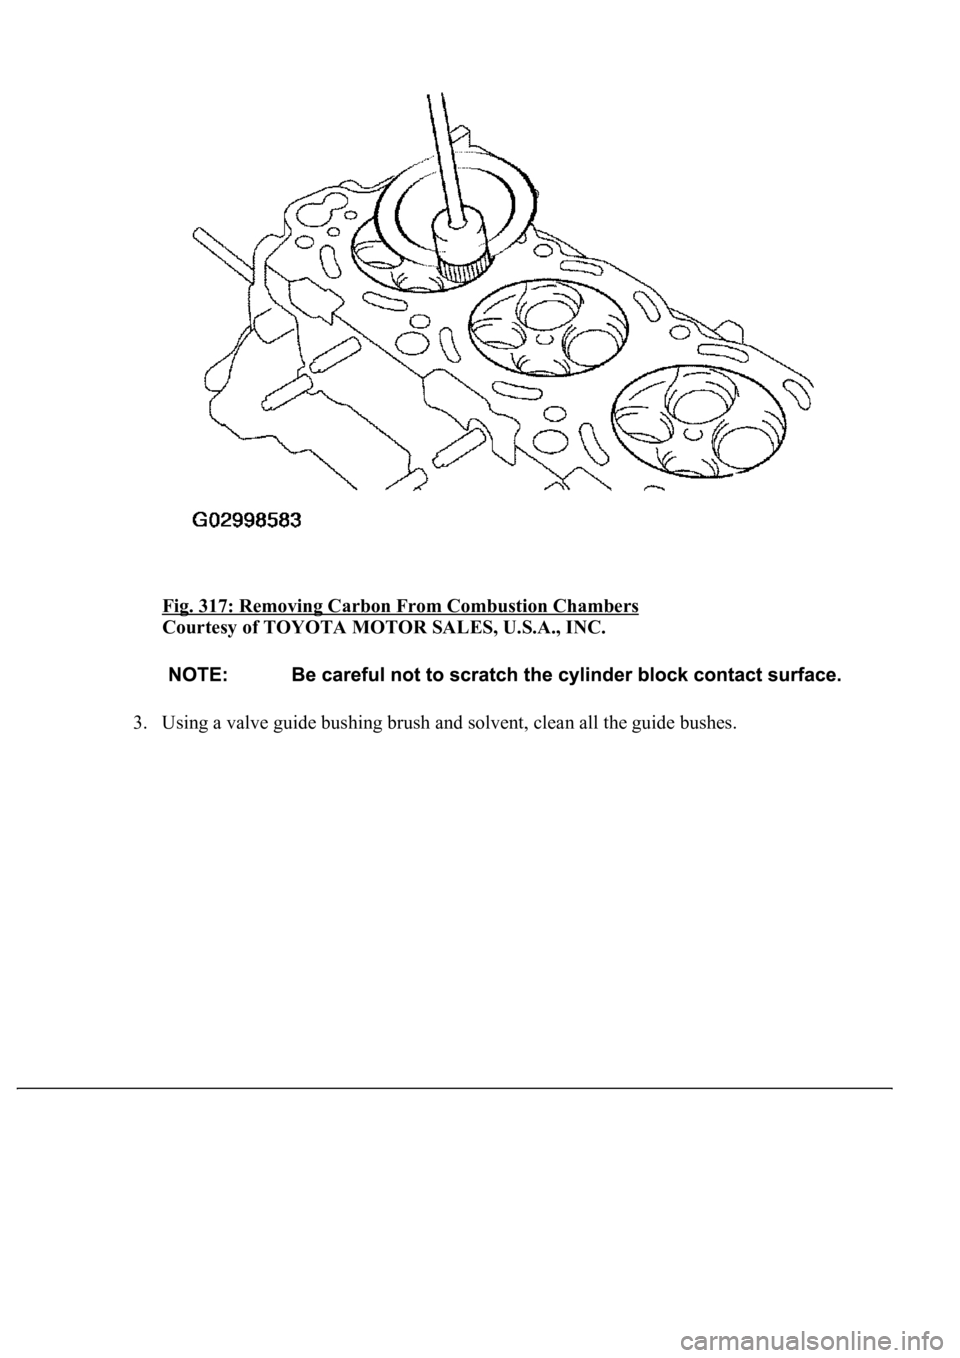
Fig. 317: Removing Carbon From Combustion Chambers
Courtesy of TOYOTA MOTOR SALES, U.S.A., INC.
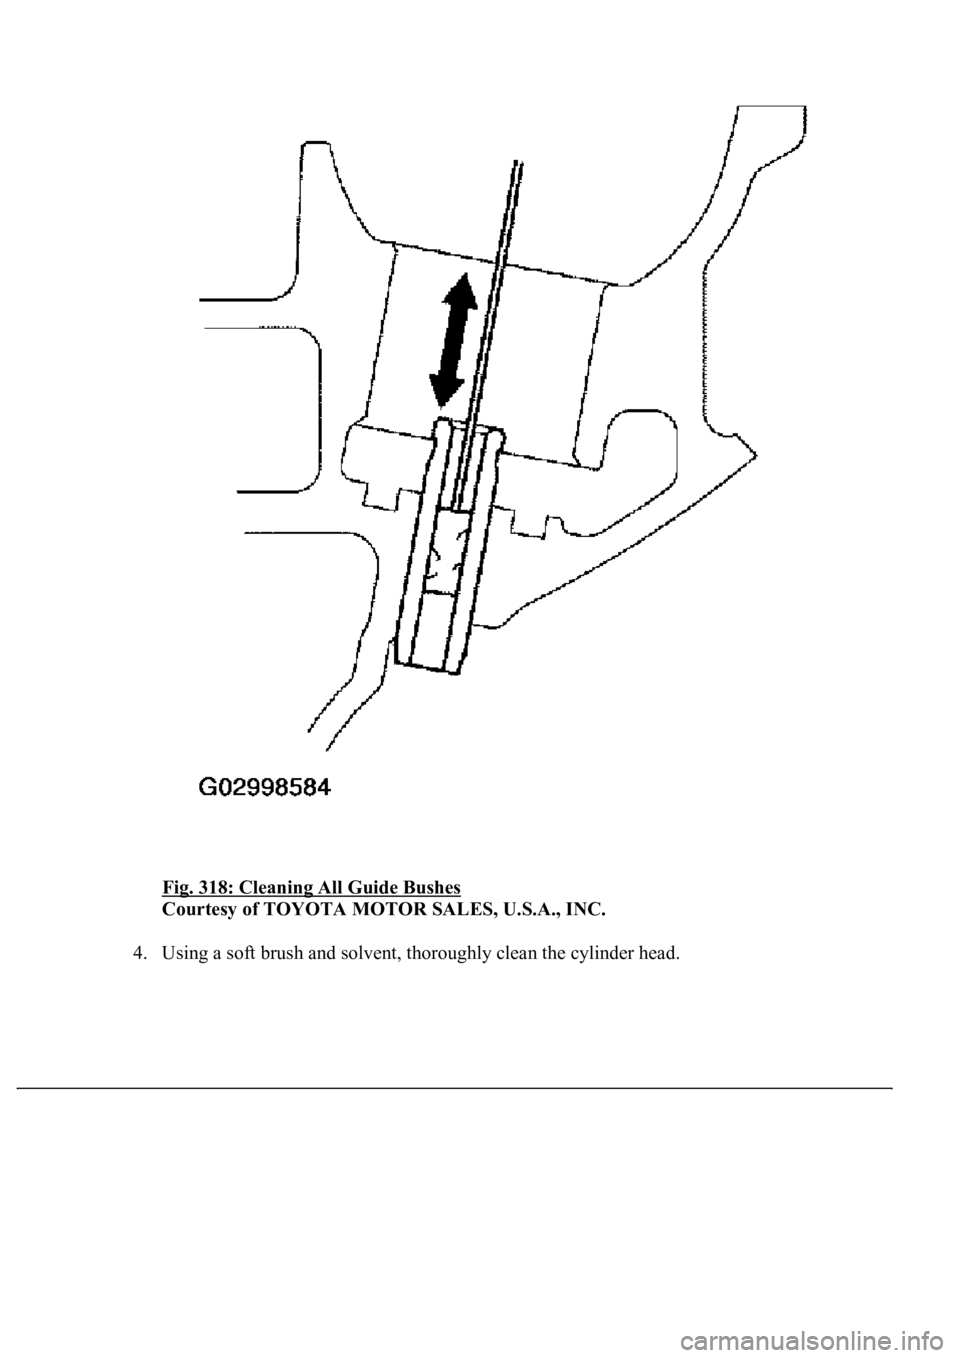
3. Using a valve guide bushing brush and solvent, clean all the guide bushes.
Page 3602 of 4500
Fig. 318: Cleaning All Guide Bushes
Courtesy of TOYOTA MOTOR SALES, U.S.A., INC.
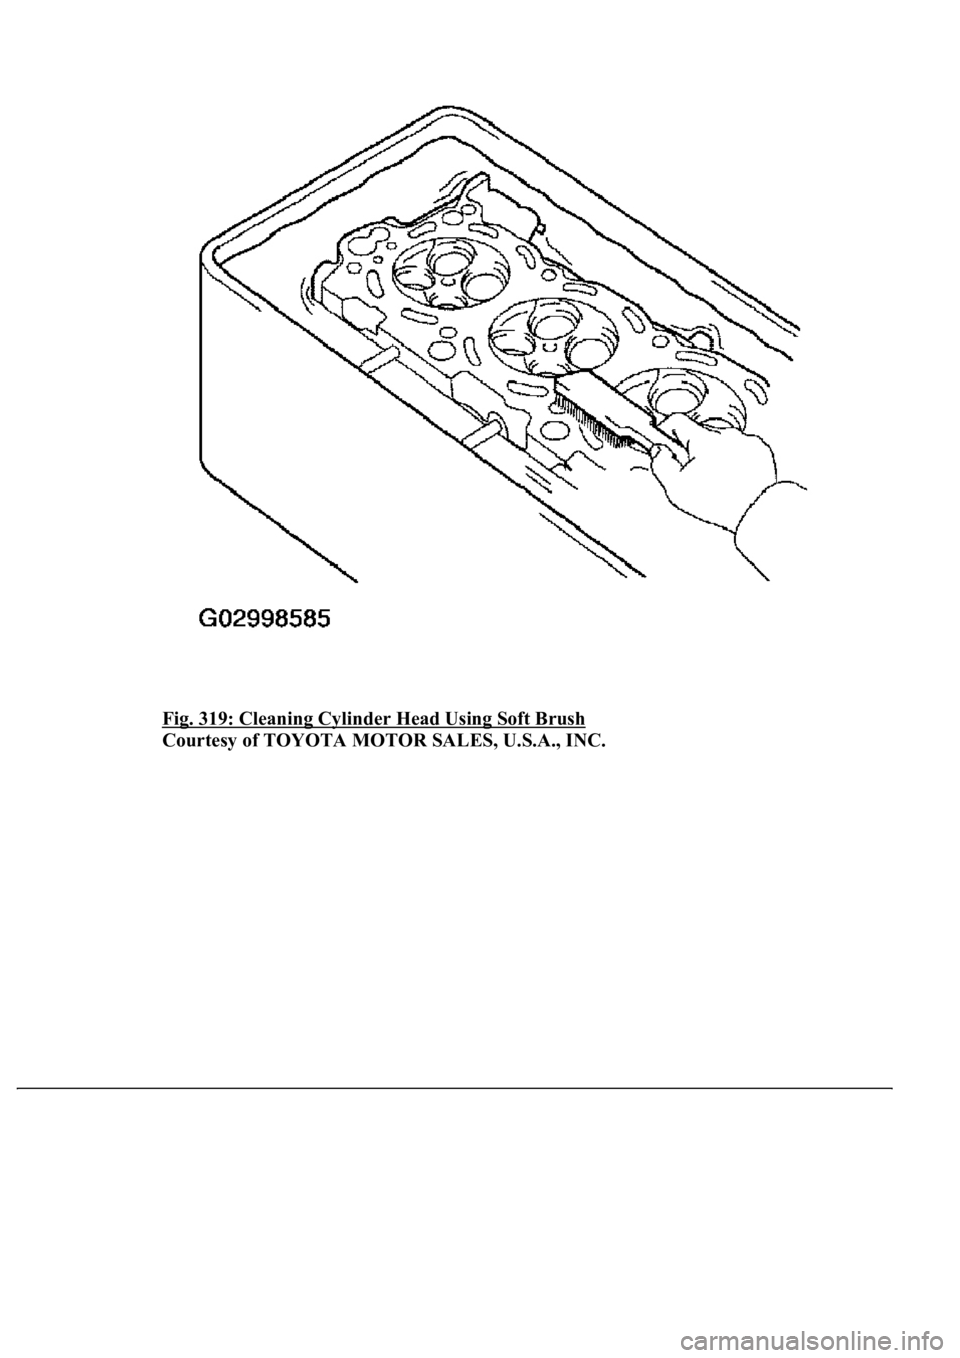
4. Using a soft brush and solvent, thoroughly clean the cylinder head.
Page 3603 of 4500
Fig. 319: Cleaning Cylinder Head Using Soft Brush
Courtesy of TOYOTA MOTOR SALES, U.S.A., INC.
Page 3604 of 4500
Fig. 320: Inspecting Cylinder Head Warpage
Courtesy of TOYOTA MOTOR SALES, U.S.A., INC.
b. Inspect the cylinder head warpage.
1. Usin
g a precision straight edge and feeler gauge, measure the surfaces contacting the cylinder
Page 3605 of 4500
block and the manifolds for warpage.
MAXIMUM WARPAGE:
CYLINDER BLOCK CONTACTING SURFACE SPECIFICATIONS
If the warpage is greater than the maximum, replace the cylinder head.
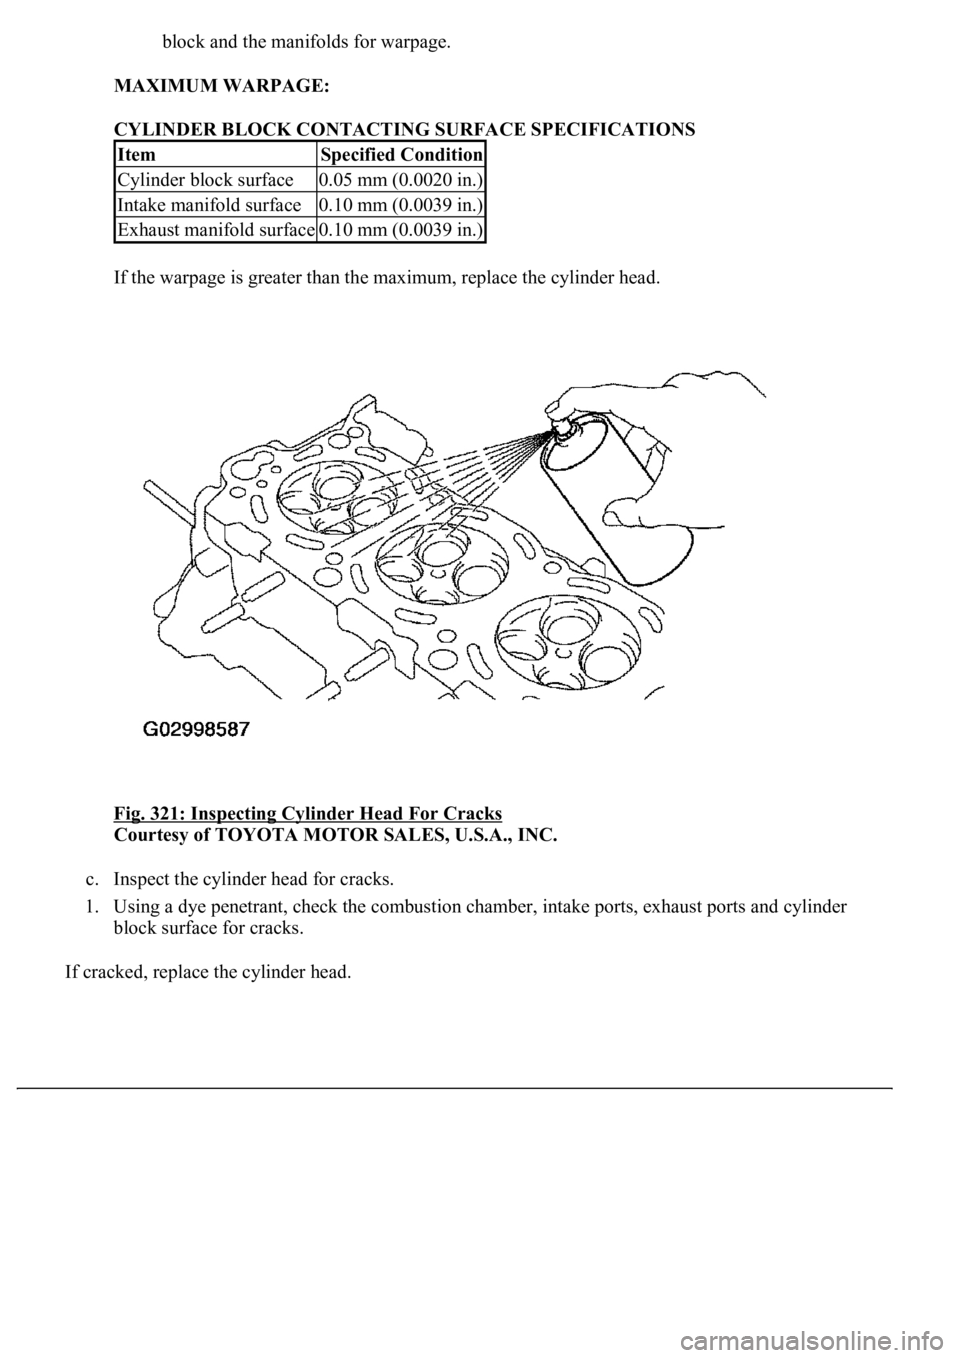
Fig. 321: Inspecting Cylinder Head For Cracks
Courtesy of TOYOTA MOTOR SALES, U.S.A., INC.
c. Inspect the cylinder head for cracks.
1. Using a dye penetrant, check the combustion chamber, intake ports, exhaust ports and cylinder
block surface for cracks.
If cracked, replace the c
ylinder head.
ItemSpecified Condition
Cylinder block surface0.05 mm (0.0020 in.)
Intake manifold surface0.10 mm (0.0039 in.)
Exhaust manifold surface0.10 mm (0.0039 in.)
Page 3606 of 4500
Fig. 322: Cleaning Valves
Courtesy of TOYOTA MOTOR SALES, U.S.A., INC.
6.INSPECT INTAKE VALVE
a. Clean the valves.
1. Using a gasket scraper, chip off any carbon from the valve head.
2. Usin
g a wire brush, thoroughly clean the valve.
Page 3607 of 4500
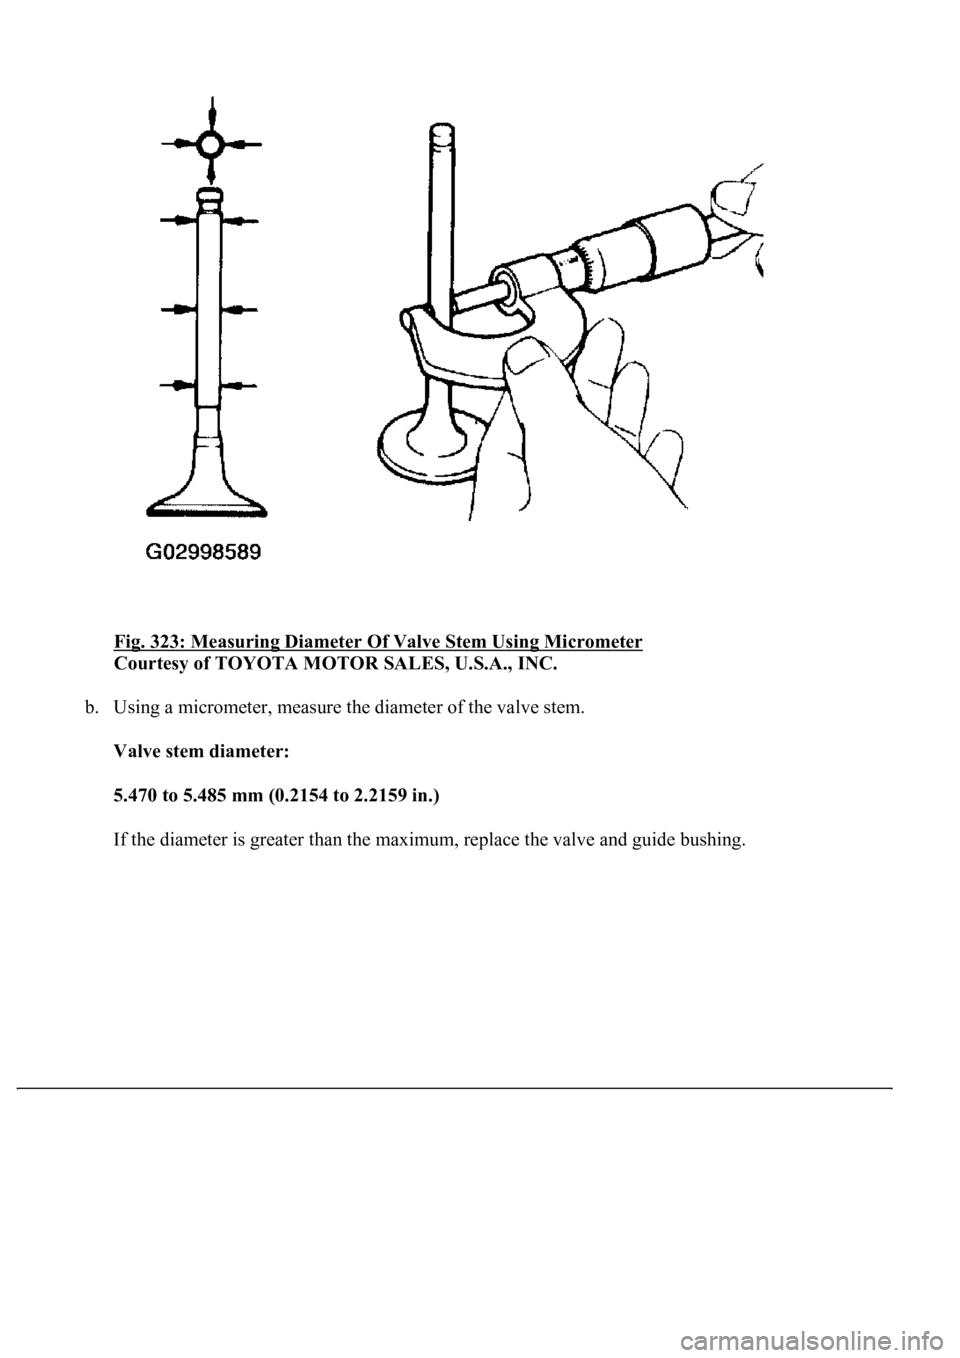
Fig. 323: Measuring Diameter Of Valve Stem Using Micrometer
Courtesy of TOYOTA MOTOR SALES, U.S.A., INC.
b. Using a micrometer, measure the diameter of the valve stem.
Valve stem diameter:
5.470 to 5.485 mm (0.2154 to 2.2159 in.)
If the diameter is
greater than the maximum, replace the valve and guide bushing.
Page 3608 of 4500
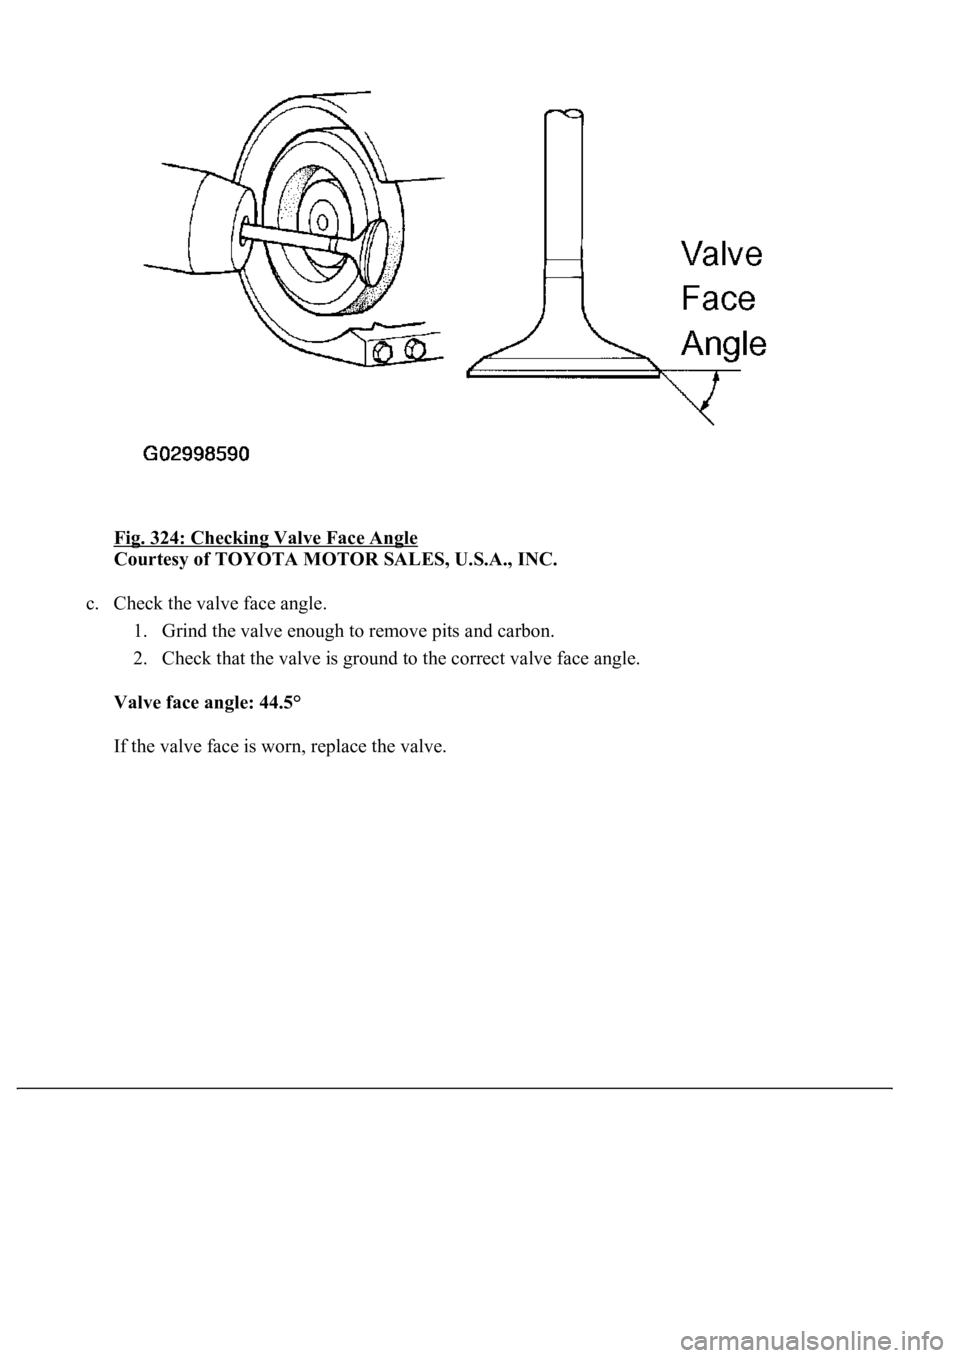
Fig. 324: Checking Valve Face Angle
Courtesy of TOYOTA MOTOR SALES, U.S.A., INC.
c. Check the valve face angle.
1. Grind the valve enough to remove pits and carbon.
2. Check that the valve is ground to the correct valve face angle.
Valve face angle: 44.5°
If the valve face is worn, replace the valve.
Page 3609 of 4500
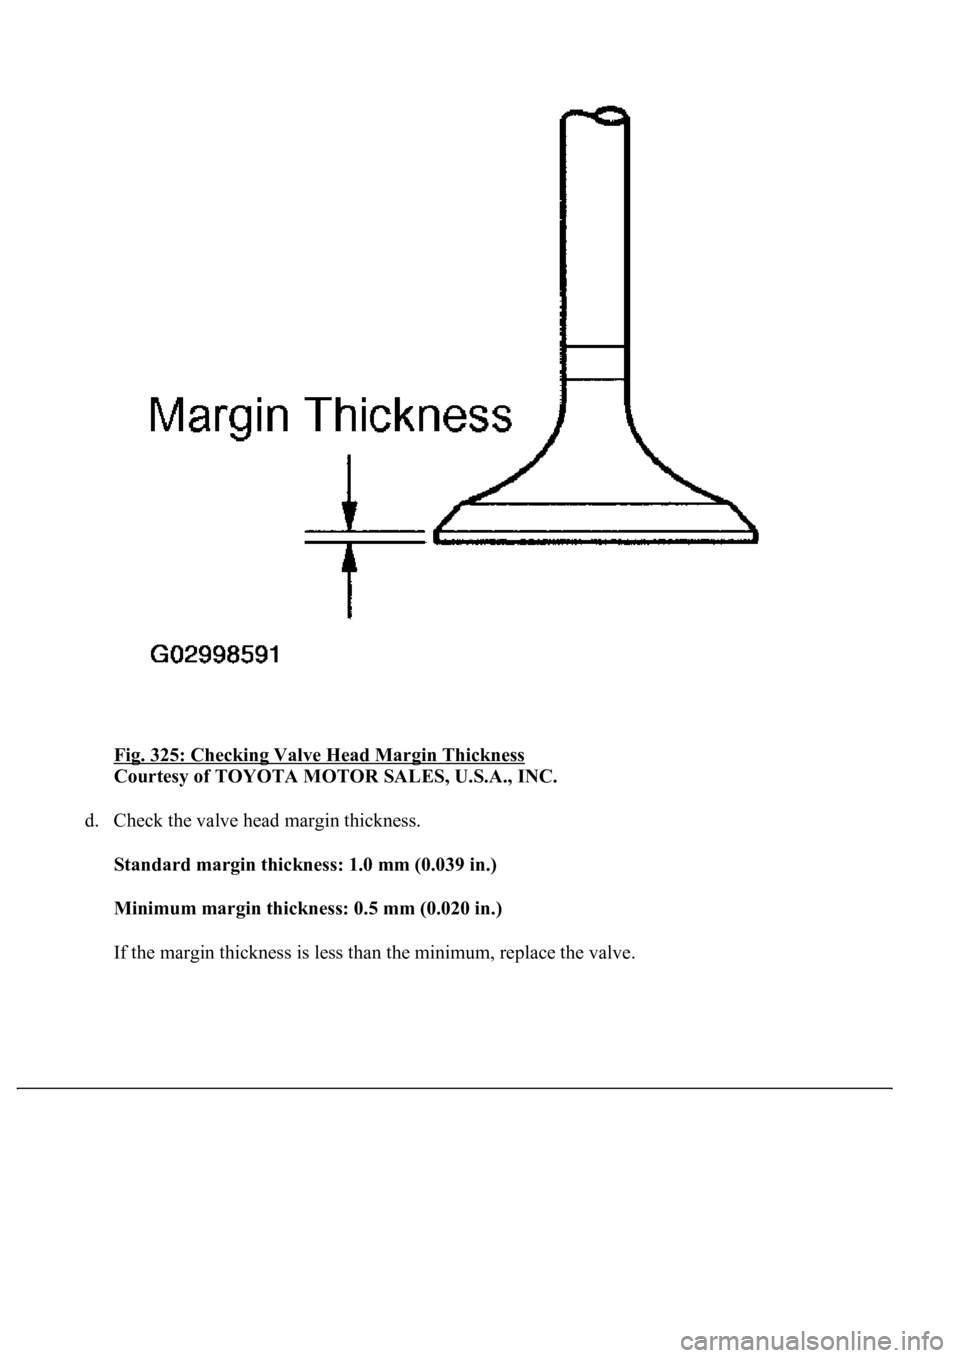
Fig. 325: Checking Valve Head Margin Thickness
Courtesy of TOYOTA MOTOR SALES, U.S.A., INC.
d. Check the valve head margin thickness.
Standard margin thickness: 1.0 mm (0.039 in.)
Minimum margin thickness: 0.5 mm (0.020 in.)
If the mar
gin thickness is less than the minimum, replace the valve.
Page 3610 of 4500
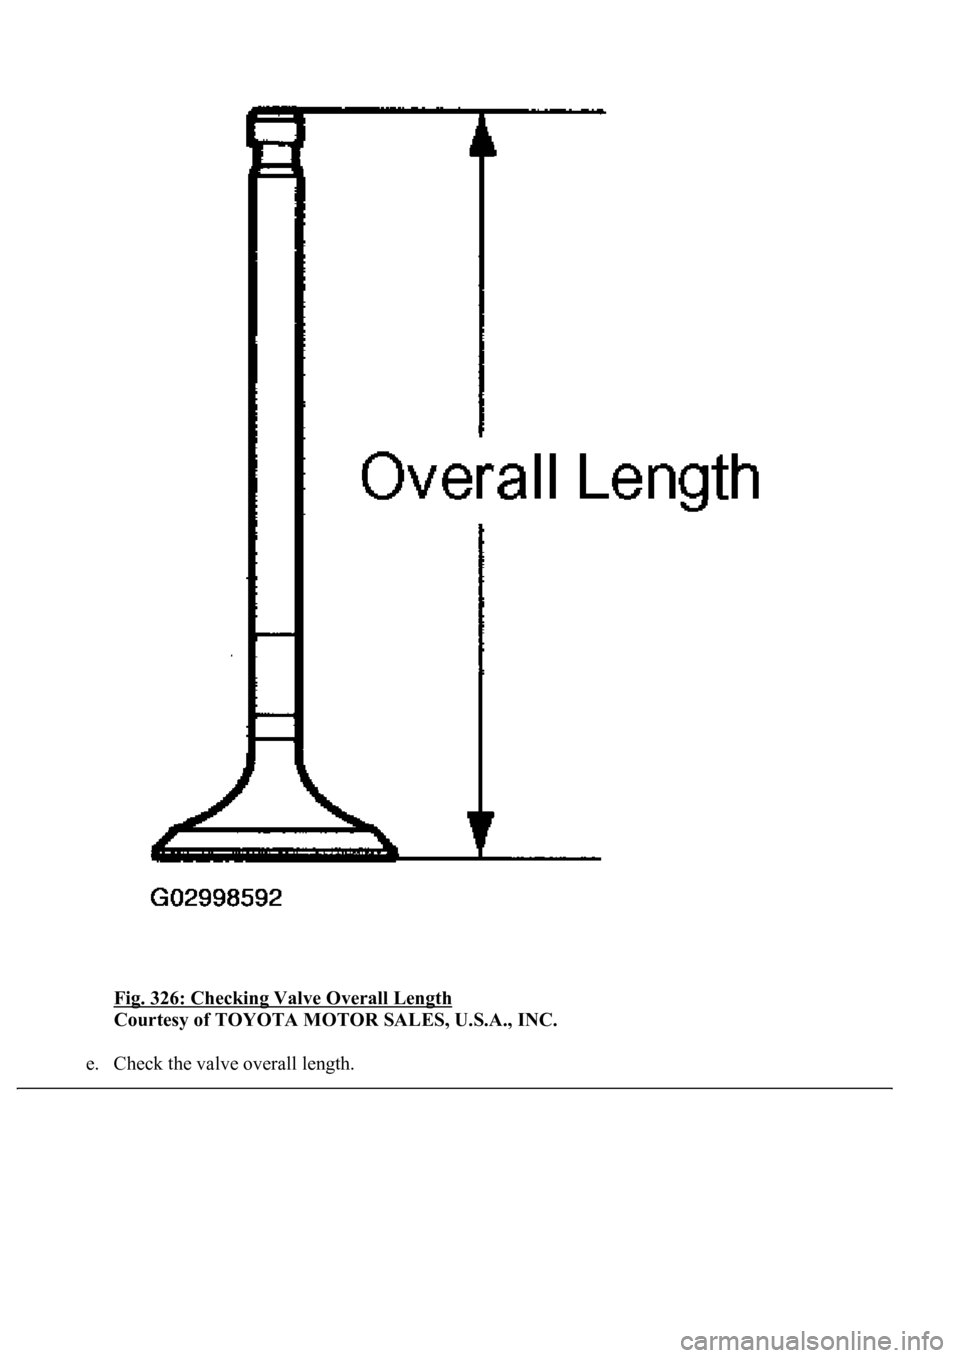
Fig. 326: Checking Valve Overall Length
Courtesy of TOYOTA MOTOR SALES, U.S.A., INC.
e. Check the valve overall len
gth.
Trending: oil filter, replacement, battery replacement, tire type, tires, roof rack, odometer
