Mercury Mountaineer 1997 s Manual PDF
Manufacturer: MERCURY, Model Year: 1997, Model line: Mountaineer, Model: Mercury Mountaineer 1997Pages: 197, PDF Size: 2.08 MB
Page 71 of 197

Safety belt extension assembly
For some people, the safety belt
may be too short even when it is
fully extended. You can add about
20 cm (8 in) to the belt length
with a safety belt extension
assembly (part # 611C22). Safety
belt extensions are available at no
cost from your dealer.
Use only extensions manufactured
by the same supplier as the safety
belt. Manufacturer identification is
located at the end of the webbing
on the label. Also, use the safety
belt extension only if the safety
belt is too short for you when fully
extended. Do not use extension to
change the fit of the shoulder belt
across the torso.
Failure to follow these
instructions will affect the
performance of the safety belts
and increase the risk of personal
injury.
Cleaning the safety belts
Clean the safety belts with a mild
soap solution recommended for
cleaning upholstery or carpets. Do
not bleach or dye the belts,
because these actions may weaken
the belt webbing.
AIR BAG PRECAUTIONS
Your vehicle is equipped with an
air bag supplemental restraint
system (SRS) designed to work
with safety belts to help protect
you and your right front seat
Seating and safety restraints
71
Page 72 of 197

passenger in the event of a
collision.
All occupants of the
vehicle, including the
driver, should always wear their
safety belts, even when an air
bag supplemental restraint
system is provided.
Do not place objects or
mount equipment on or
near the air bag cover on the
steering wheel or in front seat
areas that may come into contact
with a deploying air bag. Failure
to follow this instruction may
increase the risk of personal
injury in the event of a collision.
Do not attempt to service,
repair, or modify the air
bag supplemental restraint
system or its fuses. See your
Ford or Lincoln-Mercury dealer.
Rear-facing child seats or
infant carriers should
never be placed in the front seat.
Air bags and air bag equipped
vehicles should be disposed of only
by your dealer.
Seating and safety restraints
72
Page 73 of 197

AIR BAG DESCRIPTION
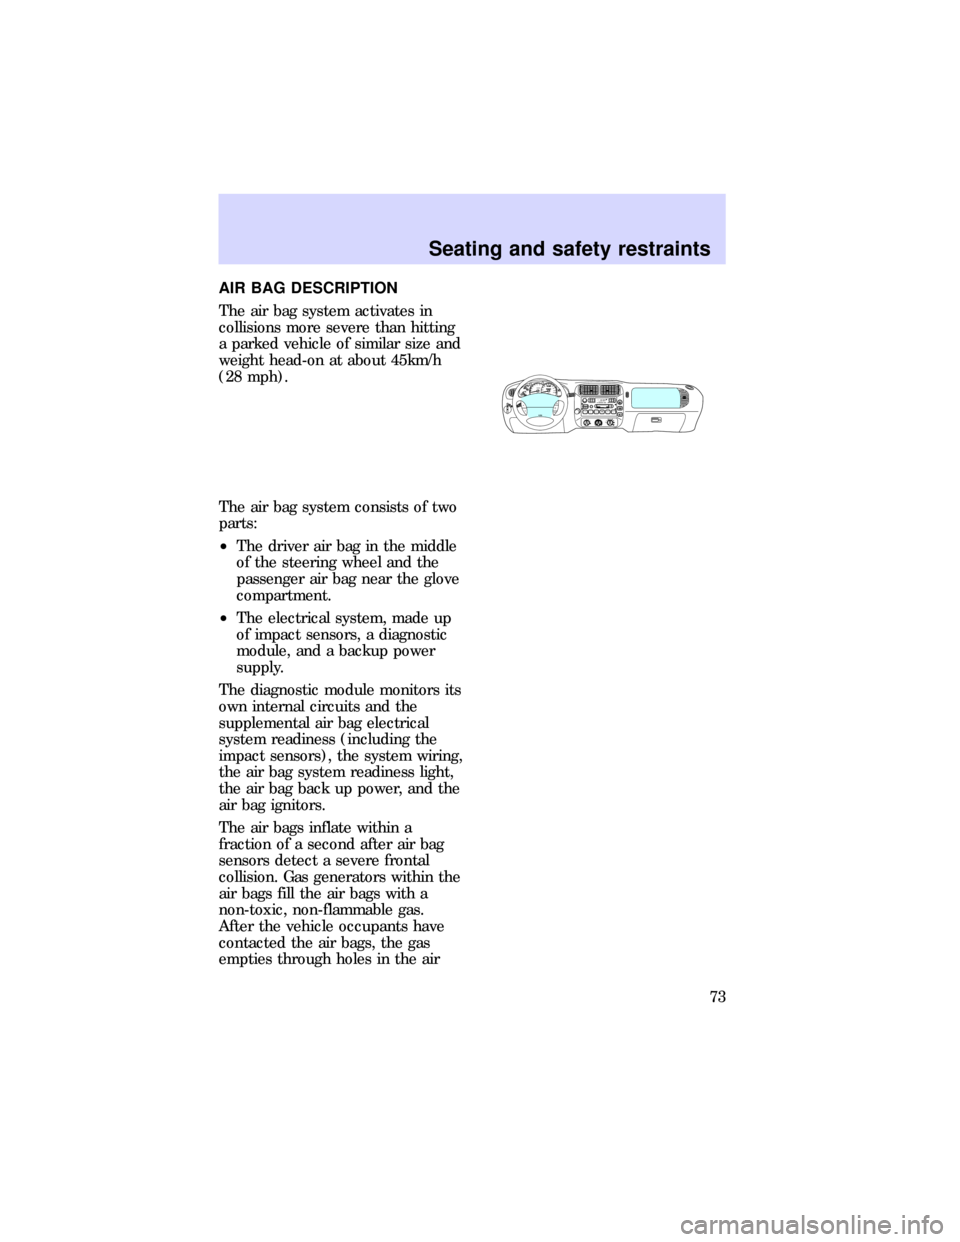
The air bag system activates in
collisions more severe than hitting
a parked vehicle of similar size and
weight head-on at about 45km/h
(28 mph).
The air bag system consists of two
parts:
²The driver air bag in the middle
of the steering wheel and the
passenger air bag near the glove
compartment.
²The electrical system, made up
of impact sensors, a diagnostic
module, and a backup power
supply.
The diagnostic module monitors its
own internal circuits and the
supplemental air bag electrical
system readiness (including the
impact sensors), the system wiring,
the air bag system readiness light,
the air bag back up power, and the
air bag ignitors.
The air bags inflate within a
fraction of a second after air bag
sensors detect a severe frontal
collision. Gas generators within the
air bags fill the air bags with a
non-toxic, non-flammable gas.
After the vehicle occupants have
contacted the air bags, the gas
empties through holes in the air
EOFF0020406080100
120
140
160
180
200P RND21000000ooookm/hUNLEADED
FUEL ONLY
RPM x 100012345
6H
CEF
RSM
SET
ACC
COAST OFF ONOFFSRSHI LOOFF*A/C*MAX
A/CREW
1FF
2SIDE 1-2
3FM 1STVOL – PUSH ON
AM
FMBASS TREBBAL FADE
AUTO
SET CLKSEEKTUNE
DISCSSCAN4DOLBY SYSTEMEJTAPE CDCOMP
5SHUFFLE
6PUSH
Seating and safety restraints
73
Page 74 of 197

bags, and the air bags deflate. You
may notice smoke and smell the
escaping gas after the air bags
deflate. This is normal.
You and your passenger must wear
your safety belts in order for the
air bag system to operate
effectively.
AIR BAG WARNING LIGHT AND
CHIME
When you turn the ignition key to
the ON position, the
warning
light in the instrument cluster
illuminates for approximately six
seconds to indicate the air bag
system is functional.
If you hear a group of five beeps,
or if the
warning light does
not illuminate, stays lit, or flashes,
the air bag system requires
immediate service. Have the
vehicle serviced at your dealer.
CHILD RESTRAINT
PRECAUTIONS
You are required by law to use
safety restraints in the United
States and Canada. If small
children ride in your vehicle
(generally children who are four
years of age or younger and who
weigh 18 kg [40 lb or less]), you
must put them in safety seats
made especially for children.
Check your local and state laws for
specific requirements regarding the
safety of your children.
Seating and safety restraints
74
Page 75 of 197

Never let a passenger hold
a child on his or her lap
while the vehicle is moving. The
passenger cannot protect the
child from injury in a collision.
Always follow the instructions and
warnings that come with any infant
or child restraint you might use.
If possible, place children in the
rear seat of your vehicle. Accident
statistics suggest children are safer
when properly restrained in rear
seating positions than in the front
seating positions.
CHILDREN AND SAFETY BELTS
Children who are too large for
child safety seats (as specified by
the manufacturer of your child
safety seat) should always wear
their safety belts.
Follow all the important safety
restraint and air bag precautions
that apply to adult passengers in
your vehicle.
If the shoulder belt portion of a
combination lap and shoulder belt
can be positioned so it does not
cross or rest in front of the child's
face or neck, the child should wear
the lap and shoulder belt. Moving
the child closer to the center of
the vehicle may help to provide a
good shoulder belt fit.
If the shoulder belt cannot be
properly positioned:
²Move the child to a seat with a
lap belt only.
Seating and safety restraints
75
Page 76 of 197

OR
²If the child is the proper size,
restrain the child in a safety
seat.
CHILDREN AND INFANT OR
CHILD SAFETY SEATS
Carefully follow all of the
manufacturer's instructions
included with the safety seat you
put in your vehicle. If you do not
install and use the safety seat
properly, the child may be
injured in a sudden stop or
collision.
When installing a child safety seat:
²Use the correct safety belt
buckle for that seating position.
²Make sure the tongue is
securely fastened in the buckle.
²Keep the buckle release button
pointing up and away from the
safety seat, with the tongue
between the child seat and the
release button, to prevent
accidental unbuckling.
²Place seatbacks in the upright
position.
²Put the safety belt in the
automatic locking mode. Refer
toHow to use the automatic
locking mode.
PRESS
Seating and safety restraints
76
Page 77 of 197

Installing child safety seats in
combination lap and shoulder
belt seating positions
1. Position the child safety seat in
a seat with a combination lap and
shoulder belt.
If you choose to install a child
safety seat in the front passenger
seat, move the seat as far back as
possible.
Rear-facing child seats or
infant carriers should
never be placed in the front seat.
2. Pull down on the shoulder belt
and then grasp the shoulder belt
and lap belt together.
Seating and safety restraints
77
Page 78 of 197

3. While holding the shoulder and
lap belt portions together, route
the tongue through the child seat
according to the child seat
manufacturer's instructions. Be
sure the belt webbing is not
twisted.
4. Insert the belt tongue into the
proper buckle for that seating
position until you hear and feel the
latch engage. Make sure the
tongue is latched securely by
pulling on it.
5. Grasp the shoulder portion of
the belt and pull downward until
all of the belt is extracted and a
click is heard to put the retractor
in the automatic locking mode.
6. Allow the belt to retract. The
belt will click as it retracts to
indicate it is in the automatic
locking mode.
PRESS
Seating and safety restraints
78
Page 79 of 197

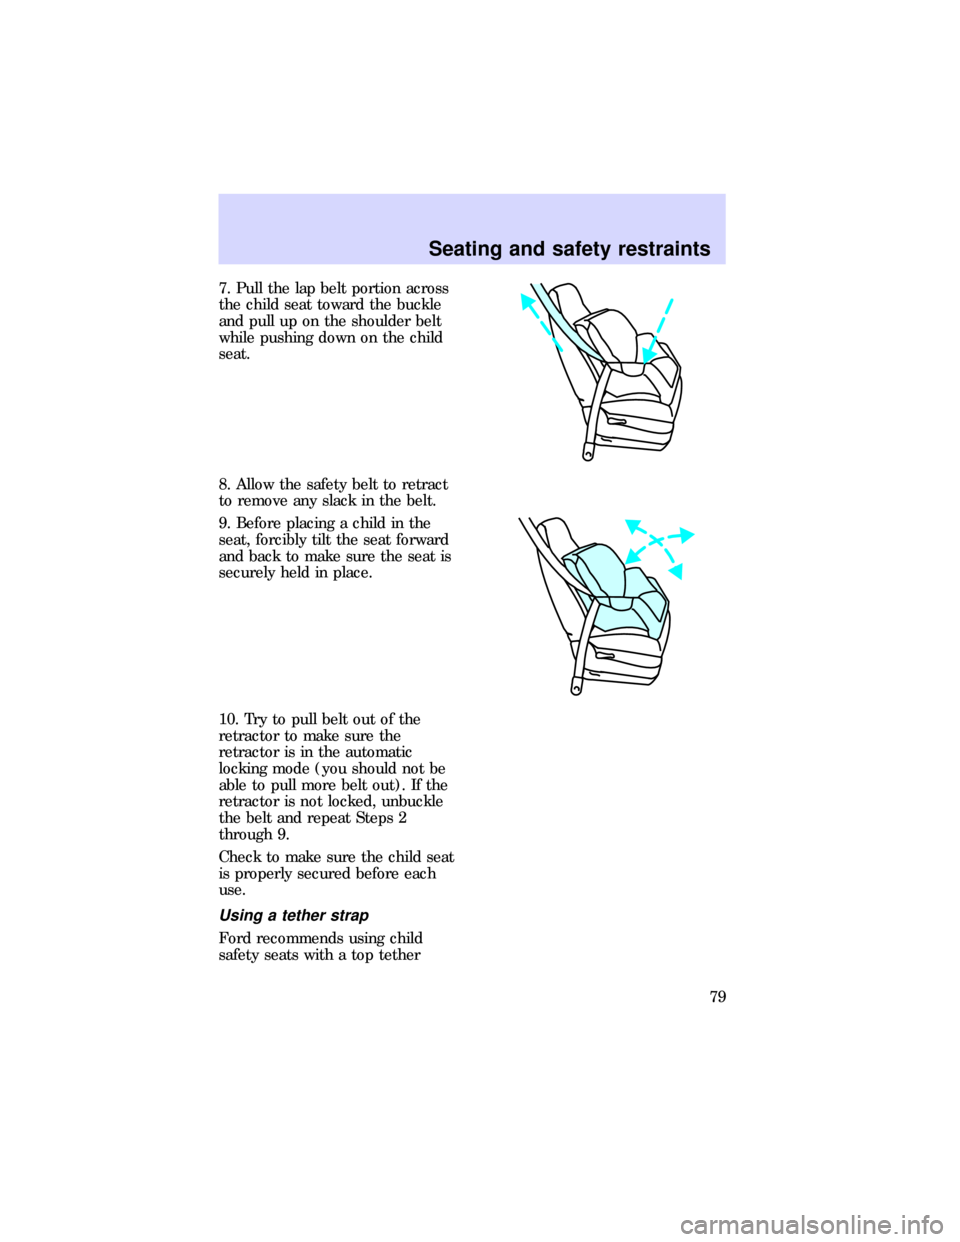
7. Pull the lap belt portion across
the child seat toward the buckle
and pull up on the shoulder belt
while pushing down on the child
seat.
8. Allow the safety belt to retract
to remove any slack in the belt.
9. Before placing a child in the
seat, forcibly tilt the seat forward
and back to make sure the seat is
securely held in place.
10. Try to pull belt out of the
retractor to make sure the
retractor is in the automatic
locking mode (you should not be
able to pull more belt out). If the
retractor is not locked, unbuckle
the belt and repeat Steps 2
through 9.
Check to make sure the child seat
is properly secured before each
use.
Using a tether strap
Ford recommends using child
safety seats with a top tether
Seating and safety restraints
79
Page 80 of 197

strap. Contact the manufacturer of
your safety seat for information
about ordering a tether strap if
one is not provided to you. Contact
your Ford dealer for a free tether
anchor kit (613D74) so you can
attach a tether anchor bracket to
the tether anchor attachment
locations in the rear floor.
Carefully follow the instructions
provided with the kit.
Only use the tether
attachment hole locations
shown. The tether anchor may
not perform properly if the
wrong mounting location is used.
Follow the child seat
manufacturer's instructions for
installing a child seat with a tether
strap.
Ford recommends you attach
tethered safety seats in a rear
seating position with the tether
strap attached to the tether
anchoring bracket as shown in the
instructions provided with the
tether anchor kit.
If a tethered seat must be installed
in the front passenger seat:
1. Buckle the safety belt in the
seat directly behind the front
passenger seat.
2. Place the rear safety belt in the
automatic locking mode. Refer to
How to use the automatic locking
modein this chapter.
3. Install the child safety seat in
the front seat. Refer to the
Seating and safety restraints
80