service NISSAN NAVARA 2005 Repair Workshop Manual
[x] Cancel search | Manufacturer: NISSAN, Model Year: 2005, Model line: NAVARA, Model: NISSAN NAVARA 2005Pages: 3171, PDF Size: 49.59 MB
Page 2520 of 3171
REFRIGERANT LINES
MTC-133
C
D
E
F
G
H
I
K
L
MA
B
MTC
CHECKING PROCEDURE
To prevent inaccurate or false readings, make sure there is no refrigerant vapor, shop chemicals, or cigarette
smoke in the vicinity of the vehicle. Perform the leak test in calm area (low air/wind movement) so that the
leaking refrigerant is not dispersed.
1. Turn engine OFF.
2. Connect a suitable A/C manifold gauge set (SST) to the A/C service valves.
3. Check if the A/C refrigerant pressure is at least 345 kPa (3.45 bar, 3.52 kg/cm
2, 50 psi) above 16°C. If
less than specification, recover/evacuate and recharge the system with the specified amount of refriger-
ant.
NOTE:
At temperatures below 16°C, leaks may not be detected since the system may not reach 345 kPa (3.45
bar, 3.52 kg/cm
2,50psi).
4. Perform the leak test from the high-pressure side (compressor discharge a to evaporator inlet g) to the
low-pressure side (evaporator drain hose h to shaft seal l). Refer toMTC-120, "
Components". Perform a
leak check for the following areas carefully. Clean the component to be checked and move the leak
detected probe completely around the connection/component.
Compressor
Check the fitting of high- and low-pressure flexible hoses, relief valve and shaft seal.
Liquid tank
Check the refrigerant pressure sensor.
Service valves
Check all around the service valves. Ensure service valve caps are secured on the service valves (to pre-
vent leaks).
NOTE:
After removing A/C manifold gauge set from service valves, wipe any residue from valves to prevent any
false readings by leak detector.
Cooling unit (Evaporator)
With engine OFF, turn blower fan on “High” for at least 15 seconds to dissipate any refrigerant trace in the
cooling unit. Wait a minimum of 10 minutes accumulation time (refer to the manufacturer’s recommended
procedure for actual wait time) before inserting the leak detector probe into the drain hose.
Keep the probe inserted for at least 10 seconds. Use caution not to contaminate the probe tip with water
or dirt that may be in the drain hose.
5. If a leak detector detects a leak, verify at least once by blowing compressed air into area of suspected
leak, then repeat check as outlined above.
6. Do not stop when one leak is found. Continue to check for additional leaks at all system components.
If no leaks are found, perform steps 7 - 10.
7. Start engine.
8. Set the heater A/C control as follows;
a. A/C switch: ON
b. MODE control dial: VENT (Ventilation)
c. Intake door position: Recirculation
d. Max. cold temperature
e. Fan speed: High
9. Run engine at 1,500 rpm for at least 2 minutes.
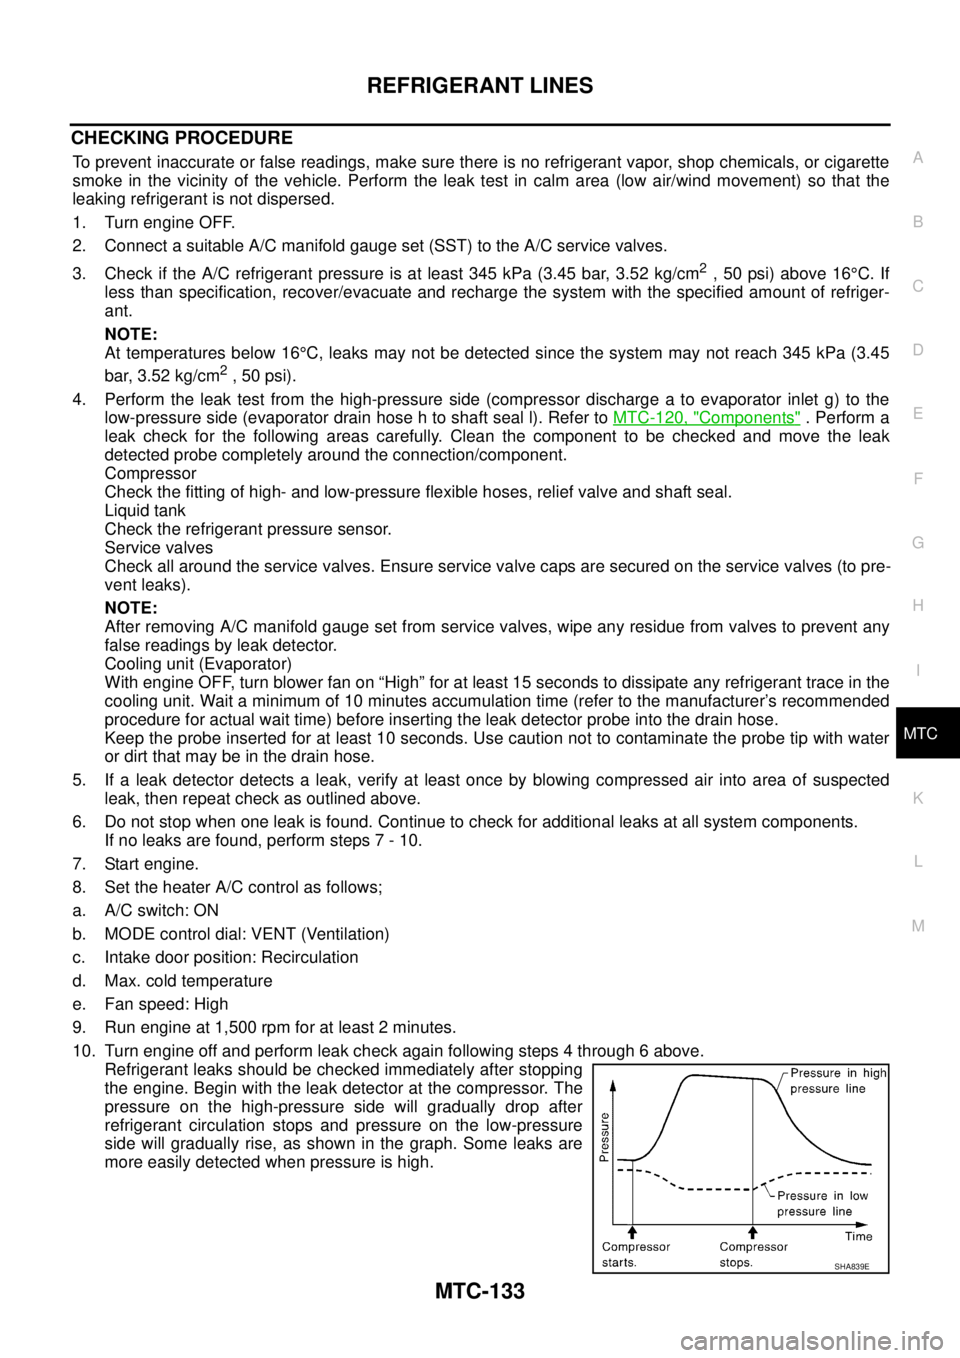
10. Turn engine off and perform leak check again following steps 4 through 6 above.
Refrigerant leaks should be checked immediately after stopping
the engine. Begin with the leak detector at the compressor. The
pressure on the high-pressure side will gradually drop after
refrigerant circulation stops and pressure on the low-pressure
side will gradually rise, as shown in the graph. Some leaks are
more easily detected when pressure is high.
SHA839E
Page 2522 of 3171
SERVICE DATA AND SPECIFICATIONS (SDS)
MTC-135
C
D
E
F
G
H
I
K
L
MA
B
MTC
SERVICE DATA AND SPECIFICATIONS (SDS)PFP:00030
Service Data and Specifications (SDS)EJS005HS
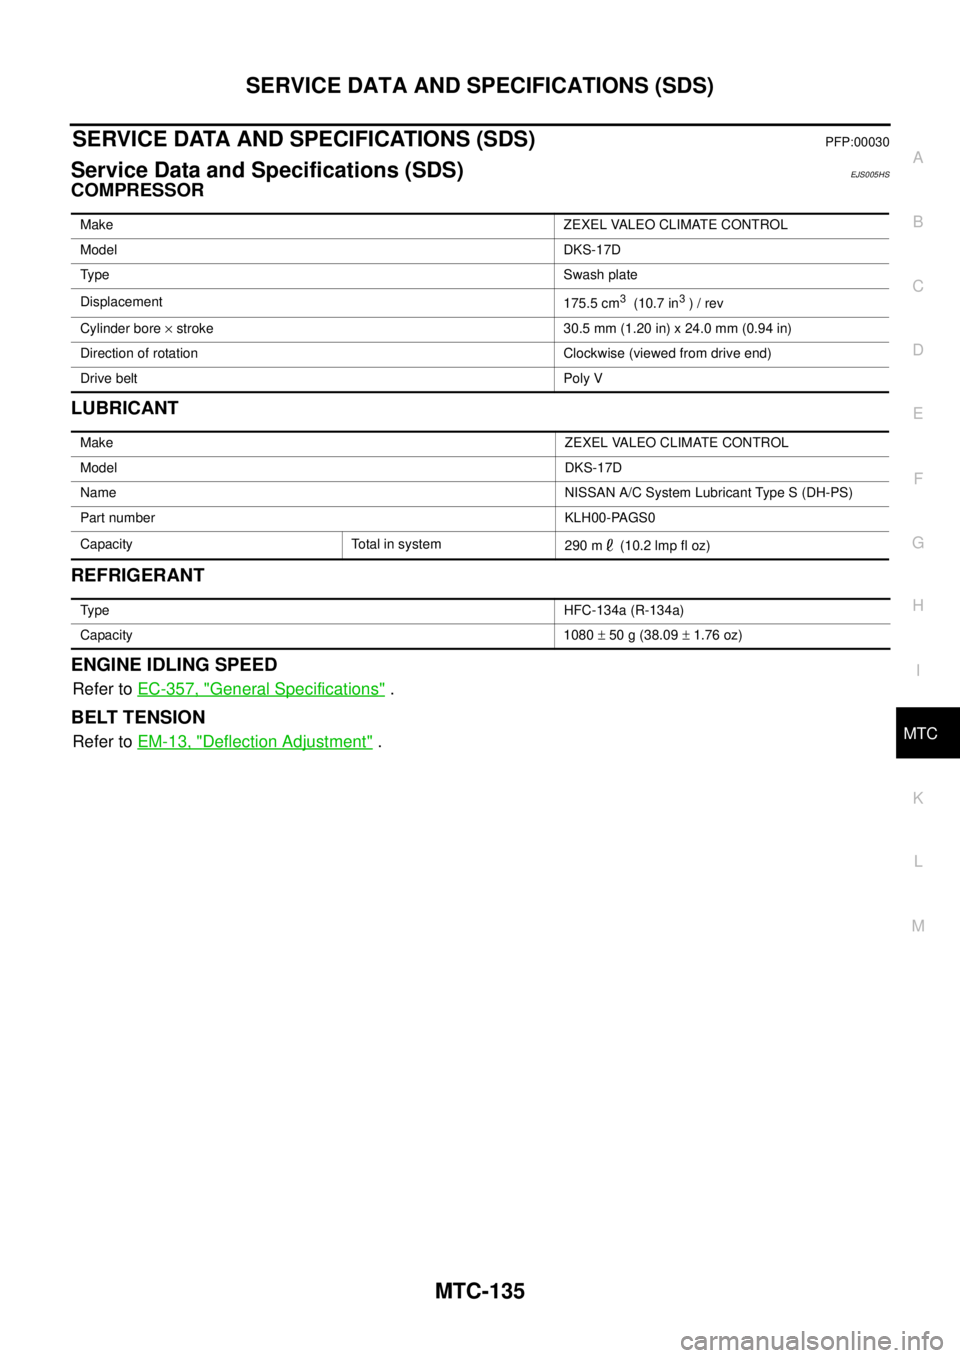
COMPRESSOR
LUBRICANT
REFRIGERANT
ENGINE IDLING SPEED
Refer toEC-357, "General Specifications".
BELT TENSION
Refer toEM-13, "Deflection Adjustment".
MakeZEXEL VALEO CLIMATE CONTROL
ModelDKS-17D
Ty p eSwash plate
Displacement
175.5 cm
3(10.7 in3)/rev
Cylinder bore´stroke 30.5 mm (1.20 in) x 24.0 mm (0.94 in)
Direction of rotation Clockwise (viewed from drive end)
Drive belt Poly V
MakeZEXEL VALEO CLIMATE CONTROL
ModelDKS-17D
NameNISSAN A/C System Lubricant Type S (DH-PS)
Part number KLH00-PAGS0
Capacity Total in system
290m (10.2lmpfloz)
Ty p eHFC-134a (R-134a)
Capacity 1080±50g(38.09±1.76 oz)
Page 2523 of 3171

MTC-136
SERVICE DATA AND SPECIFICATIONS (SDS)
Page 2524 of 3171

PB-1
PARKING BRAKE SYSTEM
F BRAKES
CONTENTS
C
D
E
G
H
I
J
K
L
M
SECTIONPB
A
B
PB
PARKING BRAKE SYSTEM
PARKING BRAKE CONTROL ................................... 2
On-Vehicle Service ................................................... 2
INSPECTION ........................................................ 2
COMPONENTS INSPECTION ............................. 2
ADJUSTMENT ...................................................... 2Components ............................................................. 3
Removal and Installation .......................................... 4
REMOVAL ............................................................. 4
INSTALLATION ..................................................... 5
SERVICE DATA AND SPECIFICATIONS (SDS) ........ 6
Parking Brake Control .............................................. 6
Page 2525 of 3171
PB-2
PARKING BRAKE CONTROL
PARKING BRAKE CONTROL
PFP:36010
On-Vehicle ServiceEFS006AJ
INSPECTION
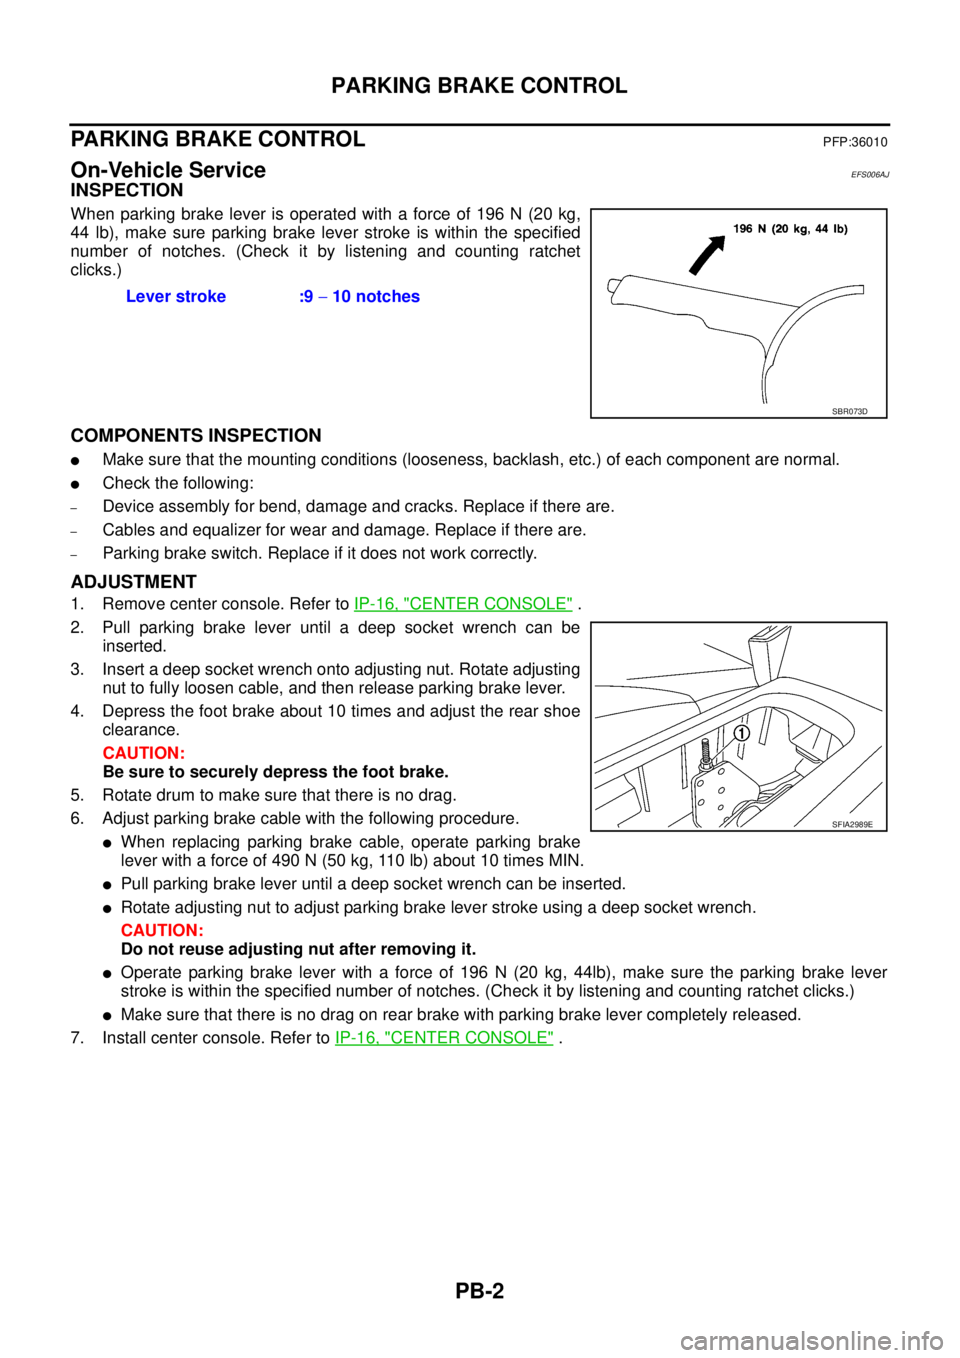
When parking brake lever is operated with a force of 196 N (20 kg,
44 lb), make sure parking brake lever stroke is within the specified
number of notches. (Check it by listening and counting ratchet
clicks.)
COMPONENTS INSPECTION
lMake sure that the mounting conditions (looseness, backlash, etc.) of each component are normal.
lCheck the following:
–Device assembly for bend, damage and cracks. Replace if there are.
–Cables and equalizer for wear and damage. Replace if there are.
–Parking brake switch. Replace if it does not work correctly.
ADJUSTMENT
1. Remove center console. Refer toIP-16, "CENTER CONSOLE".
2. Pull parking brake lever until a deep socket wrench can be
inserted.
3. Insert a deep socket wrench onto adjusting nut. Rotate adjusting
nut to fully loosen cable, and then release parking brake lever.
4. Depress the foot brake about 10 times and adjust the rear shoe
clearance.
CAUTION:
Be sure to securely depress the foot brake.
5. Rotate drum to make sure that there is no drag.
6. Adjust parking brake cable with the following procedure.
lWhen replacing parking brake cable, operate parking brake
leverwithaforceof490N(50kg,110lb)about10timesMIN.
lPull parking brake lever until a deep socket wrench can be inserted.
lRotate adjusting nut to adjust parking brake lever stroke using a deep socket wrench.
CAUTION:
Do not reuse adjusting nut after removing it.
lOperate parking brake lever with a force of 196 N (20 kg, 44lb), make sure the parking brake lever
stroke is within the specified number of notches. (Check it by listening and counting ratchet clicks.)
lMake sure that there is no drag on rear brake with parking brake lever completely released.
7. Install center console. Refer toIP-16, "
CENTER CONSOLE". Lever stroke :9-10 notches
SBR073D
SFIA2989E
Page 2529 of 3171

PB-6
SERVICE DATA AND SPECIFICATIONS (SDS)
SERVICE DATA AND SPECIFICATIONS (SDS)
PFP:00030
Parking Brake ControlEFS005SA
Control typeCenter lever
Number of notches [under a force of 196 N (20 kg, 44 lb)] 9 -10 notches
Number of notches when warning lamp switch comes on. 1 notch
Page 2532 of 3171
PRECAUTIONS
PG-3
C
D
E
F
G
H
I
J
L
MA
B
PG
PRECAUTIONSPFP:00011
Precautions for Supplemental Restraint System (SRS) “AIR BAG” and “SEAT
BELT PRE-TENSIONER”
EKS00N4A
The Supplemental Restraint System such as “AIR BAG” and “SEAT BELT PRE-TENSIONER”, used along
with a front seat belt, helps to reduce the risk or severity of injury to the driver and front passenger for certain
types of collision. Information necessary to service the system safely is included in the SRS and SB section of
this Service Manual.
WARNING:
lTo avoid rendering the SRS inoperative, which could increase the risk of personal injury or death
in the event of a collision which would result in air bag inflation, all maintenance must be per-
formed by an authorized NISSAN/INFINITI dealer.
lImproper maintenance, including incorrect removal and installation of the SRS, can lead to per-
sonal injury caused by unintentional activation of the system. For removal of Spiral Cable and Air
Bag Module, see the SRS section.
lDo not use electrical test equipment on any circuit related to the SRS unless instructed to in this
Service Manual. SRS wiring harnesses can be identified by yellow and/or orange harnesses or
harness connectors.
Wiring Diagrams and Trouble DiagnosisEKS00LIU
When you read wiring diagrams, refer to the following:
lRefer toGI-15, "HowtoReadWiringDiagrams"in GI section.
lRefer toPG-4, "POWER SUPPLY ROUTING CIRCUIT"for power distribution.
When you perform trouble diagnosis, refer to the following:
lRefer toGI-11, "HOW TO FOLLOW TEST GROUPS IN TROUBLE DIAGNOSES"in GI section.
lRefer toGI-24, "How to Perform Efficient Diagnosis for an Electrical Incident"in GI section.
Page 2616 of 3171

PR-1
PROPELLER SHAFT
D DRIVELINE/AXLE
CONTENTS
C
E
F
G
H
I
J
K
L
M
SECTIONPR
A
B
PR
PROPELLER SHAFT
NOISE, VIBRATION, AND HARSHNESS (NVH)
TROUBLESHOOTING ................................................ 2
NVH Troubleshooting Chart ..................................... 2
FRONT PROPELLER SHAFT .................................... 3
On-Vehicle Service ................................................... 3
APPEARANCE AND NOISE INSPECTION .......... 3
PROPELLER SHAFT VIBRATION ........................ 3
Removal and Installation .......................................... 4
COMPONENTS .................................................... 4
REMOVAL ............................................................. 4
INSPECTION ........................................................ 4
INSTALLATION ..................................................... 5
Disassembly and Assembly ..................................... 5
DISASSEMBLY ..................................................... 5
ASSEMBLY ........................................................... 6
REAR PROPELLER SHAFT ...................................... 7On-Vehicle Service ................................................... 7
APPEARANCE AND NOISE INSPECTION .......... 7
PROPELLER SHAFT VIBRATION ........................ 7
Removal and Installation .......................................... 8
COMPONENTS (2WD) ......................................... 8
COMPONENTS (4WD) ......................................... 8
REMOVAL ............................................................. 9
INSPECTION ........................................................ 9
INSTALLATION ................................................... 10
Disassembly and Assembly .................................... 10
DISASSEMBLY ................................................... 10
ASSEMBLY ......................................................... 11
SERVICE DATA AND SPECIFICATIONS (SDS) ...... 12
General Specifications ............................................ 12
Snap Ring ............................................................... 12
Page 2618 of 3171
FRONT PROPELLER SHAFT
PR-3
C
E
F
G
H
I
J
K
L
MA
B
PR
FRONT PROPELLER SHAFTPFP:37200
On-Vehicle ServiceEDS002WO
APPEARANCE AND NOISE INSPECTION
lCheck the propeller shaft tube surface for dents or cracks. If damaged, replace the propeller shaft assem-
bly.
lCheck the bearings for noise and damage. Repair or replace the bearings as necessary.
PROPELLER SHAFT VIBRATION
If a vibration is present at high speed, inspect the propeller shaft runout first.
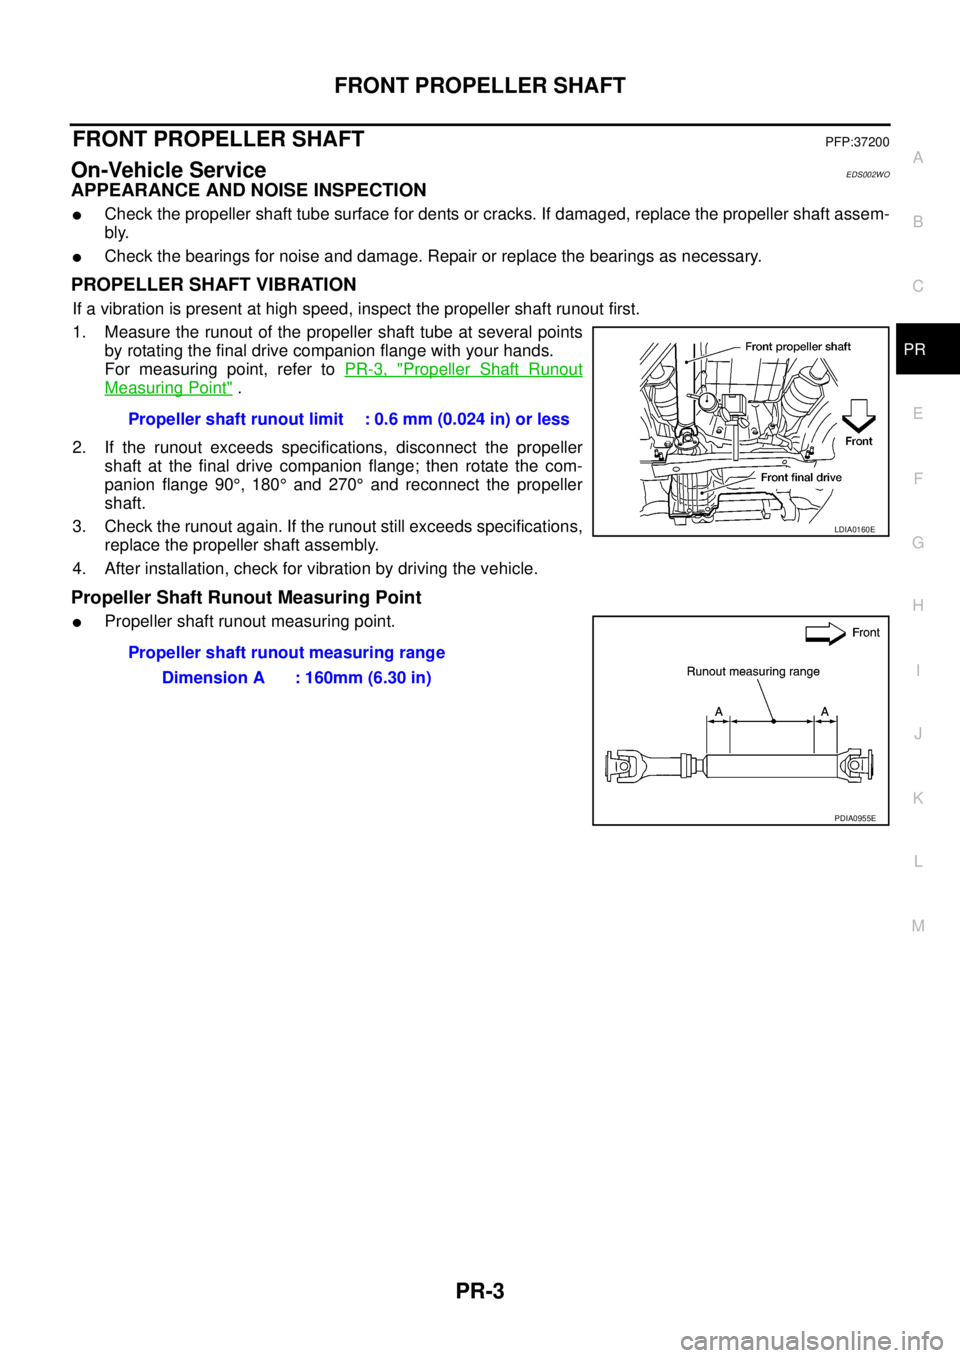
1. Measure the runout of the propeller shaft tube at several points
by rotating the final drive companion flange with your hands.
For measuring point, refer toPR-3, "
Propeller Shaft Runout
Measuring Point".
2. If the runout exceeds specifications, disconnect the propeller
shaft at the final drive companion flange; then rotate the com-
panion flange 90°,180°and 270°and reconnect the propeller
shaft.
3. Check the runout again. If the runout still exceeds specifications,
replace the propeller shaft assembly.
4. After installation, check for vibration by driving the vehicle.
Propeller Shaft Runout Measuring Point
lPropeller shaft runout measuring point.Propeller shaft runout limit : 0.6 mm (0.024 in) or less
LDIA0160E
Propeller shaft runout measuring range
Dimension A : 160mm (6.30 in)
PDIA0955E
Page 2622 of 3171
REAR PROPELLER SHAFT
PR-7
C
E
F
G
H
I
J
K
L
MA
B
PR
REAR PROPELLER SHAFTPFP:37000
On-Vehicle ServiceEDS002WR
APPEARANCE AND NOISE INSPECTION
lCheck the propeller shaft tube surface for dents or cracks. If damaged, replace the propeller shaft assem-
bly.
lCheck the bearings for noise and damage. Repair or replace the bearings as necessary.
PROPELLER SHAFT VIBRATION
If a vibration is present at high speed, inspect the propeller shaft runout first.
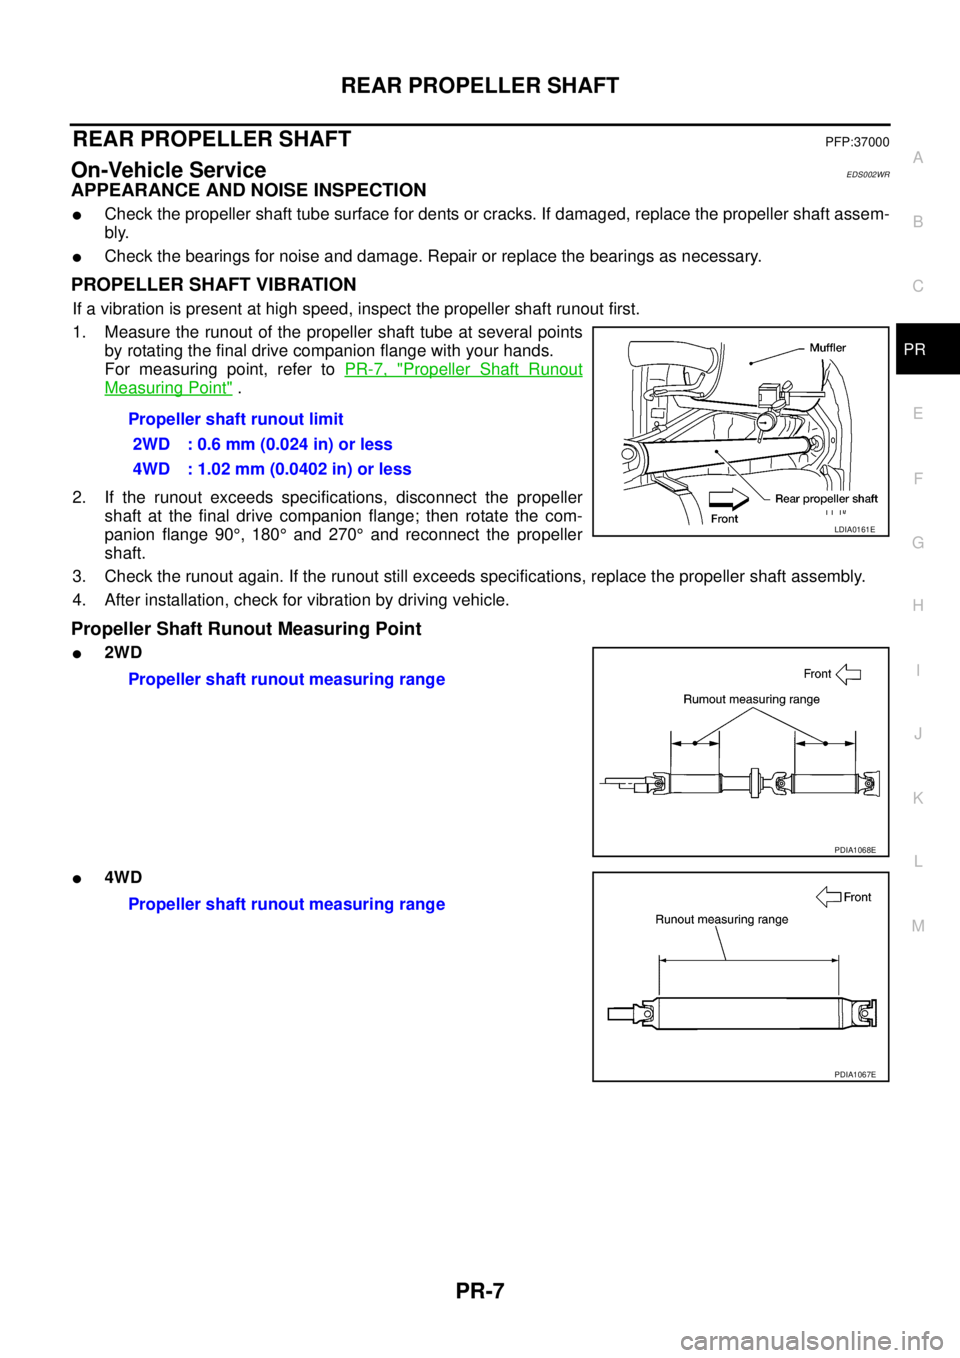
1. Measure the runout of the propeller shaft tube at several points
by rotating the final drive companion flange with your hands.
For measuring point, refer toPR-7, "
Propeller Shaft Runout
Measuring Point".
2. If the runout exceeds specifications, disconnect the propeller
shaft at the final drive companion flange; then rotate the com-
panion flange 90°,180°and 270°and reconnect the propeller
shaft.
3. Check the runout again. If the runout still exceeds specifications, replace the propeller shaft assembly.
4. After installation, check for vibration by driving vehicle.
Propeller Shaft Runout Measuring Point
l2WD
l4WDPropeller shaft runout limit
2WD : 0.6 mm (0.024 in) or less
4WD : 1.02 mm (0.0402 in) or less
LDIA0161E
Propeller shaft runout measuring range
PDIA1068E
Propeller shaft runout measuring range
PDIA1067E