steering NISSAN PULSAR 1987 Workshop Manual
[x] Cancel search | Manufacturer: NISSAN, Model Year: 1987, Model line: PULSAR, Model: NISSAN PULSAR 1987Pages: 238, PDF Size: 28.91 MB
Page 3 of 238

CONTENTS
INTRODUCTION........................................ 5
VEHICLE IDENTIFICATION AND
GENERAL SPECIFICATIONS................. 7
GENERAL INFORMATION...................... 8
Tools and equipment ............................................. 8 Safety .................................................................... 10
General repair procedures..................................... 11
LUBRICATION AND MAINTENANCE... 14
Specifications......................................................... 14
How to grease and oil change .............................. 14
Service schedule ................................................... 17
WHEELS AND TYRES............................. 21
Specifications......................................................... 21
How to change a road wheel ................................ 21
Tire wear troubl e shooting ..................................... 22
Care and main tenance ......................................... 23
ENGINE TUNE-UP.................................... 25
Tune-up specifications ........................................... 25
Tune-up operat ions............................................... 25
ROADSIDE TROUBLE SHOOTING....... 32
Trouble shoot ing.................................................... 32
To check ignition and el ectrical system ................ 33
To check fuel system ............................................ 34
To check mechani cal system ................................ 35
ENGINE....................................................... 37
Specifications ........................................................ 37
Engine mechanical tr ouble shooting ...................... 39
Description ............................................................ 41
Engine and transaxle assembly ........................... 42
Manifolds ............................................................... 44 Camshaft, rocker arms and tappets..................... 48
Cylinder head........................................................ 50
Engine sump and oil pum p pickup pipe................ 54
Oil pump ............................................................... 55
Pistons, connecting rods and cylinder bores ........ 57
Crankshaft and bearings ...................................... 60
Flywheel /drive plate............................................... 63
Engine mountings.................................................. 64
Exhaust system .................................................... 66
COOLING AND HEATING SYSTEMS.... 68
Specifications ........................................................ 68 Cooling system trouble shooting ........................... 68
Heater and air conditioner trouble shooting ......... 69 Description ............................................................ 70
Radiator ................................................................ 70
Cooling fan ............................................................ 73
Thermost at............................................................ 75
Thermostat housing .............................................. 76
Water pump .......................................................... 76
Welch plugs .......................................................... 76
Heater unit, water valv e and controls ................... 77
Blower fan ............................................................. 80
Air condition ing ..................................................... 80
FUEL AND ENGINE MANAGEMENT ... 82
Specifications ........................................................ 82 Fuel and engine management trouble shooting ... 82
Description ............................................................ 84
Service precautions and procedures
..................... 86
System diagnosis and adjustments ...................... 89
Fuel supply components ....................................... 92
Air flow components .............................................. 98
Electronic components .......................................... 104
EMISSION CONTROL............................. 117
Introduction ........................................................... 117
Crankcase ventilati on system............................... 117
Evaporate control system..................................... 117
Air preheat system — 1.6 liter engines ................ 119
Exhaust control system ........................................ 120
CLUTCH...................................................... 121
Specifications........................................................ 121
Clutch trouble shooting......................................... 121
Description ............................................................ 122
Clutch unit and release mechanism..................... 123
Clutch pedal ......................................................... 124
Clutch c able.......................................................... 124
Clutch adjustments ............................................... 125
MANUAL TRANSAXLE AND
DRIVE SHAFTS......................................... 126
Specifications ........................................................ 126
Manual transaxle and drive shaft trouble shooting 126
Description............................................................ 128
Transaxle assembly.............................................. 129
Differential and final drive assembly ..................... 135
Gear lever assembly ............................................ 136
Drive shafts .......................................................... 137
AUTOMATIC TRANSAXLE....................... 140
Specifications........................................................ 140
Automatic transaxle trouble shooting.................... 140
Description............................................................ 141
Transaxle fluid ...................................................... 141
Brake band........................................................... 142
Kickdown cable .................................................... 142
Transaxle select or linkage ................................... 142
Neutral safety switch ............................................ 142
Transaxle assembly .............................................. 143
STEERING................................................. 145
PART 1. STEERING TROUBLE SHOOTING....145
Faults, causes and remedies................................ 145
PART 2. MANUA L STEERING......................... 147
Specifications ........................................................ 147
Description............................................................ 147
Steering wheel ...................................................... 147
Steering column.................................................... 148
Steering gear assembly ....................................... 149
PART 3. POWE R STEERING .......................... 152
Specifications........................................................ 152
Description............................................................ 152
In car adjustments, checks and minor repairs ..... 152
Steering wheel ...................................................... 153
Steering column.................................................... 153 Power steering pump ........................................... 153
Power steering gear assembly............................. 154
Page 4 of 238

FRONT SUSPENSION............................ 156
Specifications......................................................... 156
Front suspension tr ouble shooting ........................ 156
Description ............................................................ 157
Steering knuckle.................................................... 157
Suspension unit..................................................... 159
Control arm ........................................................... 161
Stabiliser bar ........................................................ 162
Suspension and steering angles .......................... 163
REAR SUSPENSION................................ 164
Specifications ........................................................ 164
Rear suspension tr ouble shooting ........................ 164
Description ............................................................ 165
Rear hub ............................................................... 166
Suspension unit .................................................... 167
Control arm ........................................................... 169
Knuckle assembly.................................................. 170
Stabiliser bar ........................................................ 170
Rear wheel alignment ........................................... 171
BRAKES...................................................... 172
Specifications......................................................... 172
Brakes trouble shooting ........................................ 172
Description ............................................................ 174
Master cyli nder...................................................... 175
Brake servo unit .................................................... 177
Front brakes ......................................................... 178
Rear disc brakes................................................... 181
Rear drum brakes ................................................. 184
Handbrake cable and le ver assembly ................... 186
Brake adjustments ................................................ 187
Brake pedal ........................................................... 187
Hydraulic system................................................... 188
ELECTRICAL SYSTEM............................ 190
Specifications......................................................... 190
Battery and charging system trouble shooting ....... 190
Battery and starting system trouble shooting ........ 191
Lighting system trouble shooting ........................... 192
Turn signal lamp trouble shooting ........................ 192
Test equipment and so me applications................. 193
Battery ................................................................... 194
Alternator ............................................................... 196
Starter motor ......................................................... 201
Ignition system ...................................................... 206
Steering wheel ....................................................... 206
Switches and controls........................................... 206
Instrument cluster.................................................. 209
Blower fan .............................................................. 209
Radio/cassette...................................................... 209
lamp units ............................................................ 210
Windscreen wiper ................................................. 213
Fuses, fusible links and relays ............................. 215
Trailer wiring ......................................................... 216
Wiring diagrams ................................................... 218
BODY........................................................... 225
Windscreen and re ar glass .................................. 225
Front doors ........................................................... 225
Rear doors............................................................ 228
Engine bonnet...................................................... 231
Tailgate and lock — hatchback ............................ 231
Luggage compartment lid and lock — sedan ........ 233
Radiator grille.............................................................. 234
Centre console...................................................... 234 Dashboard ............................................................ 235
Scat belts ............................................................. 236
Seats .................................................................... 236
Vehicle cleaning ........................................................... 237
CONVERSION TABLES.......................... 238
Page 5 of 238

INTRODUCTION
This Service and Repair Manual
covers the Australian manufac-
tured Nissan Pulsar (hatchback) and Vector (sedan) N13 Series 1
(J87 - 91 and
the Holden Astra LD Series 1987 - 89.
Two engines were available: a 1.8 l i t e r engine with multi-point fuel injec-
tion, and a 1.6 liter throttle body injected engine. The engines are similar
having single overhead camshafts and computer controlled fuel injection and
ignition control. There was a choice of three speed automatic or five speed
manual transaxles.
A viscous coupling limited s l i p differential was introduced from July 1989
to the five speed manual transaxle models of the Pulsar Q and Vector SSS.
Disc brakes are fitted at the front of a l l models, while the rear brakes are
either discs or drums.
All models are equipped with independent coil spring suspension. Steering
can be by either manual or power assisted rack and pinion.
This manual includes information on trouble shooting, lubrication and
maintenance, specifications and the rem oval, installation and overhaul of com-
ponents which are considered to be with in the scope of the average, well
equipped home mechanic.
Certain repair jobs covered in this manual require the use of special
equipment not normally found in a home tool kit. When such equipment is
required, the equipment and i t s functi on is brought to the users attention
underneath the heading for that component. Some jobs, such as automatic
transmission overhaul, should he left to an authorized dealer or a specialist
who has the extensive knowledge and equi pment required. In these cases, the
removal and installation procedures are fully covered, enabling the unit to be
removed for repair or a reconditioned unit to be installed.
Reference in the manual to the left an d right hand sides of the vehicle are
from the point of view of someone sta nding at the back of the vehicle and
looking forward.
Inexperienced operators should not a ttempt a service or repair operation
before completely reading the appropriat e section (or other sections which may
be referred to) in the manual.
Page 10 of 238
10 General Information
If tools are to be stored for any length of time, it is
good policy to wipe them with an oily cloth.
Bladed screwdrivers should be checked for dam-
age to the tip. If necessary, the tip can be returned to
its original profile by careful grinding. Do not grind
screwdriver tips to a sharp point.
Hammer heads should be secure on their handles
and should be regularly checked for cracking or other
damage.
Chisels and punches should be checked for dam-
age or 'mushrooming' of the head. Any faults should
be rectified by grinding.
Hydraulic jacks should be regularly checked for
fluid leaks. Chassis stands and car ramps should be
checked for damage and cracks. Any equipment that
is suspect should not be used.
STORES
For routine maintenance, stores of automotive
oils, greases and additives should be kept on hand.
The following is a suggested list.
Engine oil.
Brake fluid.
Manual transmission or automatic transmission
oil — automatic transmission oil is also used in
the power steering system.
Rear axle oil.
Cooling system corrosion inhibitor/antifreeze.
Chassis grease.
High melting point grease, for hub bearings etc.
Penetrating oil or spray.
Kerosene or similar cleaning solvent.
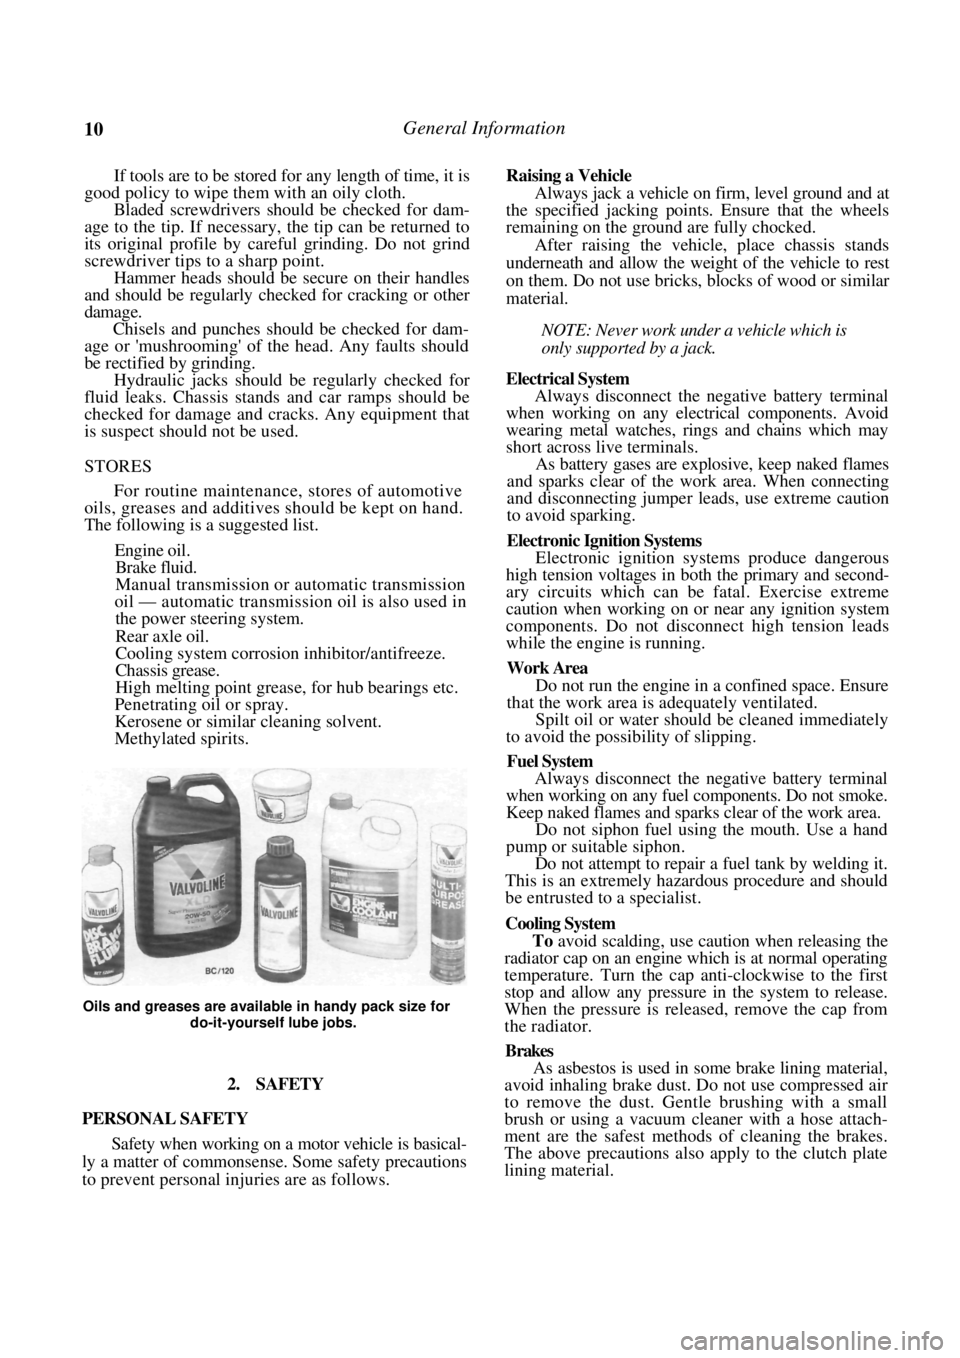
Methylated spirits.
Oils and greases are available in handy pack size for
do-it-yourself lube jobs.
2. SAFETY
PERSONAL SAFETY
Safety when working on a motor vehicle is basical-
ly a matter of commonsense. Some safety precautions
to prevent personal in juries are as follows.
Raising a Vehicle
Always jack a vehicle on firm, level ground and at
the specified jacking points . Ensure that the wheels
remaining on the ground are fully chocked.
After raising the vehicle, place chassis stands
underneath and allow the weight of the vehicle to rest
on them. Do not use bricks, blocks of wood or similar
material.
NOTE: Never work under a vehicle which is
only supported by a jack.
Electrical System
Always disconnect the negative battery terminal
when working on any electrical components. Avoid
wearing metal watches, rings and chains which may
short across live terminals.
As battery gases are explosive, keep naked flames
and sparks clear of the work area. When connecting
and disconnecting jumper leads, use extreme caution
to avoid sparking.
Electronic Ignition Systems
Electronic ignition systems produce dangerous
high tension voltages in bo th the primary and second-
ary circuits which can be fatal. Exercise extreme
caution when working on or near any ignition system
components. Do not disconnect high tension leads
while the engine is running.
Work Area
Do not run the engine in a confined space. Ensure
that the work area is adequately ventilated.
Spilt oil or water should be cleaned immediately
to avoid the possibility of slipping.
Fuel System
Always disconnect the negative battery terminal
when working on any fuel components. Do not smoke.
Keep naked flames and sparks clear of the work area.
Do not siphon fuel using the mouth. Use a hand
pump or suitable siphon.
Do not attempt to repair a fuel tank by welding it.
This is an extremely hazardous procedure and should
be entrusted to a specialist.
Cooling System
To avoid scalding, use caution when releasing the
radiator cap on an engine wh ich is at normal operating
temperature. Turn the cap anti-clockwise to the first
stop and allow any pressure in the system to release.
When the pressure is released, remove the cap from
the radiator.
Brakes
As asbestos is used in some brake lining material,
avoid inhaling brake dust. Do not use compressed air
to remove the dust. Gentle brushing with a small
brush or using a vacuum cleaner with a hose attach-
ment are the safest methods of cleaning the brakes.
The above precautions also apply to the clutch plate
lining material.
Page 11 of 238
General Information 11
Lifting Equipment
When using lifting equipment to lift heavy com-
ponents such as the engine and/or transmission, use
metal slings or chain in preference to rope. If rope
must be used, ensure that it is not placed against sharp
edges on the component.
Automotive Lubricants and Solvents
Avoid prolonged skin contact with oils, greases
and solvents as some can cause skin irritations and
dermatitis.
Exercise caution when us ing cleaning solvents as
many are inflammable. Do not smoke. Keep naked
flames and sparks clear of the work area.
Compressed Air
Never point an air hose at another person or allow
compressed air to blow onto your skin. High pressure
air forced against the skin can enter the bloodstream
and prove fatal.
Suspension and Steering Components
Damaged suspension and steering components
should not be welded. Many of these components are
fabricated from toughened metals. If welded they may
lose their strength or become brittle. Damaged com-
ponents should be renewed.
Air Conditioning
Avoid disconnecting air conditioning hoses as
escaping refrigerant can cause frostbite. The refriger-
ant is highly flammable and when burnt, a poisonous
gas is produced.
VEHICLE SAFETY
To prevent damage to the vehicle during servicing
or repair work, note the following precautions.
Brake Fluid
If spilt on the vehicle paintwork, brake fluid
should be immediately washed away with clean water
and allowed to dry naturally, not wiped with a cloth.
Catalytic Converter
The following should be observed to prevent
damage to the catalytic converter:
Do not operate the vehicle on leaded fuel.
Do not push or tow start the vehicle.
Do not allow the engine to idle for prolonged
periods.
Do not switch the ignition off while the vehicle is
in motion and the transmission is in gear.
Do not 'prime' the engine by pouring fuel into the
inlet manifold.
Do not operate the vehicle if the engine is
misfiring.
Avoid running the vehicle out of fuel.
Ensure that the engine oil is formulated to contain
low phosphorus levels.
Electronic Components
The electronic components of the ignition and
fuel injection systems can be damaged by the use of
incorrect testing equipment.
It is essential in all tests where voltage or resis-
tance is to be measured that a digital display multi-
meter with a minimum 10 megohm input impedance
be used.
Some types of tachometers, timing lights and
ignition system analyzers are not compatible with
certain engine electronic systems. It is therefore
recommended that the manufacturer of the test equip-
ment be consulted before using the equipment.
Jump starting, or being jump started by another
vehicle can cause damage to the electronic compon-
ents of the vehicle. Refer to the Roadside Trouble
shooting section for the correct jump starting proce-
dure.
3. GENERAL REPAIR PROCEDURES
SEIZED FASTENERS
Seized bolts, nuts or screws should first have a
liberal amount of penetrating oil applied. The fastener
should be left for a period of time to allow the oil to
penetrate and soften the corrosion which is causing
the binding.
Often, a sharp hammer blow to the head of the
fastener can dislodge the corrosion and permit it to be
loosened.
An impact driver, which can be fitted with a
socket or screwdriver bit, can be used to loosen a
seized fastener.
Another method is to heat the component in
which the fastener is seized. However, extreme cau-
tion should be exercised when heating aluminum
alloy components as the melting point is much lower
than that of steel.
If the above methods fail to free a seized nut,
carefully hacksaw through one side of the nut until it
can be split. Care should be taken that the threads of
the bolt or stud are not damaged.
Should a bolt or stud break below the surface of
the component, it will be necessary to use a screw
extractor to remove the remaining part. Follow the
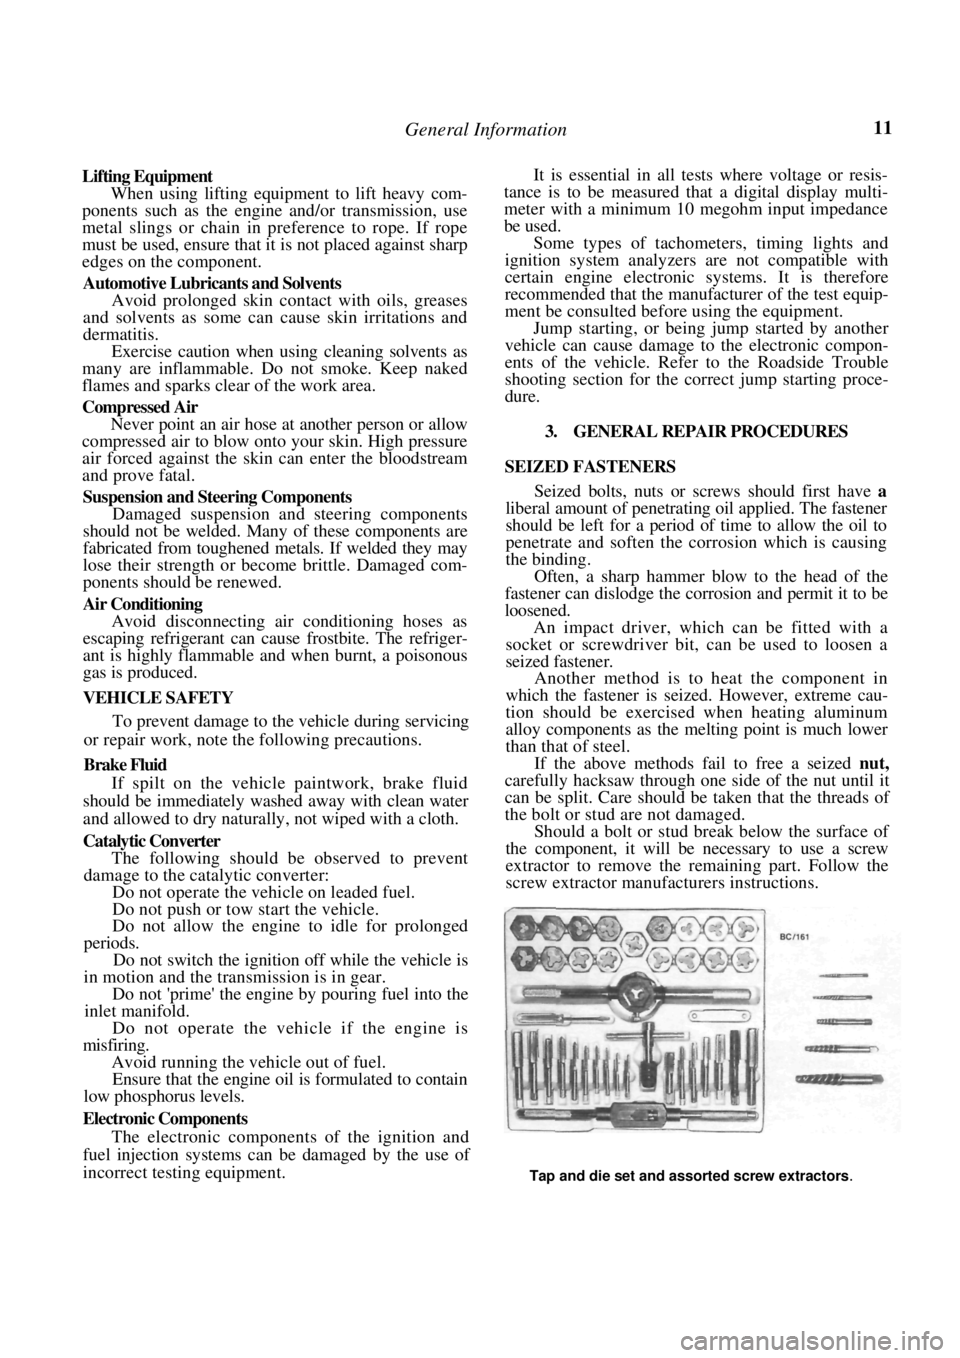
screw extractor manuf acturers instructions.
Tap and die set and assorted screw extractors.
Page 14 of 238
14
LUBRICATION AND MAINTENANCE
SPECIFICATIONS
CAPACITY AND GRADE
Engine:
Lubricant........................................... 15W-50 SF
Sump capacity including filter ........... 3.3 liters
Cooling system capacity............................ 6.0 liters
Manual transaxle:
Lubricant....................................... 80W-90 GL-4
Capacity ............................................... 2.7 liters
Automatic transaxle:
Lubricant.............................................. Dexron II
Capacity ............................................... 6.0 liters
Power steering:
Lubricant.............................................. Dexron II
Capacity ............................................... 1.0 liters
Manual steering lubricant ........ Castrol EPLl grease
Brake fluid type ................................................ Dot 4
1. HOW TO GREASE AND OIL CHANGE
(1) Run the front of the vehicle onto car ramps
and stop the engine. Chock the front wheels. (2) Raise the rear of the vehicle and place
chassis stands under the rear jacking points.
NOTE: It is best if the vehicle is kept as level
as possible to avoi d false readings when
checking the lubricant levels.
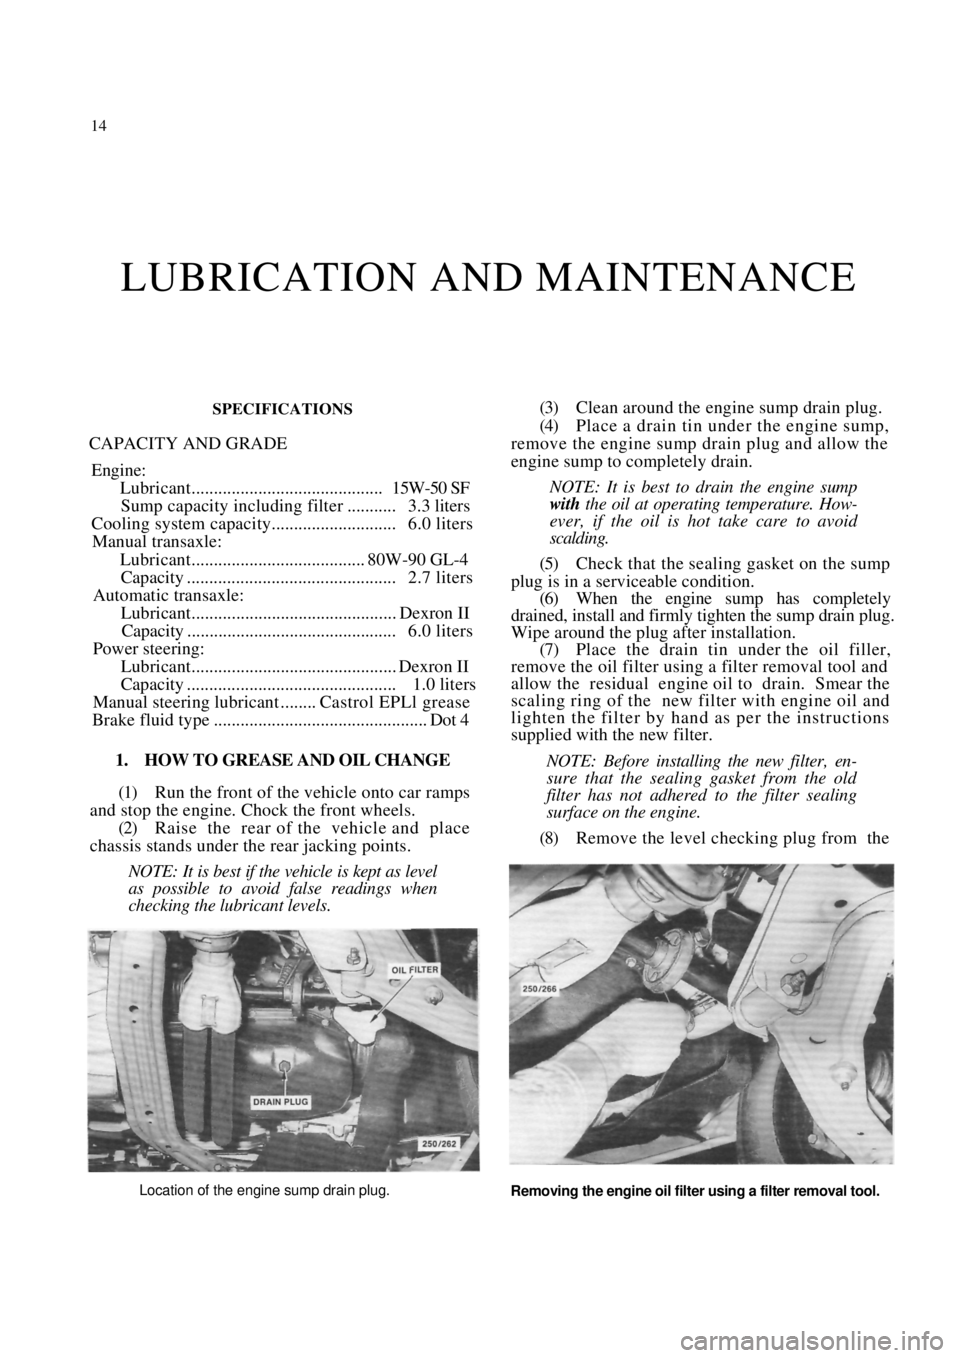
(3) Clean around the engine sump drain plug.
(4) Place a drain tin under the engine sump,
remove the engine sump drain plug and allow the
engine sump to completely drain.
NOTE: It is best to drain the engine sump
with the oil at operating temperature. How-
ever, if the oil is hot take care to avoid
scalding.
(5) Check that the sealing gasket on the sump
plug is in a serviceable condition. (6) When the engine sump has completely
drained, install and firmly tighten the sump drain plug.
Wipe around the plug after installation. (7) Place the drain tin under the oil filler,
remove the oil filter using a filter removal tool and
allow the residual engine oil to drain. Smear the
scaling ring of the new filter with engine oil and
lighten the filter by hand as per the instructions
supplied with the new filter.
NOTE: Before installing the new filter, en-
sure that the sealing gasket from the old
filter has not adhered to the filter sealing
surface on the engine.
(8) Remove the level checking plug from the
Location of the engine sump drain plug.
Removing the engine oil filter using a filter removal tool.
Page 23 of 238
Wheels and Tires 23
(3) Excessive play in the front suspension ball
joints: Check and renew the ball joints.
(4) Excessive play in the hub bearing assembly:
Check and renew the hub bearing assembly.
WORN SPOTS ON CENTRE OF TREAD
(1) Static unbalance of the wheel and tire asem-
bly: Check the balance of the wheel and tire assembly
(2) Radial run out (eccentricity) of the wheel:
Check and renew the wheel.
FEATHERED EDGES ON TREAD PATTERN
(1) Excessive speed when cornering: Revise driv-
ing habits. (2) Excessive toe-in or toe-out: Check and adjust
the wheel alignment.
(3) Bent, loose or worn suspension components:
Check and renew any faulty components.
NOTE: To preserve tire life it is good policy
to periodically have the front wheel balanced
and the steering geometry checked on a
reliable wheel alignment machine.
Under no circumstances mix radial ply
and conventional ply tire s. Install only tires
of the same construction to all four wheels.
3. CARE AND MAINTENANCE
STEEL WHEELS
Steel wheels should be regularly cleaned of all
foreign matter, such as dirt and mud. If foreign matter
is allowed to build up it will affect the balance of the
wheel and may cause vibrations and uneven tire wear.
If the paint has been chipped or scratched it should be
touched up as soon as possible to prevent rust.
Any minor damage to the wheel rim can usually
be repaired using a suitable hammer after the wheel
has been removed from the vehicle. However, any
major rim damage or buckling of the wheel will
necessitate the renewal of the wheel. It is good policy
to occasionally remove the wheels from the vehicle
and inspect them for damage, cracks or corrosion.
ALLOY WHEELS
Alloy wheels should be regularly cleaned of all
foreign matter such as dirt and mud. If foreign matter
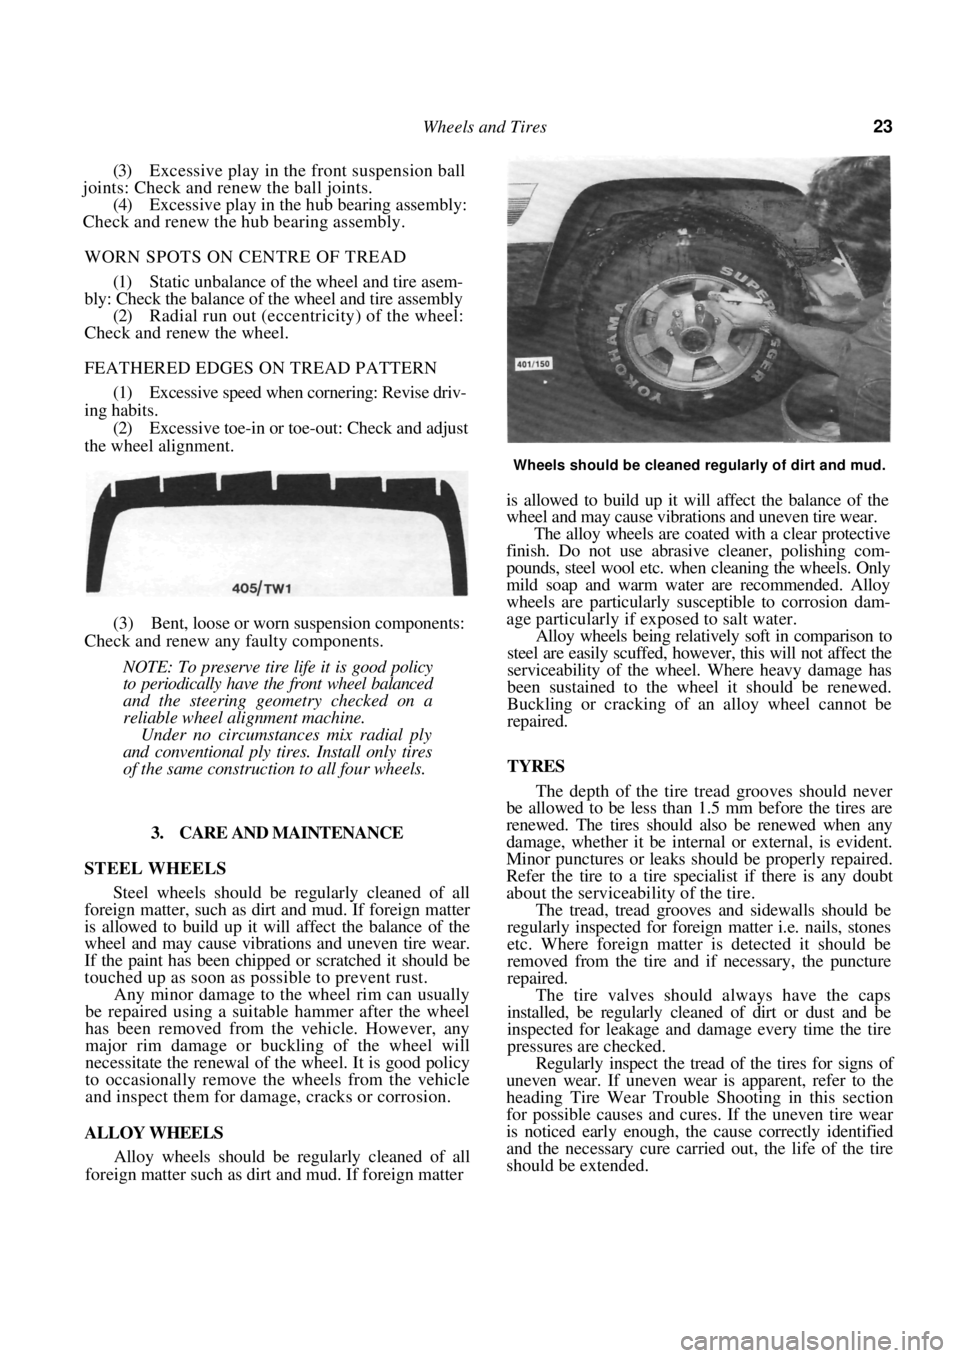
Wheels should be cleaned regularly of dirt and mud.
is allowed to build up it will affect the balance of the
wheel and may cause vibrations and uneven tire wear.
The alloy wheels are coated with a clear protective
finish. Do not use abrasive cleaner, polishing com-
pounds, steel wool etc. when cleaning the wheels. Only
mild soap and warm wate r are recommended. Alloy
wheels are particularly su sceptible to corrosion dam-
age particularly if exposed to salt water.
Alloy wheels being relatively soft in comparison to
steel are easily scuffed, however, this will not affect the
serviceability of the wheel. Where heavy damage has
been sustained to the wheel it should be renewed.
Buckling or cracking of an alloy wheel cannot be
repaired.
TYRES
The depth of the tire tread grooves should never
be allowed to be less than 1.5 mm before the tires are
renewed. The tires should also be renewed when any
damage, whether it be internal or external, is evident.
Minor punctures or leaks s hould be properly repaired.
Refer the tire to a tire spec ialist if there is any doubt
about the serviceability of the tire.
The tread, tread grooves and sidewalls should be
regularly inspected for foreign matter i.e. nails, stones
etc. Where foreign matter is detected it should be
removed from the tire and if necessary, the puncture
repaired.
The tire valves should always have the caps
installed, be regularly cleaned of dirt or dust and be
inspected for leakage and damage every time the tire
pressures are checked.
Regularly inspect the tread of the tires for signs of
uneven wear. If uneven wear is apparent, refer to the
heading Tire Wear Trouble Shooting in this section
for possible causes and cures. If the uneven tire wear
is noticed early enough, the cause correctly identified
and the necessary cure carried out, the life of the tire
should be extended.
Page 25 of 238
25
ENGINE TUNE-UP
CAUTION: To prevent severe electrical shock, extreme care must be taken when
working on or near the electronic ignition system as dangerous high tension voltages
are produced in both the primary and secondary circuits. See the text fo\
r
precautionary notes.
1. TUNE-UP SPECIFICATIONS
Firing orde r................................................... 1 -3-4-2
Spark plugs:
Type .............................................NGK BPR 6ES
Gap ........................................................... 1.1 mm
Tightening torque...................................... 20 Nm
Ignition timing with diagnostic link
connector jumped........................... 10 deg BTDC
Idle speed (ECU controlled):
Manual transaxle 1.8 liter ............ 850 ± 50 rpm
Manual transaxle 1.6 liter............800 ± 50 rpm
Automatic transaxle
(Park or Neutral).......................... 825 ± 50 rpm
Drive belt deflection:
Alternator ........................................... 14-16 mm
Power steering pump ......................... 14-16 mm
Air conditioner compressor .................. 9-11 mm
NOTE: When performing an engine tune-
up, a/ways compare the above Specifications
with the emission control information label
inside the engine compartment.
2. TUNE-UP OPERATIONS
Special Equipment Required:
To Test Compression — Compression gauge
TO SERVICE AIR CLEANER
The air cleaner is equipped with a paper element.
The element should be regu larly inspected but should
not be cleaned in service.
The element should be renewed every 40 000 km.
This distance is only a guide for normal operating
conditions and should be reduced accordingly if the
vehicle is operating under ex tremely dusty conditions.
NOTE: Paper air cleaner elements should
not be washed in petrol or any other type of
cleaning solvent. If the element has been
washed in solvent or has become oil soaked,
it should be discarded and a new element
installed.
1.8 Liter Engine
(1) Release the clamp securing the air intake
hose to the throttle body and disconnect the throttle
cable from the support bracket. (2) Release the clips reta ining the upper air
cleaner housing to the lowe r air cleaner housing and
raise the upper housing while disconnecting the air
intake hose from the throttle body. Remove the air
cleaner element.
The air cleaner element should be renewed at 40 000
km intervals. 1.8 liter engine.
(3) Clean the inside of the air cleaner housing
using a damp rag to remove all traces of dust and
check the upper housing and air inlet hose for cracks
and air leaks. Renew if necessary. (4) Install a new air cleaner element to the lower
housing ensuring that the element is correctly seated
around the edges. (5) Install the upper housing and lock the clips,
securing it to the lower housing. Connect the air
intake hose to the throttle body and the throttle cable
to the support bracket. Tighten the hose clamp
securely. (6) Start the engine and check the air cleaner
assembly for air leaks.
Page 26 of 238
26 Engine Tune-up
1.6 Liter Engine
(1) Remove the nuts and washers securing the
upper air cleaner housing to the lower air cleaner
housing and release the retaining clips. (2) Remove the air cleaner element.
(3) Clean the inside of the air cleaner housing
using a damp rag to remo ve all traces of dust.
(4) Install a new air cleaner element ensuring that
the element is correctly seated around the edges.
(5) Install the upper housing and secure the
retaining clips. Tighten th e retaining nuts securely.
TO RENEW FUEL FILTER
filter should
The fuel
40 000 km.
(1) Depressurize the fuel system using the fol-
lowing procedure:
(a) Lift the front edge of the rear seat cushion
and remove the cushion from the vehicle.
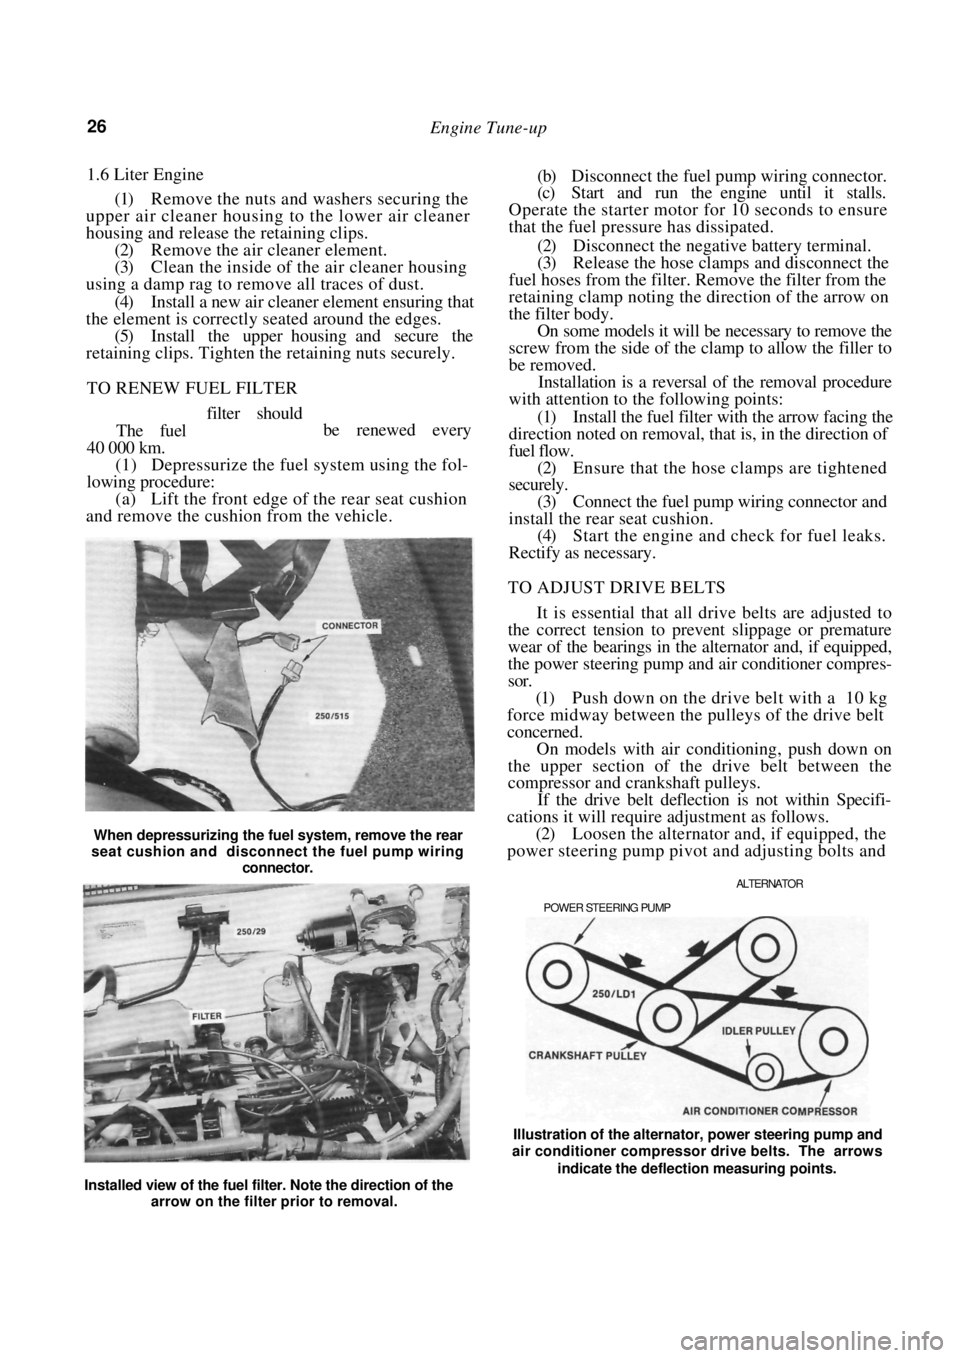
When depressurizing the fuel system, remove the rear
seat cushion and disconnect the fuel pump wiring
connector.
(b) Disconnect the fuel pump wiring connector.
(c) Start and run the engine until it stalls.
Operate the starter motor for 10 seconds to ensure
that the fuel pressure has dissipated.
(2) Disconnect the negative battery terminal.
(3) Release the hose clamps and disconnect the
fuel hoses from the filter. Remove the filter from the
retaining clamp noting the direction of the arrow on
the filter body. On some models it will be necessary to remove the
screw from the side of the clamp to allow the filler to
be removed.
Installation is a reversal of the removal procedure
with attention to the following points:
(1) Install the fuel filter with the arrow facing the
direction noted on removal, that is, in the direction of
fuel flow.
(2) Ensure that the hose clamps are tightened
securely.
(3) Connect the fuel pump wiring connector and
install the rear seat cushion. (4) Start the engine and check for fuel leaks.
Rectify as necessary.
TO ADJUST DRIVE BELTS
It is essential that all drive belts are adjusted to
the correct tension to prevent slippage or premature
wear of the bearings in the alternator and, if equipped,
the power steering pump and air conditioner compres-
sor.
(1) Push down on the drive belt with a 10 kg
force midway between the pulleys of the drive belt
concerned.
On models with air conditioning, push down on
the upper section of the drive belt between the
compressor and crankshaft pulleys.
If the drive belt deflection is not within Specifi-
cations it will require adjustment as follows.
(2) Loosen the alternator and, if equipped, the
power steering pump pivot and adjusting bolts and
ALTERNATOR
POWER STEERING PUMP
be renewed every
Installed view of the fuel filter. Note the direction of the arrow on the filter prior to removal. Illustration of the alternator, power steering pump and
air conditioner compressor drive belts. The arrows
indicate the deflection measuring points.
Page 27 of 238
Engine Tune-up 27
move the alternator or power steering pump as
required until the drive belt concerned has the
specified deflection.
On models with air conditioning, loosen the nut
in the centre of the idler pulley and turn the adjusting
bolt until the drive belt has the specified deflection.
(3) Tighten the alternator or power steering
pump bolts securely and check the belt tension.
On models with air conditioning, tighten the idler
pulley nut securely.
TO SERVICE SPARK PLUGS
The spark plugs should be renewed at intervals of
40 000 km.
Before removing the spark plugs ensure that the
area around each plug is cl ean to prevent foreign
matter entering the cylinder when the plugs are
removed.
Spark plugs removed from an engine in good
mechanical condition should have a light powdery
deposit ranging from light brown to grayish tan in
color. After considerable service the electrodes will
show signs of wear or no rmal burning. Spark plugs
showing a thick black oily deposit indicate an engine
in poor mechanical condition or possibly, that a plug
with too low a heat range has been installed.
Spark plugs showing a white or yellowish deposit
indicate sustained high speed driving or possibly that
plugs with too high a heat range have been installed,
particularly when these deposits are accompanied by
blistering of the porcelain and burning of the elec-
trodes.
If the spark plugs are to be cleaned, use a
sandblasting machine and blow clean with com-
pressed air. Ensure that all traces of abrasive grit are
removed from the spark plug threads and from the
well in the plug body. Carefully open the electrode gap
a little, by bending the side electrode, and lightly file
the electrodes flat with a points file.
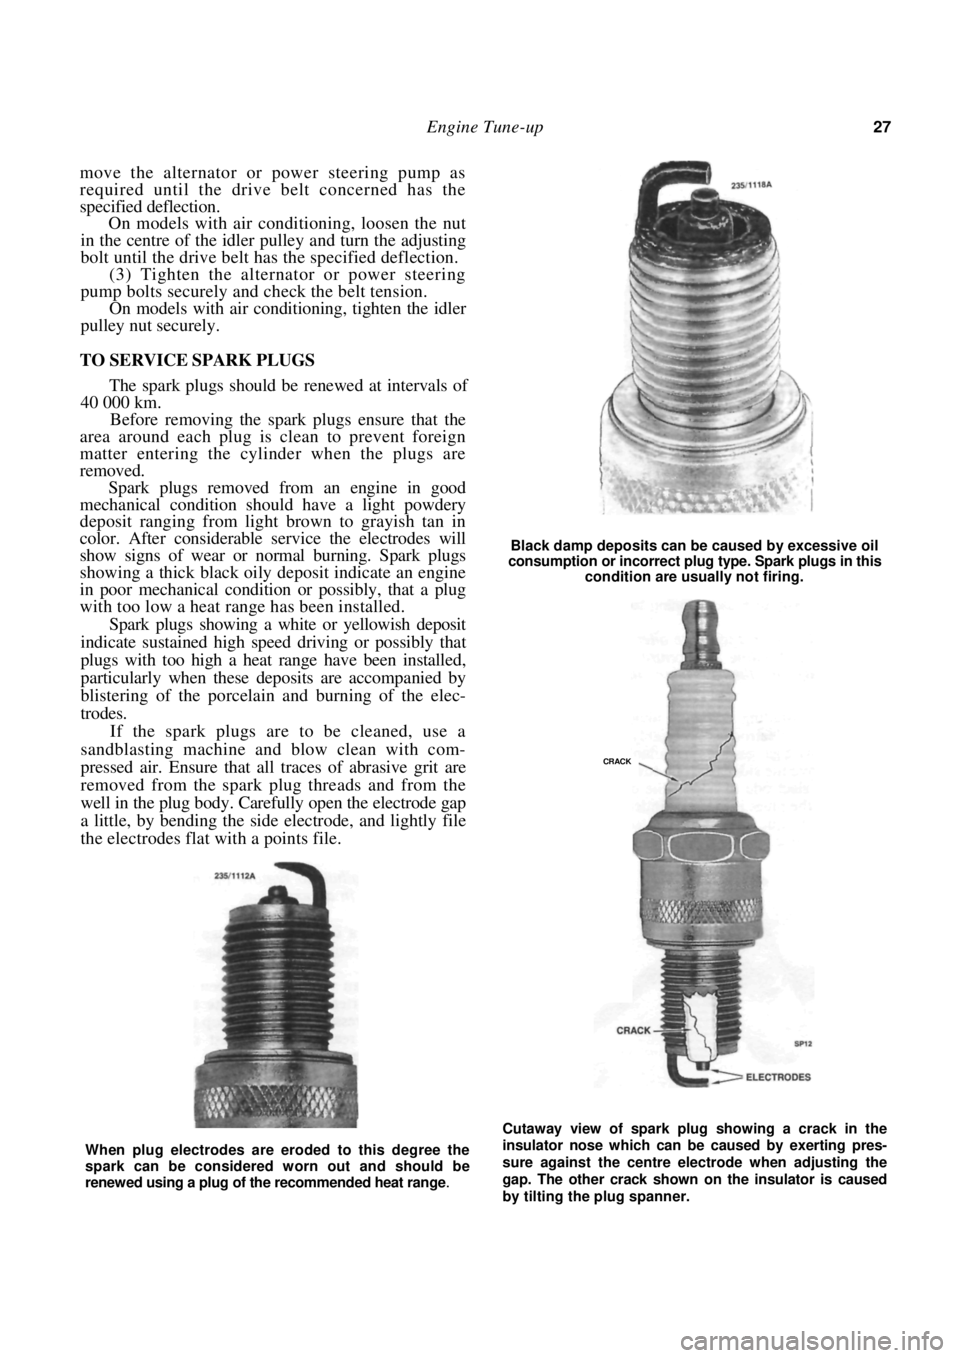
Black damp deposits can be caused by excessive oil
consumption or incorrect plug type. Spark plugs in this
condition are usually not firing.
Cutaway view of spark plug showing a crack in the
insulator nose which can be caused by exerting pres-
sure against the centre electrode when adjusting the
gap. The other crack shown on the insulator is caused
by tilting the plug spanner.
When plug electrodes are eroded to this degree the
spark can be considered worn out and should be
renewed using a plug of the recommended heat range
.
CRACK